manuals.online logo
Brands
  1. Home
  2. •
  3. Brands
  4. •
  5. GE
  6. •
  7. Dishwasher
  8. •
  9. GE Potscrubber GSC450W User manual

GE Potscrubber GSC450W User manual

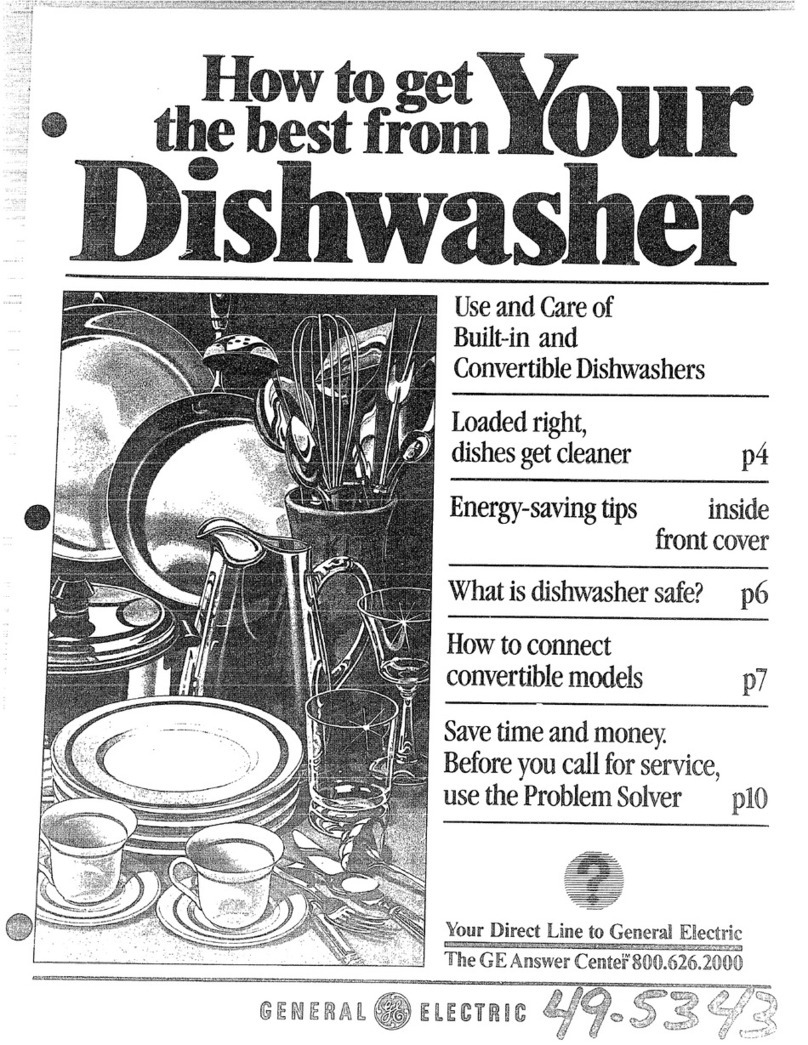
~POTSCRUBBER”DISHWASHER ~UNICOUPLEFAUCETCONNECTOR
The Power Scrub@Cycle, combined with the Makes it easyto hook updishwasher to faucet
Potscrubber Dishwasher’s high performance with one easy motion. Lets you continue to
wash system, may not do everything (such as use faucet while the dishwasher is operating.
remove burned-on soils), but will remove
dried-on and baked-on soils from pots, pans SOFT FOOD C)lSPOSEf3
and casseroles. Load dirty dishes without pre-rinsing ...just
*SIX CYCLE OPTiONS- tip off large or hard scraps. The soft food dis-
Power Scrub@and Normal Soil PIUSShort poser pulverizes soft food scraps and flushes
)them away.
Wash on dial, each with Energy Saver Dry or
Heated Dry. ~TIJFF-TIJB@INTERIOR
AT CO~~ERTS TO BUILT-IN Abeautiful interior coated with vinyl and de-
use as aportable now and convertto built-in signed to protect the surface from the effects
later. of chemicals and acids in detergents and
foods. The door is epoxy-coated for an addi-
~%-SOUND INSULATED for quiet operation tional guard against accidental damage.
~TWO-LEVEL WASH ACTION @REMOVABLE SILVERWARE BASKET
~CONVENIENT WORK-SURFACE TOP ~ISOLATION MECHANISM MOUNTING
+* CYCLE-INDICATOR CONTROL DIAL ~RETRACTINGSTAB16.IZERS
~, DUAL DETERGENTDISPENSER @CALROD@HEATING UNIT
@CUSHIQNEDRANDOM-LOADING @AUTOMATiC EXCESSWATERCONTROL
FULL-EXTENSIONRACKS @EASY-ROLLING CASTERS
~-’)
wARRANTYToCofito
@\@ *‘%-
~Goodlfowwkeephj< Samples of these dishwashers were investigated by the Good Housekeeping
PROM15ES
4(4Ly1fftr ORR[f(JND
Institute and earned the Good Housekeeping Consumer’s Guaranty Seal
~L?
if w%
*Dimensions: Height 36’: Width 24’1~’~
Depth 25” includlng handle.
Door swings out 22”
*Electrical Requirer33ents:
volts” 115
/4mps. 15 amp CIrCLIItbreaker or regular fuse
Hertz 60
Totalcycle time (normal cycle): 67 minutes
Water consumption (normal cycle): 11.4 gallons
Machine electrical energy (normal cycle): 0.73 Kwh
Tuff-Tub’ vinyl-coated interior.
Inlet water pressure required: 15 to 120 Ibs, per
square inch.
Inlet water temperature recommended: 140° F.
Underwriters’ Laboratories, Inc. listed.
Conversion Kit (Cat. No. WD35X169) to convert
dishwasher to permanent installation is available
from your dealer or service organization
PUSHBUTTON DIMRLATCH C(INTROLOIAL
CYCLESELECTORS WORK-SURFACE
Features
of yournew
POWER
TOWERm
TELESCOPING
SPRAYER~
SIX-SECTION
SILVERWARE_
BASKET
WATER
LEVEL
CONTROL=
.
.
.
J
\
L
UPPER
-RACK
LOWER
_RACK
-POWERWASH’M
ARM
kHEASY.ROLMW
STABILIZERS OISPENSER CASTERS
your for the first time...
ATTACHAERATOR FAUCETADAPTER
‘1’h(Isp(cia] aerator faucet adapter supplied with your
dishwash(’r must he assemhled to the sink faucet spotit
bt~for~”you can uw yoLIr dishwasher. The faucet adapter
is (i(’signed(0 fit standard faucet spouts having internal
or (IYt(~rnal thrwlds. You will find the a(iapter anc] two
~l,.:l~]l(.l.Sir]~he ‘dI{ardw,ar~lfor Installation” j)ackct in your
-1
Fig. 1
&
...
3
km;’;
—Fig.2
Tooperateyourdishwasher..,
u
1PREPAREYOUR TABLEWARE, POTS&
PANS, AND LOAD DISHWASHER PROPEFtLY
See your Use &Care Book.
L!!J
ADD DETERGENT
Proper detergents are very important to achieve good
dishwashing results. Use only fresh detergents designed
for automatic dishwashers, Review the detergent section
of the Use and Care Book to become fully familiar with
detergent-loading procedure.
NOTE: Make sure control dial is set at OFF position
reyou add detergent.
c1
~CONNECT THE IJNICOUPLEAND HOSES
Refer to your Use &Care Book.
L!kJ
PLUG IN POWER CORD
FOR PERSONAL SAFETY,
THIS APPLIANCE MUST BE
PROPERLY GROUNDED. Q
s
oil:;,(
0’
-%. I
#
r.5proper
irdexists
reuse
‘1’hepower cord of this appliance
is equipped with athree-prong
(grounding) plug which mates
with ast,andarcf three-prong (grounding) wall receptacle
to minimize the possibility ofelectrical shock hazard from
this appl iancc. The customer should have the wall recep-
t{IcI(,an(l rircuit ch{’ckrd by aqual ified electrician to
mal((’sur(’Lht’rcu~ptacle is proprrly grounded.
‘- n
5.
loading and operating instructions carefully as explained
in your Use &Care Book. It is especiiilly important go
load items with heavy, DRIED-ON or BAKED.ON soils
such Mpots, pans and casseroles, open end down in the
lower rack facing directly toward the lower wash arm. In
this position the items will receive the most vigorous wash
action for maximum soil removal, As you would expect,
severely liiURNED.ONsoils occasionally may not be corn.
pletely removed, especially if the surface of the utensil
is etched, pitted or otherwise in poor condition. After
washing items of this type, any remaining soils should
be removed by hand. Discoloration of utensils caused by
overheating during cooking cannot be removed by the
dishwasher.
NORMAL SOIL cycle is for most loads of everyday
dishes, glasses and cookware with light to heavy soils,
DRYING OPTIONS
*HEATED DRYING —Depress this button and the drying
heater is energized to circulate heated air over the dishes
during the drying period for fast drying.
●ENERGY’SAVER—Depress this button and the drying
heater is disconnected to save electrical energy and allow
the dishes to dry by their own heat over time. This option
is best used when the dishes are washed at night and can
remain in the dishwasher until the next morning. Natural
drying time will be reduced ifyou prop open the dishwash-
er door about 3inches at top after the cycle is complete.
Use of this option reduces the electrical energy used by
this model approximately 8%.
Estimated yearly savings, depending onyour local electric
rates, are as follows:
Electric Rate (per Kwh) $.05 $.08 $.11
.—— ——
Estimated Yearly Savings $5.62 $8.99 $12.36
IzilSTARTYOUR DISHWASHER
Ee sure sink drain is open. If your dishwasher drains into
afood waste disposer, run disposer until it is complete]J
empty before starting dishwasher.
@Ft. C}(3WERSCRUB or NORMAL SOIL cycles: Close
door and move door latch to the right to the locked
position. QFF e e STFV?T
Slowly turn control dial toward the
START position or until you hear
the dishwasher start. B
m
Toobtain the benefits of :icomplete
c?cle, be careful that you do not I!
turn dial an~’further than necessary to start dishwasher,
M13’3RUPTING ACYCLE 4. Closedoor and push latch to right, Cycla willautornat-
E%rgetadish? icaily resume opertition.
1. Push door iatch to the left. Doorsafety interlock switch NOTE: Soiled dishes should not be added after the
willcut off the washing action. main detergent wash portion of the cycle.
2, Wait afew seconds for water action to subside, then Interrupt the wash and rinse periods as seldom as pos-
open door. sible. Water temperature is reduced, decreasing wash-
3, Adddishes you may have forgotten.. .or remove items. ability, when door is opened on any dishwasher.
What happensduringthe cycle..,
@
Dishwasher will complete cycle squence automatically -The vent cover closes shortly after you start the dish”
and control dial willadvance to OFF position. washer, You may hear it close.
CYCLESEQUENCE
{mirwtes-approx.)
Wash/Rinse
Rinse
Rinse
Main Detergent Wash
Rinse
Rinse
‘:Electric Dry
TotalTime
(approx.)
Power
Scrub
4
6
3
44
:
23
93
T!USp~rtionof the cycleiseliminatedwhe
is depressed.
4
6
3
18
:
23
67
Short
Wash
—
—
3
18
4
9
23
57
@Occasional ciicking sounds that occur are caused by:
●soft fooddisposer mechanism shredding action.
*drain valve at start of pump out of wash and rinse
water.
*timer control as cycle progresses.
●detergent cup when it opens in the main wash.
0The motor stops during the drying period.
‘NERGYSAVERbutton I@Water vapor is released through the vent under the
control panel during drying cycle. It may be visible.
Todisconnect dishwasher... 4.
Release Unicouple by pushing movable thumb tab
down.
1. Remove the power cord plug from the receptacle. 5. Shake excess water out of Unicouple and return it and
2. ‘lhrn off hot water. its hoses to the storage compartment.
3. Release water pressure by raising tabs on Unicouple NOTE: When motor stops at end of final rinse, the LJni-
handle. couple can be disconnected and returned to storage.
i
CALL Km SH?WCEL.
Check the TROUBIJF;SHO()’1’ING GUIDE in your USE AND Ci4RE BOOK. It lists many minor causes of
proh!ems that you can correct and may save you an unnecessary service call.
GENERAL EL ECTI?IC COMPANY
LOUISVILLE KENTUCKY 40225
GSC450W 11-7!3 Part No. 218A3682P79 “

Other GE Dishwasher manuals

GE GSD830M User manual

GE

GE GSD830M User manual

GE GSC3500D35WW User manual

GE

GE GSC3500D35WW User manual

GE GLD2850TCS Assembly instructions

GE

GE GLD2850TCS Assembly instructions

GE GLC4000 Series User manual

GE

GE GLC4000 Series User manual

GE GLDT690J__WW User manual

GE

GE GLDT690J__WW User manual

GE GSD820 User manual

GE

GE GSD820 User manual

GE CleanSteel GLD4456RCS Manual

GE

GE CleanSteel GLD4456RCS Manual

GE CDT725SSFSS User manual

GE

GE CDT725SSFSS User manual

GE GLD4960PSS Manual

GE

GE GLD4960PSS Manual

GE Profile PDW7900N Manual

GE

GE Profile PDW7900N Manual

GE CDW9380NSS User manual

GE

GE CDW9380NSS User manual

GE GBF 180 Series User manual

GE

GE GBF 180 Series User manual

GE GSD1120R User manual

GE

GE GSD1120R User manual

GE GSC3500 User manual

GE

GE GSC3500 User manual

GE Monogram ZBD1800GSS User instructions

GE

GE Monogram ZBD1800GSS User instructions

GE ADT521PGFBS Assembly instructions

GE

GE ADT521PGFBS Assembly instructions

GE 31-31570 User manual

GE

GE 31-31570 User manual

GE PDWF800RBB - Profile 24 in. Dishwasher Manual

GE

GE PDWF800RBB - Profile 24 in. Dishwasher Manual

GE Monogram ZBD6880NSS User guide

GE

GE Monogram ZBD6880NSS User guide

GE GSD3300KWW User manual

GE

GE GSD3300KWW User manual

GE GSD2100V User manual

GE

GE GSD2100V User manual

GE GDWT106V Manual

GE

GE GDWT106V Manual

GE ADW1000 Series User manual

GE

GE ADW1000 Series User manual

GE PDW1800 Series User manual

GE

GE PDW1800 Series User manual

Popular Dishwasher manuals by other brands

Smeg ST116S instruction manual

Smeg

Smeg ST116S instruction manual

arcelik 63102/WF user manual

arcelik

arcelik 63102/WF user manual

Smeg STP364 instruction manual

Smeg

Smeg STP364 instruction manual

Zanussi ZDT11001 user manual

Zanussi

Zanussi ZDT11001 user manual

Whirlpool ADP 4300 WH Service manual

Whirlpool

Whirlpool ADP 4300 WH Service manual

LG LUDP899 Series owner's manual

LG

LG LUDP899 Series owner's manual

AEG FAVORIT 55600 IM0P user manual

AEG

AEG FAVORIT 55600 IM0P user manual

Fisher & Paykel DD24SCTB7 quick start guide

Fisher & Paykel

Fisher & Paykel DD24SCTB7 quick start guide

Küppersbusch IGV 6507.0 Instruction book

Küppersbusch

Küppersbusch IGV 6507.0 Instruction book

Electrolux TRICITY BENDIX DH 102 Instruction book

Electrolux

Electrolux TRICITY BENDIX DH 102 Instruction book

Bosch 800 Series use and care manual

Bosch

Bosch 800 Series use and care manual

Logik LDWTT13E Installation instructions manual

Logik

Logik LDWTT13E Installation instructions manual

Beko DIS26012 user manual

Beko

Beko DIS26012 user manual

Fisher & Paykel DishDrawer DD603I Integrated user guide

Fisher & Paykel

Fisher & Paykel DishDrawer DD603I Integrated user guide

Whirlpool 801 Series installation instructions

Whirlpool

Whirlpool 801 Series installation instructions

Atag VA9711PT operating instructions

Atag

Atag VA9711PT operating instructions

Maytag Jetclean II MDB8551AWW Use and care guide

Maytag

Maytag Jetclean II MDB8551AWW Use and care guide

Bosch SMS6ECI04E INFORMATION FOR USE

Bosch

Bosch SMS6ECI04E INFORMATION FOR USE

manuals.online logo
manuals.online logoBrands
  • About & Mission
  • Contact us
  • Privacy Policy
  • Terms and Conditions

Copyright 2025 Manuals.Online. All Rights Reserved.