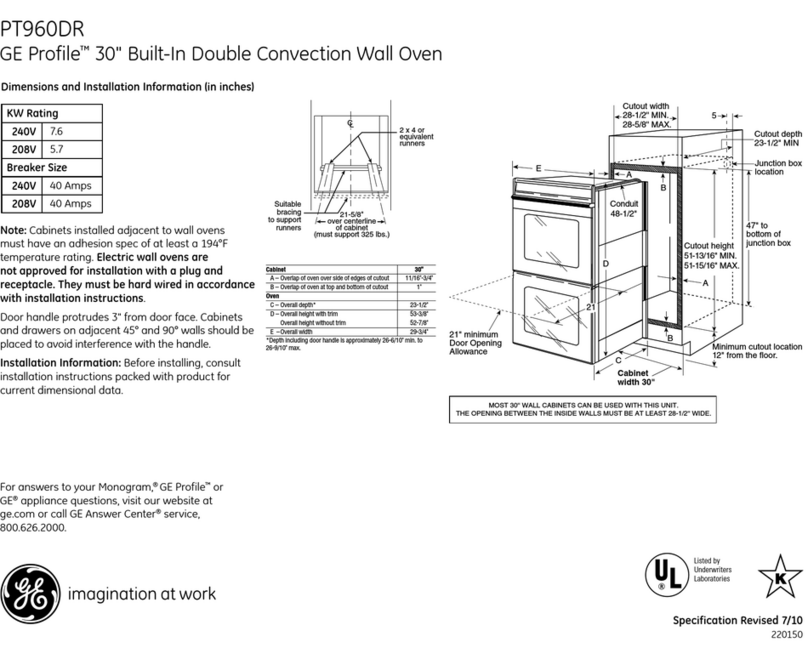
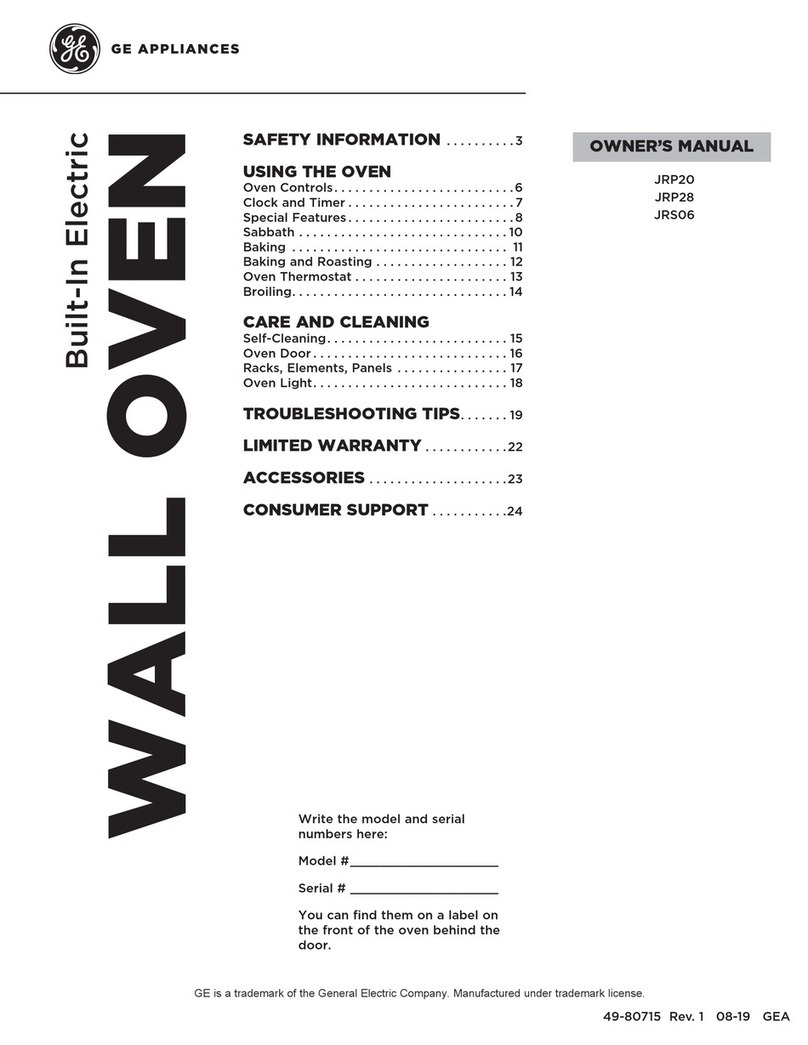
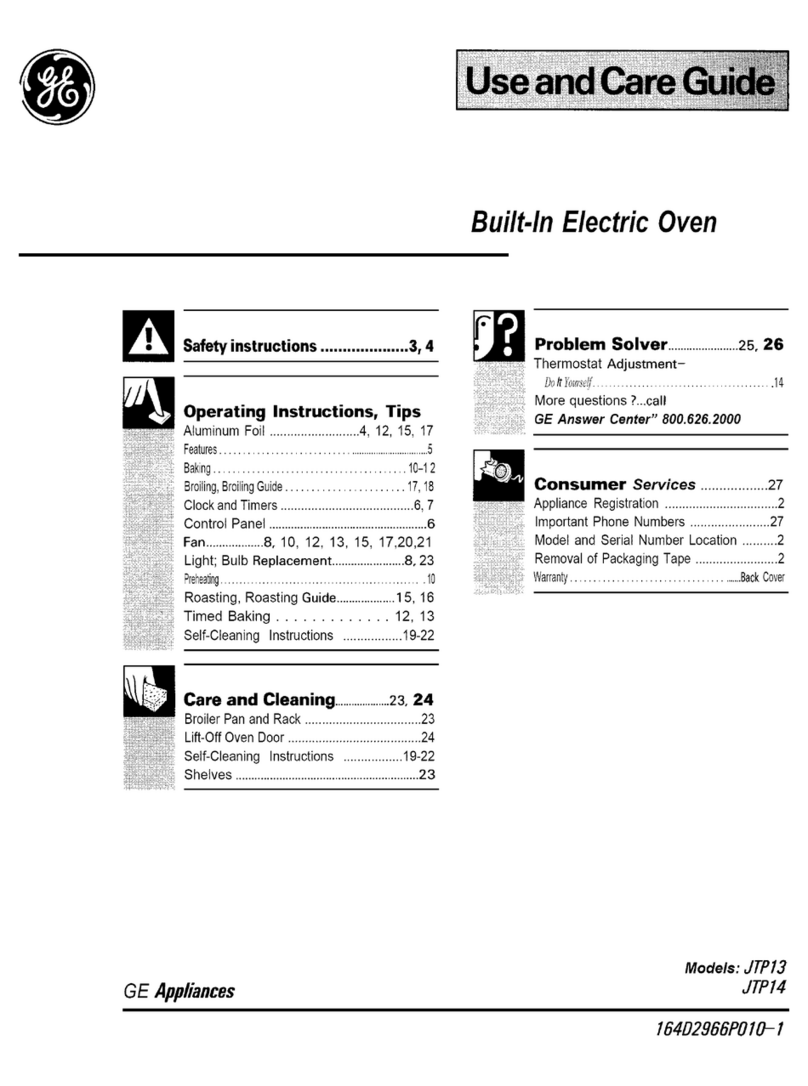
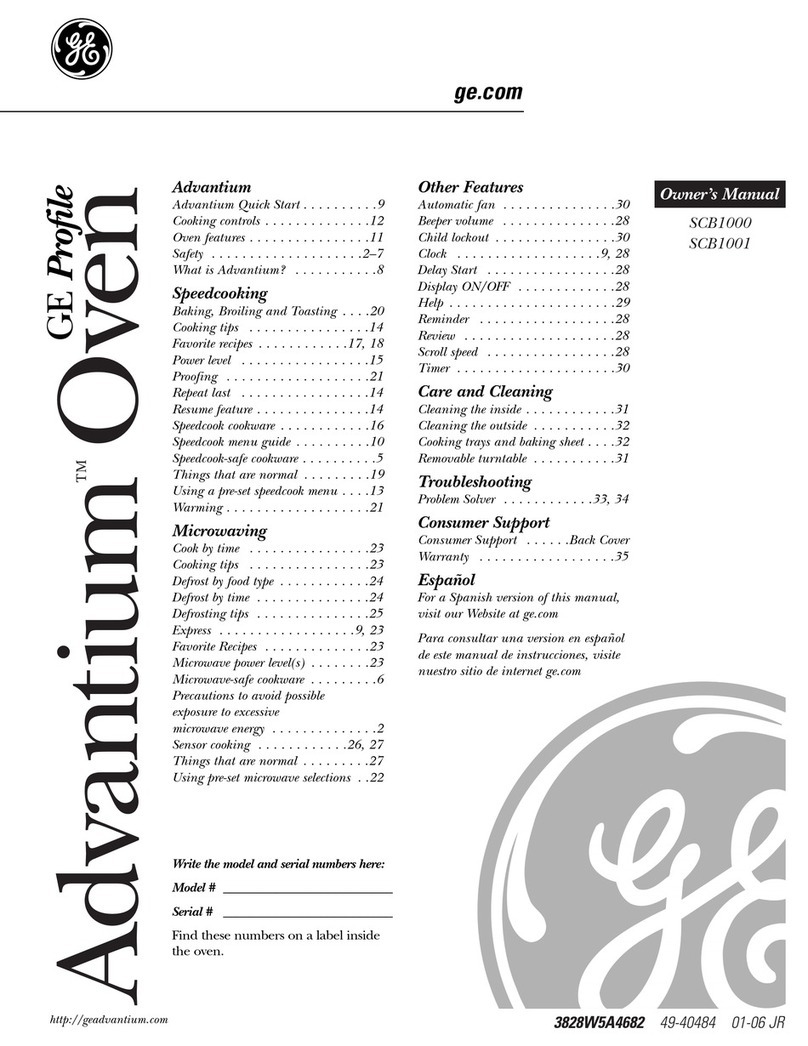
GE JS998 Series How to use

MODEL SERIES:
JS998
JT930
JT980
ZET3038
ZET3058
TECHNICALSERVICE GUIDE
GE Consumer Products
2003 Slide-In, Single and Double Wall
Ovens with TrivectionTM Cooking
PUB # 31-9115 3/04

– 2 –
IMPORTANT SAFETY NOTICE
The information in this service guide is intended for use by
individuals possessing adequate backgrounds of electrical,
electronic, and mechanical experience. Any attempt to repair a
major appliance may result in personal injury and property
damage. The manufacturer or seller cannot be responsible for the
interpretation of this information, nor can it assume any liability in
connection with its use.
WARNING
To avoid personal injury, disconnect power before servicing this
product. If electrical power is required for diagnosis or test
purposes, disconnect the power immediately after performing the
necessary checks.
RECONNECT ALL GROUNDING DEVICES
If grounding wires, screws, straps, clips, nuts, or washers used to
complete a path to ground are removed for service, they must be
returned to their original position and properly fastened.
PRECAUTIONS TO AVOID POSSIBLE EXPOSURE TO
EXCESSIVE MICROWAVE ENERGY
A. Do not attempt to operate this oven with the door open since
open-dooroperationcanresultinharmfulexposuretomicrowave
energy. It is important not to tamper with the safety interlocks.
B. Do not place any object betweentheovenfrontface and the door
orallowsoilorcleanerresiduetoaccumulateonsealingsurfaces.
C. Donot operate theovenifitisdamaged. It isparticularlyimportant
that the oven door close properly and that there is no damage to
the:
• Door (bent)
• Hinges and latches (broken or loosened)
• Door seals and sealing surfaces
D. The oven should not be adjusted or repaired by anyone except
properly qualified service personnel.
GE Consumer Products
Technical Service Guide
Copyright © 2003
All rights reserved. This service guide may not be reproduced in whole or in part
inany form without written permission from the General Electric Company.

– 3 –
Basics of Element Cycling ..............................................................................................33
Component Locator Views ..............................................................................................12
Components Requiring Oven Removal...........................................................................15
Control Boards Connector Locator..................................................................................28
Control Features................................................................................................................8
ControlPanel (Double andSingle WallOvens) ....................................................................25
ControlPanel Insert (Slide-In Range).................................................................................25
Cooktop(Slide-InRange) ...................................................................................................25
CurrentLimit Board (Slide-In Range) .................................................................................29
Diagnostics and Service Information ...............................................................................32
Door Switches .................................................................................................................24
Failure Codes ..................................................................................................................32
Glass TouchAssembly (Slide-In Range) ............................................................................25
High Limit Thermal One-Shot TCO .................................................................................23
HVTCooling Fan (DoubleandSingleWall Ovens) ...............................................................27
Introduction ........................................................................................................................4
Left and Right Thermal TCO's (Slide-In Range).................................................................22
LeftCoolingFan (Slide-In Range).......................................................................................26
LowerCooling Fan (Double WallOvenOnly)............................................................................. 20
Lower Oven Bake and Clean Thermal TCO's (Double Wall Ovens)...................................... 22
Magnetron Capacitor and Diode ......................................................................................27
Magnetron Cooling Fan and Thermal TCO (Wall Ovens) ..................................................26
Microwave Components ..................................................................................................26
Microwave Fuse...............................................................................................................27
Microwave Leakage Test..................................................................................................39
Nomenclature ....................................................................................................................7
Operational Notes ............................................................................................................10
Oven Components ..........................................................................................................15
Oven Light BulbAssembly ...............................................................................................17
Oven Temperature Sensor (RTD).....................................................................................20
Oven Vent Fan .................................................................................................................21
Right Cooling Fan ............................................................................................................20
Sail Switches (Double and Single Wall Ovens).....................................................................21
Schematics and Wiring Diagrams...................................................................................70
Self-Clean Latch Motor ....................................................................................................23
ServiceMode ...................................................................................................................34
StirrerMotor .....................................................................................................................27
TrivectionTM Convection FanAssembly............................................................................19
TrivectionTM ConvectionFanMotor...................................................................................19
TrivectionTM DoorAssembly .............................................................................................16
TrivectionTM Bake, Broil and Convection Elements..........................................................18
Troubleshooting ...............................................................................................................40
Troubleshooting Cooking Loads in Service Mode ............................................................35
Table of Contents

– 4 –
The GE Profile oven with Trivection™ technology is a microwave-assist wall oven designed to cook food
up to five times faster than a traditional oven. This oven gives the user the flexibility to cook food in
traditional cooking modes (bake or broil), convection modes (convection bake and convection roast) or
in speedcook modes (speed bake and speed broil). This oven features easy-to-use controls that will
guide you through oven operations.
Bake
Baking is cooking with heated air. The
upper and lower elements cycle back and
forth to heat the air and maintain
temperature. Used for traditional baking
and roasting. Best for delicate items.
Broil
Heat is provided by the upper element
to broil your food. May be used with the
oven door open or closed.
Convection Bake—Multi and Single Rack
Heat is provided by the element in the
back of the oven, along with the upper
and lower elements. The air is circulated
with a reversing fan system. The fan will
change directions to provide optimal
evenness and browning. The Multi Rack
option is ideal for evenly baking foods
when using more than one rack. The
1 Rack option, used for one rack of food,
cooks food faster than BAKE mode.
Convection Roast
Heat is provided by the upper element
and circulated with the reversing fan
system. The fan will change directions to
provide optimal evenness and browning.
Good for roasting large tender cuts of
meat or poultry, uncovered. Roasts foods
up to 25% faster.
Speed Bake
Heat is provided by the three elements
and microwave. The exact combination
of elements is automatically determined
by the food category selected. Air is
circulated with the reversing fan system
described above. Ideal for baking and
roasting foods up to five times faster.
Speed Broil
Heat is provided by the upper element
and microwave. Air is circulated with the
reversing fan system described above.
Oven door must be closed. Ideal for
broiling foods to medium to well done
doneness levels two times faster than
traditional broil.
Introduction

– 5 –

– 6 –

– 7 –
The nomenclature plate of the oven is
located on the left side of the front frame.
The Mini-manual is located in the control
compartment taped to the right side wall.
The nomenclature plate for the double wall
oven is located on the lower oven left side
of the front frame.
Serial Number
The first two numbers of the serial number
identify the month and year of manufacture.
Example: AF123456S = January, 2003
A
-JAN 2005 - H
D - FEB 2004 - G
F - MAR 2003 -
F
G - APR 2002 - D
H - MAY 2001 - A
L - JUN 2000 - Z
M - JUL 1999 -V
R - AUG 1998 - T
S - SEP 1997 - S
T - OCT 1996 - R
V - NOV 1995 - M
Z - DEC 1994 - L
The letter designating
the year repeats every
12 years.
Example:
T - 1974
T - 1986
T - 1998
Nomenclature
Feature Pack
Designates features–the higher
the number, the more features.
Model Number
GE Cooking Product
J = GE
ZE = Monogram Electric
Configuration
S = 30-in. Slide-In Oven
T= 30-in. Wall Oven
Product Color
CC = Bisque WW = White
BB = Black
SS = Stainless Steel
Indicatorfor Engineering and
Product Service Only
ModelYearDesignator
Glass Color
C = Bisque W = White
B = Black
S = Stainless Steel
J T 9 8 0 B H 1 B B
Nomenclature

– 8 –
Control Screen & Keypad
All cooking modes, special features and
oven settings are directed and operated
from the control screen. Directions for
operating the oven and prompting for
required information are displayed within
the control screen.
Numeric Keypad
Used to enter information requiring
numbers such as time of day on the clock,
timer, oven temperature, start time and
length of operation for timed baking and
self-cleaning.
Control Lockout
Allows the user to lock the control so that
the touch pads cannot be activated when
pressed.
Time and Temperature Display
All time and temperature information
is displayed in this area as feedback to
the user.
Kitchen Timer
Turns the kitchen timer on and off.
Does not control the oven.
Oven Light
Turns oven light on or off.
Clear/Off
Cancels ALL oven operations EXCEPT the
clock and timer.
If “F– and a number or letter” flash in the display and
the oven control signals, this indicates a function
error code. Press the CLEAR/OFF pad. Allow the oven to
cool for one hour. Put the oven back into operation. If the
function error code repeats, disconnect the power to the
oven and call for service.
If your oven was set for a timed oven operation
and a power outage occurred, the clock and all
programmed functions must be reset.
The time of day will flash in the display when there
has been a power outage.
Oven Control Layout and Description
Double oven control.
Single oven control.
CONTROL LOCK
OVEN
LIGHT
UPPER OVEN LOWER OVEN
OVEN
LIGHT
KITCHEN
TIMER
ON/OFF
SELECT
CONTROL LOCK
OVEN
LIGHT
KITCHEN
TIMER
ON/OFF
SELECT
Using the Oven Controls
Control Features

– 9 –
Press pad beside display to select item
in display.
Oven Control Sleep Feature—Any time the oven is
not in use (no cooking, no cleaning, no help and
no timers) for more than 10 minutes, the oven
control will go to sleep. While sleeping, the
control display will not show any text; it will go
blank. The clock will remain displayed in the time
and temperature display unless the “no clock”
option has been selected.
There will be no audible signal given to indicate
that the control is entering the sleep feature.
The control will enter the sleep feature even
when the control is locked.
The user cannot turn this feature OFF.
How to Exit the Sleep Feature—Touch any key. The
function associated with that key will not be started,
but the control display main menu will reappear.
Speedcook
In Speedcook mode, the user will be
prompted to enter food category,
temperature and cooking time.
Speed bake—Bakes food faster than
traditional cooking modes.
Speed broil—Broils food faster than
traditional Hi/Lo Broil.
Bake
Traditional bake mode.
Convection
Conv 1-Rack—Convection bake function
used for baking on one rack.
Conv Multi—Convection bake function
used for baking on more than one rack.
ConvRoast—Convection roast function.
Broil
LO &HI—Traditional broil function.
Speed broil
Features
Additional cooking-related features.
Defrost—This feature is used to thaw
frozen foods.
Self-Clean—This feature cleans the oven.
See the Using the self-cleaning oven section.
Warmer—This feature keeps hot, cooked
food warm for up to 3 hours. It is not
intended for reheating cold food.
Proof—This feature maintains a warm
environment useful for rising yeast-
leavened products. It is not intended to
keep food warm or reheat cold food.
Warm (Cook & Hold)—When this feature is
turned on, it will keep hot, cooked foods
warm for up to 3 hours following a Timed
Bake function.
Sabbath—Designed for use on the Jewish
Sabbath and Holidays.
SELECT
Control Screen and Keypad
(Continued next page)

– 10 –
Settings
This oven has additional settings that you
may choose to use.
NOTE: On double wall ovens, Recipes is
available only on the upper oven.
This oven feature allows the user
to store up to six temperature/cooking
time combinations. The user can then
speed bake, bake or convection bake/roast
one of the six stored favorite recipes
without having to choose the settings
each time.
Help
Provides basic information on each
function and how to find the function.
If selected from the home screen, it gives
general help. If selected while performing
a function, it gives help on that function.
Select Exit to leave Help.
Select Prompt
Visual prompt to the user indicating
that a selection needs to be made from
the control screen.
Door Lock Indicator
Indicates that the oven door is locked
for self-clean.
Control Screen and Keypad
Operational Notes
•The cooking loads (bake, broil, convection
elements, and microwave) are not energized
for 15 seconds after the cycle is started.
• In SPEEDCOOK, the time countdown will not
start until after the oven is preheated, the door
is opened then closed and START is pressed.
If START is not pressed, the microwave does
not start and the timer does not count down.
• In SPEEDCOOK, if the door is opened during
the cooking cycle, the timer, microwave and
convection fan will stop. The elements will
continue to cycle on when necessary. Once
the door is closed, the convection fan and
microwave will operate and the timer
countdown will resume.
•In DEFROST, the microwave turns off and the
cook time stops counting down when the oven
door is opened. They will resume when the
door is closed.
• PROOF will not operate when oven is above
125°F. OVEN TOO HOT will show in the
display.
• In PROOF and DEFROST, the convection fan
will rotate for 1 minute in one direction, then
turn off for 10 minutes. After 10 minutes, the
fan will rotate for 1 minute again, in the
opposite direction.
• When the oven first starts heating, the
temperature display will start at 100°F.
•The convection fan may cycle on and off and
change direction while cooking to best
distribute hot air in the oven. The convection
fan shuts off when the oven door is opened.
•At least one cooling fan will automatically turn
on during all cooking modes. This fan turns on
to cool internal parts. It may run for up to 20
minutes (up to 85 minutes for double oven
models) after the oven is turned off,
regardless of oven temperature.
• On double oven models, you can set a delay
clean in both ovens. However, the second
oven set will automatically delay the start of
cleaning until the end of the first oven’s clean
cycle.
• The RECIPES feature allows you to preset up
to six temperature/cooking time combinations
with this function. You can then bake,
convection bake/roast or speed bake any of
these six favorite recipes without choosing
settings each time. You cannot program broil,
defrost, warmer, proof, speed broil, delay bake
or self-clean in RECIPES.
• The oven will remember RECIPES that have
been programmed, even after a power outage.
The cooking time you enter does not include
preheat time. The oven will begin to count
down the cooking time after the oven has
completed preheating. RECIPES are only
available on the upper oven of a double wall
oven.
– 11 –
•On double oven models, you can use timed
baking or roasting in one oven while using
self-clean in the other; you can also use timed
baking or roasting in both ovens at the same
time. You will hear a fan while cooking with
these features.
Control Lockout (Single and Double Wall
Ovens)
• Press the 7 & 8 pads at the same time for 3
seconds. The screen will display CONTROL
IS LOCKED.
• To unlock the control, press the 7 & 8 pads for
3 seconds. The display will return to the home
screen.
Control Lockout (Slide-In Range)
• Press the CONTROL LOCK pad for 3
seconds. The screen will display CONTROL
IS LOCKED.
• To unlock the control, press the CONTROL
LOCK pad for 3 seconds. The display will
return to the home screen.
If any cooking/cleaning modes are running,
entering control lockout will cancel the cooking/
cleaning modes. Then when exiting control
lockout, it will go to the home screen.
Sabbath Feature
• This feature disables all but the bake and
timed bake modes.Additionally the display
does not show the temperature and the sound
is disabled.
• The element and oven icons will light
randomly within one minute to indicate that the
oven is operating.All time functions will remain
displayed and active.
• To access the sabbath feature, press the
FEATURES pad, then the MORE pad.
• To turn this feature on, press the SABBATH
pad.
• To turn this feature off, press the BACK pad
for 3 seconds. The control returns to the
FEATURES screen where SABBATH was
originallyselected.
Note: This feature remains active even after loss
of power to the oven. The only way to exit
SABBATH is to hold the BACK pad for 3 seconds.
If power is lost while the Sabbath mode is in a
heating cycle, the heat will be off when the power
is restored.
Sales Mode
• Becomes active upon powering up with 120V
only (L1-L2 = 120V, L2 connected to N).
• This mode is NOT accessible on 240V/208V
power input. Sales mode requires a special
120 VAC cord (oven L1 connected to power
cord L, oven L2 and N connected to power
cord N).
• Wall Oven cord kit is Pub # 3-A063
Slide-In cord kit is Pub #3-A073.
Time Settings
• To access the time settings, press the
SETTINGS pad on the home screen, then
press the appropriate time function pad.
Oven Calibration
Oven calibration offset can be adjusted for the
bake mode only. No other cooking modes are
affected by changing the bake mode temperature.
1. Press the SETTINGS pad.
2. Press the MORE pad until ± TEMP appears in
thedisplay.
3. Press the ± TEMP pad. (Select upper or lower
oven for double oven models.)
4. Press the INCREASE or DECREASE pads to
change the cooking temperature in 1°
increments up to ±35°F.
Note: Oven calibration offset can also be
accessed through the service mode under
OFFSET. (See Service Mode.)

– 12 –
1- Magnetron Thermal TCO (Thermal Cutout)
2- High Voltage Transformer
3- MagnetronCoolingFan
4- HighVoltage Capacitor
5- Left Sail Switch
6- StirrerMotor
7- EMIFilterBoard
8- R1 Sail Switch Relay
9- Right Sail Switch
10 - Oven Vent Fan
11 - High Voltage Transformer (HVT) Fan
12 - Right Cooling Fan
13 - Convection Fan
14 - High Limit Thermal One-Shot (TCO)
15 - Main Power Board (MPB)
30-in. Single Wall Oven
11
6
2
4
9
12
31
10
12
13
Rear View
11
5
14
7
8
Component Locator Views
15

– 13 –
30-in. Double Wall Oven
1- Magnetron Thermal TCO (Thermal Cutout)
2- High VoltageTransformer
3- MagnetronCoolingFan
4- HighVoltage Capacitor
5- Left Sail Switch
6- StirrerMotor
7- EMIBoard
8- (a) R2 and (b) R1 Sail Switch Relay
9- Right Sail Switch
10 - Oven Vent Fan
11 - High Voltage Transformer (HVT) Fan
12 - Right Cooling Fan
13 - Convection Fan
14 - High Limit Thermal One-Shot (TCO)
15 - Lower Oven Relay Board
16 - Lower Oven Cooling Fan
17 - Main Power Board (MPB)
6
2
4
9
12
31
10
5
7
13
13
14
12 11
8a 8b
15
16
17
Rear View

– 14 –
30-in. Slide-In Range (Shown with Cooktop Removed)
8
6
2
4
5
9
3
1
7
Rear View
98
10
1- Magnetron Thermal TCO
2- High Voltage Transformer
3- Left FAD (FanApparency Device) TCO
4- Right FAD TCO
5- HighVoltage Capacitor
6- StirrerMotor
7- Oven Vent Fan
8- Left Cooling Fan
9- Right Cooling Fan
10 - High Limit Thermal One-Shot (TCO)
11 - Convection Fan
12 - Current Limit Board (CLB)
13 - EMIFilterBoard
14 - Main Power Board (MPB)
11
12
13
14

– 15 –
Components Requiring Oven Removal
To replace the components listed below, the oven must be removed from its installation.
Note: When assembling, the elements, convection fan, and oven light contain special radiation screens
and chokes. Be sure to replace these in the oven cavity. Take special care not to strip any screws when
replacing these components.
Oven Components
Single Wall Oven
Double Wall Oven
Slide-InRange
Capacitor
Convection Fan Capacitor
Convection Fan Motor(s)
Diode
EMIBoard
High Voltage Transformer
Left Cooling Fan
Lower Oven Cooling Fan
Magnetron
MagnetronCoolingFan
Magnetron TCO
Main Power Board
One-Shot Thermostat
Right Cooling Fan
Sail Switches NA

– 16 –
TrivectionTM DoorAssembly
WARNING: Amicrowave leakage test must be
performed any time a door is removed, replaced,
disassembled, or adjusted for any reason. The
maximum leakage is 4 MW/cm2(see
Microwave Leakage Test).
Caution: The door is very heavy. Use the correct
lifting procedures. Do not lift the door by the
handle.
To remove the TrivectionTM door:
1. Fully open the door.
2. Remove the security screws and clips on
each hinge with a Torx 20 (T20) screwdriver.
3. Pull the hinge locks down toward the door
frame, to the unlocked position. (This may
require a flat-blade screwdriver to start the
hinge locks moving).
4. Firmly grasp both sides of the door at the top.
5. Close the door to the door removal position,
which is halfway between the broil stop
position and fully closed.
6. Lift the door up and out until the hinge arm is
clear of the slot.
Note: There is no gap at the bottom of the gasket
on the TrivectionTM oven door.
To remove the inner glass assembly:
1. Remove the eight 1/4-in. hex head screws
holdingthe insulation retainer.
2. Remove the retainer and insulation.
3. Lift the inner glass assembly off the inner
door.
Cross the gasket and tuck loose ends into the
slots at the bottom of inner panel as shown below.
Caution: Care must be taken if reinstalling the
door handle. Overtightening screws can damage
handle. Hand-tighten screws and make sure
handle fits snugly to door panel (do not use
electric driver).
To remove the TrivectionTM Door Gasket:
The door gasket is attached to the inner door
panel by spring clips. In addition to being a self-
clean gasket, the door gasket has a wire mesh to
help seal microwave energy.
To remove the outer door:
1. Place the inner door side down on the work
area.
2. Remove the eight T15 Torx screws from the
outer door (two on each side, four across the
bottom).
3. Lift the outer door and handle off the door
assembly.

– 17 –
Note: The glass cover should be removed only
when cold. Be sure to let the light cover and bulb
cool completely. Do not touch a hot bulb with bare
hands or a damp cloth.
Replace with a new 130V halogen bulb, not to
exceed 50 watts.
Note: Bulbs are 50 watt in TrivectionTM oven, and
30 watts in the lower oven of double oven.
To remove and replace the oven light bulb:
1. Turn the glass cover counterclockwise 1/4turn
until the tabs of the glass cover clear the
grooves of the socket.
2. Using gloves or a dry cloth, remove the bulb
by pulling it straight out.
3. Using gloves or a dry cloth, remove the new
bulb from its packaging. Do not touch the bulb
with bare fingers.
4. Push the bulb straight into the receptacle all
the way. Then replace the screen.
Note: The screen must be replaced or the life of
the bulb will be reduced.
Oven Light BulbAssembly
Bulb
Socket
Tab
Glass cover
Receptacle
Screen
Inner GlassAssembly
Note: Arrows on the side of the inner glass
assembly indicate the direction in which the oven
door glass is installed. The arrows should be
pointing toward the oven cavity.
Inner DoorAssembly
The inner door liner, glass and hinges are one
assembly and should NOT be separated. All the
screws on the inner door assembly have been
torqued to a specific setting and Loctite®sealant
applied to prevent microwave leakage.
To replace the TrivectionTM door:
1. Firmly grasp both sides of the door at the top.
2. With the door at the same angle as the
removal position, seat the indentation of the
hinge arm into the bottom edge of the hinge
slot. The notch in the hinge arm must be fully
seated into the bottom of the slot.
3. Fully open the door. If the door cannot be fully
opened, the hinge is not properly seated.
4. Push the hinge locks up against the front
frame of the oven cavity, to the locked
position.
5. Reinstall the security screws on each hinge.
6. Close the oven door and check for proper
alignment, rubbing, etc.
7. Perform the Microwave Leakage Test.
Note: On slide-in models, the door rubbing on the
oven cavity may be due to the leveling legs. If the
oven is not level it can "rack" the cavity and cause
rubbing.
OVEN

– 18 –
TrivectionTM Bake, Broil and Convection
Elements
WARNING: Amicrowave leakage test must be
performed any time an element is removed,
replaced, or adjusted for any reason. The
maximum leakage is 4 MW/cm2(see
Microwave Leakage Test).
Caution: Use caution when removing element
from inside oven cavity due to wire harness
layout. There is a possibility of the wire terminals
coming loose from the element when pulling the
wires through the oven cavity.
Note: When reconnecting the elements, make
sure the connectors are securely attached to the
element terminals.
The bake and broil elements have special gaskets
that keep microwave energy from leaking out of
the oven cavity. Replace any worn or damaged
gaskets.
Bake Element
• The bake element is composed of an inner
and an outer element. It is replaced as one
unit.
• The inside element is rated at 2500 watts, has
an approximate resistance value of 22 Ω, and
draws approximately 9 amps.
• The outside element is rated at 900 watts, has
an approximate resistance value of 63 Ω, and
draws approximately 3.2 amps.
Inner Element
Outer Element
• The bake element is held is place on the back
oven wall by six 1/4-in. hex head screws.
Broil Element
• The broil element is rated at 2500 watts, has
an approximate resistance value of 22 Ω, and
draws approximately 9 amps.
• The broil element is held is place on the back
oven wall by:
a. Eleven 1/4-in. hex head screws on the
mountingplate.
b. Two 1/4-in. hex head screws on the left and
right element brackets.
Convection Element
• The convection element is rated at 2500
watts, has an approximate resistance value of
22 Ω, and draws approximately 9 amps.
• The convection element is held in place on the
back oven wall by:
a. Six 1/4-in. hex head screws on the
mountingplate.
b. One 1/4-in. hex head screw on the bottom
element bracket.
Note: Production will be using Torx (T20H)
security screws on all elements in the TrivectionTM
oven in the near future.

– 19 –
TrivectionTM Convection Fan Motor
The convection fan motor is located on the back
of the oven.
The convection fan motor has approximate
resistance values between the following wires:
• Red and Blue: 118 Ω
• Red and Black: 58 Ω
• Blue and Black: 58 Ω
Wall Oven Shown
Motor Capacitor
TrivectionTM Convection Fan Assembly
TrivectionTM Convection FanAssembly
The convection fan assembly consists of the fan
guard, element, fan blade, and motor.
Refer to the schematic in the back of this manual
for circuitry for your specific model.
• To remove the convection fan motor:
a. Remove the four 1/4-in. hex head screws
on the inside of the oven cavity.
b. On the back on the oven, remove the 3
outer 1/4-in. hex head screws from the 3
brackets that hold the convection motor in
place.
Note: The convection fan assembly in the lower
oven of the double oven mounts the same as
previous convection fan assemblies.
• The element cover is held in place by four
1/4-in. hex head screws.
• The convection fan blade nut has left-hand
threads. Turn nut clockwise to remove.

– 20 –
Right Fan
Right Cooling Fan
The right cooling fan is located in the right rear
corner of the control compartment and has an
approximate resistance value of 19 Ω.
Rear View
Oven Temperature Sensor (RTD)
The RTD ( Resistive Thermal Device) has a
resistance of 1100 Ω at room temperature and
2650 Ω at clean temperature.
Sensor
Right Fan
Lower Cooling Fan (Double Wall Oven Only)
The lower cooling fan is located between the
upper and lower ovens, and has an approximate
resistance value of 68 Ω.
The fan can only be removed from the back of the
oven.
Note: The right cooling fan and the lower cooling
fan of the Double Wall Oven are controlled by a
singlerelay.
Other manuals for JS998 Series
4
This manual suits for next models
8
Table of contents
Other GE Oven manuals

GE
GE JKP16 User manual

GE
GE JGRS15GEL User manual

GE
GE JKP70BM Manual

GE
GE SCB2000, SCB2001 User manual

GE
GE Profile Advantium PSB2201NSS User instructions

GE
GE JTP55SM Manual

GE
GE JRP20SKSS - 24" Single Electric Wall Oven Manual

GE
GE Profile PT920SMSS Manual

GE
GE JKP75SPSS Manual

GE
GE JKS05 Series User manual
Popular Oven manuals by other brands

Fisher & Paykel
Fisher & Paykel OB90 Series installation instructions

BSH
BSH HBG633BS1 Repair instructions

Kuppersbusch
Kuppersbusch CMB6750.0S Instructions for use and installation

Bakers Pride
Bakers Pride EP series Operation manual

Oursson
Oursson MO2305 instruction manual

Doughpro
Doughpro DPO 3.5 Installation and operational manual