– 10 – (Continued Next Page)
GEAppliances.com
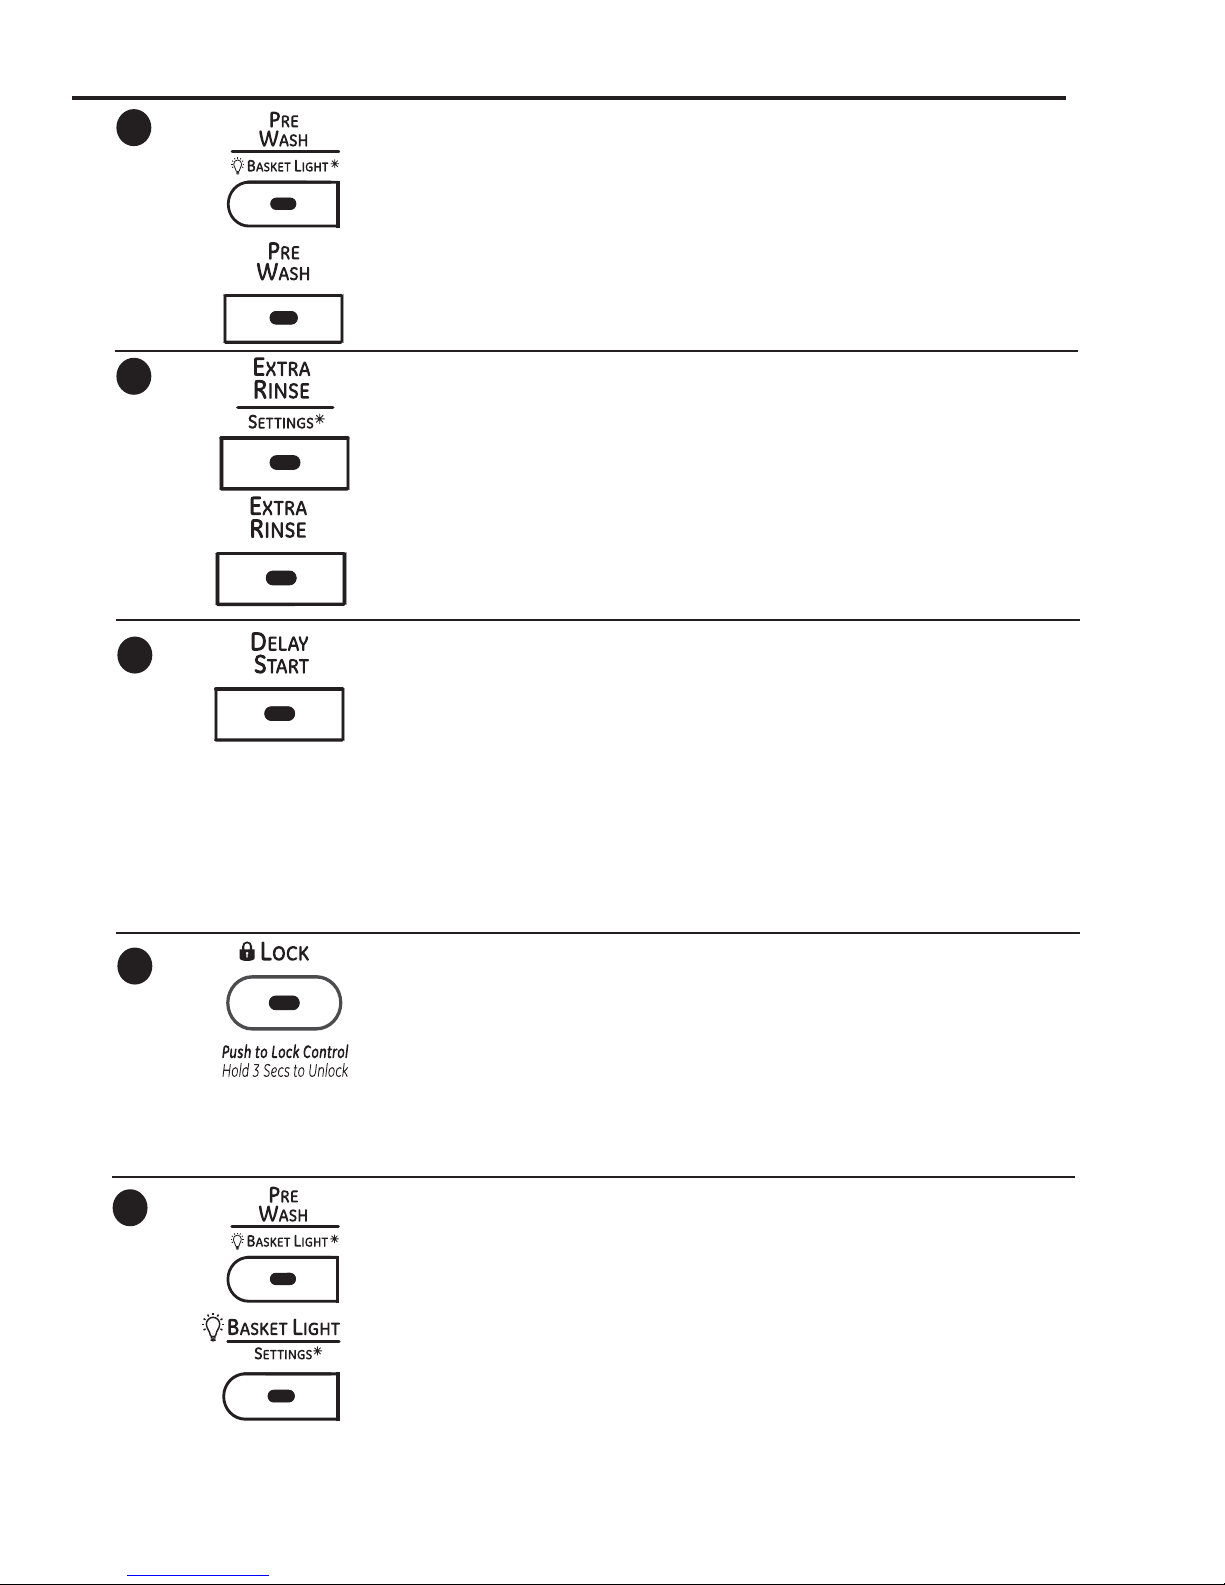
Prewash
Prewash is an extra wash before
the main wash. Use it for heavily soiled
clothes or for clothes with a care label
that recommends prewashing before
washing. Be sure to add high-efficiency
detergent, or the proper wash additive
to the prewash dispenser.
The prewash feature will fill the washer
(adding the prewash detergent), tumble
the clothes, drain and spin. Then the
washer will run the selected wash
cycle.
NOTE: In some special cycles,
the prewash is selected automatically
as the default. You can modify this
selection at any time.
8
Extra Rinse
Use an extra rinse when additional
rinsing is desired to remove excess dirt
and detergent from soiled loads.
NOTE: In some special cycles, the extra
rinse is selected automatically as the
default. You can modify this selection at
any time. Some cycles have additional
rinses done automatically.
9
Delay Start
You can delay the start of a wash cycle
for up to 24 hours. Press the
DELAY START button to choose the
number of hours you want to delay
the start of the cycle. Use the Sand
T(up and down) arrows to find the
desired delay time; then press ENTER to
select the delay time. Finally, press the
START button after the desired cycle is
selected. The machine will count down
and start automatically at the correct
time.
NOTE: If you forget to fully close
the door, a reminder signal will beep
reminding you to do so.
NOTE: If you open the door when the
delay is counting down, the machine
will enter the pause state. You must
close the door and press START again
in order to restart the countdown.
10
Lock
You can lock the controls to prevent
any selections from being made. Or
you can lock or unlock the controls
after you have started a cycle.
Children cannot accidentally start the
washer by touching pads with this
option selected. To lock the washer,
press and hold the LOCK button for 3
seconds. To unlock the washer controls,
press and hold the LOCK button for
3 seconds. A sound is made to indicate
the lock/unlock status.
The control lock icon on the display will
light up when it is on.
NOTE: The POWER button can still be
used when the machine is locked.
11
BASKET LIGHT
The basket light will turn on and remain
on for 5 minutes when the door opens,
start/pause button is pressed, or by
pressing and holding the basket light
button for 3 seconds. The basket light
can be turned off by pressing and
holding the basket light button for 3
seconds. The basket light can not be
turned off while the unit is idle.
12