5
PANEL DESCRIPTIONS
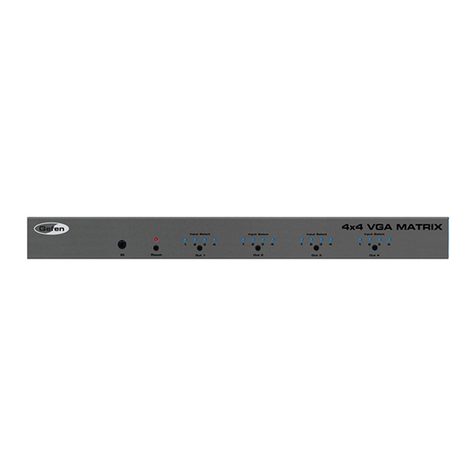
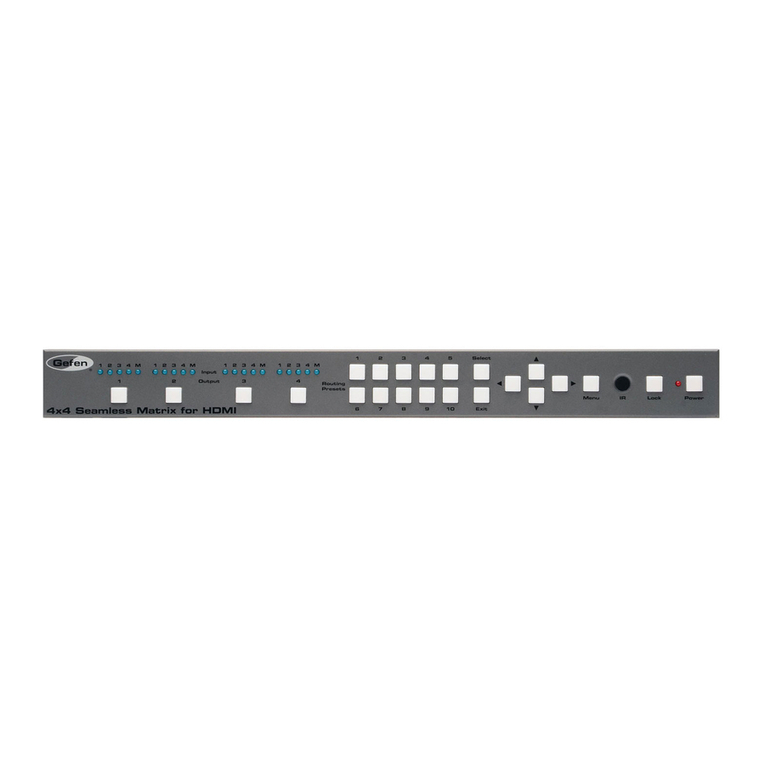
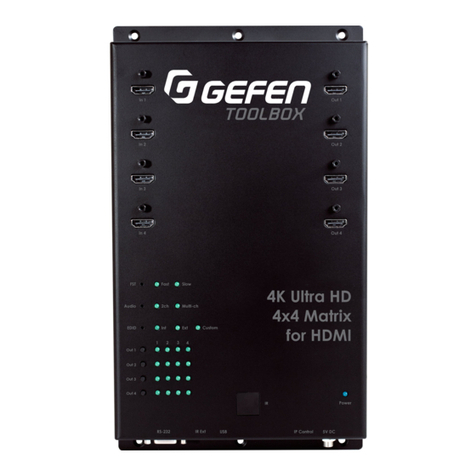
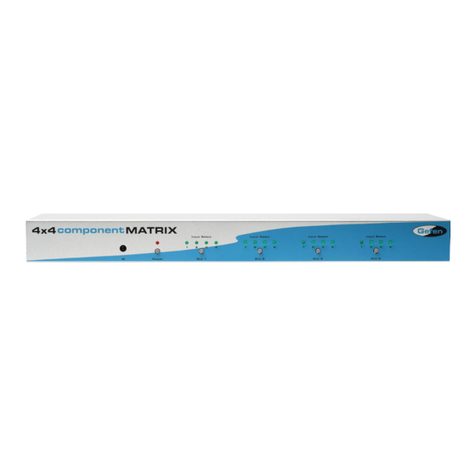
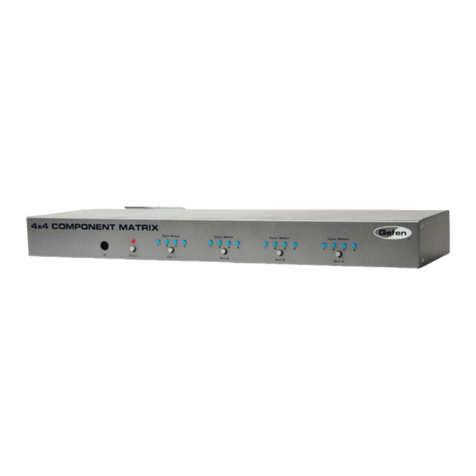
1 Display 1 Selected Source LED
The array of 4 LED’s correspond to the 4 source inputs on the back panel of the 4x4 DVI DL
Matrix. The currently selected source being displayed on DVI Output 1 will be indicated by an
active LED.
2 Display 2 Selected Source LED
The array of 4 LED’s correspond to the 4 source inputs on the back panel of the 4x4 DVI DL
Matrix. The currently selected source being displayed on DVI Output 2 will be indicated by an
active LED.
3 Display 3 Selected Source LED
The array of 4 LED’s correspond to the 4 source inputs on the back panel of the 4x4 DVI DL
Matrix. The currently selected source being displayed on DVI Output 3 will be indicated by an
active LED.
4 Display 4 Selected Source LED
The array of 4 LED’s correspond to the 4 source inputs on the back panel of the 4x4 DVI DL
Matrix. The currently selected source being displayed on DVI Output 4 will be indicated by an
active LED.
5 IR Receiver
This IR receiver will receive commands from the included RMT-16-IR remote control.
6 IR Extension Port
Connect an optional IR extension (part# EXT-RMT-EXTIR) to this port.
7 Power LED Indicator
This LED will become active once the included 5V DC power adapter is properly connected.
8 RS-232 Serial Control Interface
Use the commands on page 9 to control the 4x4 DVI DL Matrix using the RS-232 interface.
9 DVI Input 1
Connect a DVI DL source to this input.
10 DVI Input 2
Connect a DVI DL source to this input.
11 DVI Input 3
Connect a DVI DL source to this input.
12 DVI Input 4
Connect a DVI DL source to this input.
13 DVI Output 1
Connect a DVI DL display to this port.
14 DVI Output 2
Connect a DVI DL display to this port.
15 DVI Output 3
Connect a DVI DL display to this port.
16 DVI Output 4
Connect a DVI DL display to this port.
17 Locking 5V DC Power Adapter Input
Connect the included 5V DC power adapter to this port.
