FAQ
17
1. How do I change the Handset IDs?
To change the handset id, use the following steps in sequence:
Keep the ‘/’ key pressed for a few seconds until a ‘?’ appears on the display screen.
If the ‘/’ also appears on the display screen, then erase it using the ‘del’ key.
Type 1234 on the keypad and press the “Delta” or “Chart” key if using the Teacher
handset.
‘ID=’ will be displayed on the screen.
Enter the handset id you want to be allocated to the handset in three digit format. For
example, to set the handset id to 1, enter 001 on the keypad.
Note: Handset id must be between “000” and “255” excluding “126” and “206”.
Press the “Delta” key again. Handset id will be set to the number entered. This can be
confirmed by checking the number being displayed in the upper-right corner of the
handset screen.
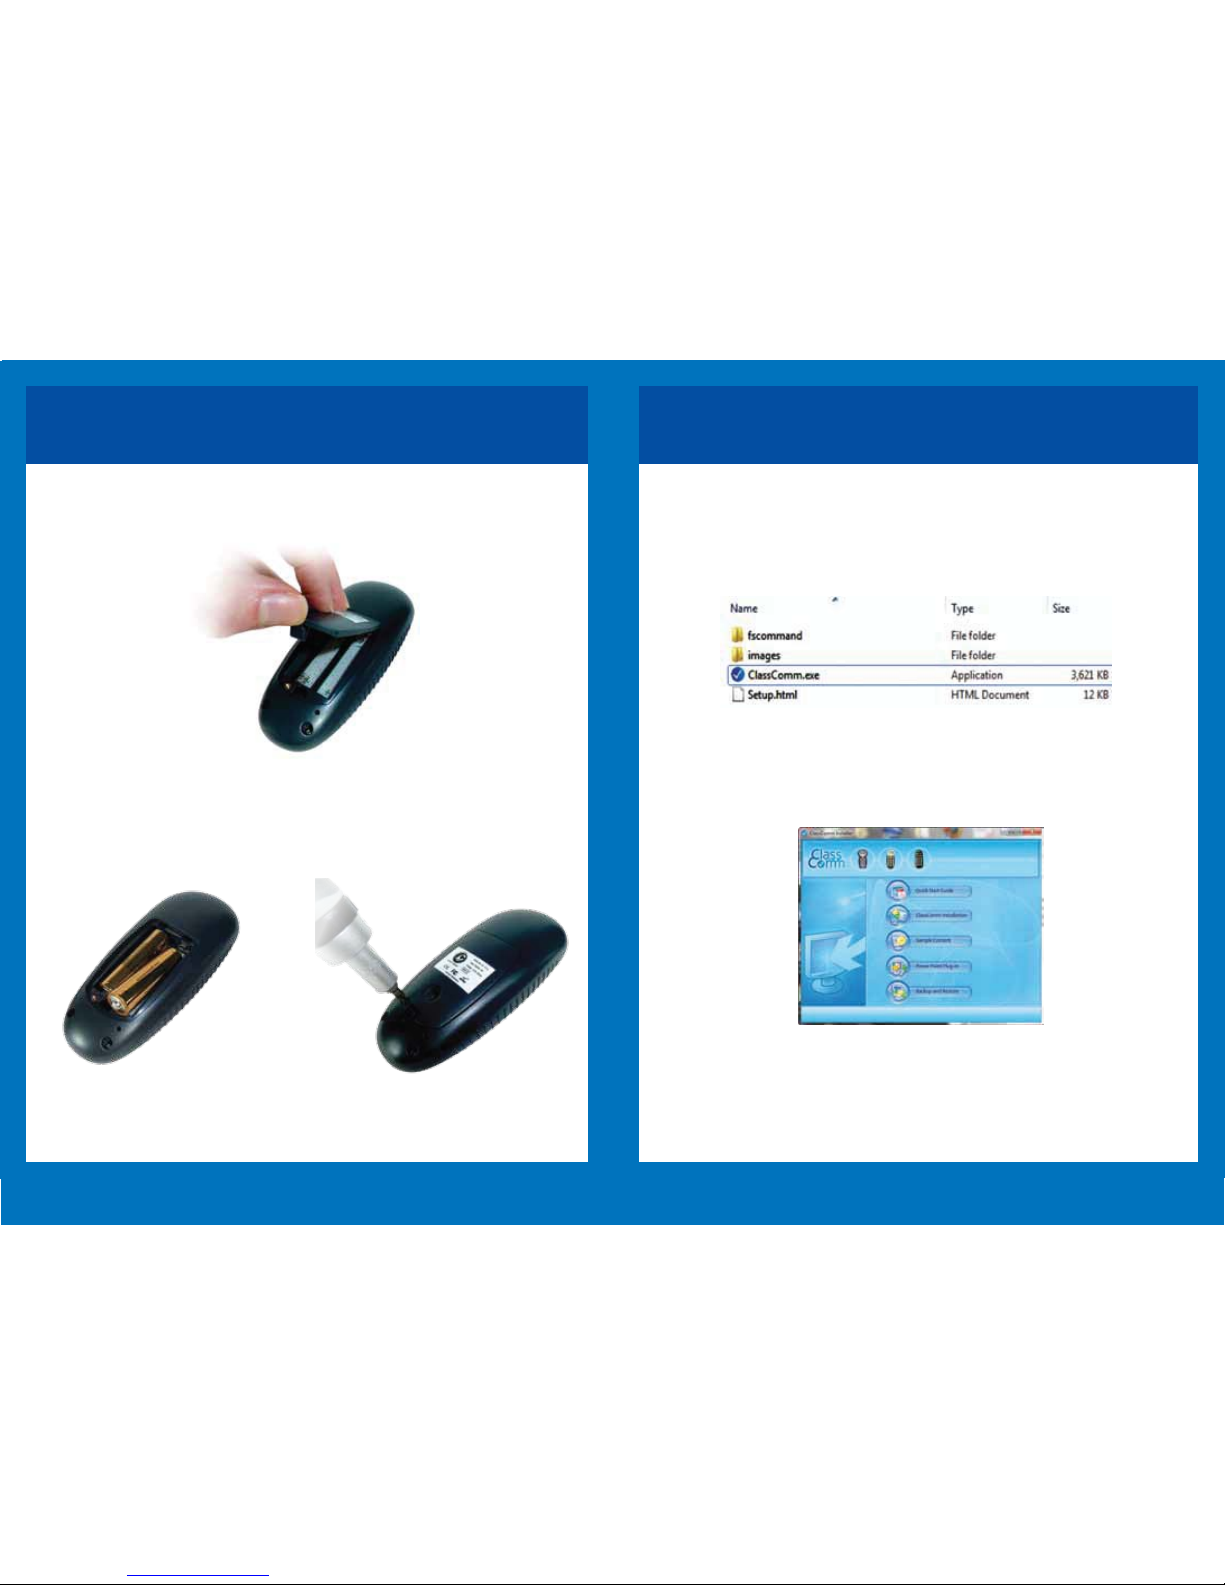
2. How do I reset the handsets?
Use a sharp, pointed object to press the small button located on the back of the hand-
set. Use this when handset will not map correctly, freezes or with charging problems.
3. What is “Mapping” handsets? When do I need to do this?
Each receiver has a unique ID as shown on the receiver ID label. All handsets are
locked into communicating with a receiver. If you want to lock a handset to work with a
different/new receiver you must press and hold down the “?” key until the handset has
mapped. This can take several seconds. When you see the up/down arrows flashing on
the handset LCD, the handset is locked to the new receiver. Please note that when
locking handsets the distance between handset and receiver should be a approx 50-
75mm.
4. How long do I have to re-charge the Genee Pad handsets for?
7 to 10 hours charge is normally needed to fully charge a totally flat handset. If a hand-
set has a small amount charge a 2 hour booster charge is needed. The length of time
between charging will depend upon the usage.
5. What technology does the response system use and what is the
range?
The system uses RF with operating frequency bands 2405 MHz to 2485 MHz (2.4
GHz). The maximum transmission range is 50m.
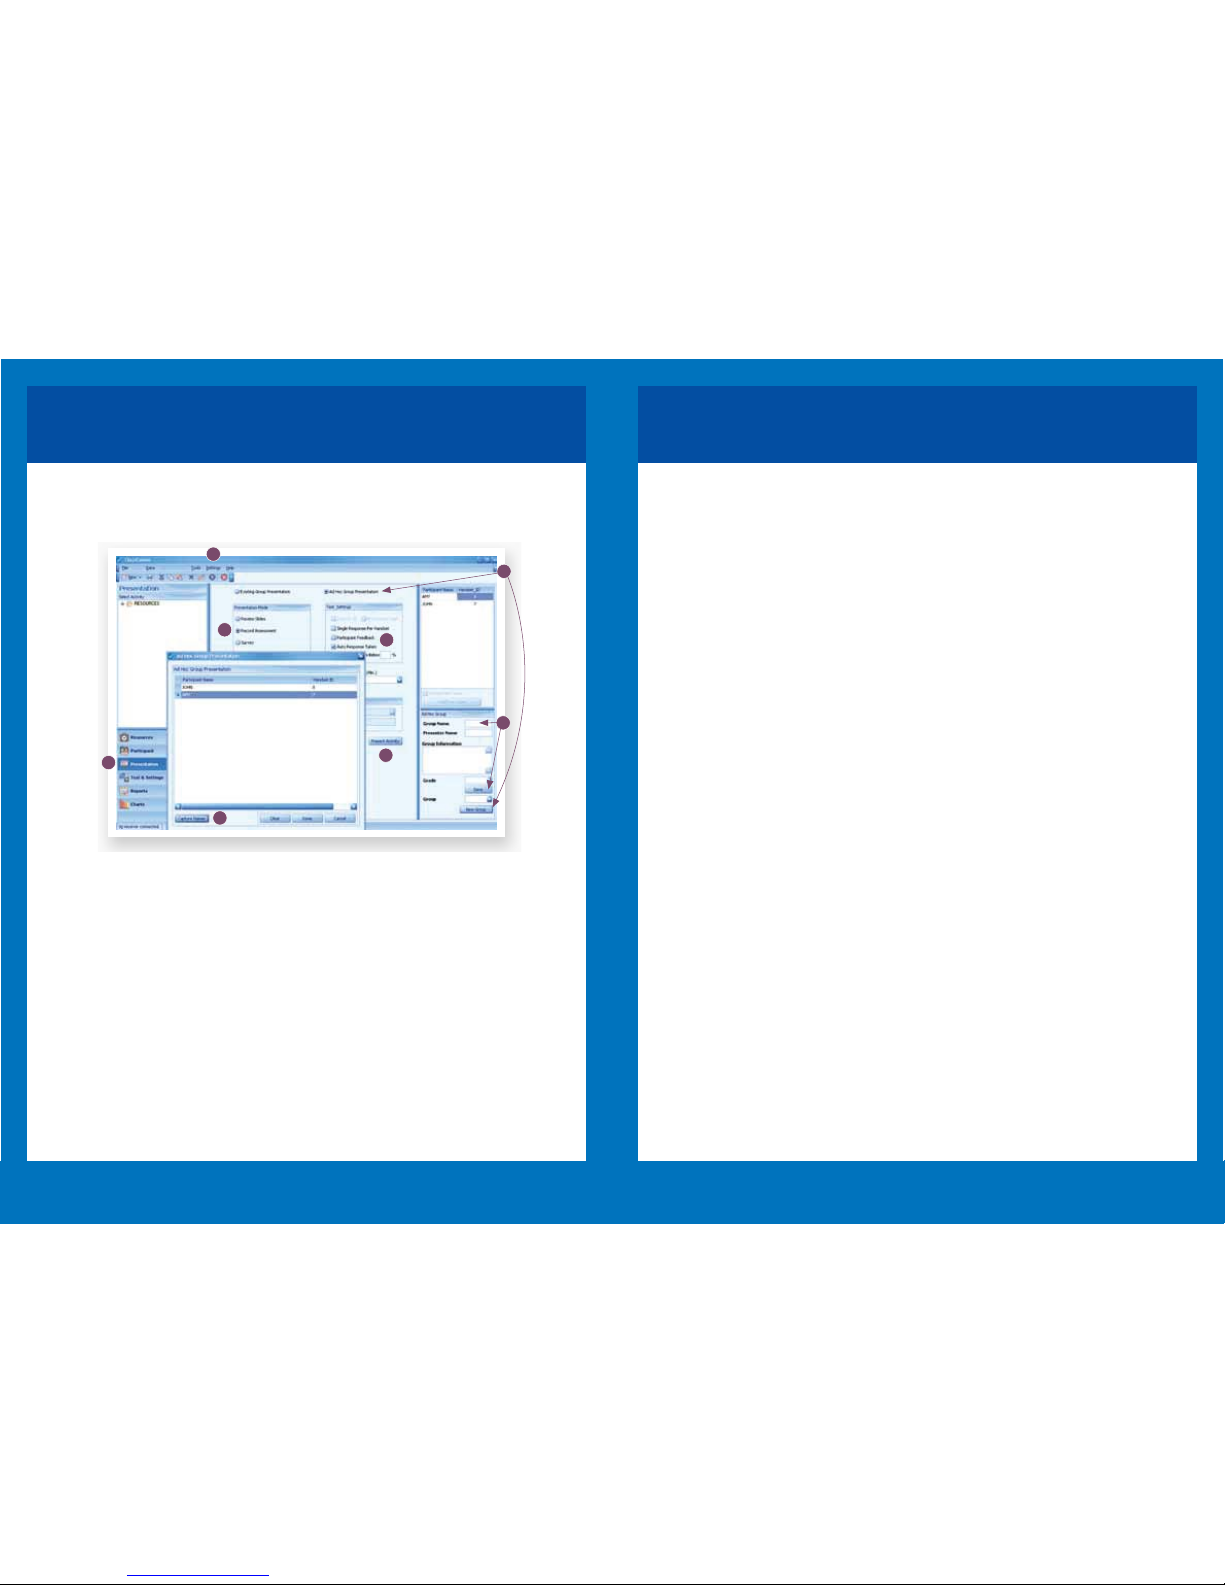
Conference settings
Response system set-up example 2:
‘We are carrying out Health & Safety training with groups of our employees. It is impor-
tant that we have records of individual attainment so that we know who will be compe-
tent in particular work situations. What is the best way to set up?’
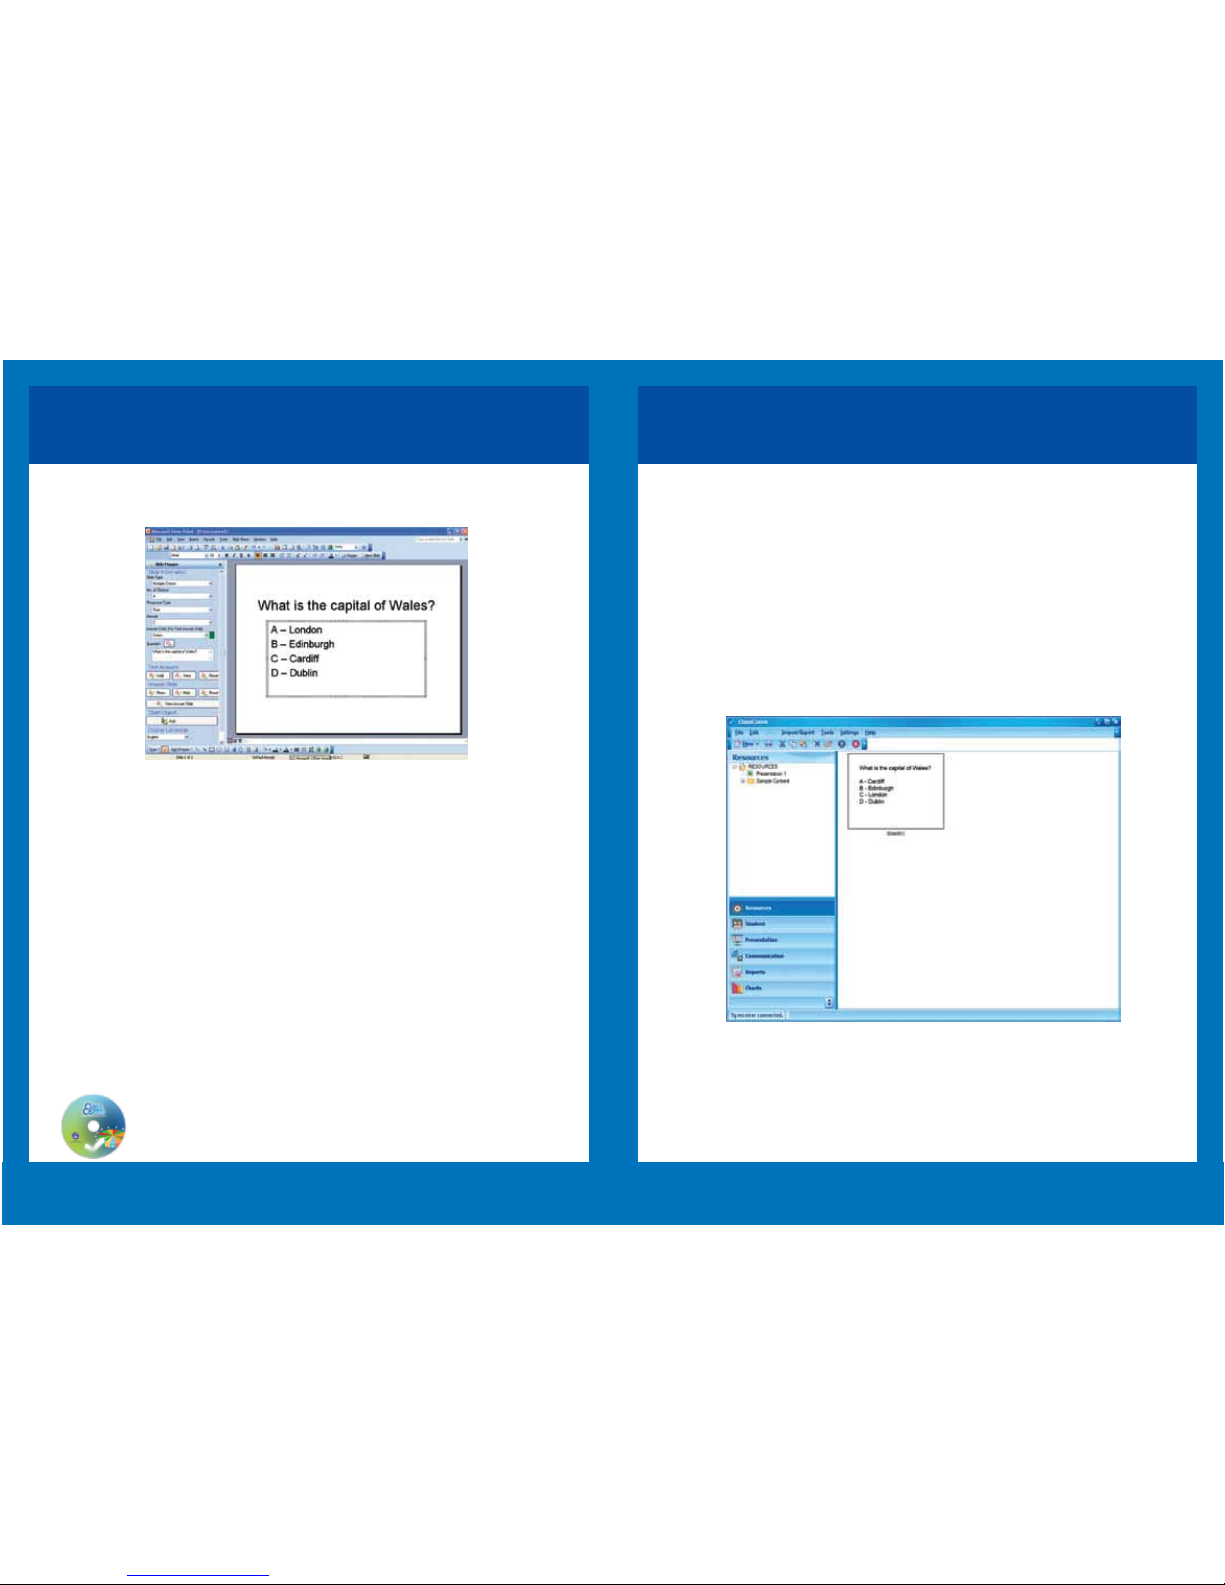
1. Check that ClassComm is in the correct
mode for you (education or corporate) by
going to Settings > Application mode
(you will have to restart ClassComm to
activate this setting).
2. After you have chosen your resource
slides, go to the Presentation window.
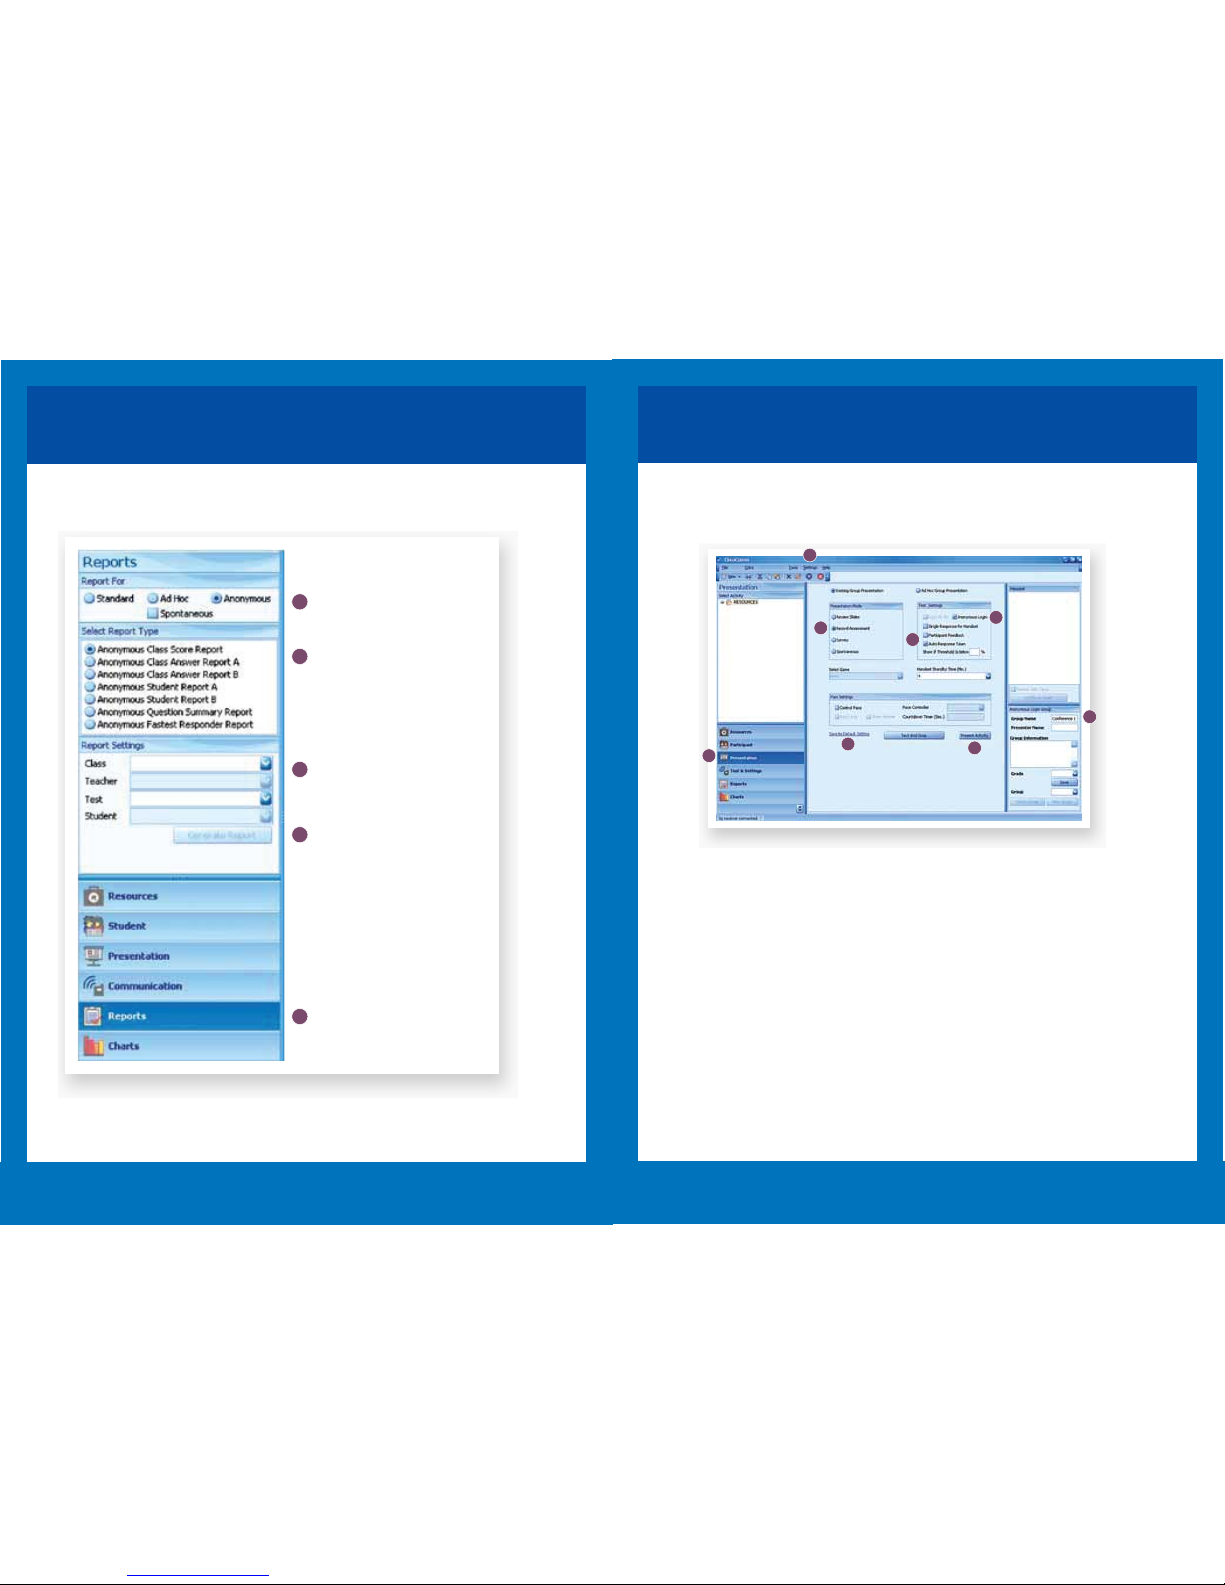
3. Select Record Assessment to keep
results and publish data.
4. Select Ad Hoc Presentation and New
Group to build the group participant list.
5. Click on Capture Names and ask par-
ticipants to text in their names using the
hand-sets. When all have done so, click on
Stop Capture and Done.
16
1
2
3
4
5
6
7
9
6. Enter a Group Name and click on
Save. (if this group stays the same, you
can recall it for further assessments to be
added to the participants’ data).
7. Select any other options of your choos-
ing from the Test Settings window such
as Participant Feedback or Single Re-
sponse.
8. Save these as your Default Setting
ready for repeat sessions.
9. Click on Present Activity to start the
presentation.