General Instrument HDD-200 User manual

HDD-200
High Definition Decoder
ªGeneral Instrument®
HDD-200
High Definition Decoder

This manual is for use with the HDD-200 High Definition Decoder.
Publication #468078-001
Rev B
Copyright 1999 General Instrument Corporation
All Rights Reserved
General Instrument®
6450 Sequence Dr.
San Diego, California 92121
Internet: http//www.GI.com
General Instrument and the GI logo are
trademarks of General Instrument Corporation.
ªº§×®

HDD-200
High Definition Decoder
User Guide
General Instrument Corporation


HDD-200 User Guide 1
HDD-200
Welcome to the world of High Definition Television! You're about to
completely change the way you experience video entertainment as the
picture you watch becomes so real, so sharp, so detailed, that you'll be
drawn into the scene like never before. Your decision to use General
Instrument equipment has placed you on the forefront of this new
technology. As the pioneer and leader in the field of digital High
Definition signal transmission; we have worked to bring you the very
finest in home equipment by using some of the same technology
imbedded in our professional broadcast systems.
Your new HDD-200 is an easy-to-use, easy to set-up decoder that will
accept a high-speed data stream from your digital satellite or cable
receiver and convert it to the appropriate format for your High Definition
monitor or television. It has been designed to integrate well with all of
your existing home theater equipment and provide many years of trouble-
free service. The instructions that follow will walk you through the steps
you'll need to take to install the product and begin enjoying the
excitement and sheer beauty of High Definition Television.
We have designed your HDD-200 to work with a number of General
Instrument set top devices. These devices include satellite receivers and
cable set top boxes. In this guide we will refer all of these devices as “set
top boxes.”

2HDD-200 User Guide
Regulatory Information
Federal Communications Commission Radio
and Television Interference Statement for a
Class “B” Device
This equipment has been tested and found to comply with the limits
for a Class B digital device, pursuant to Part 15 of the FCC Rules.
These limits are designed to provide reasonable protection against
harmful interference in a residential installation. This equipment
generates, uses, and can radiate radio frequency energy and, if not
installed and used in accordance with the instructions, may cause
harmful interference to radio communications. However, there is
no guarantee that interference will not occur in a particular
installation.
User Instructions
If this equipment does cause interference to radio or television
reception, which can be determined by turning the equipment off
and then on, the user is encouraged to try to correct the interference
by one or more of the following measures:
-Reorient or relocate the receiving antenna.
-Increase the separation between the equipment and
receiver.
-Connect the equipment into a different outlet so that the
equipment and receiver are on different branch circuits.
-Consult the dealer or an experienced radio/TV
technician for help. Changes or modifications not
expressly approved by General Instrument could void
the user’s right to operate the equipment.

HDD-200 User Guide 3
Operation Precautions
WARNING: To reduce the risk of fire or electric shock, do not
expose this unit to rain or moisture. Do not open the unit. Refer
servicing to qualified personnel only.
CAUTION: To prevent electric shock, do not use the (polarized)
plug with an extension cord receptacle or other outlet unless the
blades can be fully inserted to prevent blade exposure.
Lightning Flash Icon. The lightning flash with arrowhead
symbol within an equilateral triangle is intended to alert the user to
the presence of un-insulated “dangerous voltage” within the
product’s housing that may be strong enough to constitute a risk of
electric shock to persons.
Exclamation Point Icon. The exclamation point within an
equilateral triangle is intended to alert the user to the presence of
important operating and maintenance (servicing) instructions in the
literature accompanying the appliance.
This digital apparatus does not exceed the Class B limits for radio
noise emissions from digital apparatus as set out in the Radio
Interference Regulations of the Canadian Department of
Communications.

4HDD-200 User Guide
Important Safeguards
Read, Follow and Keep Instructions. Before you operate the
unit, read and follow all of the safety and operating instructions.
Keep the safety and operating instructions for future reference.
Heed Warning. Pay attention to all warnings on the equipment
and in the operating instructions.
Cleaning. Do not use liquid cleaners or aerosol cleaners. Use a
damp cloth to clean the outside of the unit. Do not open the unit for
cleaning or any other reason.
Power Cord Protection. Place the power supply cords so that
they are not walked on or pinched by items placed on or against
them. Pay particular attention to the cords where they join the plug,
near convenience receptacles, and where they exit from the
equipment.
Power Sources/Grounding. Operate the equipment from the
type of power source indicated on the marking label.
This product has a polarized alternating-current line plug as a
safety feature. This plug fits into the power outlet only one way. If
the plug does not fit, contact your electrician to replace your
obsolete outlet. Do not try to change the plug or defeat its safety
purpose.
Ventilation. Do not block or cover the slots and openings of the
unit. They provide ventilation and protect it from overheating.
Never place the unit on carpeting; it may block ventilation through
the bottom slots. Never place the unit near a source of heat or in a
built-in installation rack unless there is proper ventilation.
Do Not Operate near Water. Do not use this product near
water, for example, near a bath tub, wash bowl, kitchen sink,
swimming pool, laundry tub, in a wet basement, or in similar
situations.
Objects or Liquid in the Unit. Never push any object into this
unit through any of its openings because they may touch dangerous
voltage points or short out the parts. This could cause a fire or an
electrical shock. Do not spill liquid of any kind on the unit.

HDD-200 User Guide 5
Overloading. Do not overload power outlets or extension cords.
This can result in a risk of fire or electrical shock.
Damage Requiring Service. Unplug this equipment from the
power source, and contact a qualified service provider if any of the
following situations occurs:
-If the power supply cord or plug is damaged.
-If liquid or objects have fallen into the unit.
-If the unit became wet from rain or water.
-If the unit was dropped or damaged.
-If the unit’s performance changes.
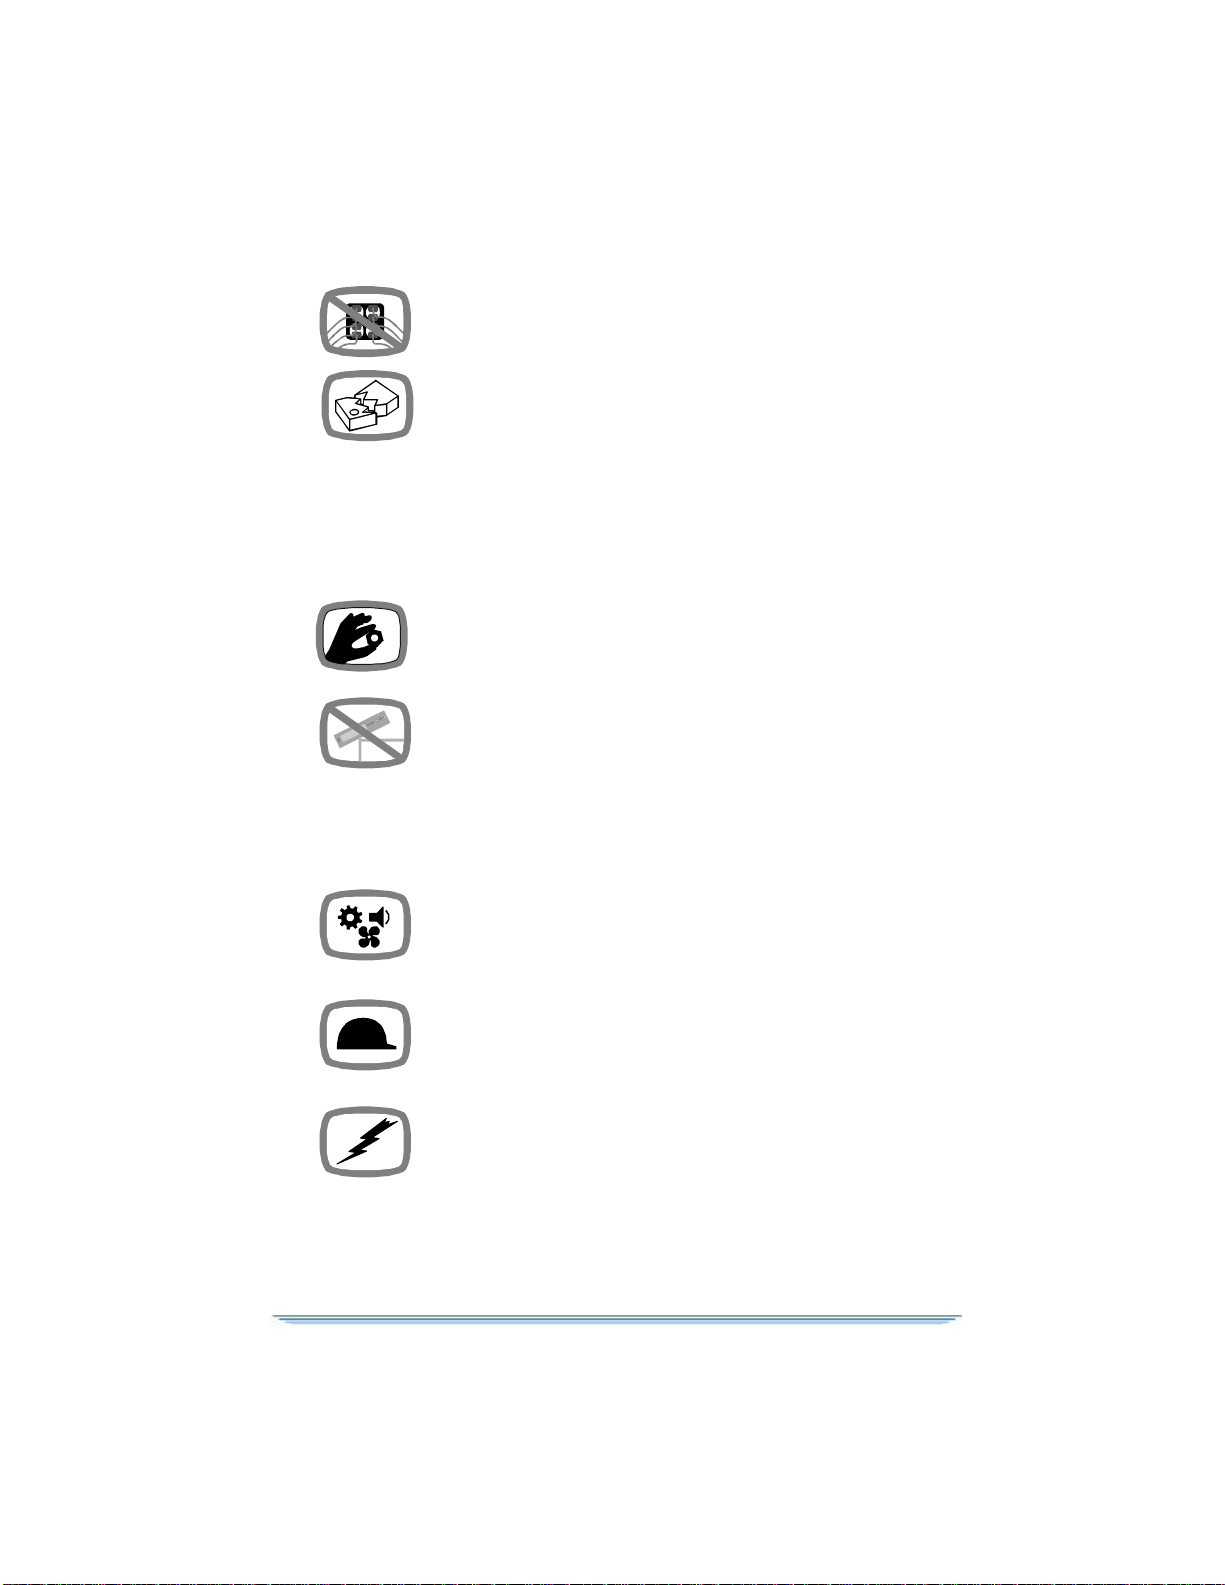
Service. Do not try to service this product yourself. If you open or
remove the cover, you may be exposed to dangerous voltage or
other hazards and may void the unit’s warranty. Contact a qualified
service provider for all service.
Mounting and Placement. Do not place this product on an
unstable surface such as a cart, stand, tripod, bracket, or table. It
may fall, causing serious injury to a child, adult, or to the unit itself.
To mount the unit, follow the manufacturer’s instructions, and use
a mounting accessory recommended by the manufacturer. Do not
place this product directly on wood or simulated wood surfaces
because these surfaces may be damaged.
Replacement Parts. If your decoder requires repairs, contact
your dealer who will be able to assist you. See page 14 for more
information.
Safety Check. After the unit is serviced or repaired, ask the
service technician to perform safety checks to find out if the unit is
in proper operating condition.
Lightning. To protect the product from damage caused by
lightning and power line surges, unplug it from the wall outlet and
disconnect it before a lightning storm. Also disconnect the unit if it
will be left unattended or unused for a long period of time. Once a
storm passes, reconnect the unit. If you live in an area that has
many lightning storms, buy polarized surge protectors for the
C
H
C
H
M
EN
U
P
O
W
E
R
EN
TE
R
G
O
BA
C
K

6HDD-200 User Guide
power line to protect your system from damage. Never attempt to
connect or disconnect any wires during a thunderstorm or lightning
storm.

HDD-200 User Guide 7
Connecting the HDD-200
Front Panel
The following items are located on the front panel of the HDD-200.
Power. A green button in the upper left hand corner turns the
power on and off.
On/Off Indicator. When the HDD-200 is on, a green light will
be visible on the front panel.
Closed Caption. A button to activate the Closed Caption feature
is located to the right of the Power button on the front panel
display.
Front Panel Display. The front panel has light-emitting diodes
(LEDs) that are shaped like icons.
Dolby Digital®- The Dolby Digital LED, located on the left
next to the Power button indicates that the unit is receiving a
signal using Dolby®brand, AC-3®Digital encoding.
HDD / SD - The next two LEDs indicate whether the unit is
receiving Standard input or High Definition input. "SD"
indicates Standard input and "HDD" indicates High Definition
input.
Closed Caption - The Closed Caption icon, the LED located on
the far right, indicates that Closed Caption decoding is
activated.
NOTE: A protective film covers the lens cover on the front panel.
This MUST be removed before plugging the unit into the electrical
outlet. Otherwise the unit will repeatedly turn itself on and off.
ªº§®
High
Definition
Decoder
®
HDD SD
CC

8HDD-200 User Guide
Back Panel Connections
The following connections are located on the back panel of the
decoder:
1. High Speed Data Input
2. Video Format Selector Switch
3. Dolby Digital Input
4. Dolby Digital Output
5. Analog Audio Input
6. Analog Audio Output
7. Composite Video Input
8. S-Video Input
9. Sync Outputs
10. Component Video Outputs
11. GBR HV / Y PB PR Select
1080i 720p 480p Native
H
V
GY
R
B
P
R
P
B
L
R
L
R
High Speed
Data/
MMAP
i
G
B
R
Y
P
B
P
R
11
872 4
3 5 6
1
910
i

HDD-200 User Guide 9
Input Connections
Using the appropriate cables, connect the following input terminals
from your cable or satellite set top box or VCR equipment to the
HDD-200. See page 11 for connection diagrams.
High Speed Data Input (1). The HDD converts the HD data
on the High Speed Interface to HD video and audio. To connect the
High Speed Data, use the High-Speed Data cable (provided) to
connect your set top box to the HDD High Speed Data Input. Some
satellite receivers require an adapter (provided) between the High
Speed Data cable and the satellite receiver.
Standard Video Input (7, 8). (S-Video and Composite Video)
The HDD converts standard NTSC video to an HD format so your
HDTV can display NTSC video. The standard video can be from
your set top box, VCR, or other video equipment. The HDD
accepts both NTSC composite and S-Video.
In the simplest configuration, connect the video from your set top
box directly to the HDD.
However, if you have a VCR connected to the output of your set
top box, then connect the output of your VCR to the HDD standard
video input.
If you have a more sophisticated entertainment system (that is, you
use an A/VR or other video switching equipment), take the video
that was previously connected to your NTSC television and
connect it to your HDD.
Analog Audio Input (5). Along with the standard video source
(set top box, VCR, or A/VR) that you just connected, is a pair of
analog audio L/R outputs. Connect these analog L/R outputs to the
HDD analog audio input.
The HDD will automatically route the analog audio input to the
analog audio output when HD video is not available. If HD is
available, the HDD will output the HD service analog audio.
Dolby Digital Audio Input (3). Along with the standard video
source (set top box, VCR, or A/VR) that you just connected, may
be a Digital Audio (S/PDIF) output. If so, connect the digital audio
output to the HDD digital audio input.
The HDD will automatically route the digital audio input to the
digital audio output when HD video is not available. If HD is
available, the HDD will output the HD service digital audio.

10 HDD-200 User Guide
Output Connections
Using the appropriate cables, connect the following output
terminals from your HDD-200 to your HD TV or audio equipment.
See page 11 for connection diagrams.
Output Video Switches
Video Format (2). Set this selector based on the capability of
your HD compatible TV. Select the input format that your HD
supports. You should use "Native" mode if your HDTV has the
ability to display and detect all HD formats. “Native” mode allows
the HD decoder to display video in its original format.
YPBPR/ GBRHV Select (11). Select the component video
form used by your HDTV.
Output Video Connections
YPBPR (10). If you have selected YPBPRVideo component
output, connect the HDD’s three YPBPRconnectors to your
HDTV.
GBRHV (9,10). If you have selected GBRHV Video component
output, connect the HDD’s five GBRHV connectors to your
HDTV.
Output Audio Connections
Audio Outputs R, L (6). These audio outputs connect to your
TV or your Dolby brand Pro-Logic®3 (4-channel) surround device
if your unit is equipped with this capability. Connect the right and
left output ports to the right and left input ports on your equipment.
Dolby Digital Output (4). If your entertainment center is
enabled for Dolby Digital AC-3 Version 5.1 (six channel) surround
sound, connect one end of the cable to this port and the other end of
the cable to your surround processor.

HDD-200 User Guide 11
Connection Diagrams
The following diagrams show the most common types of
connections.
1080i 720p 480p Native
H
V
GY
R
B
P
R
P
B
L
R
L
R
High Speed
Data/
MMAP
i
G
B
R
Y
P
B
P
R
HD
Compatible
TV
Stereo or TV
VCR
Satellite Receiver or
Cable Set Top Box
Audio Video/S-Video
1080i 720p 480p Native
H
V
GY
R
B
P
R
P
B
L
R
L
R
High Speed
Data/
MMAP
i
G
B
R
Y
P
B
P
R
HD
Compatible
TV
Stereo or TV
Satellite Receiver or
Cable Set Top Box

12 HDD-200 User Guide
Using Your HDD-200
A protective film covers the lens cover on the front panel (upper
left corner) . This MUST be removed before plugging the unit into
the electrical outlet.
After plugging in your HDD-200, let it "warm up" for 30 seconds.
When tuned to a High Definition channel, the HDD 200 will first
display program or other banners and will then display HD video.
Press EXIT or VIEW on your television remote control to remove a
banner and display video more quickly.

HDD-200 User Guide 13
Limited Warranty/Obtaining Service
General Instrument Home Satellite Television Systems
and Components
To Original Consumer Purchaser at Retail
General Instrument Corporation (“General Instrument”) warrants
only to the original consumer purchaser at retail that each General
Instrument satellite television system and component which it sells
under this limited warranty to be free from defects in materials and
workmanship under conditions of normal home use. This limited
warranty is for one (1) year on all electrical and mechanical
components only. This limited warranty runs from the date of
original purchase for consumer use.
Responsibilities for You and General Instrument
You must retain your sales receipt or provide other proof-of-
purchase date. Promptly completing and mailing in the warranty
registration card is one way of providing proof-of-purchase date. If
you have no such proof, then the warranty will run from the date of
shipment by General Instrument. You should also keep this
warranty for your records.
If you desire warranty service, you must notify General Instrument
within the applicable warranty period. See “How to Obtain
Warranty Service,” below.
Within a reasonable period after proper notification, General
Instrument or an authorized General Instrument Service Center
shall, at its option, repair or replace the defective part(s) or the
affected component. Replacement may be with factory refurbished
parts or components. You are responsible for any packing,
shipping, and insurance charges associated with sending the
component to any authorized service center for repair or
replacement.
This warranty does not cover charges for any assembly,
installation, setup or removal, or adjustment of controls.
This warranty shall be void if any product marking or label has
been altered, defaced, or removed, or if any product component has
been altered, modified, used improperly, or had its housing opened.
GENERAL INSTRUMENT IS NOT RESPONSIBLE FOR
DAMAGES CAUSED BY LIGHTNING, IMPROPER
ASSEMBLY, INSTALLATION, SETUP, OR REMOVAL,
DAMAGES OR INOPERABILITY CAUSED BY ASSEMBLY

14 HDD-200 User Guide
OR USE WITH INCOMPATIBLE PRODUCTS, RECEPTION
PROBLEMS CAUSED BY INADEQUATE ANTENNA
SYSTEMS OR DAMAGES CAUSED BY MISUSE,
ALTERATION, IMPROPER MAINTENANCE, SHIPMENT,
ACCIDENT, OR ABUSE. AS TO ANY OUTDOOR
COMPONENT, THIS WARRANTY DOES NOT COVER THE
PAINTING OR PLATING.
Limitations
GENERAL INSTRUMENT MAKES NO OTHER EXPRESS
WARRANTIES ON HOME SATELLITE TELEVISION
SYSTEMS AND COMPONENTS. TO THE EXTENT
ALLOWED BY LAW, ANY WARRANTY BY GENERAL
INSTRUMENT ON A SYSTEM OR COMPONENT
(INCLUDING ANY IMPLIED WARRANTY OF
MERCHANTABILITY OR FITNESS) IS LIMITED TO THE
WARRANTY PERIOD APPLICABLE TO THE AFFECTED
COMPONENT UNDER THIS EXPRESS LIMITED
WARRANTY. Some states do not allow limitations on how long an
implied warranty lasts, so the above limitation may not apply to
you.
IN NO EVENT SHALL GENERAL INSTRUMENT BE LIABLE
FOR INDIRECT, EXEMPLARY, INCIDENTAL, SPECIAL OR
CONSEQUENTIAL DAMAGES (INCLUDING LOST PROFITS
AND LOSS OF USE OR PAID TV TIME) BASED UPON
BREACH OF WARRANTY OR CONTRACT, NEGLIGENCE,
STRICT LIABILITY, OR ANY OTHER LEGAL THEORY. Some
states do not allow the exclusion or limitation of incidental or
consequential damages, so the above limitation may not apply to
you.
NO AGENT, DEALER, DISTRIBUTOR, SERVICE CENTER,
COMPANY, OR OTHER PERSON IS AUTHORIZED TO
CHANGE, MODIFY OR EXTEND THE TERMS OF THIS
WARRANTY IN ANY MANNER WHATSOEVER. This
warranty gives you specific legal rights, and you may have other
rights, which vary, from state to state.

HDD-200 User Guide 15
How to Obtain Warranty Service
To obtain warranty service, you must call or write General
Instrument Technical Assistance Center within the applicable
warranty period at General Instrument, Technical Asistance Center,
6450 Sequence Drive, San Diego, CA 92121, (858) 535-1717.
When you call or write, explain the problem. Ask whether the
component should be returned for service or retained by you for
servicing in place. Ask for a Return Material Authorization (RMA)
number and for the address to send the component if the
component is to be returned. If you write, be sure to include a copy
of your sales receipt or other proof of purchase date, a copy of your
warranty, your phone number, and return address.
If the General Instrument Technical Assistance Department
requests you to return the component, pack it safely and securely,
preferably in the original shipping carton. Put the RMA number on
the outside of the shipping carton. Enclose a letter explaining the
problem. Be sure to include a copy of your sales receipt or other
proof of purchase date, a copy of your warranty, and your phone
number and return address. Ship it insured to the authorized service
center specified by General Instrument. All packing, shipping and
insurance charges to return the component to General Instrument
must be prepaid by you. A qualified technician may be required to
remove or install a component, and any charges for such work are
your responsibility.
NOTE: If the warranty on your component is expired, voided or
inapplicable, General Instrument will not repair the component
until you agree to pay for quoted charges. If you do not agree
within 30 days, the component will be returned unrepaired. You are
responsible for transportation charges both ways on components
which are not under warranty. Out of warranty product shall be
subject to additional service and repair charges if it is determined
that nay product label, marking or serial number has been altered,
defaced or removed, and/or if a product or component has been
altered, modified, used improperly or had its housing opened.
General Instrument®and design, is a registered trademark of
General Instrument Corporation. Dolby®, AC-3®, the Double-D

16 HDD-200 User Guide
symbol®, Pro-Logic®and Dolby Digital®are trademarks of Dolby
Laboratories Licensing Corporation.
Covered under one or more U.S. patents: 4698672, 4908859,
5068724, 5091782, 5093720, 5345408, 5517250, 5565922,
5566089, 5598415, 5638128, 5675387, 5699120, 5703877,
5717461, 5742623, 5771239 and others as well as patents pending.
©Copyright 1990, 1991, 1992, 1993, 1996, 1997, 1998, 1999
General Instrument Corporation. All rights reserved. © Copyright
1992 Dolby Laboratories Licensing Corporation. All rights
reserved. Dolby Digital audio system manufactured under license
from Dolby Laboratories Licensing Corporation.
Table of contents
Languages:
Other General Instrument Media Converter manuals
Popular Media Converter manuals by other brands

Ludlum Measurements
Ludlum Measurements 2224-1 manual

Extron electronics
Extron electronics NAV SD 511 Setup guide

TeAx Technology
TeAx Technology ThermalCapture Grabber USB Series Mounting instructions

Lika
Lika C50MA quick start guide

TVBLOB
TVBLOB BLOBbox user manual

Cavus
Cavus CAV-BXAU03 quick start guide