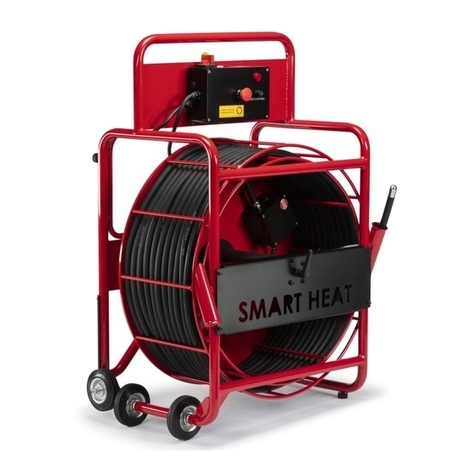
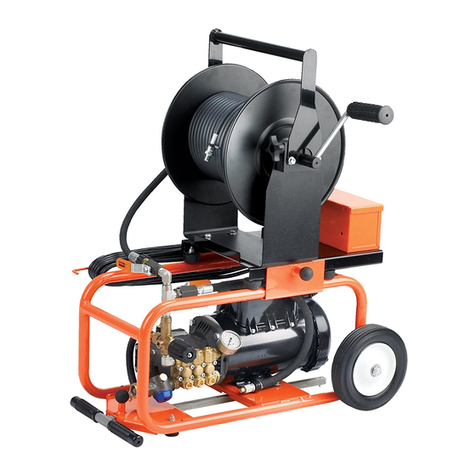
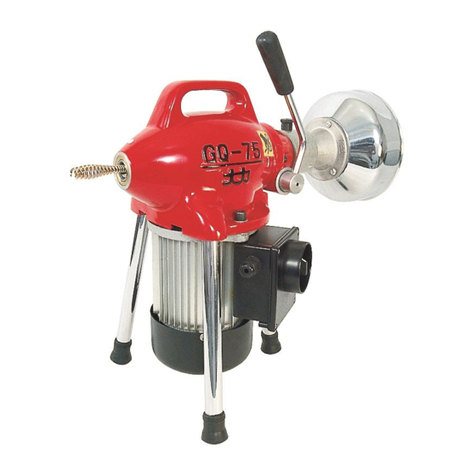
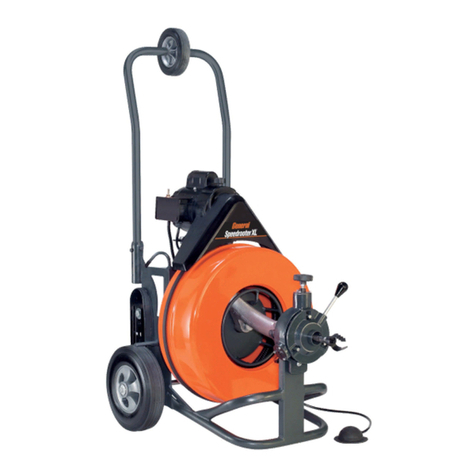
General Sewerooter T-3 User manual

Operating Instructions for
General Sewerooter T-3
For 1-1/4" through 4" lines
Your Sewerooter T-3 is designed to give you years of trouble-free, profitable service.
However, no machine is better than its operator. We therefore suggest you read these
instructions through carefully before using your machine on the job. This will enable
you to operate the Sewerooter T-3 more efficiently and more profitably. Failure to follow
these instructions may cause personal injury to operator or damage to equipment.
SAFETY INSTRUCTIONS
• Be sure that the unit is plugged into properly grounded receptacle. If in doubt,
check receptacle before plugging in machine. Check the power cord to see that
there are no cuts or frays.
• If the power cord supplied with the machine is not long enough, be sure to use 3-
wire heavy duty extension cord that is in good condition. Using lighter cords can
result in severe power loss and motor overheating.
• Wear rubber boots and rubber glove inserts when work area is wet. Do not operate
machine if operator is standing in water.
• This equipment is designed for one person operation only.
• Wear
safety glasses when operating machine.
• Use
leather gloves only, not cloth gloves, when handling the cable. A cloth glove
might get caught between the coils of the cable while it's rotating.
• Neutralize or remove corrosive drain cleaners from drain before starting. Exposure
to these chemicals can cause injury to operator and damage to cable.
• Before starting each job, check that the cable in the drum is not broken or kinked,
by pulling the cable out an checking for wear or breakage. Always replace worn out
(kinked or broken) cables with genuine GENERAL replacement cables.
• Turn off and unplug machine when leaving it unattended.
• Know how to shut off the machine in an emergency.
GROUND FAULT CIRCUIT INTERRUPTER (GFCI)
Your machine is equipped with a ground fault circuit interrupter which protects you
against shock if a short circuit should occur. The GFI should be tested before each use.
1. Plug into 120 volt receptacle.
2. Push test button. Indicator light will go out and power to machine should cut off.
3. If light does not go out when test button is pushed, equipment should not be used
until proper repairs can be made.
4. To restore power after test, push reset button.
Keep in mind that the section of cord between the wall plug and the GFI is not in the
protected circuit.
With the reset button depressed, if the machine doesn't start, stops while running,
or if the operator experiences a mild shock, do not use the machine! Take it to a
motor repair center or return it to the factory for repairs.

CABLE APPLICATIONS
Cable Size Pipe Size Typical Applications Max. Distance
*1/4" 1¼" to 2" Small Lines, Tubs and Shower Drains 50 ft.
*5/16" 1½" to 2" Sinks, Basins and Small Drains 50 ft.
3/8" 2" to 3" Roof Stacks and Small drains 75 ft.
1/2" 3" to 4" Roof Stacks and Medium Drains (No roots) 100 ft.
*The 1/4" and 5/16" diameter cables are for use with the Slide-On Snakentainer.
CUTTERS
You have a choice of several cutters:
AHArrowhead Starting tool, ideal for cutting and scraping.
1½UC 1½" U-Cutter Starting tool, works well in grease stoppages.
2SCB 2" Side Cutter Blade Finishing tool, for scraping inside edges of pipe.
3SCB 3" Side Cutter Blade Finishing tool, for scraping inside edges of pipe.
4SCB 4" Side Cutter Blade Finishing tool, for scraping inside edges of pipe.
3RSB 3" Rotary Saw Blade Finishing tool, for cutting and scraping.
RTR-1 Retrieving Tool To remove or retrieve loose objects.
Note: There are no fixed rules for what cutter to use. If one tool doesn't take care of a
stoppage, simply try another. Some users mix their cutters on certain jobs. For
instance, they use one 2" Side Cutter Blade with one 4" Side Cutter Blade. This
combination is especially good when working through 4" P-Traps.
OPERATION
1. Place machine within approximately 2 feet of drain opening. If you can't get the
machine this close to the opening, run the cable through a hose or pipe to prevent
cable whipping. A Sewerooter T-3 Guide Tube (T3-GT) is ideal for this. Guide
Tube Extensions (GTE) are also available.
2. Insert cutting tool into female connector (on 3/8" and 1/2" cables) at the front of the
cable and tighten in place firmly with the connecting screw and lock washer. A
good tool to start with is the Arrow Head or 1½" U-Cutter. After the line is opened,
follow with larger blades, which scrape the inside edges of the pipe, assuring a real
cleaning job. If you're having difficulty getting around a P-Trap or close bend,
attach the Flexible Leader. (For 1/2" cable only.)
3. Before stepping on the foot pedal, put the cable into the drain line. Make sure the
motor switch is set in the forward position.
DO NOT USE TOO MUCH FORCE - LET THE CUTTER DO THE WORK.
4. Don't leave too much slack in the cable since this will cause whipping. If the cable
starts to bend or build up too much twist, release pressure on the foot pedal and
rotate the drum in the opposite direction to relieve the twist on the cable. Push any
excess cable back into the drum and then continue.
5. If you're having trouble getting around bends, try putting the machine in reverse
while applying steady pressure. Don't do this for more than a few seconds at a time
since this could cause tangling or kinking in the drum.
6. If you still can't get around the bend, you're probably using too large a cable.
Switch to a 3/8" diameter cable, or even a smaller one if necessary.
(See Cable Application Chart)
7. After the line is opened, return the cable to the drum with the motor turning
forward. This is important to prevent tangling of the cable in the drum.
IF CABLE GETS CAUGHT IN LINE
Motor can be run in reversed for a few seconds at a time to free cable if it gets
caught in the line. Use the following procedure:
1. Move toggle switch on motor to reverse position.
2. Pull on cable while the drum is turning in reverse.
3. When the cable is freed, move the toggle switch to the forward position.
IF CABLE TANGLES IN DRUM
This is almost always caused by using too much force when feeding the cable or by
feeding the cable while running the machine in reverse. To untangle, rotate drum in
opposite direction. If cable has become badly tangled, which will not happen when
machine is used properly, it may be necessary to remove the distributor tube and
possibly the inner drum from the machine. Here's how:
1. Turn drum until distributor tube is pointing down.
2. While holding tube firmly, loosen
knob on front post.
3. Swing hinged cap out of the way
and lift out tube. This should free
the cable. If not, continue on to
Step 4.
4. Reach into the center of the drum
and unscrew knob at center of
inner drum cage. Then pull inner
drum forward off the shaft and out
of the drum.
5. After cable has been untangled,
reverse above procedure and
reload cable into drum.
HOW TO INSTALL POWER FEED
(PO-JR)
The Power Feed gives you a "power-assist" when feeding cables in or pulling them
out. When feeding, do not use too much force - let the cutter do the work.
To install Power Feed slide it on to mounting stud located on front post so that
mounting knob on feed body lines up with flat spot on stud. Tighten knob firmly.
HOW TO INSTALL 1/2" AND 3/8" CABLES IN DRUM
1. Attach male connector of cable to the drum connecting cable permanently
connected to the drum. Be sure to tighten screw and lock washer firmly.
2. Slip V-Belt off of drum. If using Power Feed, loosen pressure knob on top.
3. Push the cable into the drum. As you load, turn the drum so that the distributor
tube is always pointed in the same direction. This enables the cable to lie more
evenly in the drum.

4. Be sure cable is going in proper direction. To check, position distributor tube so
that it's pointing straight down. The cable should be bending to the left as it comes
out of the back of the distributor tube.
HOW TO REMOVE DRUM FROM MACHINE
1. Remove V-Belt. You can relieve the tension on the belt by pressing down on the
motor, which is spring-loaded.
2. Hold distributor tube and loosen knob on front post. Then, open hinged cap and lift
out tube.
3. Reach behind the drum and locate the drum retaining latch. While pulling the latch,
pull the drum forward off of the machine.
4. To install the drum, simply reverse this procedure.
SLIDE-ON SNAKENTAINER (SS-1) INSTALLATION AND OPERATION
The Slide-On Snakentainer is to be used with 1/4" or 5/16" cables. These cables
have basin plug heads that can be spun through most strainer crossbars.
(See Cable Application Chart)
Remember that smaller diameter cables cannot handle as much torque as 3/8" and
1/2" cables. Therefore, be careful not to apply too much force when working through a
stoppage. When working through difficult stoppages or tight bends, tighten the chuck to
prevent the cable from tangling in the container.
Clean and lubricate chuck regularly to prevent rust.
To install the Slide-On Snakentainer on the Sewerooter T-3:
1. Remove cutter and connecting screw from cable in T-3 drum. Also remove Power
Feed if one is attached.
2. Hold distributor tube and loosen knob on front post. Then open hinged cap and lift
out tube. Slide distributor tube off of cable.
3. Push cable all the way into tube on back of Snakentainer.
4. Mount Snakentainer on to front post. Then close cap and tighten knob.
To install cable in Slide-On Snakentainer:
1. Remove the chuck completely.
2. Pass the cable through the chuck and into the container.
3. Replace the chuck, then finish loading the container.
4. It is often helpful to bend the back end of the cable to make it easier to start the
cable into the container.
MAINTENANCE
To keep your machine operating smoothly, it is essential that all bearings and
cables be lubricated. Oiling moving parts is particularly important where machine
comes in contact with sand, grit and other abrasive material.
To get maximum service from your cables, be sure that they are well oiled. Some
users periodically pour oil directly into the drum. Then, as the drum turns, the cables
get complete lubrication. Our SNAKE OIL is ideally suited for this purpose, since it not
nly lubricates the cables, it disinfects and deodorizes them.o
Other manuals for Sewerooter T-3
1
Table of contents
Other General Pipe Cleaner manuals