genialo TFN-214472.2 User manual

TFN-214472.2
3 in 1 Home Climate Controller (EN)
3 in 1 Home Climate Controller (DE)
Gestion climatique de votre intérieur 3 en 1 (FR)
3 in 1 Home Climate Controller (SE)
3-in-1 Klimaatregelaar voor thuis (NL)
Domowy sterownik klimatu 3 w 1 (PL)
Вентилятор 3в1 (RU)

- 1 -
Content – Inhalt – Teneur – Innehåll – Inhoud – Treść – Содержание
Instruction manual –English......................................................................................- 2 -
Bedienungsanleitung –German...............................................................................- 14 -
Mode d'emploi –French ..........................................................................................- 26 -
Bruksanvisning – Swedish.........................................................................................- 38 -
Gebruiksaanwijzing –Dutch.....................................................................................- 49 -
Instrukcja obsługi – Polish........................................................................................- 61 -
Инструкция по эксплуатации –Russian .................................................................- 74 -

- 2 -
Instruction manual English
Before use make sure to read all of the below instructions in
order to avoid injury or damage, and to get the best results
from the appliance. Make sure to keep this manual in a safe
place. If you give or transfer this appliance to someone else
make sure to also include this manual.
In case of damage caused by user failing to follow the
instructions in this manual the warranty will be void. The
manufacturer/importer accepts no liability for damages
caused by failure to follow the manual, a negligent use or use
not in accordance with the requirements of this manual.
1. This appliance can be used by children aged from 8 years
and above and persons with reduced physical, sensory or
mental capabilities or lack of experience and knowledge if
they have been given supervision or instruction concerning
use of the appliance in a safe way and understand the
hazards involved.
2. Children shall not play with the appliance.
3. Cleaning and user maintenance shall not be made by
children without supervision.
4. If the supply cord is damaged, it must be replaced by the
manufacturer, its service agent or similarly qualified
persons in order to avoid a hazard.
5. Children of less than 3 years should be kept away unless
continuously supervised.
6. Children aged from 3 years and less than 8 years shall only
switch on/off the appliance provided that it has been
placed or installed in its intended normal operating position
and they have been given supervision or instruction
concerning use of the appliance in a safe way and
understand the hazards involved. Children aged from 3

- 3 -
years and less than 8 years shall not plug in, regulate and
clean the appliance or perform user maintenance.
7.
8. In order to avoid overheating, do not cover the
appliance.
9. The appliance must not be located immediately below a
socket outlet.
10. Do not use this appliance in the immediate surroundings of
a bath, a shower or a swimming pool.
11. This appliance is not equipped with a device to
control the room temperature. Do not use this appliance in
small rooms when they are occupied by persons not
capable of leaving the room on their own, unless constant
supervision is provided.
12. Prior to cleaning or other maintenance, the appliance must
be disconnected from the supply mains.
13. Means “DO NOT COVER “.
14. Do not use this appliance if it has been dropped.
15. Do not use if there are visible signs of damage to the
appliance.
16. Use this appliance on a horizontal and stable surface.
17. Before inserting the plug into the mains socket, please
check that the voltage and frequency comply with the
specifications on the rating label.
18. Disconnect the mains plug from the socket when the
appliance is not in use and before cleaning.
19. Ensure that the mains cable is not hung over sharp edges
and keep it away from hot objects and open flames.
20. Do not immerse the appliance or the mains plug in water or
other liquids. There is danger to life due to electric shock!
21. To remove the plug from the plug socket, pull the plug. Do
not pull the power cord.

- 4 -
22. Do not plug or unplug the appliance from the electrical
outlet with a wet hand.
23. Never attempt to open the housing of the appliance, or to
repair the appliance yourself. This could cause electric
shock.
24. Never leave the appliance unattended during use.
25. This appliance is not designed for commercial use.
26. Do not use the appliance for other than intended use.
27. Do not wind the cord around the appliance and do not bend
it.
28. Do not place any objects on the air inlet or outlet. Make
sure that the ventilation openings are free of dust, lint, hair
and other obstacles that could impair the air flow.
29. Keep the appliance at least 1.5 meters away from the fire
source or tinder, and avoid direct sunlight.
30. It is forbidden to replace the power switch by the method
of plugging (unplugging) the power cord plug.
31. Do not use the appliance against the power outlet or under
the power outlet. The power outlet should be placed
behind the appliance when the heater function (warm
mode) is in use.
32. Do not share the socket with other high-power appliances.
33. This product must be equipped with a CE-approved fixed
socket that is consistent with the rated working current. Do
not use a mobile multi-purpose socket.

- 5 -
1. Cover
2. Air outlet
3. Air duct
4. Control panel
5. Air inlet
6. Main body
7. Air inlet
8. Base
9. Power switch
10. Power cable
1. On/off button (can also be used to control the air volume and swing function)
2. Digital display
3. Warm mode button

- 6 -
1. Insert the plug into a suitable power outlet. Press the power switch to position “I“. The appliance is in standby
mode.
2. To turn on and off:
Press the on/off button on the control panel the buzzer will beep once and the appliance will start running.
Press and hold the on/off button for 2 seconds the buzzer will beep twice and the appliance will stop running
after you release your hand.
3. To switch to the warm mode:
The appliance starts working in cool mode by default; it sends out the cool air. Press the warm mode button
on the control panel to enter the warm mode; the appliance starts sending out the warm air. The digital
display shows the ambient temperature. Press the button again to exit the warm mode.
4. To set the air volume:
When the appliance is in operation press the on/off button on the control panel to adjust the air volume
from 1 to 9 under cool mode; adjust the air volume from 1 to 4 under warm mode.
5. To set the oscillation function:
Press and hold the on/off buton on the control panel for 1 second the buzzer will beep once and the
appliance will start oscillating. Press and hold the on/off button for 1 second again the buzzer will beep once
and the appliance will stop oscillating.
This unit has a remote control. Please use 2x1.5V AAA batteries for this remote control. Please insert the batteries
to the remote control tightly. If it is not in use for a long time, please take the batteries out of the remote control.
The remote control should be pointed at the signal receiver on the digital display to maximize the remote control
signal. Effective distance: 4M

- 7 -
1. On/off button
Press the on/off button to turn on the appliance. Press the button again to turn off the appliance.
2. Sleep mode button
Press the sleep mode button the digital display will show “LL” and the wind speed will become minimum.
Press the button again to exit the mode. (You can also exit the mode by pressing the air volume button
“+”/”-”.)
3. Max mode button
Press the max mode button the digital display will show “HH” and the wind speed will become maximum.
Press the button again to exit the mode. (You can also exit the mode by pressing the air volume button
“+”/”-”.)
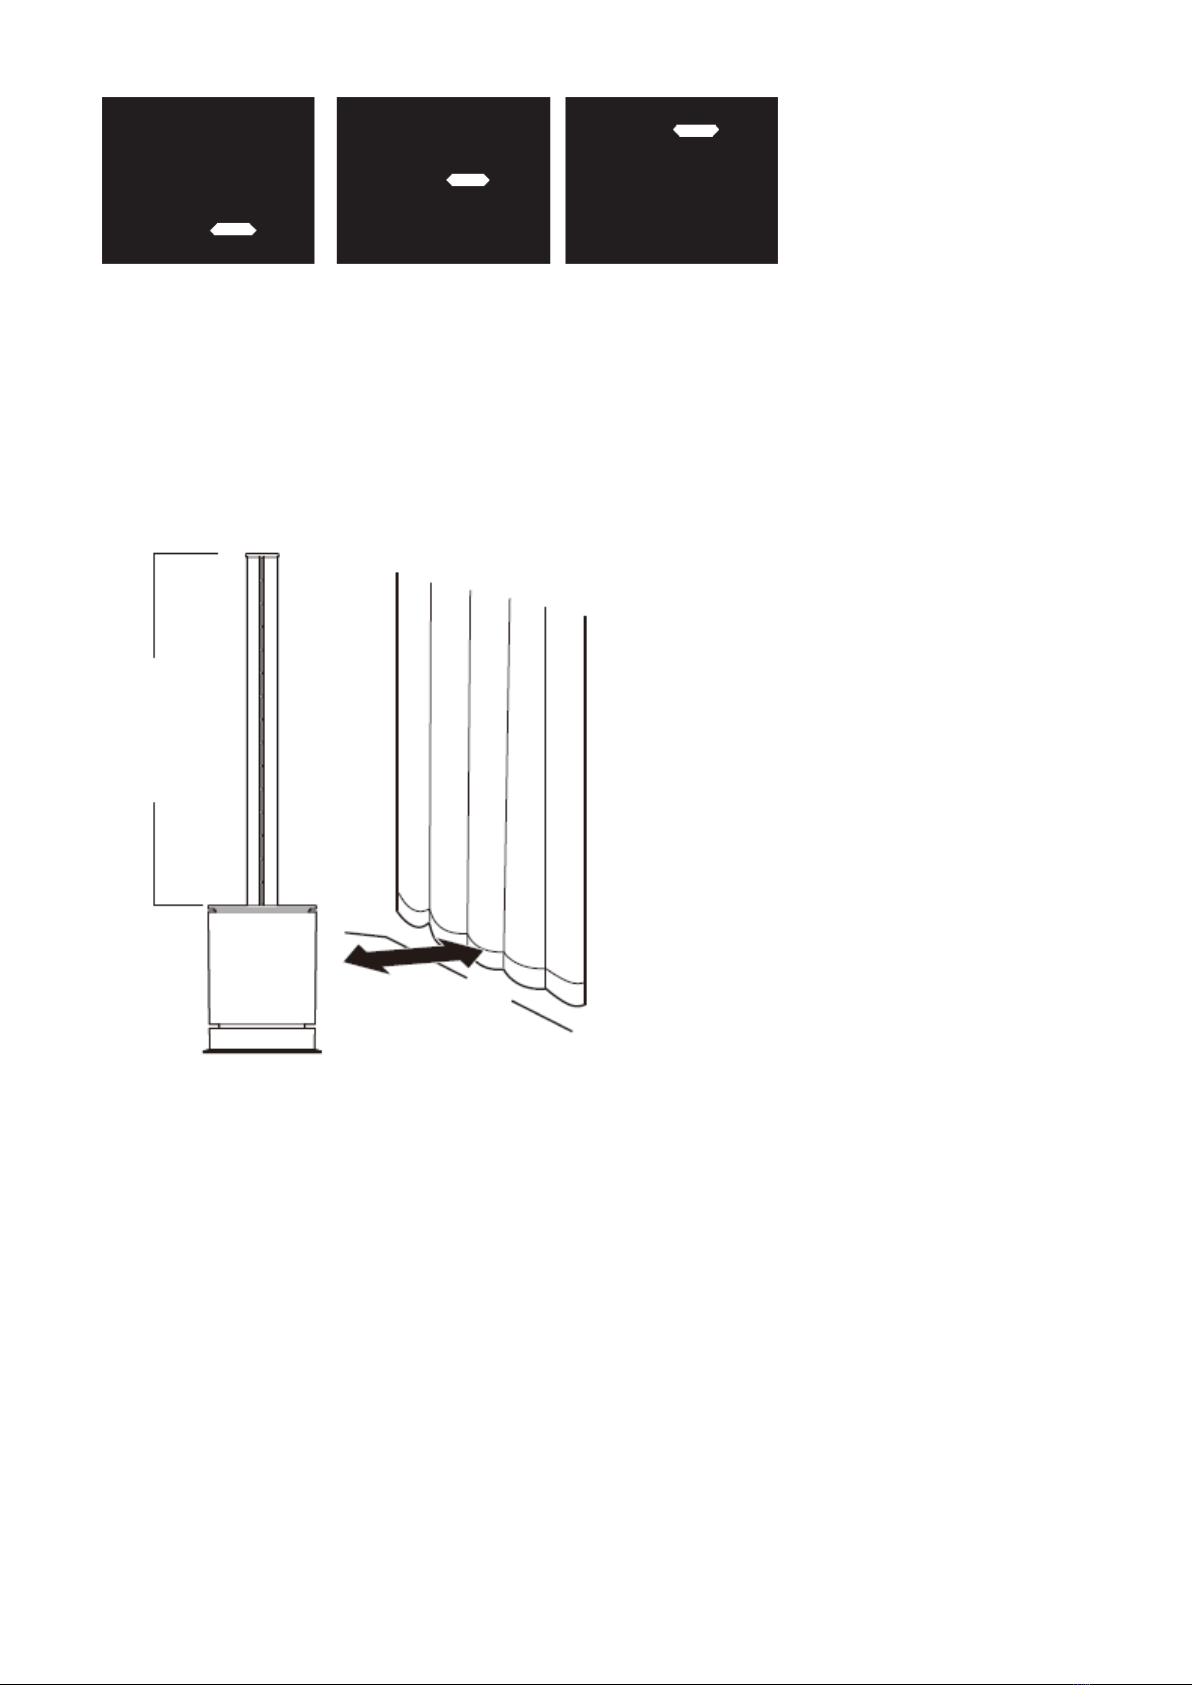
4. Oscillation button
Press the oscillation button to turn on the oscillation function. Press the button again to stop oscillating.
5. UV sterilization button
Press the UV sterilization button to turn on the UV sterilization function. The digital display will show “U”.
The UV lamp inside the appliance will effectively kill bacteria/virus in the air. Press the button again to turn
the function off. This function will automatically shut down after 1 hour.
6. Cool mode button
Press the cool mode button to enter the cool mode. You can adjust the air volume under this mode.
Note: cool mode is the default mode when the appliance is turned on.
7. Air volume button
Press the button “+” on the left side of the remote control to increase the air volume. Press the button “-”
on the left side of the remote control to decrease the air volume. There are 9 level settings for cool mode.
There are 4 level settings for warm mode.
8. Warm mode button
Press the warm mode button to enter the warm mode. The digital display will show the ambient temperature.
You can adjust the air volume and the temperature under this mode.*
Note: under warm mode, max mode and sleep mode are not available.
9. Temperature button
Under warm mode, press the button “+”/”-” on the right side of the remote control to set the temperature
between 1-30℃.
Note: buttons do not work under cool mode.
10. Timer button
Press the timer button to set the working time from 1 to 8 hours. A small “” will flash on the lower right
corner of the digital display to indicate the timer is under setting/operation.
* The set temperature should be higher than the ambient temperature so that the warm mode function will be
turned on. When the ambient temperature reaches the set temperature the warm mode function will stop. The
appliance will send out a cool breeze for approx. 40 seconds and then turn into standby mode. When the
ambient temperature is lower than the set temperature the warm mode function will automatically activate.
Under warm mode, the default set temperature is 25℃. When the ambient temperature is below 0℃the digital
display will only show “01” instead of negative temperature value. After running over 9 hours under the warm
mode, the appliance will automatically stop running. Restart by pressing the on/off button on the control panel
or by using the remote control.
Note: the temperature can only be set by the remote control. The control panel does not support this operation.

- 8 -
1. This appliance may respond to the remote control of other devices.
2. If you use the remote control of this appliance, other devices may respond.
This is due to the overlapping frequencies of the remote control. There is no quality problem in the product itself.
To avoid misuse, keep the remote control away from other electrical devices during operation.
1. The digital display will extinguish in approx. 20 seconds with no operations. If you want to do further
operations, firstly press any button (except for the on/off button) on the remote control or the buttons on
the control panel to turn on the digital display and then press your desired buttons to choose your desired
functions.
2. The on/off button on the remote control will turn the appliance to standby mode, not complete shutdown.
Please press the power switch on the main body to completely power off when this appliance is not in use.
If this appliance is not in use for a long time, please unplug the power cord.
This appliance is equipped with a purifying air filter which can purify the air.
Replacement method:
1. Rotate the top cover anti-clockwise and pull out the filter after unlocking;
2. Separate the assembled top cover from the filter;
3. Assemble the new filter with the top cover;
4. Put the assembled filter back into the appliance and rotate it clockwise to fix it.
Top cover
To take out the filter
To install the filter down
Anti-clockwise rotation
Unlock to pull up
Clockwise rotation
Lock up
Filter
To separate or assemble

- 9 -
The appliance has a memory function. After a total of 720 hours of operation, the digital display (as shown in the
figure) will light up for about 5 seconds with the indicator light cycling when the appliance is turned on.
After replacing the filter, press and hold the on/off button on the remote control for 5 seconds to clear the alarm
and the operating time of the filter reclocks again.
This appliance is equipped with an overheat protection sensor and an automatic fail-safe that cuts power to the
unit if it is accidentally tipped over or overheat. If this sensor is triggered, unplug the machine and allow it to
cool. Check and remove any obstructions before restarting the appliance and be sure to place it on a hard and
level surface.
Unplug the appliance before cleaning and maintenance.
Please do not put the appliance on the water or splash it, which may cause damage to the machine.
Do not use banana oil, benzine, alcohol, bleach or metal objects to wipe the surface of the appliance, which
may cause discoloration of the surface.
Wipe the surface with a soft, dry cloth. If especially dirty, dilute with a mild detergent and wipe with a soft
cloth. Then wipe with a dry cloth.
Use a soft brush or a vacuum cleaner to clean the dust at the air inlet and outlet. Please clean it when there
is less dust. Too much dust will reduce the efficiency.
Do not cover
Keep a distance
Do not place anything within 1 meter.

- 10 -
Operating voltage: 220-240V ~ 50-60Hz
Power consumption: 2000W
Cool mode power: 35W
Before delivery our devices are subjected to rigorous quality control. If, despite all care, damage has occurred
during production or transportation, please return the device to your dealer. In addition to statutory legal rights,
the purchaser has an option to claim under the terms of the following guarantee:
For the purchased device we provide 2 years guarantee, commencing from the day of sale. If you have a defective
product, you can directly go back to the point of purchase.
Defects which arise due to improper handling of the device and malfunctions due to interventions and repairs
by third parties or the fitting of non-original parts are not covered by this guarantee. Always keep your receipt,
without the receipt you can’t claim any form of warranty. Damage caused by not following the instruction manual,
will lead to a void of warranty, if this results in consequential damages then we will not be liable. Neither can we
hold responsible for material damage or personal injury caused by improper use if the instruction manual is not
properly executed. Damage to accessories does not mean free replacement of the whole appliance. In such case
please contact our service department. Broken glass or breakage of plastic parts is always subject to a charge.
Defects to consumables or parts subjected to wearing, as well as cleaning, maintenance or the replacement of
said parts are not covered by the warranty and are to be paid.
Recycling – European Directive 2012/19/EU
This marking indicates that this product should not be disposed with other household wastes. To
prevent possible harm to the environment or human health from uncontrolled waste disposal, recycle
it responsibly to promote the sustainable reuse of material resources. To return your used device,
please use the return and collection systems or contact the retailer where the product was purchased. They can
take this product for environmental safe recycling.
Importiert für
Walz Leben & Wohnen GmbH
Steinstraße 28
D-88339 Bad Waldsee
Emerio Deutschland GmbH
Lerchenweg 3
D-40789 Monheim
www.buyspareparts.eu

- 11 -
Supplier: Importiert für
Walz Leben & Wohnen GmbH
Steinstraße 28
D-88339 Bad Waldsee
Emerio Deutschland GmbH
Lerchenweg 3
D-40789 Monheim
Declare that the product detailed below:
Model identifier(s):
Item
Symbol
Value
Unit
Item
Unit
Nominal heat
output
Pnom
2.0
kW
manual heat charge control, with integrated
thermostat
No
Minimum heat
output
(indicative)
Pmin
1.7
kW
manual heat charge control with room
and/or outdoor temperature feedback
No
Maximum
continuous heat
output
Pmax,c
2.0
kW
electronic heat charge control with room
and/or outdoor temperature feedback
No
fan assisted heat output
No
At nominal heat
output
elmax
N/A
kW
At minimum
heat output
elmin
N/A
kW
single stage heat output and no room
temperature control
No
In standby mode
elSB
0.00052
kW
Two or more manual stages, no room
temperature control
No
with mechanic thermostat room
temperature control
No
with electronic room temperature control
Yes
electronic room temperature control plus
day timer
No
electronic room temperature control plus
week timer
No
room temperature control, with presence
detection
No
room temperature control, with open
window detection
No

- 12 -
with distance control option
No
with adaptive start control
No
with working time limitation
Yes
with black bulb sensor
No
Contact details
Importiert für
Walz Leben & Wohnen GmbH
Steinstraße 28
D-88339 Bad Waldsee
Emerio Deutschland GmbH
Lerchenweg 3
D-40789 Monheim
Satisfies the requirement of the Council Directives:
COMMISSION REGULATION (EU) No 2015/1188 of 28 April 2015 and Amending COMMISSION REGULATION (EU)
2016/2282 implementing Directive 2009/125/EC of the European Parliament and of the Council with regard to
ecodesign requirements for local space heaters
Regarding information for consumers on how to install, use and maintain the product, WEEE information, please
check the instruction manual provided with packaging.
Maximum fan flow rate
F
19,5
m3/min
Fan power input
P
26,6
W
Service value
SV
0,73
(m3/min)/W
Standby power consumption
PSB
0,45
W
Fan sound power level
LWA
56,8
dB(A)
Maximum air velocity
c
3,2
meters/sec
Measurement standard for service
value
IEC 60879:2019 –Comfort fans and regulators for household
and similar purposes –Methods for measuring performance
Contact details for obtaining more
information
Importiert für
Walz Leben & Wohnen GmbH
Steinstraße 28
D-88339 Bad Waldsee
Emerio Deutschland GmbH
Lerchenweg 3
D-40789 Monheim

- 13 -
Satisfies the requirement of the Council Directives:
COMMISSION REGULATION (EU) No 206/2012 of 6 March 2012 and Amending COMMISSION REGULATION (EU)
2016/2282 implementing Directive 2009/125/EC of the European Parliament and of the Council with regard to
ecodesign requirements for air conditioners and comfort fans
Regarding information for consumers on how to install, use and maintain the product, WEEE information, please
check the instruction manual provided with packaging.

- 14 -
Bedienungsanleitung German
und
Lesen Sie vor dem Gebrauch unbedingt die nachfolgenden
Anleitungen, um Verletzungen oder Beschädigungen zu
vermeiden und das beste Ergebnis mit dem Gerät zu erzielen.
Bewahren Sie diese Bedienungsanleitung an einem sicheren
Ort auf. Wenn Sie dieses Gerät an eine andere Person
weitergeben, stellen Sie sicher, dass Sie auch diese
Bedienungsanleitung aushändigen.
Im Falle von Beschädigungen, die durch die Missachtung der
Anleitungen in dieser Bedienungsanleitung verursacht
wurden, wird die Garantie ungültig. Der Hersteller/Importeur
haftet nicht für Schäden, die durch Missachtung der
Bedienungsanleitung, fahrlässigen Gebrauch oder Benutzung,
die nicht in Übereinstimmung mit den Anforderungen dieser
Bedienungsanleitung erfolgt, verursacht wurden.
1. Dieses Gerät kann von Kindern ab 8 Jahren und Personen
mit eingeschränkten körperlichen, sensorischen oder
geistigen Fähigkeiten oder mangelnder Erfahrung und
Kenntnis benutzt werden, wenn sie beaufsichtigt werden
oder in die sichere Benutzung des Gerätes unterwiesen
werden und die damit verbundenen Gefahren verstehen.
2. Kinder dürfen nicht mit dem Gerät spielen.
3. Die Reinigung und vom Benutzer auszuführende
Wartungsarbeiten dürfen von Kindern nur unter Aufsicht
durchgeführt werden.
4. Wenn die Netzanschlussleitung dieses Gerätes beschädigt
wird, muss sie durch den Hersteller oder seinen
Kundendienst oder eine ähnlich qualifizierte Person ersetzt
werden, um Gefährdungen zu vermeiden.
5. Kinder unter 3 Jahre sollten ferngehalten werden, außer sie
werden ständig beaufsichtigt.
6. Kinder ab 3 Jahre und unter 8 Jahre dürfen das Gerät nur
an- und ausschalten, unter der Voraussetzung, dass es an

- 15 -
die normale Betriebsposition platziert oder montiert wurde
und sie beaufsichtigt werden oder in der sicheren
Bedienung des Gerätes unterrichtet wurden und die
involvierten Gefahren verstehen. Kinder ab 3 Jahre und
unter 8 Jahre dürfen das Gerät nicht an das Stromnetz
anschließen, einstellen und reinigen oder
Wartungsarbeiten durchführen.
7.
8. Das Gerät nicht abdecken, um ein
Überhitzen zu vermeiden.
9. Das Gerät darf nicht direkt unter einer Steckdose platziert
werden.
10. Verwenden Sie dieses Gerät nicht in unmittelbarer Nähe
von Bädern, Duschen oder Schwimmbecken.
11. Das Gerät verfügt über keine Vorrichtung zur
Regulierung der Zimmertemperatur. Benutzen Sie dieses
Gerät nicht in kleinen Räumen, wenn sich darin Personen
aufhalten, die den Raum nicht ohne Hilfe verlassen können;
es sei denn, sie werden konstant beaufsichtigt.
12. Vor dem Reinigen oder Pflegen muss der Netzstecker des
Geräts aus der Steckdose gezogen werden.
13. Bedeutet " Nicht abdecken ".
14. Benutzen Sie das Gerät nicht nach einem Sturz.
15. Bei sichtbaren Geräteschäden nicht benutzen.
16. Benutzen Sie das Gerät auf einer horizontalen und stabilen
Fläche.
17. Bevor Sie den Stecker mit der Netzsteckdose verbinden,
prüfen Sie bitte, ob die Spannung und die Frequenz mit den
Angaben auf dem Typenschild übereinstimmen.
18. Ziehen Sie den Netzstecker aus der Steckdose, wenn das
Gerät nicht benutzt und bevor es gereinigt wird.
19. Achten Sie darauf, dass das Netzkabel nicht über scharfe
Kanten hängt und halten Sie es von heißen Objekten und
offenen Flammen fern.

- 16 -
20. Tauchen Sie das Gerät oder den Netzstecker nicht in Wasser
oder andere Flüssigkeiten. Es besteht Lebensgefahr
aufgrund von Stromschlag!
21. Um den Stecker aus der Steckdose zu entfernen, ziehen Sie
am Stecker. Ziehen Sie nicht am Kabel.
22. Den Netzstecker des Gerätes nicht mit einer nassen Hand
aus der Steckdose ziehen oder mit der Steckdose verbinden.
23. Versuchen Sie unter keinen Umständen, das Gehäuse des
Gerätes zu öffnen oder das Gerät selbst zu reparieren. Dies
könnte einen Stromschlag verursachen.
24. Lassen Sie das Gerät während des Gebrauchs niemals
unbeaufsichtigt.
25. Dieses Gerät ist nicht für den gewerblichen Gebrauch
konzipiert.
26. Verwenden Sie das Gerät nur zu seinem
bestimmungsgemäßen Zweck.
27. Wickeln Sie das Kabel nicht um das Gerät und knicken Sie es
nicht.
28. Legen Sie keine Gegenstände vor die Luftein- und -auslässe
am Gerät. Die Lüftungsöffnungen müssen frei von Staub,
Flusen, Haaren und andere Hindernissen sein, die den
Luftstrom einschränken können.
29. Halten Sie das Gerät mindestens 1,5 Meter von einer
Feuerquelle oder Zunder entfernt, und vermeiden Sie
direkte Sonneneinstrahlung.
30. Der Netzschalter darf nicht durch Einstecken (Ausstecken)
des Netzkabelsteckers ersetzt werden.
31. Stellen Sie das Gerät nicht gegen die Steckdose oder unter
die Steckdose. Die Steckdose sollte hinter dem Gerät
platziert werden, wenn die Heizfunktion (Heizmodus)
verwendet wird.
32. An der Steckdose dürfen keine anderen Geräten mit hoher
Leistung gleichzeitig angeschlossen sein.
33. Dieses Produkt muss mit einer CE-geprüften festen
Steckdose ausgestattet sein, die dem Nennbetriebsstrom
entspricht. Verwenden Sie keine mobile
Mehrzwecksteckdose.

- 17 -
1. Abdeckung
2. Luftauslass
3. Luftkanal
4. Bedienfeld
5. Lufteinlass
6. Gehäuse
7. Lufteinlass
8. Unterteil
9. Hauptschalter
10. Netzkabel
Bedienfeld
1. Ein-/Aus-Taste (kann auch zur Steuerung der Luftmenge und der Schwenkfunktion verwendet werden)
2. Digital-Display
3. Taste für Heizmodus

- 18 -
BETRIEB
1. Stecken Sie den Stecker in eine geeignete Steckdose. Schalten Sie das Gerät am Hauptschalter auf „I“. Das
Gerät ist im Standby-Modus.
2. Zum Ein- und Ausschalten:
Drücken Sie die Ein-/Aus-Taste auf dem Bedienfeld. Daraufhin ertönt der Summer einmal und das Gerät
beginnt zu laufen. Halten Sie die Ein-/Aus-Taste 2 Sekunden lang gedrückt. Der Summer piept zweimal und
das Gerät hört auf zu laufen, nachdem Sie die Taste losgelassen haben.
3. Zum Wechseln in den Heizmodus:
Das Gerät arbeitet standardmäßig im Kühlmodus, in dem es kühle Luft abgibt. Drücken Sie die Taste für den
Heizmodus auf dem Bedienfeld, um den Heizmodus einzuschalten. Das Gerät beginnt, warme Luft
abzugeben. Auf der Digitalanzeige wird die Umgebungstemperatur angezeigt. Drücken Sie die Taste erneut,
um den Heizmodus zu verlassen.
4. Zum Einstellen des Luftstroms:
Wenn das Gerät in Betrieb ist, drücken Sie die Ein-/Austaste auf dem Bedienfeld, um im Kühlmodus die
Luftmenge von 1 bis 9 einzustellen. Im Heizmodus können Sie die Luftmenge von 1 bis 4 einstellen.
5. Zum Einstellen der Schwenkfunktion:
Halten Sie die Ein-/Austaste auf dem Bedienfeld 1 Sekunde lang gedrückt. Daraufhin ertönt der Summer
einmal und das Gerät beginnt zu schwenken. Halten Sie die Ein-/Austaste erneut 1 Sekunde lang gedrückt.
Daraufhin ertönt der Summer einmal und das Gerät hört auf zu schwenken.
Verwendung der Fernbedienung:
Dieses Gerät verfügt über eine Fernbedienung. Bitte benutzen Sie 2 x 1,5 V AAA-Batterien für die Fernbedienung.
Setzen Sie die Batterien nebeneinander in die Fernbedienung ein. Wird die Fernbedienung längere Zeit nicht
genutzt, nehmen Sie die Batterien aus der Fernbedienung.
Hinweis: Die meisten Gerätefunktionen lassen sich über die Fernbedienung steuern. Bitte wenden Sie sich an
unseren Kundenservice, falls Sie die Fernbedienung verloren haben oder die Fernbedienung defekt ist.
Die Fernbedienung sollte auf den Signalempfänger im digitalen Display gezeigt werden, damit das
Fernbediensignal gezielt eintrifft. Effektiver Abstand: 4 m

- 19 -
1. Ein-/Ausschalter
Die Ein-/Aus-Taste drücken, um das Gerät einzuschalten. Drücken Sie die Taste noch einmal, um das Gerät
auszuschalten.
2. Taste Schlafmodus
Drücken Sie die Taste für den Schlafmodus. Daraufhin zeigt die Digitalanzeige „LL“ an und die
Luftgeschwindigkeit wird auf ein Minimum reduziert. Drücken Sie die Taste erneut, um den Modus zu
verlassen. (Sie können den Modus auch mit der Luftmengentaste „+/-“ beenden.)
3. Maximalmodus-Taste
Drücken Sie die Taste für den Maximalmodus. Daraufhin zeigt die Digitalanzeige „HH“ an und die
Luftgeschwindigkeit wird auf den Maximalwert erhöht. Drücken Sie die Taste erneut, um den Modus zu
verlassen. (Sie können den Modus auch mit der Luftmengentaste „+/-“ beenden.)
4. Oszillationsschalter
Drücken Sie die Schwenktaste, um die Schwenkfunktion zu aktivieren. Drücken Sie die Taste erneut, um die
Schwenkfunktion zu beenden.
5. Taste für UV-Sterilisation
Drücken Sie die Taste UV-Sterilisation, um die UV-Sterilisationsfunktion einzuschalten. Auf dem digitalen
Display wird „U“ angezeigt Die UV-Lampe im Inneren des Geräts tötet effektiv Bakterien/Viren in der Luft
ab. Drücken Sie die Taste erneut, um die Funktion auszuschalten. Diese Funktion wird nach 1 Stunde
automatisch abgeschaltet.
6. Taste Kühlmodus
Drücken Sie die Taste für den Kühlmodus, um den Kühlmodus zu aktivieren. In diesem Modus können Sie
die Luftmenge einstellen.
Hinweis: Der Kühlmodus ist der Standardmodus beim Einschalten des Geräts.
7. Taste für die Luftmenge
Drücken Sie die Taste „+“ auf der linken Seite der Fernbedienung, um die Luftmenge zu erhöhen. Drücken
Sie die Taste „-“ auf der linken Seite der Fernbedienung, um die Luftmenge zu verringern. Es gibt 9
Stufeneinstellungen für den Kühlmodus. Es gibt 4 Stufeneinstellungen für den Heizmodus.
8. Taste für Heizmodus
Drücken Sie die Taste für den Heizmodus, um den Heizmodus zu aktivieren. Auf der Digitalanzeige wird die
Umgebungstemperatur angezeigt. In diesem Modus können Sie die Luftmenge und die Temperatur
einstellen.*
Hinweis: Im Warmmodus sind der Maximalmodus und der Schlafmodus nicht verfügbar.
9. Temperatur-Taste
Drücken Sie im Heizmodus die Taste „+“/„-“ auf der rechten Seite der Fernbedienung, um die Temperatur
zwischen 1-30 °C einzustellen.
Hinweis: Die Tasten funktionieren nicht im Kühlmodus.
10. Timer-Taste
Drücken Sie die Timer-Taste, um eine Betriebsdauer zwischen 1 und 8 Stunden einzustellen. Ein kleines „-
“ blinkt in der unteren rechten Ecke der Digitalanzeige, um anzuzeigen, dass der Timer gerade
eingestellt/betrieben wird.
* Die eingestellte Temperatur sollte höher sein als die Umgebungstemperatur, damit die Heizmodusfunktion
eingeschaltet wird. Wenn die Umgebungstemperatur die eingestellte Temperatur erreicht, wird die
Heizmodusfunktion beendet. Das Gerät gibt für ca. 40 Sekunden eine kühle Brise ab und schaltet dann in den
Standby-Modus. Wenn die Umgebungstemperatur niedriger ist als die eingestellte Temperatur, wird die
Heizmodusfunktion automatisch aktiviert.
Im Heizmodus beträgt die voreingestellte Temperatur 25 °C. Wenn die Umgebungstemperatur unter 0℃liegt,
zeigt die Digitalanzeige nur „01“ anstelle des negativen Temperaturwertes an. Nach einer Betriebszeit von mehr
als 9 Stunden im Heizmodus schaltet das Gerät automatisch ab. Starten Sie neu, indem Sie die Ein-/Austaste auf
dem Bedienfeld drücken oder die Fernbedienung verwenden.
Hinweis: Die Temperatur kann nur über die Fernbedienung eingestellt werden. Das Bedienfeld unterstützt
diesen Vorgang nicht.
Table of contents
Languages:
Popular Fan manuals by other brands

Trendworx
Trendworx Charleston Instructions for use

Rubine
Rubine RCF-NE700-5B instruction manual

BOMANN
BOMANN CB 1063 instruction manual

ATD Tools
ATD Tools ATD-30334 owner's manual

NuTone
NuTone 744SFLNT Architectural & engineering specifications

Westinghouse
Westinghouse ETL-ES-Alta Vista-WH22 owner's manual