Genie CCTV HDMC221 User manual

1
Model: HDMC221 & HDMC221CP
HD-SDI Miniature
Cased PCB Cameras
User Guide

2
Overview
Important Safety Instructions
1. Read these instructions.
2. Keep these instructions.
3. Heed all warnings.
4. Follow all instructions.
5. Clean only with dry lint free cloth.
6. Do not block any ventilation openings. Install in
accordance with the manufacturer’s instructions.
7. Do not install near any heat sources, such as radiators,
boilers, stoves or other apparatus that produce heat.
8. Only use attachments/ accessories specified by the
manufacturer.
9. Use only with the bracket specified by the manufacturer,
or sold with the apparatus.
10.
Unplug this apparatus during lightning storms or when
unused for long periods of time.
11. Refer all servicing to qualified service personnel.
Servicing is required when the apparatus has been
damaged in any way.
3
Overview
WARNING
1. TO REDUCE THE RISK OF FIRE OR ELECTRIC SHOCK, DO NOT
EXPOSE THIS PRODUCT TO RAIN OR MOISTURE. DO NOT
INSERT ANY METALLIC OBJECT THROUGH THE VENTILATION
GRILLS OR OTHER OPENINGS ON THE EQUIPMENT.
Apparatus must not be exposed to water.
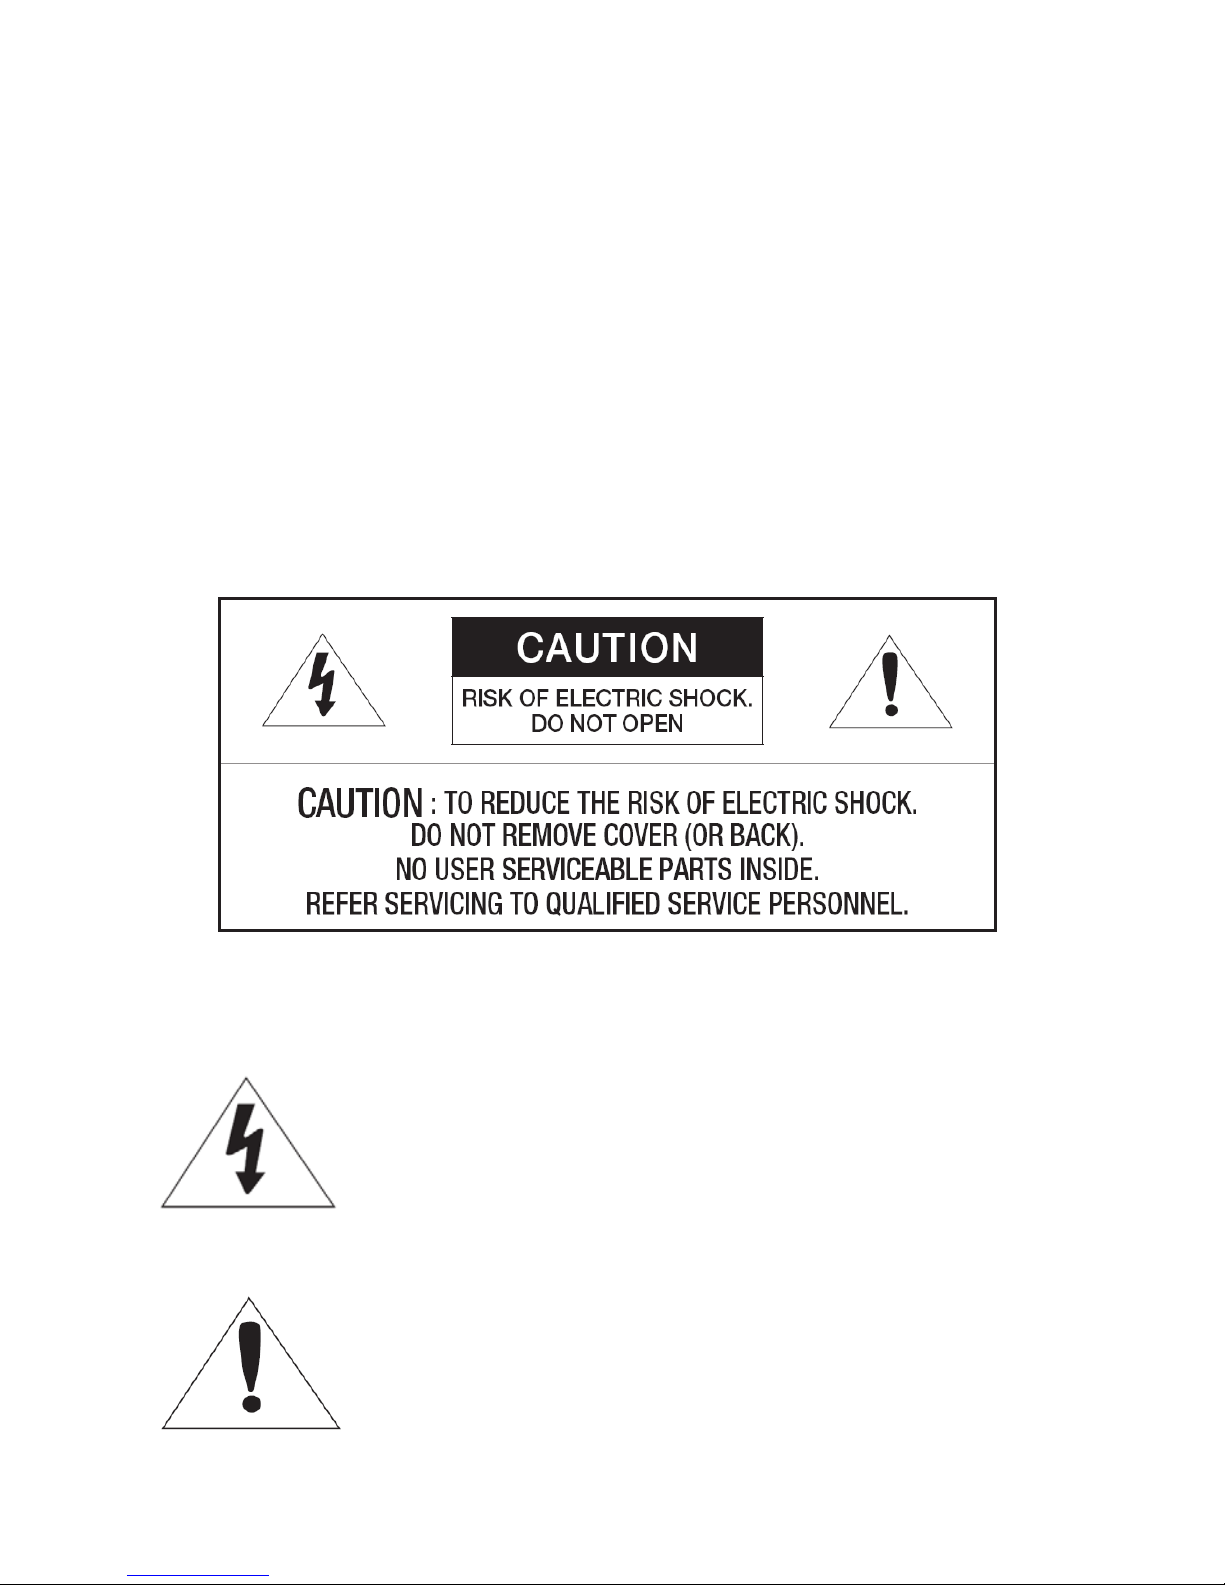
CAUTION
EXPLANATION OF GRAPHICAL SYMBOL
The lightning ash with arrowhead symbol, within an
equilateral triangle, is intended to alert the user to the
presence of “dangerous voltage” within the product’s
enclosure that may be of sufcient magnitude to
constitute a risk of electric shock to persons.
The exclamation point within an equilateral triangle is
intended to alert the user to the presence of important
operating and maintenance (servicing) instructions in the
literature accompanying the product.

4
Overview
• Please carefully read the following recommended safety
precautions.
• Do not place this apparatus on an uneven surface.
• Do not install on a surface where it is exposed to direct
sunlight, near heating equipment or very cold areas.
• Do not place this apparatus near conductive material.
• Do not attempt to service this apparatus yourself.
• Do not expose the camera to rain or moisture.
• Do not install near any magnetic sources.
• Do not block any ventilation openings.
• Do not place heavy items on the product.
• Do not expose the camera to radioactivity.
The User Manual is for guidance on how to use the product.
• Please read this manual for the safe installation of the
product and retain it for future reference.

5
Contents
Important Safety Instructions 2
Product Features 6
Package Contents 7
Mounting 8
Connecting with Other Devices 9
Menu Configuration 11
Menu Setup 12
Specification 28
Product Overview 30
Troubleshooting 31

6
Overview
Product Features
Supports Full HD-SDI Video
Using a diagonal 6mm (1/3”) 2 Megapixel CMOS, the camera produces clear
quality images.
Excellent Low Illumination Image Quality
By adopting a high-sensitivity colour CMOS chip the camera provides clear
image quality even under low illumination conditions (0.02 Lux with SENS-UP,
x60).
NR (Noise Reduction) Function
The high-performance NVP-2400 DSP chip effectively removes low-light gain
noise, and after images, to provide clear images even in dark environments.
Defog Function
Images can be achieved in extraordinary environmental conditions, such as
fog or mist, or in those with a strong luminous intensity using DR (dynamic
range).
Digital Day & Night
This camera has a function that automatically selects the mode that is
appropriate for daytime or night-time conditions. The COLOUR mode operates
in daytime conditions to provide optimum colour rendition, and B/W mode
operates in night-time conditions to enhance the denition of the image.
DWDR (Digital Wide Dynamic Range)
For images having a high contrast between bright and dark areas from –
with difcult lighting conditions such as backlight - this camera selectively
illuminates darker areas while retaining the same light level for brighter areas
to even out the overall brightness.
Miscellaneous Functions
HSBLC (High Light Compensation), SENS-UP, FLIP (H/V-REV, ROATATE),
D-ZOOM and PRIVACY functions are available.
OSD
A multi-lingual user-friendly OSD (On-Screen Display) menu is provided.

7
Package Contents
Check if the main unit and all the following accessories are
included in the product package.
Appearance Item Name Quantity Description
Camera 1
Pin Hole, Fixed,
V/F(TDN) Type
User Manual 1
Bracket 1
Mounting Screw 2 8x38 PISE SUS
Screw 1
MS TH M4x8 SUS
8
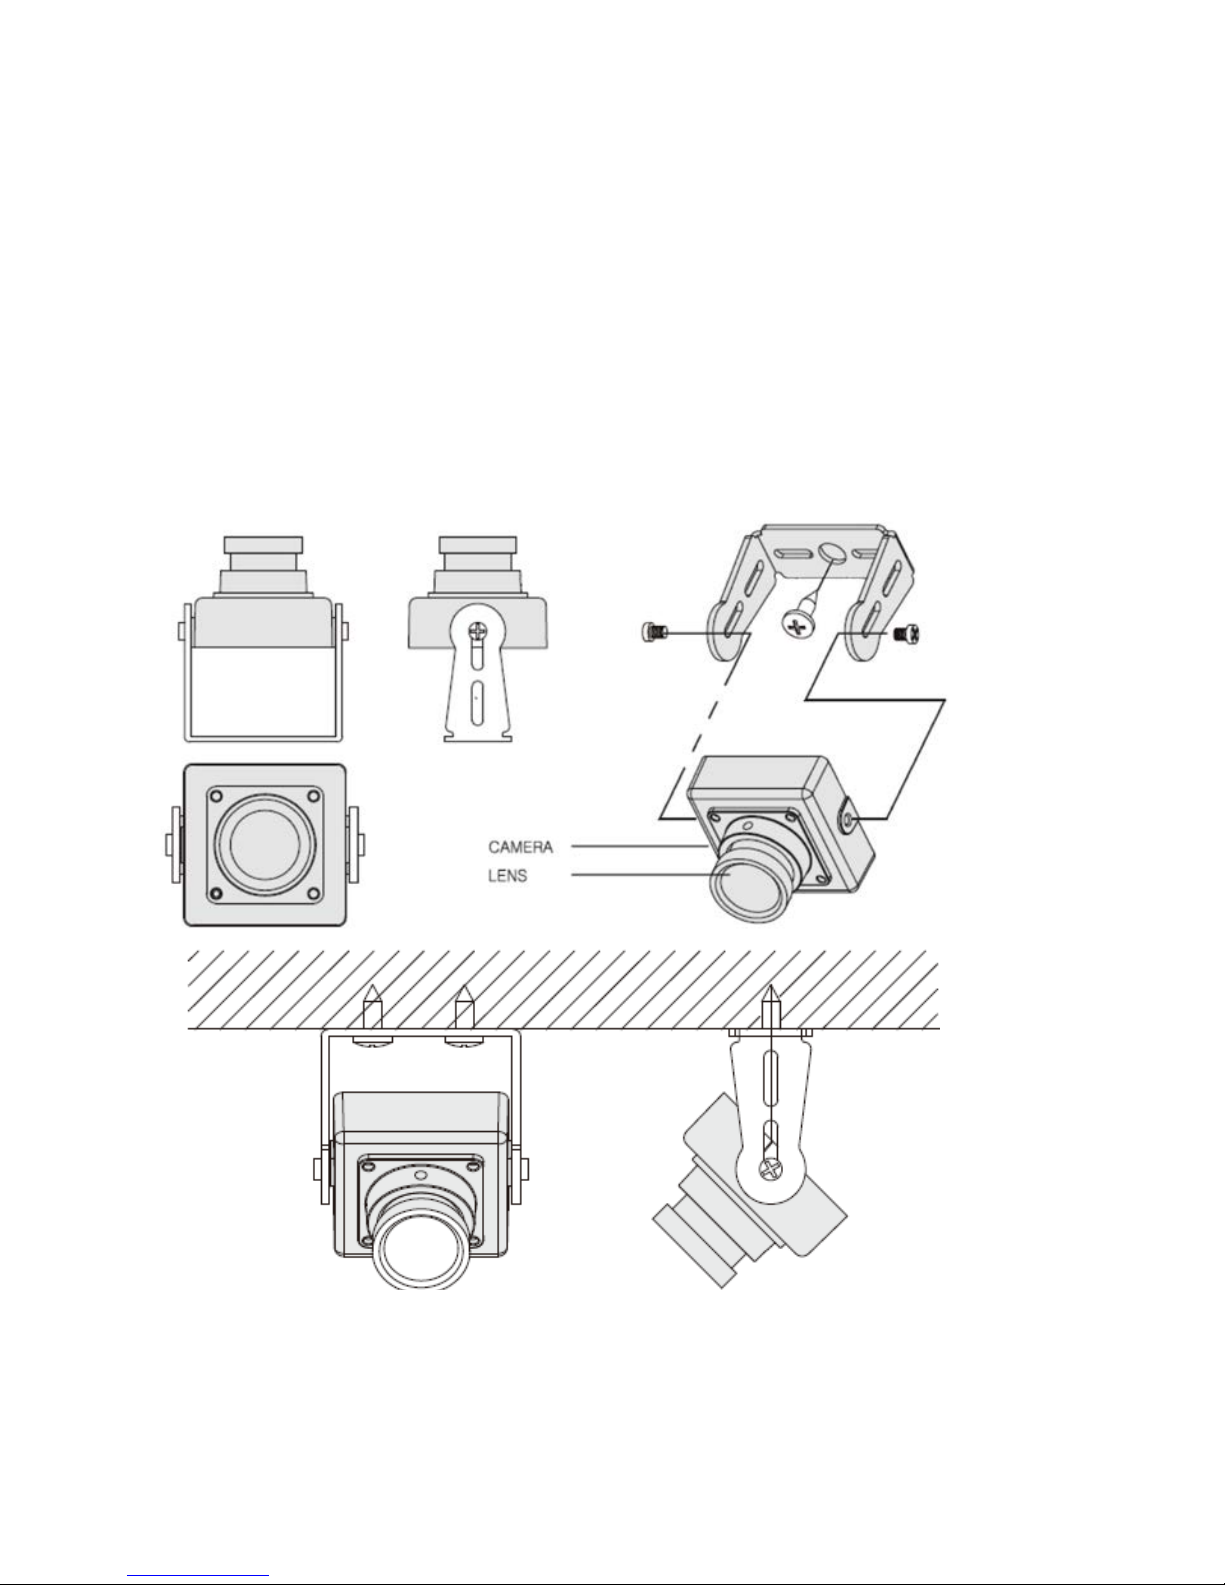
Installation & Connection
Mounting
Disconnect the power before proceeding.
With a normal commercial lens, you may encounter images
being out of focus when switching to BW mode . To prevent
this, it is recommended using an IR megapixel lens.

9
Installation & Connection
Connecting with Other Devices
Connecting to a Monitor
Connect the video out port of the camera to the video input
port of the monitor.
• On the initial installation of the camera connect the
camera to the monitor to check the connection status.
• When connecting a general monitor device to the HD-SDI
video output, you need to use a signal converter.
• You can set the video output type to either NTSC or PAL.
Video Cable
• The cable connecting the camera’s video output and a
monitor is a BNC coaxial cable as shown below.
• If the distance between the camera and the monitor
exceeds the recommended maximum, please us an
auxiliary video amp.
DC12V (RED)
HD-SDI (METAL)
COMP (YELLOW)

10
Installation & Connection
Resistance of Copper Wire [at 20°C (68°F)]
As shown in the table above, you may encounter a voltage-
sag depending on the wire length and gauge. If you use an
excessively long wire for the camera power connection, the
camera may not work properly.
• Voltage for proper camera operation: DC12V±10%,
• Voltage drops shown in the table above may vary
depending on the cable manufacturer and the cable type.
This manual suits for next models
1
Table of contents
Other Genie CCTV IP Camera manuals


