ENGLISH
Hardware Installaon :
1. Install one AA baery into the mouse and one AA baery
into the keyboard.
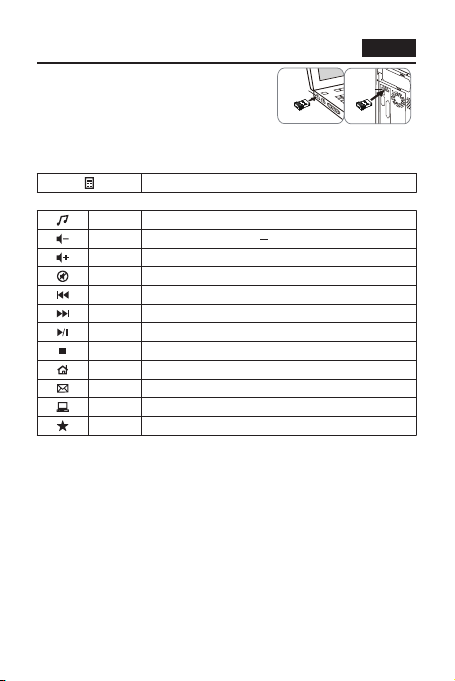
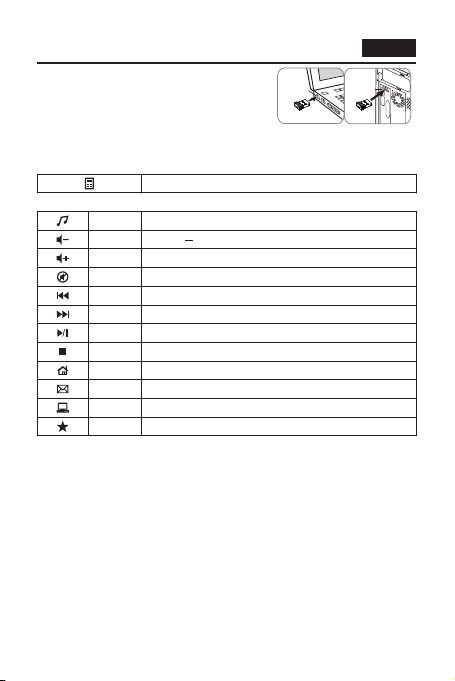
2. Remove the Pico receiver from the mouse and plug it into a
USB port on your PC.
USB port
Receiver
USB port
Receiver
Fn+F1 Media Player
Calculator
Fn+F2 Volume
_
Fn+F3 Volume +
Fn+F4 Mute
Fn+F5 Previous Track
Fn+F6 Next Track
Fn+F7 Play / Pause
Fn+F8 Stop Playing
Fn+F9 Web / Homepage
Fn+F10 Email
Fn+F11 My computer
Fn+F12 My favorite
Hotkey
Funcon keys
Replace Baeries
If the mouse or keyboard does not work properly, then the
baeries have lost their charge, so you need to replace
them.
Warning : do not mix or use different types of baeries at
the same me.
Notes on Baery Usage
When you use the baery, carefully read and strictly observe
the Safety Instrucons and the notes described below:
• Different baery types and surrounding temperatures may
affect the baery performance.
• Avoid using baeries in extremely cold environments as
low temperatures can shorten the baery life and reduce
wireless device performance.
• If you are using a new rechargeable baery or
rechargeable baery that has not been used for an
extended period of me (baeries that pass the expiry
date are excepons) it might affect the period of me
according to local regulaons.
you can use this device. Therefore, to maximize their
performance and lifeme, we recommend that you fully
charge the baeries and discharge them for at least one
complete cycle before use.
• The baery or wireless device may feel warm when using
for an extended period of me. This is normal and not a
malfuncon.
• If you will not be using the baeries for an extended period
of me, remove them from the wireless device to prevent
leakage or corrosion.
• Always keep the terminals in a clean state.
• Risk of explosion if baery is replaced by an incorrect type.
• Dispose of used baeries according to local regulaons.