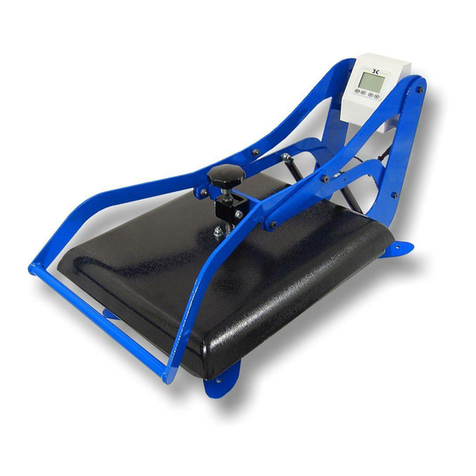
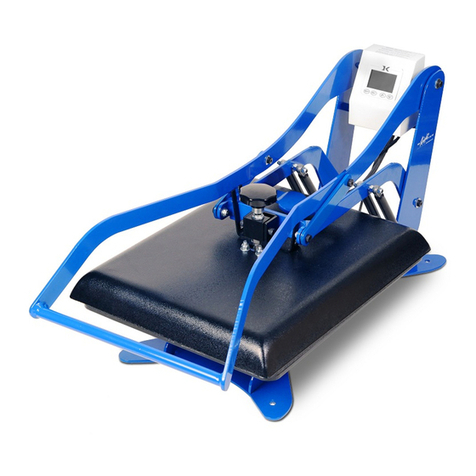
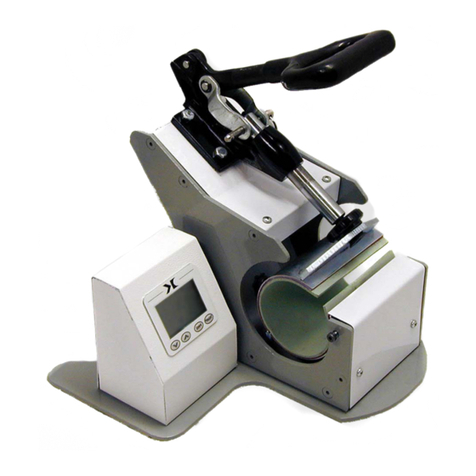
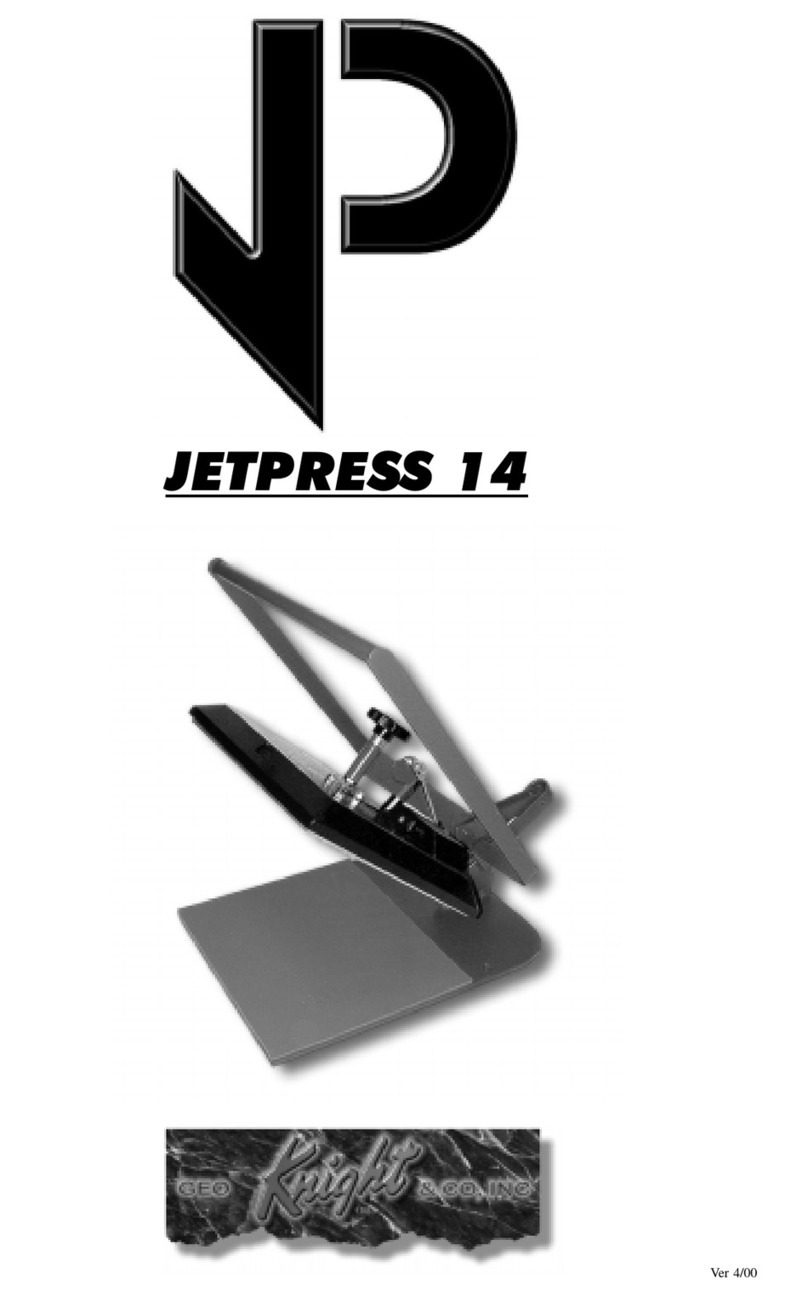
Thermometer
ThermostatKnob
On/OffSwitch
&HeatingLight
Power Socket
DigitalTimer
PressureKnob
Clamp& Handle
JETPRESS 14
Start Up
1. Connect power cord to the press. Plug the cord into the power
socket in the back of the control console, and then into the wall receptacle.
2. Turn the power on by flipping the On/Off Switch on.
3. Turn the Temperature Knob to the right (clockwise) and wait
for the press to come up to heat. The Heating Light will be lit while heating.
When the thermometer indicates the desired temperature, turn the temperature
knob back to the left (counter-clockwise) slowly until the red heating light turns
off.The Heating light will continually cycle on andoff to regulateyour tempera-
ture setting afterwards, and the machine may be pressed whether lit or not.
4. The Digital Timer is set by using the M/S buttons. Hold them down
to increase values rapidly. Press the Start/Stop button to start the timer. When
the alarm sounds, press the Start/Stop button again to reset.
Important Notes
1. AlwaysleaveHeat PlateninUp/Unclamped position whennotpressing. Prolongedcontactwith
the silicone pad will decrease the life of the pad.
2. Do not leave press Heating Unattended, or for extremely long periods of time.
3. Do not let power cord come in contact with heat platen.
4. Silicone pad may be slightly larger than heat platen, or may expand due to heat.
This is normal.
5. Heat platen may pivot slightly back and forth rotationally. This is due to move-
ment allowance within the clamp assembly, and is normal.
Pressing
1. Lift up on the handle to open the press. The press should always be in
the open position when the press is heating. Swing the heat platen out away
from the rubber pad.
2. Lay out T-Shirt (or other item to be printed) as desired. Lay transfer
paper onto shirt. Be sure the Transfer Paper is well within the silicone pad
pressing area.
3. Adjust the pressure knob clockwise to increase pressure, and counter-
clockwise to decrease pressure. Do not turn the knob clockwise too far or the
rear post may jam against the bottom of the press.
4. Bring the handle down, clamping the press, and press the Start/Stop
button on the Digital Timer. The handle should lock firmly in place, and should
point straight-forward.
5. Consult the Transfer Paper instructions on whether to peel cold ot hot.
Here are suggested pressing time guidlines for different transfer papers:
Ink-Jet Transfer Paper (fabrics) 14-18 seconds
Laser Copier/Printer Transfer Paper (fabrics) 18-25 seconds
Sublimation Transfers (onto Fabrics) 25-30 seconds
Sublimation Transfers (onto FR-Plastic/Woods) 60-70 seconds
6. Mousepads, coasters, and other thicker matierals may also be pressed.
Simply adjust the pressure adjustment knob as stated in step 3.
7. To avoid re-heating the first transfer when printing double sided T-
Shirts, insert a sheet of cardboard in between the shirt, adjust the height to less
pressure, & press.
Troubleshooting
1. Transferispressedprint-side-up andtransfer image is burned ontothe heatplaten surface.
Unplug press, lift heat platen up to allow room to clean. Use strong detergent and non-abrasive scrubbing
sponge to remove transfer material from heat platen.
2. Heat Platen becomes severely misaligned with silicone pad. There is a stop adjust-
ment at the back of the swivel post. This is adjustable with an allen key. Loosen the stop bracket at
the back of the press, swing the press in the desired stop-postion, and tighten the allen key. Make sure
the stop bracket is pushed hard against the stop-post while tightening.
3. Press continuously heats up far beyond normal operating temperature and red light does
not turn off. The thermostat has failed. Call factory to obtain new thermostat and follow instructions for
replacement.
