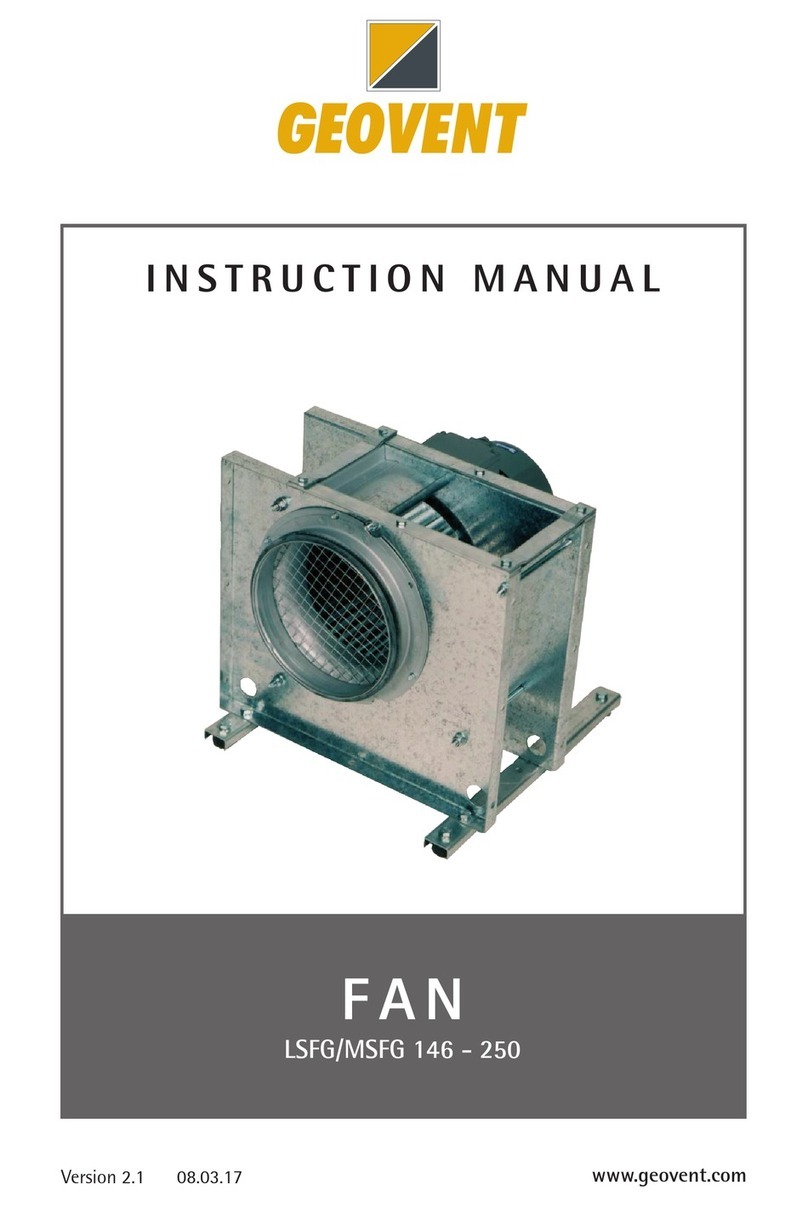
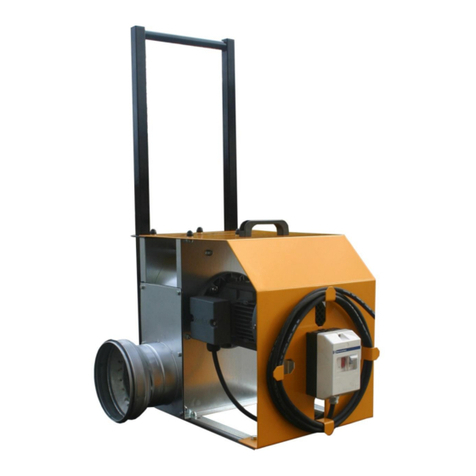
Geovent MSQ 200 User manual

Version 1.0 16.03.17
Fan
INSTRUCTIONS MANUAL
www.geovent.com
MSQ 200

2

3
Table of content
1.0 General safety precautions . . . . . . . . . . . . . . . . . . 3
1.1 Danger ..................................3
1.2 Field of application . . . . . . . . . . . . . . . . . . . . . . . . . 3
1.3 Handling ................................3
1.4 Technical data.............................3
1.5 Construction .............................4
2.0 Installation ...............................4
2.1 Fitting accessories .........................5
2.2 Trial run - adjustment .......................5
3.0 User instruction - application .................5
4.0 Maintenance..............................5
4.1 Trouble shooting ...........................5
5.0 Liability . . . . . . . . . . . . . . . . . . . . . . . . . . . . . . . . . . 6
5.1 Disposal .................................6
5.2 Environmental impact.......................6
6.0 Declaration of conformity ....................7
1.0 General safety precautions
IMPORTANT - Please study all the instructions before
mounting and commissioning.
Please keep these instructions in a safe place and
instruct all users in the function and operation of the
product.
Do not dismantle any factory-mounted parts, since it
impedes the commissioning of the equipment.
All electrical installations must be carried out by an
authorised electrician.
1.1 Danger
Mounting must be completed before conneting and
using the fan.
Removing the protection net on the fan whilst in opera-
tion involves risk of mutilation.
Always switch o the current when mounting something
on the fan or when servicing it.
1.2 Field of Application
The Fan MSQ is applied for process extraction within
the industry for the extraction of welding smoke,
exhaust gasses, grinding dust and vapours.
The Fan is not suitable for the extraction of aluminium
dust, our, textile dust nor for sawdust or other media,
which are connected with danger of explosion, without
specic approval from Geovent A/S.
1.3 Handling
Aleays use gloves when handling the fan.
The fan should be lifted by using one hand under the
motor and one under the casing.
1.4 Technical data
Temperature
Temperature extracted air Max 80 °C
Temperature ambient. Max 40 °C
For use at higher temperatures, use special motors.
Please enquire at Geovent.
Noise
The sound level depends on various factors under
various circumstances. For instance, where in the room
the Fan has been installed, the size of the room, the
temperature in the room, the accoustic prole of the
room and also the connection (hose><pipe) of the fan
inuences the sound level of the fan.
The actual ampere consumption and the kW of the
motor are shown on the metal sign on the Fan
Pressure drop
150
500
Airflow [m³/h]
Ventilator MSQ-200
1000 1500 2000 2500 3000 3500 4000 4500 5000 5500
300
450
600
750
900
1050
1300
1450
1600
1750
200
Tryktab [Pa]
Type Lp, dB(A) Lp, 1m
MSQ-200 78 72

4
1.5 Construction
House: 100% welded steel, powder coated(RAL7015)
for maximum corrosion resistance.
Fan wheel: forward curved scirocco-wheel (F-wheel)
Warm galvanized steel
Motor: B5 ange motor, Direct drive,
Protection class:IP 55.
Dimensions:
2.0 Installation
The fan is supplied assembled and ready for piping and
connection to power.
Before installation, please consider the following:
• Placement: Must be placed indoors
• Make room for mounting and servicing of the
fan.
• Possible connections and automatics.
Important:
Avoid bends on hoses imidiately prior to the intake and
after the outlet as it will decrease the perfomance of the
fan.
MSQ 200
MSQ 200 mounted on a wall console
for an extraction arm.
MSQ 200 with ange for extraction arm mounting.
Mounting on hose reel
Mounting bracket for GTE/GTS Hose reel.
MSQ mounted on a hose reel.

5
The following installation should only be carried out by a
trained professional.
Connect fan to power grid:
1. Only a trained electrician should connect the fan to
power.
Always use isolation switch der skal altid anvendes
reparationsafbryder and motor protection.
2. 3-phased motors can be congured for both
3x230V and 3x400V.
The motor is not congured by default and the
supplied jumper bars should be tted in the skal
monteres således i the terminal box according to
voltage.
Note: The following connection diagrams are indicative
Connection Diagram MSQ
Correct direction.
After connecting to power, test that the wheel turns
in the right direction.
Is this not the case, the air ow will be reduced by
up to 70 - 80%
To correct the error, simply switch two phases and
the fan will now turn in the right direction.
Connection diagram 1 fase
Connection diagram 3 fase
2.1 Fitting accessories
Fitting motor protection and pressure switch.
For installation of control device in connection with
process ventilation, see seperate documentation.
2.2 Test run and adjustment
After installation please check.
• Vibrations in the fan. See section 4.1
Trouble shooting.
• Air ow. The fan should deliver the amount of air
for wich it is designed. Adjust to correct airow
using a cut damper.
• Power consumption (Ampere). If the fan has ex-
cess capacity ( Airow) the power consumpiton can
exceed that of the motor and cause a complete
motor failure.
3.0 Application - user instruction
The fan is activated by default by pressing the start
button on the motor guard.
The fan will not work as intended if:
• Unoriginal parts have been tted- E.g: unoriginal
wheel.
• The wheel turns in the wrong direction.
The fan will stil function but capacity is reduced by
70-80 %
• If no motor protection is used.
4.0 Maintenance
Periodic maintenance.
• The wheel and house should be cleaned yearly or
when needed. Wheel and house can be cleaned
with a bruch, water and detergent.
Remember to disconect the power before washing
and dry with a dry clean piece of cloth.This will
ensure the lifespan of the fan.
• Maintenance of the motor should be carried out
according to the manual of the motor. ( enclosed)
Use only original spare parts.
4.1 Trouble shooting
Always use repair switch and motor protection.
Always use a cut damper!
In case of trouble with the fan check the following list:
Airow or pressure is less than indicated:
• Wrong turning direction of the wheel.
Switch two phases.

6
• Laeky duct system.
• Poor inlet or outlet close to the fan will decrease
performance.
• Damaged wheel.
• The rotation speed is set too low.
• If temperature is signincantly dierent from that of
the lab.
Measurements are carried out at 20°C and a pres-
sure of101,4 kPa.
• The dampers are not properly adjusted.
• The intake is blosked by rags or similar.
Vibrations and noise.:
• Foundation is not level or stable.
• External elements have entered the fan.
• damaged wheel or motor.
• The wheel has come loose.
• The wheel is unstable due to lth on the impellers.
• Wrong rotatoin diretion.
• The fan delivers more air than it was designed for.
Use cut damper.
• Loose bolts or screws.
The motor is overloaded.
• The wiring of the motor is not correct.
• The axle is bent
• The fan has an overcapacity in relation to the re-
sistance of the system. Use damper.
• Engine speed is too high.
• Defective motor - contact dealer!
5.0 Liability
Warranty
Geovent A/S grants a warranty for products which are
defective, when proven that the defects are caused by
poor manufacture or materials on the part of Geovent.
The warranty comprises remedial action (repair or ex-
change) until one year after date of shipment.
No claims can be made against Geovent A/S with
regards to loss of earnings or consequential loss as a
result of defects on products from Geovent. Wear parts
like the wheel is not covered by this warranty.
Liability
In order for Geovent to be capable of granting the
declared warranty, the user/tter must follow this
Instruction Manual in all respects.
Under no circumstances may the products be
altered in any way, without prior written
consent from Geovent A/S.
Terms of sale and delivery apply.
Available here: www.geovent.com
5.1 Disposal.
Used electronic products may contain harmful materi-
als.
If the products are disposed of with regular refuse it can
ba harmful to health and environment.
Discard of the fan by delivering it to the nearest recy-
cling station in order for the parts to be recycled.
5.2 Environmental impact.
VFans consume energy to give people a healthy indoor
climate. At Geovent we strive to minimize the impact
on the environment caused by our products. This is the
reason why we follow the latest developments in the
energy saving technology. We also ask for the highest
standards with our suppliers.
Our challenge: to supply the best possible indoor clima-
te with the least environmental impact.

7
HOVEDGADEN 86 • DK-8831 LØGSTRUP
6.0 EU declaration of conformity.
Hereby declares that:
The product: MSQ Fan
have been manufactured in compliance with the dire-
ctions of the Directive Council of 17th of May 2006 in
common approximation to the legislation of the member
states regarding machine safety 2006/42/EF amended
by the directive 95/16/EF with special reference to
appendix 1 in the Directive regarding basic health and
safety requirements in connection with the construction
and manufacturing of machinery.
EN ISO 14121-1:2007
EN ISO 12100-1:2005
EN ISO 12100-1:2009
EN ISO 12100-2:2005
EN ISO 12100-2:2009
Date: 16-03-17
Position: Director
Name: Thomas Molsen
Signature: ____________________________

Table of contents
Other Geovent Fan manuals

Geovent
Geovent MSX-146 User manual

Geovent
Geovent LSFG-146 User manual

Geovent
Geovent PM-180-1 User manual

Geovent
Geovent GEOFILTER GFX2 User manual

Geovent
Geovent PM-225 User manual

Geovent
Geovent LSFG 146 User manual

Geovent
Geovent GEOFILTER Oil 100 User manual

Geovent
Geovent W3 Filter Unit User manual

Geovent
Geovent MVF-125 User manual

Geovent
Geovent MEF Series User manual
Popular Fan manuals by other brands

DCG
DCG CLIMA VE1462TT instruction manual

Rosenberg
Rosenberg AND Ex Series Operating instruction

Minka Group
Minka Group minkaAire CONCEPT II WET instruction manual

HOME ELEMENT
HOME ELEMENT HE-FN1206A user manual

AirScape
AirScape CVK-105 Installation and operation manual

Insignia
Insignia NS-F9T7-BL Quick setup guide