KARUIZAWA KSF1215 User manual

173309900093
Semi-Stand Fan
User Manual
Model No.: KSF1215
* Before operating the appliance, please read this
manual and all the safety instructions thoroughly and
retain it for future reference.

CONTENT PAGE
SAFETY INSTRUCTION 3
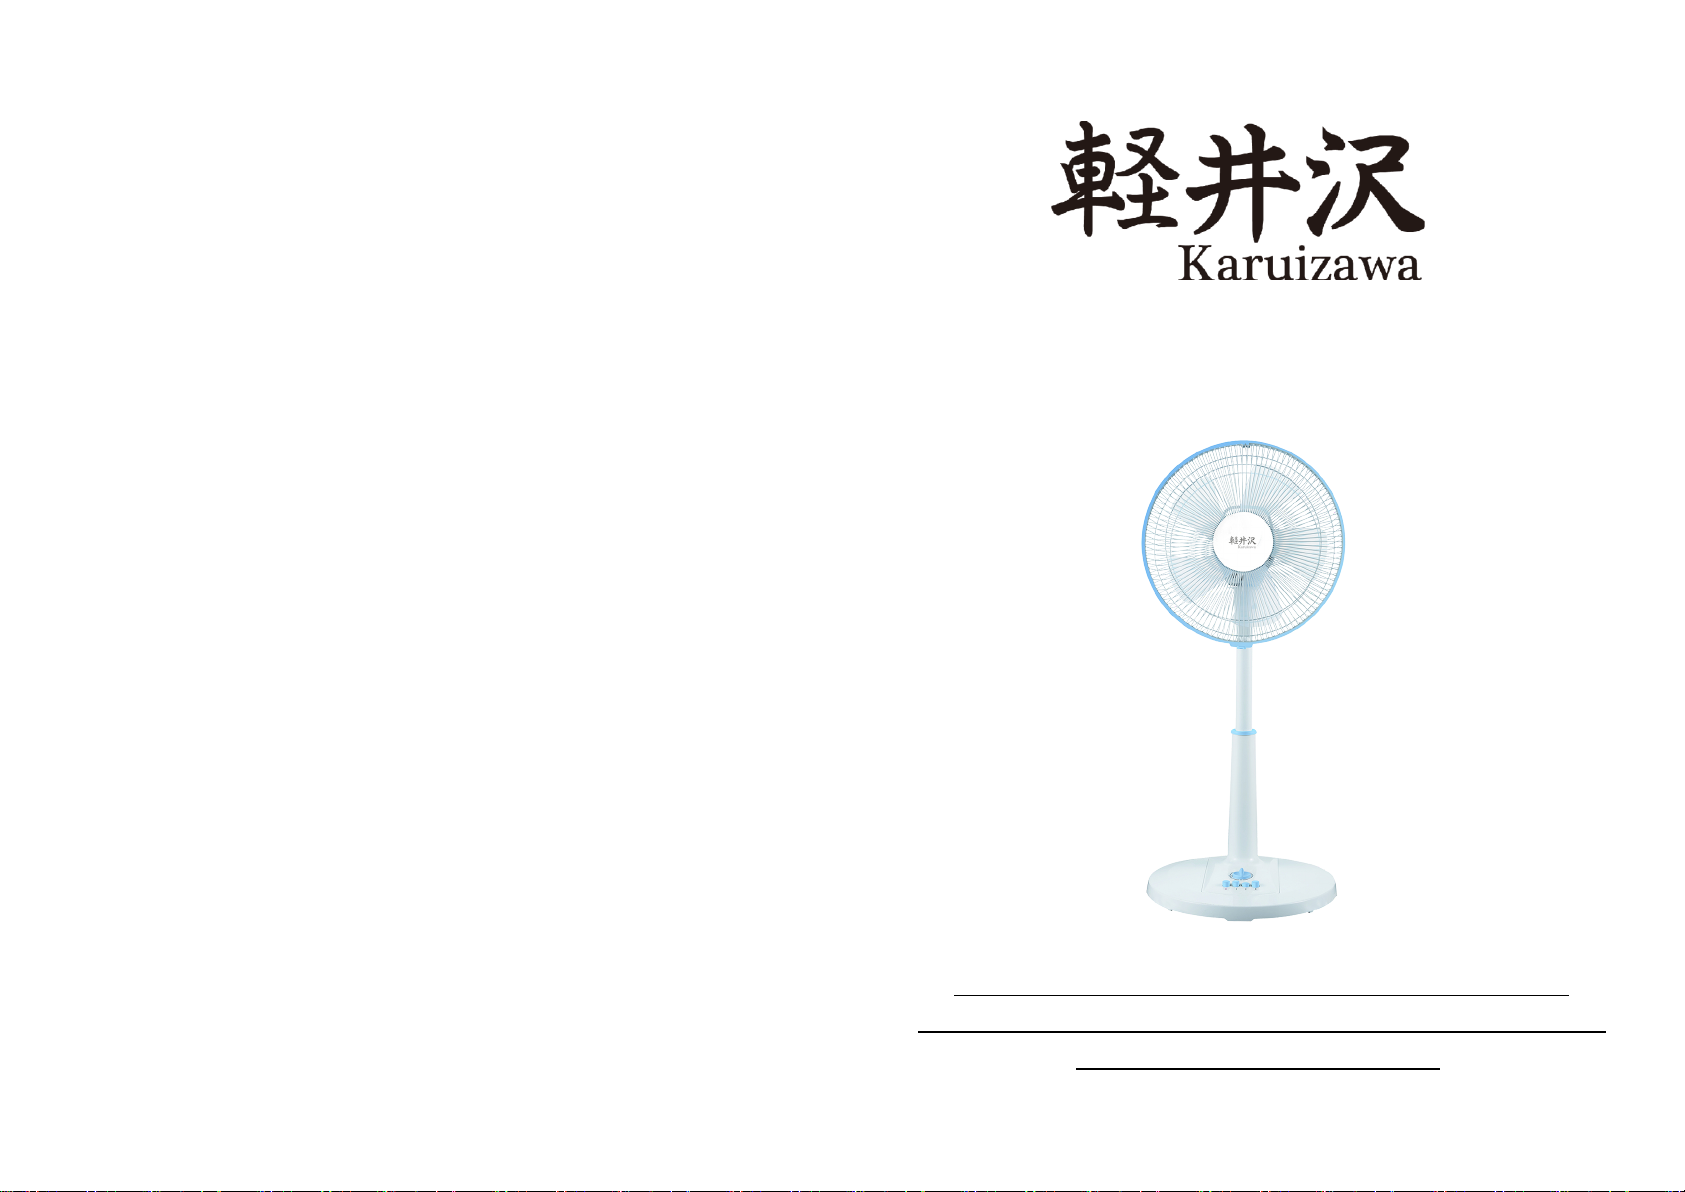
PARTS DESCRIPTION 4
INSTALLATION INSTRUCTION 4
OPERATION INSTRUCTION 6
MAINTENANCE INSTRUCTION 7
SPECIFICATION 7
WARRANTY 8
SAFETY INSTRUCTION
1. To avoid electric shock, fire or injury, please read the user manual carefully before using the
appliance and keep it for future reference.
2. This appliance is for household use only. Please use suitable power source (220-240V~/50Hz).
3. Never immerse the appliance in water or other liquids.
4. Do not use the appliance under direct sunshine.
5. Please turn off the appliance when not in use otherwise it may result in danger.
6. Please turn off the appliance and unplug the socket when unattended otherwise it may result in
danger.
7. Keep the appliance away from children.
8. The appliance is not intended for use by persons (including children) with reduced physical,
sensory or mental capabilities, or lack of experience and knowledge, unless they have been given
supervision or instruction concerning use of the appliance by a person responsible for their safety.
9. Children should be supervised to ensure that they do not play with the appliance.
10. With any indication of damage or malfunction, please stop using the appliance immediately to
avoid hazards. Take it to the authorized service center for repair. Do not attempt to repair or
change any parts by yourself.
11. If the supply cord is damaged, it must be replaced by the manufacturer, its service agent or
similarly qualified persons in order to avoid hazards.
12. Please turn off and unplug the appliance before cleaning or maintenance.
13. Clean the surface of the appliance with a dry cloth. Do not use corrosive detergent or solvent to
clean. Do not swash the appliance with water.
14. Please turn off and unplug the appliance when not in use. Make sure the power is off before pulling
out the plug and do not pull the cord.
15. When the appliance is not in use for a prolonged period, please turn it off, unplug it, pack it well,
and store it in dry cool place.
16. Forbid to put flammable and explosive objects around the appliance, and do not use the appliance
in an environment full of flammable gas and powder. Keep away from any fire and heat sources.
17. Please put the power cord in the right place in order to avoid tripping the appliance over.
18. Please keep the air inlet and the air outlet unblocked to minimize the risk of fire or malfunction.
19. Ensure no water or raindrop leaks into the appliance in order to avoid electric shock. Do not put
flammable objects or wet clothes on the air outlet in order to avoid short circuit or fire.
20. Please do not place the air inlet or the air outlet near to curtains or walls when operation because
it will block the air current and cause fire. The appliance should be installed at minimum distant
of 10 cm from the wall or other obstacles.
21. Please do not insert any objects into the air inlet or the air outlet in order to avoid electric shock.
22. After a period of operation, abnormal noise and uneven air volume may appeared because of dust
blocking airflow. It will disappear after cleaning the air inlet and outlet.
23. Do not insert any objects in the fan to prevent any injury or damage.
24. Do not hang any objects on the louver to prevent destabilizing the fan and impairing its
operation.
-3-
-2-

PARTS DESCRIPTION
INSTALLATION INSTRUCTION
Caution: Please unplug the appliance before installation.
1. Base installation
•First, insert the base into the base plate, then use the base fixing knob to fix the base
with the base plate.
2. Grille and fan blade installation
A. Rear grille
•Unscrew the fan blade knob from the motor shaft in clockwise direction. (Fig.1).
•Unscrew the grille knob from the motor shaft in anti-clockwise direction. (Fig.2).
•Set the rear grille and fit it well on the three position poles and make sure these poles
are properly put through the holes on the rear grille. Hold the rear grille and tighten
the grille knob in clockwise direction on the motor shaft (Fig. 3) .
Fig.1 Fig.2 Fig.3
B. Fan blade
•Install the fan blade through the fan blade position hole. Ensure the fan blade grooves
fit the motor shaft fixing pin and push in until it reaches the fixing pin (Fig. 4).
•Install the fan blade knob in anti-clockwise direction onto the motor shaft until it is
tightened. Please hold the fan blade when installing the fan blade knob (Fig. 5).
Fig.4 Fig.5
C. Front grille
•Loosen the screw on the bottom of the grille and fit the front grille with the grille
ring onto the rear grille. After they are fitted correctly, tighten the screw again on the
bottom until the grilles are tightly fixed together (Fig. 6).
Fig.6
-4-
Grille
Fan blade
Grille ring
Height adjustment pole
Base
Base plate
Timer knob
Speed button
position
poles
grille knob
Fan blade
position hole
Fan
blade
groove
Motor shaft
fixing pin
Motor
shaft
screw
-5-

Fig.7
OPERATION INSTRUCTION
1. Power on / speed adjustment
•Please turn the timer knob to “ON” or the required time to activate the
fan.
•Then press speed button for speed adjustment:
0:Off / Stop 1:Low Speed 2:Medium Speed 3:High Speed
2. Timer
•Turn the timer knob to “ON”, the fan will be operated continuously,
no auto off timer setting.
•Turn the timer knob to 30, the fan will be off after 30 minutes; 60
means the fan will be off after 60 minutes and so on.
•Turn the timer knob to “OFF”, the fan is OFF.
3. Oscillation adjustment
•Press down the oscillation knob, the fan is operated in oscillating
mode to swing horizontally. Lift the knob, oscillation will be
stopped.
4. Height adjustment
•
5. Angle adjustment
•Turn off the fan, then lift or press the motor lightly to adjust the
blowing angle.
MAINTENANCE INSTRUCTION
Attention:
•Please turn off and unplug the appliance before cleaning or maintenance.
•Clean the surface of the appliance with damp cloth (or add some detergent) and wipe by
dry cloth.
•Make sure the appliance is dried before use it again.
•Do not use corrosive detergent or solvent to clean the appliance to avoid any
discolouration or damage.
•Do not swash with water.
•Do not use hard objects to clean the fan.
•Regular cleaning is suggested to avoid dirt blockage that may result in mechanical
failure.
SPECIFICATION
Model No. KSF1215
Product name Semi-stand fan
Rated Voltage/Frequency 220-240V~/50Hz
Rated Power 40W
Dimension (W x H x D) 380x830x380mm
Speed button
Timer knob
Oscillation knob
Motor
-6-
-7-
0 12 3
ON
OFF
30
60
90
120
150
180
3. Height adjustment pole installation
•Hold the height adjustment pole and then press the fixture button, then adjust
the pole to the required height and stop pressing on the fixture button.
Finally plug in to the power source (Fig. 7).
Turn off and unplug the fan then hold the height adjustment pole
and press the fixture button, then adjust the pole to the required height
and stop pressing the fixture button.

-8-
-9-
WARRANTY
1. The product has 1 year warranty from the date of purchase.
2. The warranty shall not apply:
A. to any product subjected to misuse, alteration, act of God, improper handling, improper
transport, improper testing or unauthorized repair;
B. to cosmetic problems or defects which result from normal wear and tear under ordinary use
yet not affecting the performance or use of the product;
C. if the product is disassembled or altered;
D. to any packing, transportation, export / import tax or any related expenses.
3. CUSTOMER MUST PRESENT THE SALES INVOICE OR RECEIPT FOR 1 YEAR
WARRANTY SERVICES.
4. Please bring along the product and sales invoice or receipt to our services center for warranty
services during office hour:
Address : Unit A, 20/F, Yip Shing Industrial Centre, No.19, Yip Shing
Street, Kwai Chung.
Service Hotline : (852) 2428 1500
Service Hours:
Monday-Friday :9:00am - 6:00pm
Saturday :9:00am - 4:00pm
Sunday & Public Holiday :Closed
NOTES
To prevent circuit overload and fire, no more than one safety compliant adaptor or extension unit
should be inserted into a socket outlet. (Avoid connecting other appliances to the one socket
outlet.) No adaptor should be inserted into any extension unit or vice versa.
Stop using an adaptor or an extension unit or a socket if its socket holes cannot firmly hold a plug
if it is too hard to insert a plug into it.
This appliance must be plugged into a specific 220-240V socket. Please make sure the plug is
fully plugged-in before use. Do not use any adapter or extension cord; Never use the same supply
socket for this appliance and other appliances at the same time, in order to avoid damage to this
appliance.
THE APPLIANCE IS FOR HOUSEHOLD USE ONLY.
ENVIRONMENT
Do not throw away the appliance with the normal household waste at the end of its life, but hand it in at
an official collection point for recycling. By doing this, you help preserving the environment.
IMPORTANT NOTICES
IN NO EVENT SHALL OUR COMPANY OR THE SUPPLIER BE LIABLE TO YOU OR ANY
OTHER PARTY FOR ANY DIRECT, INDIRECT, GENERAL SPECIAL, INCIDENTAL,
CONSEQUENTIAL, EXEMPLARY OR OTHER DAMAGES ARISING OUT OF THE USE OR
INABILITY TO USE THE PRODUCT (INCLUDING, WITHOUT LIMITATION, DAMAGES FOR
INJURY, LOSS OF PROPERTY, BUSINESS PROFITS, BUSINESS INTERRUPTION) OR FROM
ANY BREACH OF WARRANTY, EVEN IF OUR COMPANY OR SUPPLIER HAS BEEN
ADVISED OF THE POSSIBILITY OF SUCH DAMAGES. IN NO CASE SHALL OUR COMPANY
OR SUPPLIER’S LIABILITY EXCEED THE AMOUNT YOU PAID FOR THE PRODUCT.
Specifications, designs and dimensions are subject to change without prior notice.
-6-
Table of contents
Other KARUIZAWA Fan manuals