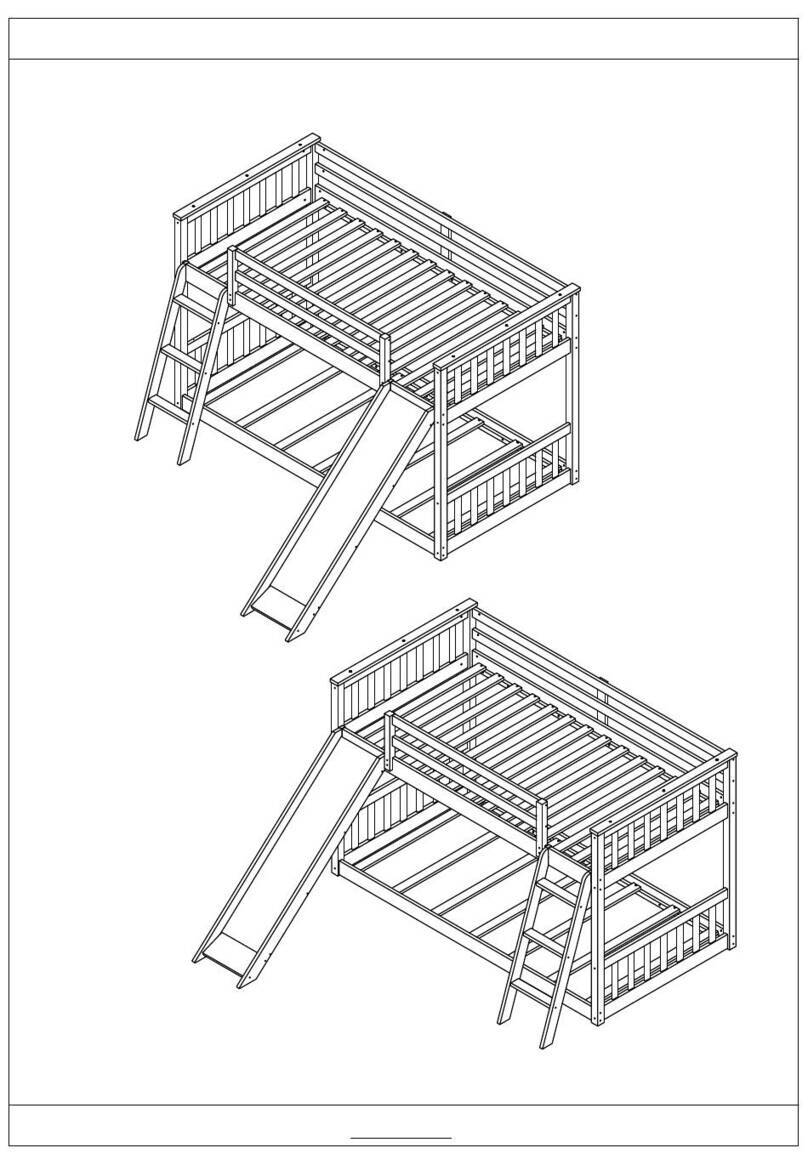
GIGACLOUD TECHNOLOGY WF299785 Operating instructions

GIGACLOUD TECHNOLOGY(USA) INC
CRIB - ASSEMBLY INTRUCTIONS
Made in Vietnam
WARNING: Read all
instructions before assembling this
product. KEEP INSTRUCTIONS
FOR FUTURE USE.
CUSTOMER SERVICE
If you are missing parts or have any questions about this product, contact us first. You can also order parts by writing to the
address above.
Include the product model number, color, and a brief description of the part.
CARE AND CLEANING
DO NOT scratch or chip the finish. DO NOT use abrasive chemicals for cleaning. Dust often using a clean, soft, dry cloth.
Blot spills immediately and wipe with a clean, damp cloth. If the crib is to be stored, store in a cool, dry place and carefully package
all original hardware to protect from loss.
TOOLS NEEDED
Allen key (included)
NOTE: Two people are recommended for assembly.
NOTE: When inserting bolts, turn clockwise until tight. Then loosen ½-¾of a turn. After crib is completely assembled, return t
each bolt and tighten. Use wax or soap on all bolts to facilitate assembly.
1/15
WF299785/WF299786

IMPORTANT SAFETY INFORMATION FOR CRIBS
WARNING: Infants can suffocate on soft bedding. Never add a pillow or comforter. Never place
additional padding under an infant.
WARNING: Failure to follow these warnings and the assembly instructions could result in serious
injury or death.
To reduce the risk of SIDS, pediatricians recommend healthy infants to be placed on their backs to sleep,
unless otherwise approved by your physician.
Strangulation Hazard:
Strings can cause strangulation! DO NOT place items with a string around a child's neck, such as hood
strings or pacifier cords. DO NOT suspend strings over a crib or attach
strings to toys.
To help prevent strangulation tighten all fasteners. A child can trap parts of the body or
clothing on loose fasteners.
DO NOT place crib near window where cords from blinds or drapes may strangle a child.
Fall Hazard:
When a child is able to pull to a standing position, set mattress to lowest position and remove bumper pads,
large toys and other objects that could serve as steps for climbing out..
When child is able to climb out or reaches the height of 35" (89cm), the crib shall no longer be used, and the
child should be placed in a youth or regular bed.
Check this product for damaged hardware, loose joints, missing parts or sharp edges before and after
assembly and frequently during use. Securely tighten loose bolts and other fasteners. DO NOT use crib if
any parts are missing, damaged or broken.
for replacement parts and instructional literature if needed.
DO NOT substitute parts.
DO NOT use a water mattress with this crib.
If refinishing, use a non-toxic finish specified for children's products.
Follow warnings on all products in a crib.
Never use plastic shopping bags or other plastic film as mattress covers because they can cause
suffocation.
Infants can suffocate in gaps between crib sides and a mattress that is too small.
IMPORTANT SAFETY INFORMATION FOR TODDLER AND DAYBEDS
2/15

CAUTION: ANY MATTRESS USE IN THIS CRIB SHALL BE
AT LEAST 27 1/4 X 51 5/8" WITH A THICKNESS
NOT EXCEEDING 6".
WARNING
IMPORTANT SAFETY INFORMATION FOR CRIBS
Do not use this crib if you cannot exactly follow the instructions provided.
Use a mattress that is no thicker than 15cm in height and, when it is
pushed firmly against any side of this crib, it does not leave a gap of more
than 3cm between the mattress and any part of any other side of the crib.
IMPORTANT SAFETY INFORMATION FOR TODDLER AND DAYBEDS
3/15
Infants have died in toddler beds from entrapment and strangulation.
Failure to follow these warnings and the assembly instructions could result in
serious injury or death.
NEVER use bed with children under 15 months of age.
NEVER place bed near windows where cords from blinds or drapes may
strangle a child.
The mattress intended for use on the bed shall be a full-size crib
mattress having minimum dimensions of 51 5/8" (1310mm) in length,
27 1/4" (690mm) in width and 4" (100mm) in thickness, not exceeding
6" (150mm) in thickness.
·DO NOT place bed near windows where cords from blinds or
drapes may strangle a child.
·DO NOT place items with a string, cord, or ribbon around a
child's neck, such as hood strings or pacifier cords.
·DO NOT suspend strings over a toddler bed for any pacifier
cords.
·A child using the toddler or daybed shall be at least 15 months of
age and shall not weigh more than 50 lbs (22.7kgs).
WARNING: ENTRAMENT / STRANGULATION HAZRD

A
B
C
D
D
E
F
G
H
I
J
K
L
M
M
AHeadboard Top 01
B
C
D
E
F
L
J
01
01
02
01
01
01
01
01
01
01
PARK LIST WF299785
Headboard Left Leg
Headboard Right Leg
Headboard Side Panel
Headboard Mid Panel
Headboard Back Support Bar
Footboard Top
Footboard Support Bar
ITEM IDENTIFICATION
Step #1: Headboard assembly ( Page 6,7,8,9)
4/15
Step #2: Footboard assembly ( Page 10,11,12)
Step #3: Side frame, Metal cradle frame assembly ( Page 13)
Step #4: Headboard, Footboard, Side frame assembly ( Page 14,15)
G
H
I
K
Left Side Frame
Right Side Frame
Metal Cradle Frame
Footboard Mid Frame
PARK LIST WF299786
01
M02
Legs
01
Hardware

(AA) M6 x 70mm Allen Bolt = 10 pcs
(BB) M6 x 50mm Allen Bolt = 8 pcs
(CC) M6 x 30mm Allen Bolt = 4 pcs
(DD) M6 x 15mm Allen Bolt = 8 pcs
(EE) M6 x 18mm Canopy head though = 4 pcs
(FF) Cam Bolt (Ø6.5 x 36mm) = 2 pcs
(GG) Cam Lock (Ø15 x12mm) = 2 pcs
Wood dowel (Ø8 x 30) = 16 pcs
(11) Allen Wrench (57 x 23 x D4) = 2 pcs
HARDWARE LIST
(HH) Metal Support (100 x 20 x 2mm) = 4 pcs
Lock Washers (Ø10 x Ø6.5 x 1.5mm) = 20 pcs
Plain Washers (Ø18 x Ø6.5 x 1.5mm) = 20 pcs
5/15
(not include)

STEP #1: HEAD BOARD ASSEMBLY
A
E
(FF)
A
E
A
(FF)
Wooden dowell
(FF) Cam Bolt (Ø6.5 x 36mm) = 2 pcs
(GG) Cam Lock (Ø15 x12mm) = 2 pcs
Wood dowel (Ø8 x 30) = 2 pcs
Step #1.1:
- Attach the Headboard mid panel (E) to the Head board top (A) using the cam bolt (FF), cam lock (GG),
wood dowel. Tighten with screw driver (not included).
6/15

Step #1.2:
- Insert Headboard side panel (D) into grove Head board top (A) and Headboard side panel.
Step 1.3:
- Attach the Headboard support bar (F) to the Headboard mid panel (E),
using allen bolt (AA) and wood dowel. Tighten with allen wrench.
Attach the Headboard mid panel (E) to the Head board top (A) using the cam bolt (FF), cam lock (GG),
7/15
D
D
E
A
(AA) M6 x 70mm Allen Bolt = 2 pcs
Wood dowel (Ø8 x 30) = 2 pcs
D
D
E
A
F
(AA)
Wooden dowell

Step #1.4
- Insert Headboard top (A) to grove Headboard leg (B),using wooden dowell.
- Attach the Headboard legs (B) to the Headboard top (A) and Headboard support bar (F), using
metal support (HH) allen bolt (DD) with lock washer, plain washers. Tighten with allen wrench.
8/15
(DD) M6 x 15mm Allen Bolt = 4 pcs
(HH) Metal Support (100 x 20 x 2mm) =2 pcs
Lock Washers (Ø10 x Ø6.5 x 1.5mm) = 4 pcs
Plain Washers (Ø18 x Ø6.5 x 1.5mm) = 4 pcs
Wood dowel (Ø8 x 30) = 1 pcs
Wood dowel
B
BF
F
B
A
(AA)
(AA)
(HH)

9/15
Step #1.5
- Insert Headboard top (A) to grove Headboard leg (C),using wooden dowell.
- Attach the Headboard legs (C) to the Headboard top (A) and Headboard support bar (F), using
metal support (HH) allen bolt (DD) with lock washer, plain washers. Tighten with allen wrench.
(DD) M6 x 15mm Allen Bolt = 4 pcs
(HH) Metal Support (100 x 20 x 2mm) =2 pcs
Lock Washers (Ø10 x Ø6.5 x 1.5mm) = 4 pcs
Plain Washers (Ø18 x Ø6.5 x 1.5mm) = 4 pcs
Wood dowel (Ø8 x 30) = 1 pcs
Wood dowel
CF
F
C
A
C
(HH)
(AA)
(AA)

STEP #2: FOOT BOARD ASSEMBLY
Step #2.1:
- Attach the Footboard mid frame (K) to the Footboard Top (J),using allen bolt (AA) and wood dowel.
Tighten with allen wrench.
(AA) M6 x 70mm Allen Bolt = 3 pcs
Wood dowel (Ø8 x 30) = 3 pcs
Wooden dowell
J
K
J
K
(AA)
10/15
B
G

Step #2.2:
- Attach the Footboard support (L) to the Footboard mid frame (K),using allen bolt (AA) and wood
dowel. Tighten with allen wrench.
(AA) M6 x 70mm Allen Bolt = 3 pcs
Wood dowel (Ø8 x 30) = 3 pcs
(AA)
Wooden dowell
Wooden dowell
K
L
K
L
11/15

Step #2.3:
- Attach the Legs (M) to the Footboard support bar (L),using allen bolt (AA) and wood dowel. Tighten
with allen wrench.
(AA) M6 x 70mm Allen Bolt = 2 pcs
Wood dowel (Ø8 x 30) = 4 pcs
M
L
(AA)
Wooden dowell
Wooden dowell
M
M
L
12/15

STEP #3: SIDE FRAME, METAL CRADLE FRAME ASSEMBLY
- Attach the Metal cradle frame (I) to the Side frame, using allen bolt (CC) with lock washer, plain
washers, canopy head though. Tighten with allen wrench.
(CC) M6 x 30mm Allen Bolt = 4 pcs
Lock Washers (Ø10 x Ø6.5 x 1.5mm) = 4 pcs
Plain Washers (Ø10 x Ø6.5 x 1.5mm) = 4 pcs
(EE) Canopy head though M6 x 18mm = 4 pcs
(CC)
(EE)
I
I
G
H
13/15

STEP #4: HEADBOARD, FOOTBOARD, SIDE FRAME ASSEMBLY
Step #4.1:
- Attach the Side frame (G),(H) to the Heardboard,using allen bolt (BB) with lock washer, plain
washers. Tighten with allen wrench.
(BB) M6 x 50mm Allen Bolt = 4 pcs
Lock Washers (Ø10 x Ø6.5 x 1.5mm) = 4 pcs
Plain Washers (Ø10 x Ø6.5 x 1.5mm) = 4 pcs
(AA)
(AA)
G
H
B
C
14/15

Step #4.2:
- Attach the Side frame (G),(H) to the Footboard,using allen bolt (BB) with lock washer, plain
washers. Tighten with allen wrench.
(BB) M6 x 50mm Allen Bolt = 4 pcs
Lock Washers (Ø10 x Ø6.5 x 1.5mm) = 4 pcs
Plain Washers (Ø10 x Ø6.5 x 1.5mm) = 4 pcs
(BB)
(BB)
G
K
15/15
K
This manual suits for next models
1
Table of contents
Other GIGACLOUD TECHNOLOGY Indoor Furnishing manuals
Popular Indoor Furnishing manuals by other brands

Sauder
Sauder 419119 Instruction booklet

FUFU & GAGA
FUFU & GAGA KF200053-01 manual

Steelcase
Steelcase 2300 Series Assembly instructions

Songmics
Songmics VASAGLE LBT15/015 manual

Valinor
Valinor Lucas B66-01a-01b-02aR-Stock12 owner's manual

Extremis
Extremis EXTEMPORE PATCHWORK ASSEMBLY INSTRUCTIONS, HOW TO USE, USEFUL TIPS FOR KEEPING YOUR TOOL FOR TOGETHERNESS IN SHAPE