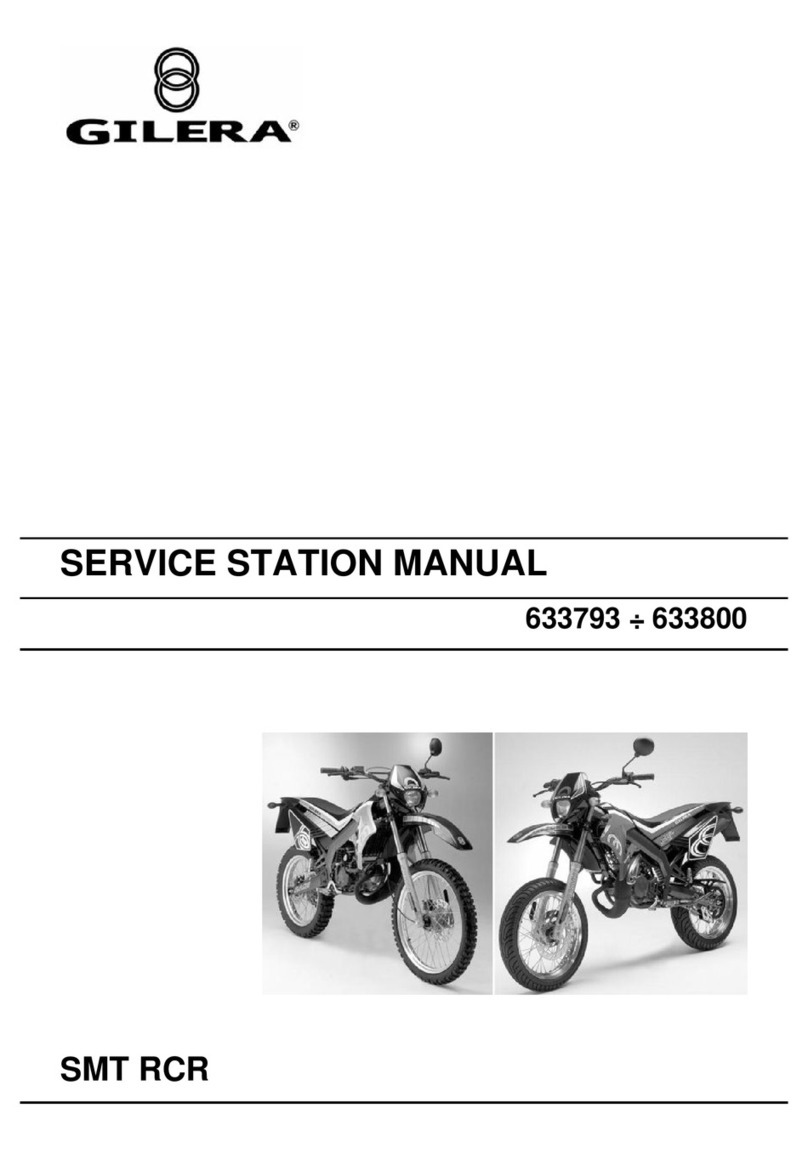
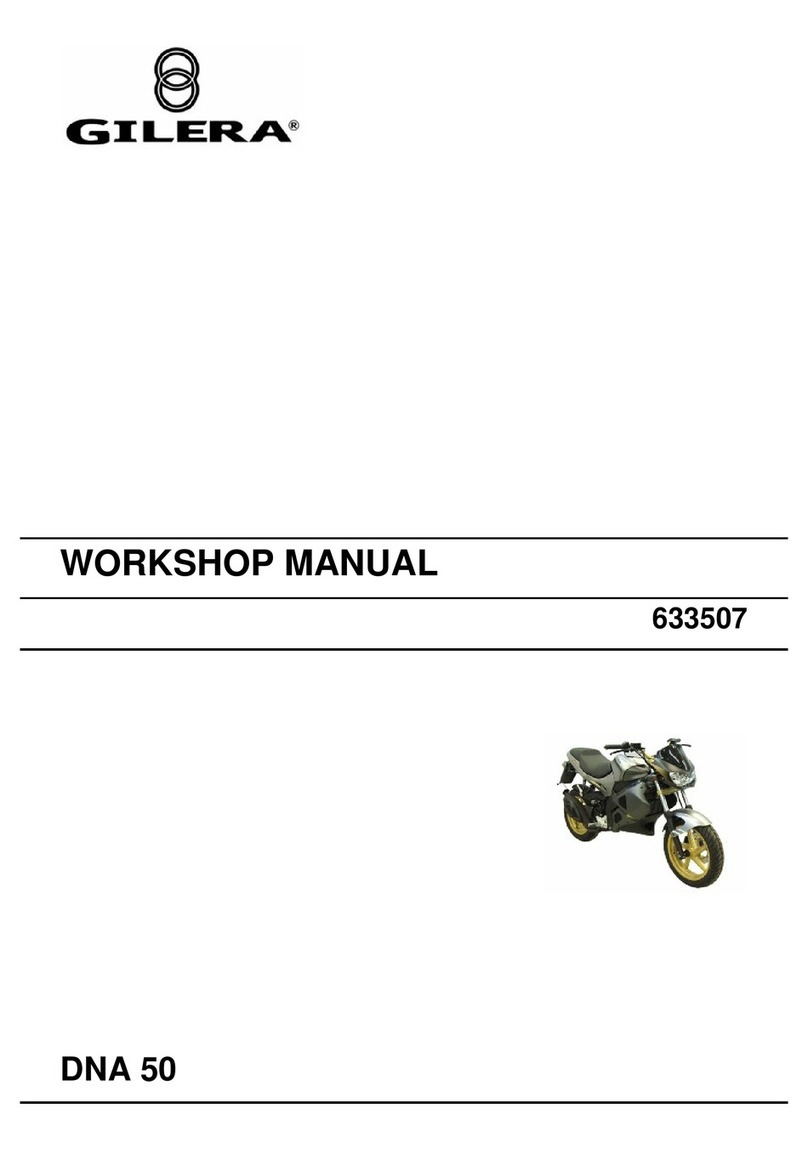
Gilera SMT 50 User manual

GILERA WOULD LIKE TO THANK YOU
for choosing one of its products. We have prepared this manual to help you to get the very best from your scooter. Please read it carefully before riding
the scooter for the first time. It contains information, tips and precautions for using your scooter. It also describes features, details and devices to assure
you that you have made the right choice. We believe that if you follow our suggestions, you will soon get to know your new vehicle and it will serve you
well for a long time to come. This booklet forms an integral part of the scooter; should the scooter be sold, it must be transferred to the new owner.
SMT - RCR 50

The instructions given in this manual are intended to provide a clear, simple guide to using your scooter; details are also given of routine maintenance
procedures and regular checks that should be carried out on the vehicle at an Authorised PIAGGIO Dealer or Service Centre. The booklet also
containsinstructionsforsimplerepairs.Anyoperationsnotspecificallydescribedinthismanualrequiretheuseofspecialtoolsand/orparticulartechnical
knowledge: to carry out these operations refer to any authorised PIAGGIO Dealer or Service Centre.
2

Personal safety
Failure to completely observe these instructions will result in serious risk of personal
injury.
Safeguarding the environment
Sections marked with this symbol indicate the correct use of the vehicle to prevent dam-
aging the environment.
Vehicle intactness
The incomplete or non-observance of these regulations leads to the risk of serious
damage to the vehicle and sometimes even the invalidity of the guarantee.
The signs that you see on this page are very important. They are used to highlight those
parts of the booklet that should be read with particular care. As you can see, each sign
consists of a different graphic symbol, making it quick and easy to locate the various
topics.
3

4

INDEX
VEHICLE...................................................................................... 7
Dashboard................................................................................ 9
Analogue instrument panel....................................................... 9
Key switch................................................................................. 10
Locking the steering wheel.................................................... 10
Releasing the steering wheel................................................ 10
Switch direction indicators........................................................ 11
Horn button............................................................................... 11
rear brake pedal........................................................................ 12
Throttle grip............................................................................... 12
Front brake control.................................................................... 12
Gearshift pedal.......................................................................... 13
Clutch control............................................................................ 13
Light on/of switch...................................................................... 14
Start-up button.......................................................................... 14
Manual starter control............................................................... 14
Fuel tank................................................................................... 15
Mixture oil reservoir................................................................... 15
Opening the saddle............................................................... 15
Keys.......................................................................................... 16
Identification.............................................................................. 16
USE.............................................................................................. 19
Checks...................................................................................... 20
Tyre pressure............................................................................ 20
Running in................................................................................. 21
Starting up the engine............................................................... 23
Precautions........................................................................... 23
Difficult start up......................................................................... 24
Stopping the engine.................................................................. 24
Stand......................................................................................... 24
Safe driving............................................................................... 25
MAINTENANCE........................................................................... 27
Gearbox oil level....................................................................... 28
Gearing chain............................................................................ 29
Tyres......................................................................................... 30
Spark plug dismantlement........................................................ 30
Air filter cleaning....................................................................... 31
Cooling fluid level...................................................................... 32
Checking the brake oil level...................................................... 32
Braking system fluid top up................................................... 34
Battery....................................................................................... 34
Use of a new battery............................................................. 35
Long periods of inactivity.......................................................... 36
Fuses........................................................................................ 37
Front light group........................................................................ 38
Headlight adjustment............................................................. 38
Front direction indicators........................................................... 39
Rear optical unit........................................................................ 39
Rear turn indicators................................................................... 40
Idle adjustment.......................................................................... 40
Front and rear disc brake.......................................................... 41
transmissions............................................................................ 42
Periods of inactivity................................................................... 43
Cleaning the vehicle.................................................................. 44
TECHNICAL DATA...................................................................... 51
SPARE PARTS AND ACCESSORIES........................................ 57
PROGRAMMED MAINTENANCE............................................... 59
Selènia Moto Rider................................................................... 65
5
6

SMT - RCR 50
Chap. 01
Vehicle
7

01_01
8
1 Vehicle

Dashboard (01_01)
KEY:
1. Instrument panel
2. Headlamps switch, horn and stop
3. Front brake control
4. Throttle grip
5. Ignition lock
6. Clutch control
7. Front brake liquid tank
01_02
Analogue instrument panel (01_02)
KEY:
1. Speedometer
The speedometer indicates the motion speed in kilometres per hour.
2. Odometer
Totalofcoveredkilometres.Thefigureon therightsideindicatesthe numberofmeters
in hundreds.
3. High-beam warning light
4. Temperature indicator
If the indicator is on, the coolant temperature has exceeded 105º C.
5. Turn indicator warning light
6. Oil reserve warning light
This warning light turns on when there is an oil reserve of 0,25 l.
9
1 Vehicle

7. Petrol reserve warning light
This warning light turns on when there is a petrol reserve of 1,5 l.
01_03
01_04
Key switch (01_03)
Key position:
1. Start-up position, steering lock not on, non-extractable key.
2. Ignition disabled, extractable key, steering lock not on.
3. Ignition disabled, extractable key, steering lock on.
Locking the steering wheel (01_04)
In order to block the steering, turn the handlebar completely to the left or right. Fully
insert the key and let it return to its original position, turn it to position «3» and take it
out.
Releasing the steering wheel (01_05)
Insert the key, press it and turn it clockwise. Pull out the key.
10
1 Vehicle

01_05
01_06
Switch direction indicators (01_06)
To activate the left turn indicator, move the lever «A» leftwards; to activate the right
turnindicator, move thelever rightwards. Thelever automatically returnsto the central
position and the indicators remain on. To turn off, push the switch.
01_07
Horn button (01_07)
Push «B» to activate the horn.
11
1 Vehicle

01_08
rear brake pedal (01_08)
The rear brake control pedal «2» is placed on the right part of the scooter, at engine
level.It must be activatedgradually with the toe-end.Combination of therear and front
brakes must be used, according to the needs: by doing so, braking will be more ef-
fective.
Consider also the conditions of the road! Particularly, if it is wet asphalt or with sand,
oil, etc.
01_09
Throttle grip (01_09)
Placed on the right side of the handlebar. When the hand grip «B» is turned towards
the driver, the carburettor valve will be opened.
01_10
Front brake control (01_10)
The front brake control «E» is placed on the right side of the handlebar. Be particularly
careful when using the front brake, apply softly and measure the power progressively,
according to surface conditions, to avoid blocking of the wheel.
12
1 Vehicle

01_11
Gearshift pedal (01_11)
The gear pedal «1» is placed on the left side of the engine. Activate it with your foot
to firmly engage the gear. After the gear is shifted, remove the foot from the pedal and
this will return automatically to its initial position. Starting from the neutral position,
gears are inserted as follows:
- 1st gear is engaged by pressing the pedal downwards.
- 2nd, 3rd, 4th, 5th and 6th gears are engaged by pushing the pedal upwards.
For downshifting, pressing the pedal down.
CAUTION
THE GEAR PEDAL MUST BE OPERATED BY RELEASING IT AFTER HAVING
DISENGAGED THE CLUTCH AND REDUCING THE THROTTLE GRIP TO THE
MINIMUM.
01_12
Clutch control (01_12)
The lever of the clutch grip «A» is placed on the left side of the handlebar. When it is
pulled completely towards the handlebar, the clutch is disengaged and the engine
transmissionis released.If thelever isreleased slowly,the clutchis engaged coupling
the engine to the transmission which, with a gear engaged, will transmit the engine
power to the rear wheel through the gear.
13
1 Vehicle

01_13
Light on/of switch (01_13)
The lights switch «C» has two positions:
- Down, low-beam light
- Up, high-beam light
To make this control work, the engine must be started.
01_14
Start-up button (01_14)
The kick start pedal «1» is placed on the right side of the engine. To start the engine,
just push the pedal backwards with your foot.
CAUTION
CHECK THE GEAR IS IN THE NEUTRAL POSITION BEFORE STARTING THE
ENGINE.
01_15
Manual starter control (01_15)
The carburettor starter control «2» is on the right side of the carburettor so it is easily
reached with the hand on the same side. It has two positions:
- Lever upwards: Starting in cold conditions.
- Lever downwards: Starting in normal conditions.
CAUTION
THE ONLY AIM OF THIS CONTROL IS TO MAKE STARTING EASIER. ONLY USE
IT WHEN THE ENGINE IS COLD.
14
1 Vehicle

01_16
Fuel tank (01_16)
The fuel tank has a 7 litre capacity and a 1,30 litre reserve. To fill it, insert the key in
the lock of the tank cover «1» and, while turning it towards the right, lift the cover.
CAUTION
USE UNLEADED PETROL ONLY.
01_17
Mixture oil reservoir (01_17)
The oil tank has a 1 litre capacity and a 0,25 litre reserve. Use recommended oil only.
Recommended products
AGIP CITY TEC 2T
Mixer oil
synthetic oil for 2-stroke engines: JASO FC, ISO-L-EGD
01_18
Opening the saddle (01_18, 01_19)
To dismantle the saddle, insert the key in the lock of the tank cover «1» and, while
turning rightwards, lift the cover. After that, dismantle the two nuts of the saddle re-
tainer «2».
The oil tank, the battery and the tool kit compartment are under the saddle.
15
1 Vehicle

01_19
01_20
Keys (01_20)
Two keys are supplied with the scooter, both can be used either for the ignition lock
or the fuel tank cap.
The keys are accompanied by a tag marked with the identification code to be quoted
when ordering duplicates.
WARNING
WE RECOMMEND KEEPING THE DUPLICATE KEY TOGETHER WITH ITS TAG
IN A SAFE PLACE AND NOT ON THE SCOOTER.
01_21
Identification (01_21, 01_22)
The identification numbers consist of a prefix stamped on the chassis and on the en-
gine, followed by a number. They must be quoted when ordering spare parts. We
recommendthat you checkthat the prefix and chassis number stamped onthe vehicle
correspond with those in the vehicle documents.
N.B.
ALTERING THE IDENTIFICATION REGISTRATION NUMBERS MAY LEAD TO
SERIOUS PENAL SANCTIONS (IMPOUNDING OF THE SCOOTER, ETC.).
16
1 Vehicle

01_22
17
1 Vehicle

18
1 Vehicle

SMT - RCR 50
Chap. 02
Use
19

Checks
Before engaging the scooter, check:
1. that the fuel and oil tanks are full.
2. that the crankcase oil level is correct.
3. that the transmission is in neutral position.
4. that the tyres are correctly inflated.
5. that the headlight, rear light and turn indicators are in correct working order.
6. that the front and rear brakes are in working order.
7. that the liquid level in the brake pump tanks are correct.
8. that the transmission chain is tightened and properly lubricated.
9. that the coolant level is correct.
CAUTION
SHUT OFF THE ENGINE BEFORE REFUELLING WITH PETROL. PETROL IS
HIGHLYFLAMMABLE. DONOT LETPETROL SPILLFROMTHE TANKOR WHILE
REFUELLING
Tyre pressure
A different pressure from the one indicated may cause problems when riding the ve-
hicle. Therefore, we recommend checking and correcting tyre pressure frequently.
FRONT TYRES PRESSURE IN COLD CONDITIONS
RCR 1.0 Kg/cm² - 100 kPa (rider only)
20
2 Use
This manual suits for next models
1
Table of contents
Other Gilera Motorcycle manuals

Gilera
Gilera Nordwest Instruction manual

Gilera
Gilera Fuoco 500ie LT User manual

Gilera
Gilera DNA User manual

Gilera
Gilera SMT RCR 633800 Guide

Gilera
Gilera Nexus 250 i.e. User manual

Gilera
Gilera SATURNO BIALBERO 350 Instruction manual

Gilera
Gilera DNA 50 Instruction manual

Gilera
Gilera Fuoco 500 Guide

Gilera
Gilera Runner 125 User manual