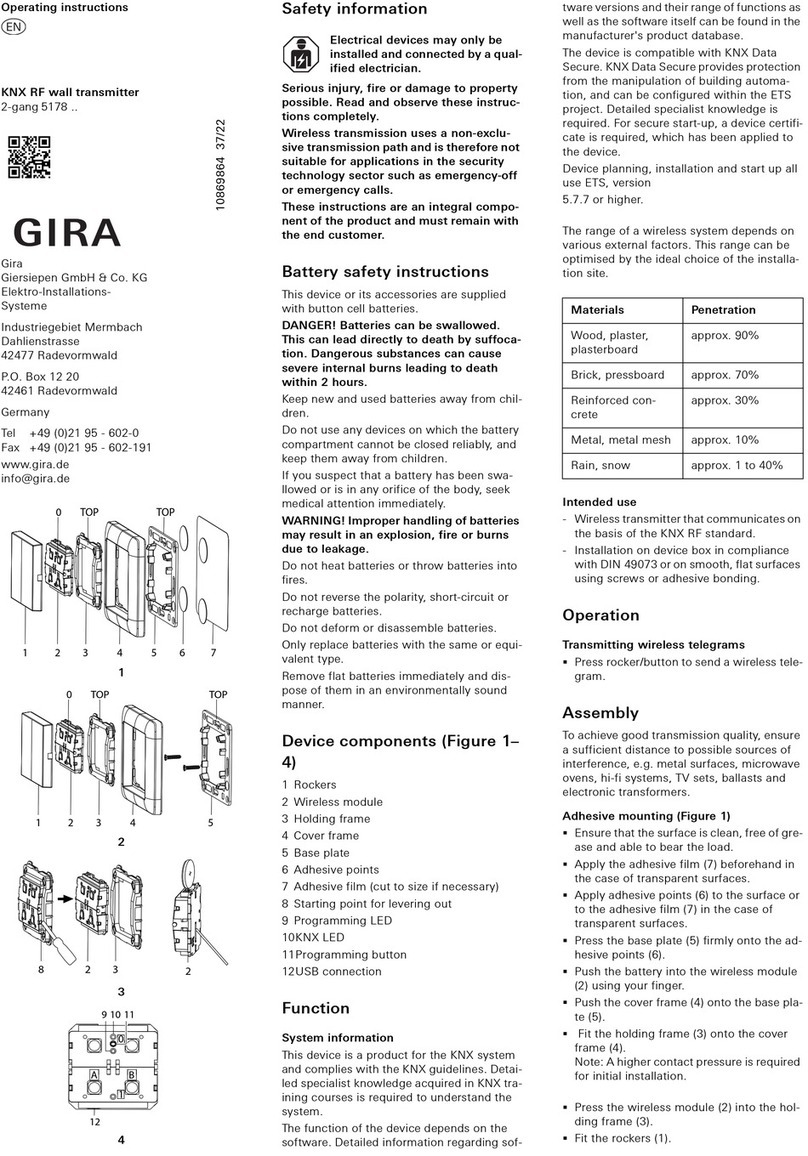
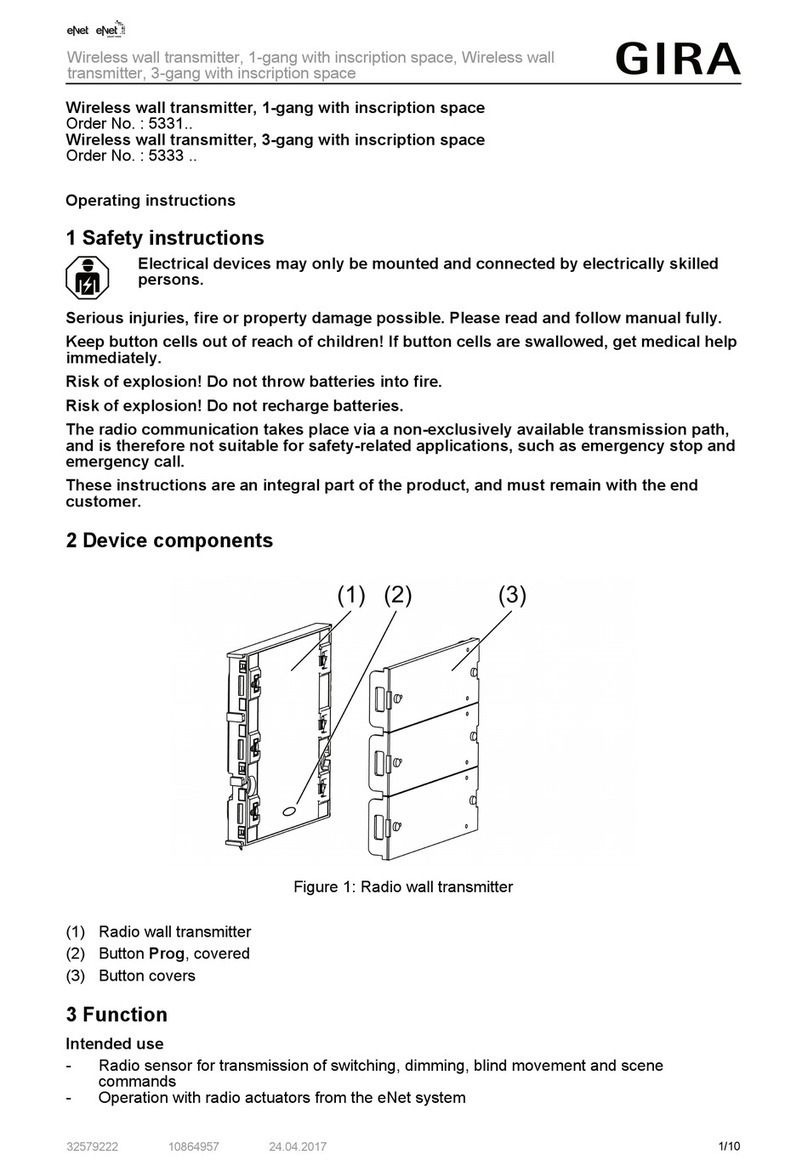
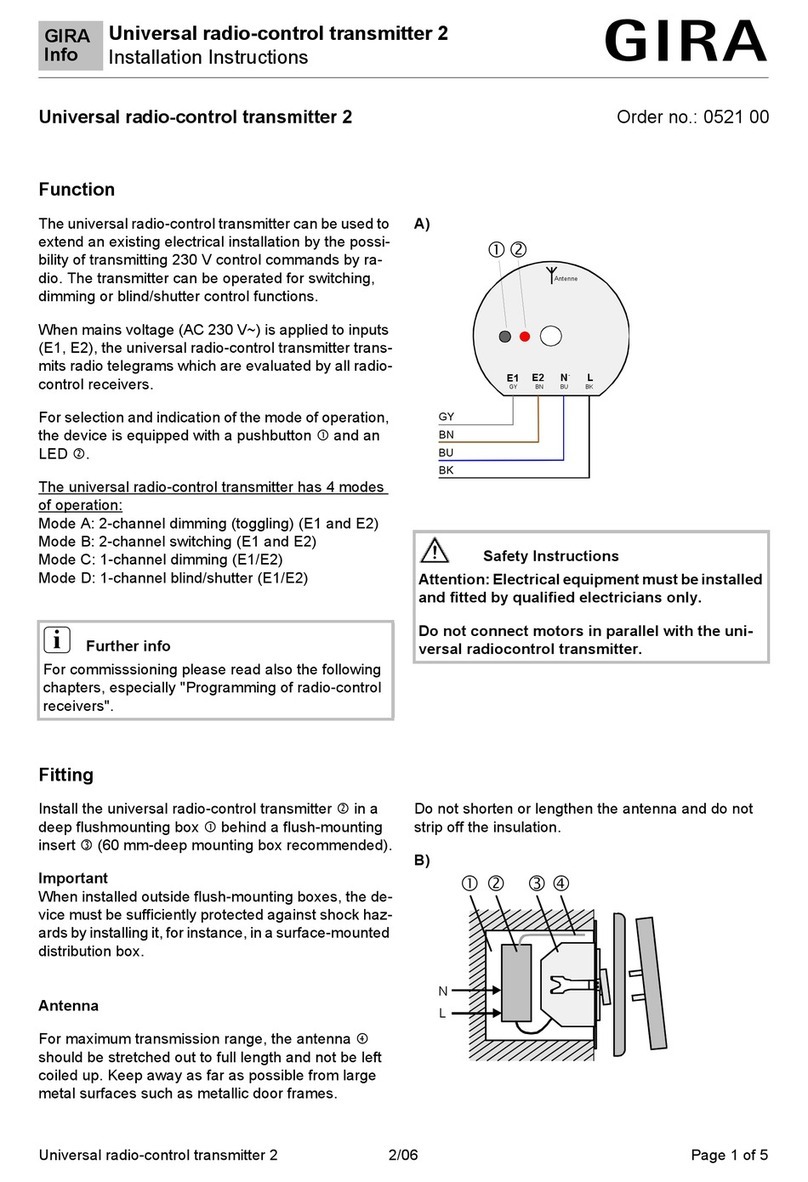
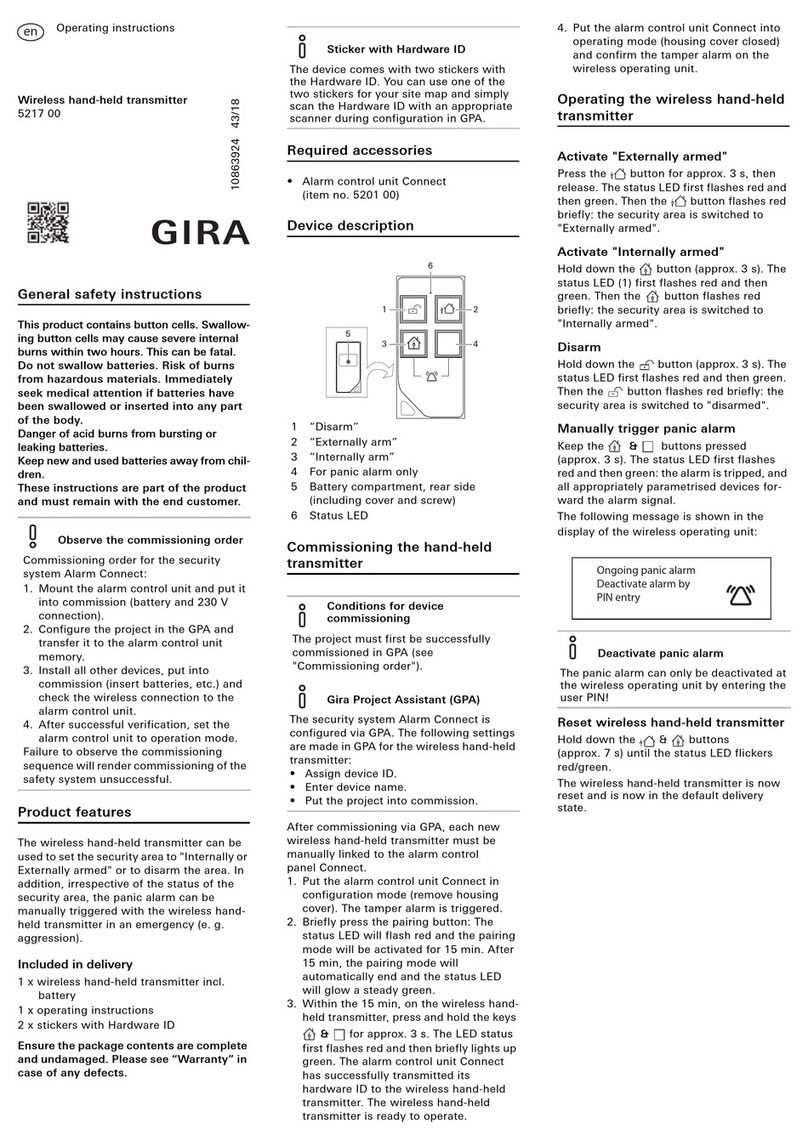
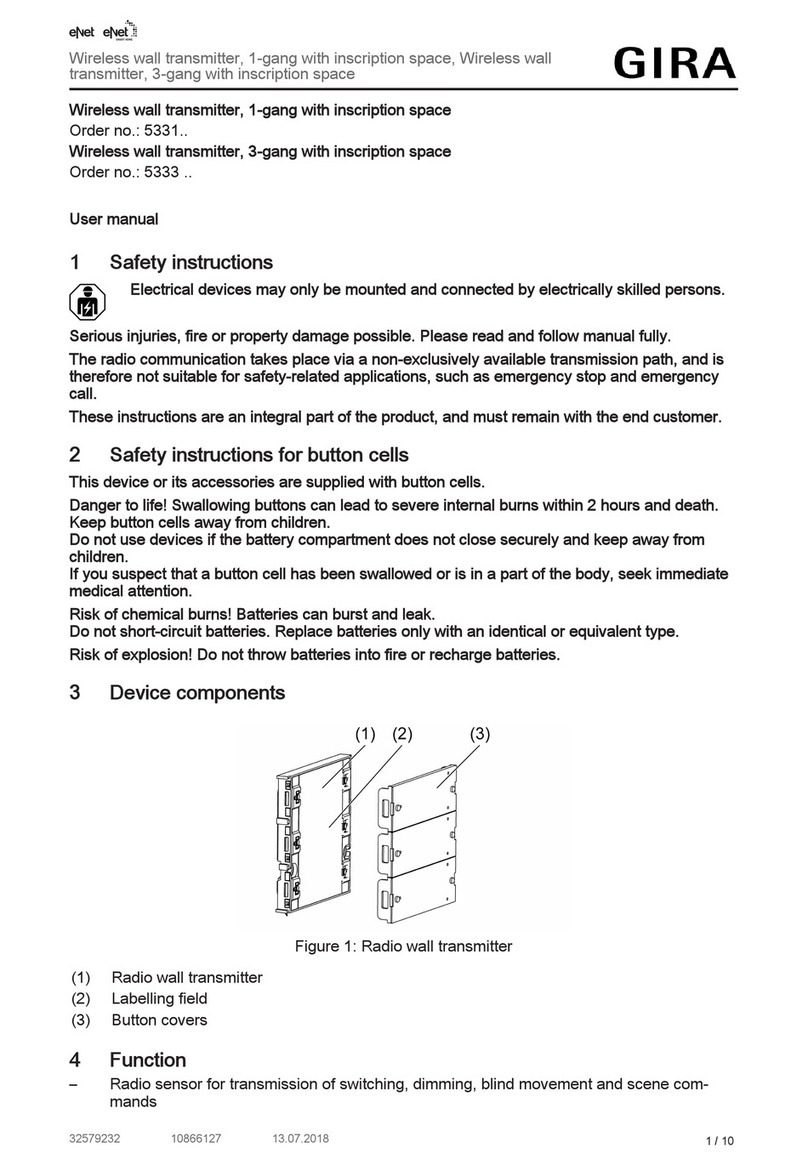
Gira 0523 00 User manual

GIRA
Info Hand-held radio transmitter
Installation Instructions
Hand-held radio transmitter 15/01 Page: 1 of 10
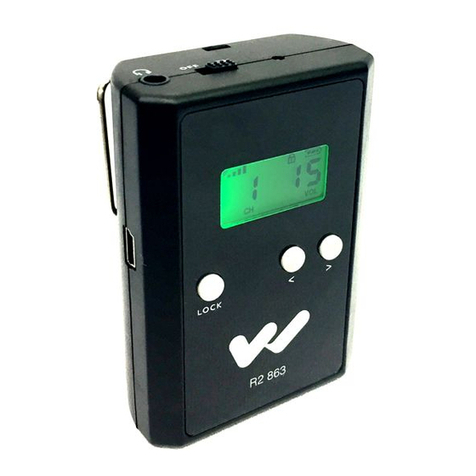
Hand-held radio transmitter, standard type Art. Nr.: 0523 00
Hand-held radio transmitter, comfort type Art. Nr.: 0527 00
ABC
1
2
3
4
5
6
7
8
>
<
Function
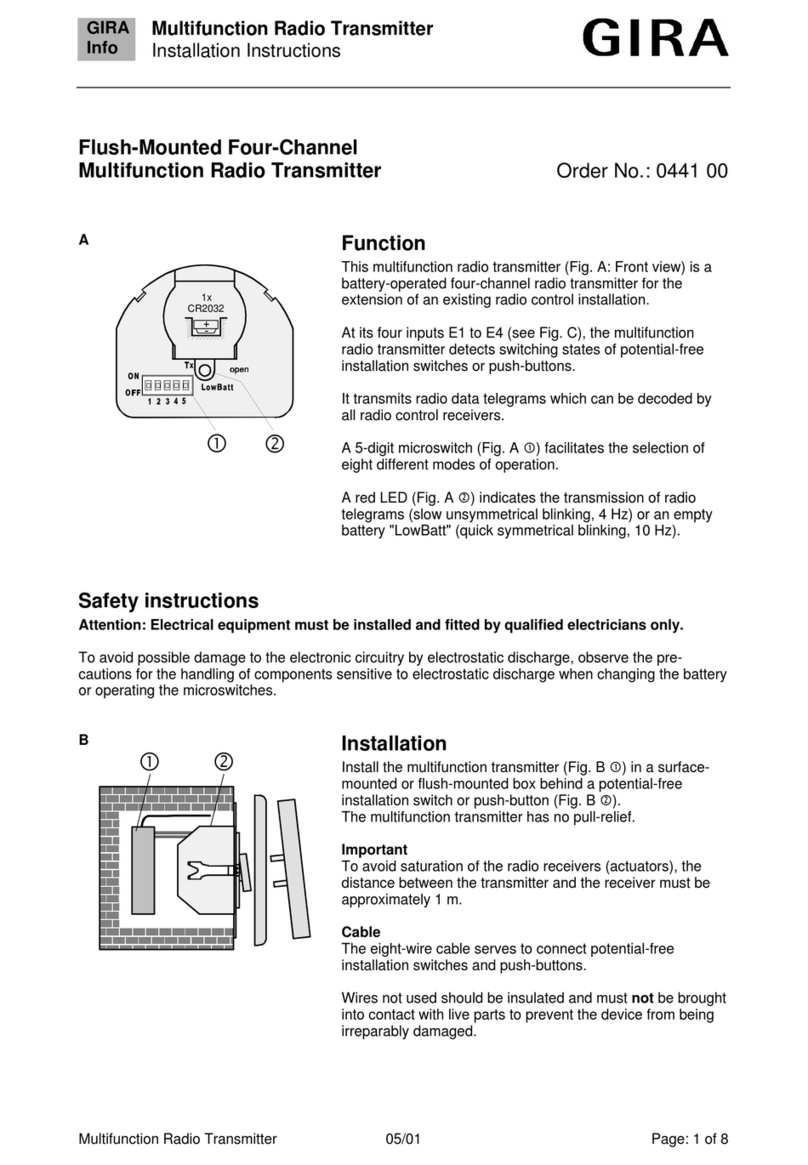
The hand-held radio control transmitter is part of
the radio bus system and designed as a wireless
remote-control unit. On actuation of a key, this
hand-held control unit transmits a radio data
telegram which can be understood and processed
by all receivers in the radio bus system.
The hand-held transmitter has the following
control elements:
group keys (A, B, C) with the pertaining
group indicator LED
channel keys (1... 8)
All-ON key
All-OFF key
The Comfort transmitter is additionally equipped
with
lightscape keys (1... 5)
master key
ABC
1 2 3
45
1
2
3
4
5
6
7
8
<
>>
<
3 groups (A, B and C) with 8 channels each
for switching, dimming and louver functions are
available, i.e 24 radio channels altogether can be
used for individual functions.
The All-ON and the All-OFF keys are factory-
adjusted for switching all 24 channels together on
or off (except for louver functions).
The hand-held Comfort radio transmitter
permits controlling of up to 5 lightscapes , as,
for instance:
•individual brightness setting for a lighting source
(I) (e.g. 70 % brightness),
•individual brightness setting for a lighting source
(II) (e.g. 30 % brightness),
•fixed switching state of a load
(e.g. fan on),
•fixed limit position of a louver
(e.g. louver down).

GIRA
Info Hand-held radio transmitter
Installation Instructions
Hand-held radio transmitter 15/01 Page: 2 of 10
The lightscape data are stored in the radio re-
ceiver. They can be recalled with a hand-held or
wall-mounted transmitter.
The master key can be used for switching or
dimming of a lightscape (see master key ope-
ration).
!
Start-up
Batteries
The hand-held radio transmitter requires 4
Alkaline Micro Batteries (LR 03) for operation (not
included in the scope of supply).
Risk and disposal instructions
Attention:
Keep batteries away from children.
Remove empty batteries immediately and
discard without polluting the environment.
Replace batteries only by identical or equi-
valent types.
+
+
+
+
Inserting the batteries:
1.Press to open the battery case at the back of
the enclosure.
2.Insert the batteries as shown in fig. paying
attention to correct polarity.
3.Close the battery case.
Important
Replace the batteries when all 3 LEDs start
flashing for abt. 4 seconds after a key has been
depressed.
General
The maximum duration of a transmission is limited
to 12 seconds even if any of the keys is kept de-
pressed longer.
No data telegram is transmitted if several keys
are depressed at the time.
Please hand these instructions over to your
customer after the installation.

GIRA
Info Hand-held radio transmitter
Installation Instructions
Hand-held radio transmitter 15/01 Page: 3 of 10
ABC
1
2
3
4
5
6
7
8
>
<
Operation
Basic functions
Each channel key has 2 positions
(left = /\, right = \/).
Each key distinguishes between prolonged (> 1 s)
and momentary contact (< 1 s).
The following functions are possible:
Key Lighting
short press on left side, /\ on
long press on left side, /\ brighter
short press on right side, \/ off
long press on right side, \/ darker
Key Louver
short press left side, /\ adjust/stop
long press left side, /\ Up / cont. run
short press right side, \/ adjust/stop
long press right side, \/ Down / cont. run
Group
3 groups (A, B or C) with 8 channels each are
available (3 x 8 channels = 24 channels).
When one of the 8 channel keys is depressed,
group LED (e.g. group A) lights up briefly to
indicate the active group. After insertion of the
batteries, the active group is group A.
Temporary change of the group
1.Depress the group key (A, B or C) briefly (less
than 4 seconds)
2.Depress the key of the desired channel within
the next 4 seconds.
Permanent change of the group
1.Depress the group key (e.g. key B) longer (at
least 4 seconds)
2.This is confirmed by the corresponding group
LED (e.g. B) flashing during approx. 4 seconds.
The active group is now group B.

GIRA
Info Hand-held radio transmitter
Installation Instructions
Hand-held radio transmitter 15/01 Page: 4 of 10
ABC
1 2 3
45
1
2
3
4
5
6
7
8
<
>>
<
Programming of radio transmitters and
receivers
The keys of group or group of the hand-held
radio transmitter can be programmed for any
number of radio receivers.
Important:
In the programming mode, the normal range of
the radio receivers of approx. 100 m (in free
space ) is reduced to approx. 5 m.
Programming a channel key
Procedure
1.Switch the receiver into the programming mode
(see "Radio receiver" operating instructions.
2.Select group A, B or C by depressing the
corresponding key. Depress then the /\ or \/ key
of the desired channel (e.g. group C, channel
6) for at least 1 second. The radio receiver
confirms successful storing by an acoustic
signal or by switching of the load.
3.Switch the radio receiver into the operating
mode (see "Radio receiver" operating instruc-
tions).
Channel programming of the key is terminated.
Programming a lightscape key
A lightscape requires several radio receivers
which can be programmed simultaneously or one
after another.
Procedure
1.Switch the radio receiver(s) into the program-
ming mode (see "Radio receiver" operating
instructions).
2.Depress the desired key of lightscape group
(e.g. key 1) for at least 3 seconds. This is con-
firmed by a flashing group LED. The receivers
confirm successful storing by an acoustic signal
or by switching of the load.
3.Switch the radio receiver(s) into the operating
mode (see "Radio receiver" operating instruc-
tions).
Lightscape programming of the key is terminated.
Note the assigned receiver on the supplied label
and stick it on the back of the hand-held trans-
mitter.

GIRA
Info Hand-held radio transmitter
Installation Instructions
Hand-held radio transmitter 15/01 Page: 5 of 10
ABC
1
2
3
4
5
6
7
8
>
<
Clearing an assigned channel
Programming of the same lightscape into the
receiver clears the existing lightscape.
Programming of the same channel into the re-
ceiver clears the existing assignments of channel,
lightscape and the All-ON or All-OFF keys (see
"Programming of radio receivers").
All-ON/All-OFF keys
When a channel is programmed, the All-ON
and the die All-OFF key are automatically
stored in the receiver (exception: radio louver
control attachment).
The All-ON key is used to switch the load of all
assigned receivers on, and the All-OFF key to
switch it off.
To execute the assigned function, the All-ON or
All-OFF key must be depressed for at least 1
second.
These actions are confirmed by all group LEDs
lighting up for approx. 12 seconds.
Changing the All-ON / All-OFF function
Example:
You want to exclude one of the receivers
(bathroom lighting) from responding when the All-
ON key is depressed, whereas all other receivers
are to switch on their respective lights.
Procedure
1. Depress the All-ON key for at least 1second.
All assigned receivers are switched on.
2. Choose the lighting as you would like to have it
when you depress the All-ON key next time.
Since all the receivers (lights) are already on,
the only thing you have to do now is to switch
off the light in the bathroom
3. Depress the All-ON key for at least 10 seconds
to store this setting.
Important:
At first, the old setting is recalled (keep the key
depressed). After about 10 seconds, the new
setting is activated and stored.

GIRA
Info Hand-held radio transmitter
Installation Instructions
Hand-held radio transmitter 15/01 Page: 6 of 10
4. All 3 group LEDs flash for confirmation and the
radio dimmers give off a short acoustic signal.
The All-ON key is now reprogrammed.
Proceed in the same way if you want to change
the All-OFF key, too.
ABC
1 2 3
45
1
2
3
4
5
6
7
8
<
>>
<
Recalling / storing a lightscape
(hand-held Comfort transmitter only)
Before storing or recalling a lightscape, this
lightscape must have been assigned to one of the
lightscape keys (see "Programming a lightscape
key").
With keys (1... 5) , you can store (key de-
pressed at least 3 seconds) or recall (key de-
pressed less than 3 seconds) lightscapes.
Changing an assigned lightscape
This function is used to change your individual
lightscape settings.
Procedure
1.Recall the desired lightscape by depressing the
corresponding lightscape key (1... 5).
2.Compose your desired lightscape (e.g. light 1 =
50 %, light 2 = 70 %, louver in raised position).
3.Depress the desired lightscape key (1... 5) for at
least 3 seconds.
Note:
The old lightscape is now recalled (keep the key
depressed).
After approx. 3 seconds, the new lightscape is
activated and stored.
4.One of the group LEDs flashes for confirmation
and the flush-mounted radio receivers give off a
short tone signal.

GIRA
Info Hand-held radio transmitter
Installation Instructions
Hand-held radio transmitter 15/01 Page: 7 of 10
ABC
1 2 3
45
1
2
3
4
5
6
7
8
<
>>
<
Use of the master key
(Comfort transmitter only )
The master key is used for dimming or
switching all radio dimmers of the lightscape last
recalled if these dimmers are on.
The louver and switching actuators cannot be
controlled with this function.
Lightscape/Master examples
The following sets are assigned to lightscape key
1:
•3 radio dimmers
•2 radio switching actuators
•2 radio louver controls
Setting the lightscape:
Set your desired lightscape as follows.
•dimmers 1 + 2 to ca. 70 % brightness
•dimmer 3 is off
•switching actuator 1 is on
•switching actuator 2 is off
•louvers 1 + 2 are in their lower limit-stop
position
Storing the lightscape:
Depress lightscape key 1for at least 3 seconds.
Note:
The existing lightscape 1 is now recalled (keep
the key depressed).
After approx. 3 seconds, the new lightscape is
activated and stored.
One of the group LEDs flashes for confirmation
and the flush-mounted radio receivers give off a
short tone signal.

GIRA
Info Hand-held radio transmitter
Installation Instructions
Hand-held radio transmitter 15/01 Page: 8 of 10
ABC
1 2 3
45
1
2
3
4
5
6
7
8
<
>>
<
Changing the lightscape with the master key
By means of the the master key , the activated
radio dimmers (dimmer 1 +dimmer 2) can now be
dimmed, switched off or switched back to their
starting brightness.
Dimmer 3is off and can therefore not be con-
trolled with the master key.
Louvers and switching actuators cannot be con-
trolled with this function.
The following functions are available:
Master key light
short press left side, /\ start. brightness
long press left side, /\ brighter
short press right side, \/ switch off
long press right side, \/ darker
Special function radio detector/radio switching
amplifier
Procedure
1. Switch the radio switching amplifier into the
programming mode (see operating instructions
"Radio switching amplifier").
2. Select group A, B or C by depressing the
corresponding key. Then depress the /\ or \/
key of the desired channel (e.g. group C,
channel 7) for at least 1 second. The radio
switching amplifier confirms storing by
switching of the load.
3. Switch the radio switching amplifier into the
operating mode (see operating instructions
"Radio switching amplifier").
Channel programming of the key is terminated.
Depress the corresponding channel key /\ for at
least 1 second to switch on the switching
amplifier.
Depress the channel key \/ for at least 1 second to
switch off. The radio switching amplifier switches
back automatically into the operating mode after
about 2 hours (see operating instructions "Radio
switching amplifier").

GIRA
Info Hand-held radio transmitter
Installation Instructions
Hand-held radio transmitter 15/01 Page: 9 of 10
AB C
123
45
1
2
3
4
5
6
7
8
<
>>
<
Radio Transmission
The radio signals are transmitted on non-
exclusive frequencies. Transmission distur-
bances can therefore not be excluded.
The transmission by radio is not suitable for
safety applications such as emergency shut-off
and emergengy calling functions.
The transmitting range of a radio transmitter (max.
100 m in free space) is dependent on local
building conditions:
Dry material Penetrability
Wood, plaster, gypsum abt. 90 %
Brickwork, chipboarding abt. 70 %
Reinforced concrete abt. 30 %
Metal, metal gridding, aluminium abt. 10 %
Radio operation
-The inter-connection of this radio system with other communication networks must comply with
national legislation.
- This radio system must not be used for communication beyond property boundaries.
- Operation in Germany is subject to the relevant regulations (Amtsblatt Vfg 73/2000).
The handheld Standard / Comfort transmitter may be operated in all countries of the EU and
the EFTA.
Technical specifications
Power supply: 6 VDC
Batteries: 4x Micro, Alkaline (LR 03)
Life-time of batteries: abt. 3 years
Transmit frequency: 433.42 MHz, ASK
Transmitting range: 100 m max. (free space)
Dimensions (LxWxH): 192 x 53 x 23 mm
Temperature range: 0 °C to +55 °C
Relative humidity: 80 % max.

GIRA
Info Hand-held radio transmitter
Installation Instructions
Hand-held radio transmitter 15/01 Page: 10 of 10
Declaration of conformity
The product designated in these Operating Instructions complies with the regulations of EU Directive
1999/5/EC (R&TTE)
The conformity is substantiated by adherence to the following guidelines and standards:
1999/519/EC
IETS300-220: 1993-10
ETS 300683: 1997-06
EN 60669-1: 1995
EN 60669-1/A2: 1996
EN 60669-2-1: 1996
EN 60669-2-1: 1996/A11: 1997
____________________________
Lüdenscheid, 19.01.2001, C. Toop
Gewährleistung
Wir leisten Gewähr im Rahmen der gesetzlichen Bestimmungen.
Bitte schicken Sie das Gerät portofrei mit einer Fehlerbeschreibung über den Fachhandel an
unsere zentrale Kundendienststelle.
Gira
Giersiepen GmbH & Co. KG
Service Center
Dahlienstrasse 12
D-42477 Radevormwald
Das CE-Zeichen ist ein Freiverkehrszeichen, das sich ausschließlich an die Behörde wendet
und keine Zusicherung von Eigenschaften beinhaltet.
Gira
Giersiepen GmbH & Co. KG
Postfach 1220
42461 Radevormwald
Telefon: 02195 / 602 - 0
Telefax: 02195 / 602 - 339
Internet: www.gira.de
This manual suits for next models
1
Table of contents
Other Gira Transmitter manuals
Popular Transmitter manuals by other brands
Dwyer Instruments
Dwyer Instruments Spirahelic 7000 Series Specifications-installation and operating instructions
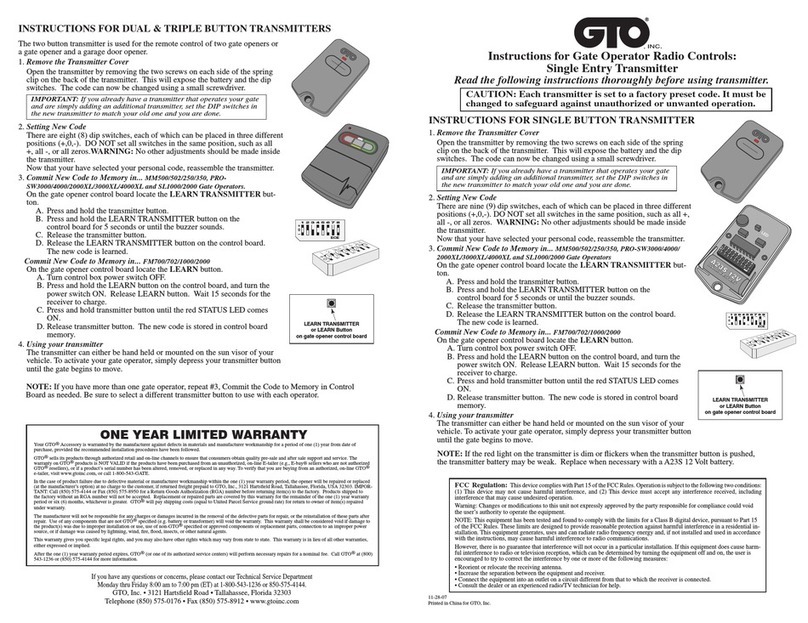
GTO
GTO RB741 reference guide
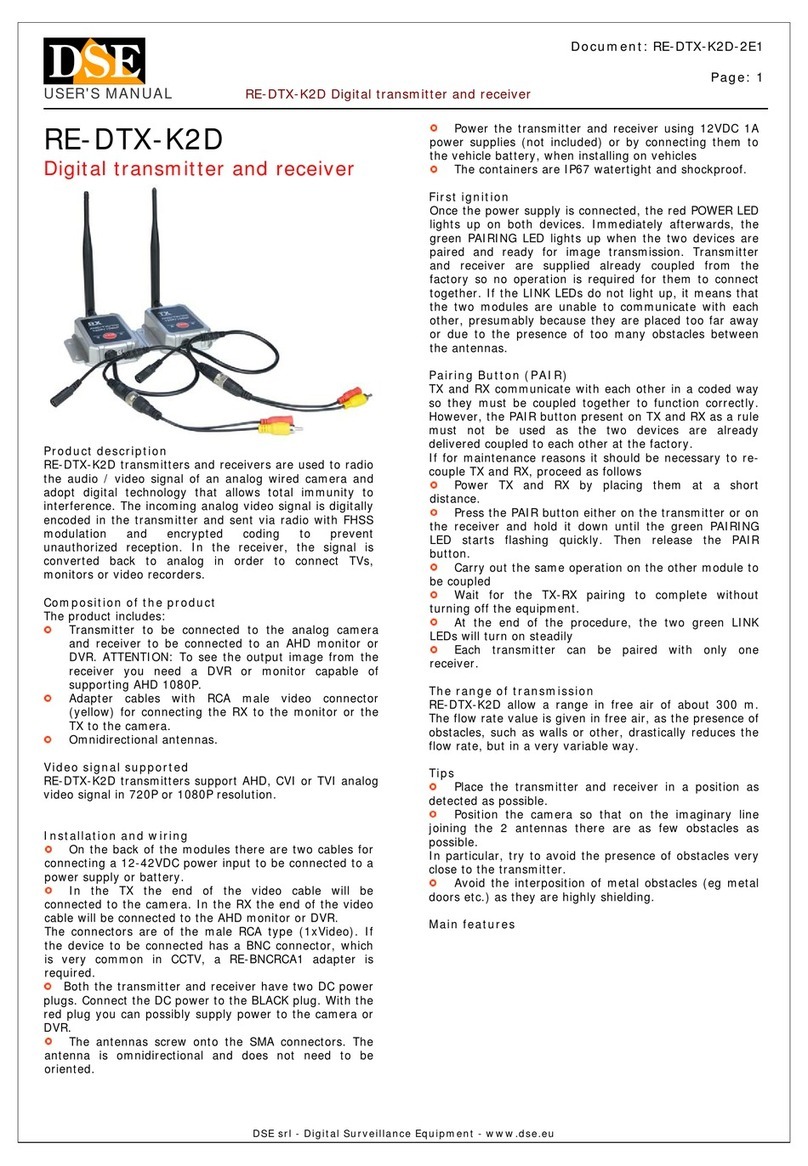
DSE
DSE RE-DTX-K2D user manual
Cypress
Cypress CA-COMPAT Operation manual

ATX
ATX QFOT1L Installation & operation manual
RKI Instruments
RKI Instruments 65-2649XL-HC-04 Operator's manual

