manuals.online logo
Brands
  1. Home
  2. •
  3. Brands
  4. •
  5. Gitzo
  6. •
  7. Camera Accessories
  8. •
  9. Gitzo ACCSS8032 User manual

Gitzo ACCSS8032 User manual

FARO® Laser
Scanner
Tripod
ACCSS8032
FARO® Laser
Scanner
Tripod
ACCSS8032
Instructions
1
1
3
41/4”
2
56
2
1
2
3
4
5
1
3 4
2
5
1
2
6
7
8
35
4
9
6
7
1
1
2
2
34
3
8
20 Kg / 200 N
In-ground
stake
Switching
magnet
Eye
screw
Weight Sling Etc.
Use center hook to preload the tripod
with weights (max. 20kg) or elastic
links (max. force 200N). If you use a
weight, ensure that it cannot swing, or
otherwise move in a manner that might
affect the tripod's stability.
9
FIG. 1 – Extending the tripod legs
Turn all the twist locks of each leg 1/4 clockwise of a turn at the same time,
then pull the leg down and tighten the twists individually.
FIG. 2 – Leg angle adjustment
Tripod ACCSS8032 is 󰘰tted with sliding stops which enable the legs to be
individually set at 3 di󰘯erent angles permitting di󰘯erent heights.
FIG. 3 – Reversible 3/8” or 1/4” fixing screw
FIG. 4 – Fix accessory on tripod
Mount the tripod head on the disc at the top of the center column (screw
tripod head clockwise). Tighten the grub screw against the base of the tripod
head, using the key supplied with the tripod. This feature prevents the tripod
head unscrewing accidentally.
FIG. 5 – Mounting the long column
FIG. 6 – Raising and lowering column
FIG. 7 – Spikes supplied with the tripod
FIG. 8 – Hook
Allows you to stretch a rope or shock cord between the tripod’s center hook
and a weight, switchable magnetic base, or existing anchor point.
FIG. 9 – Maintenance
The internal thread of the leg locks can be cleaned and greased to perform
optimally. Turn the twist lock until the thread is exposed, and remove any
dust or sand with a cloth. Apply a small amount of grease (sold separately:
GSGREASE02) onto the thread, and turn the twist lock until it is locked.
In addition to reading these instructions, it is also important to read the
general instructions printed on the warranty card packed with your product.
Using the tripod with a laser scanner
• Use only the tripods recommended by the laser scanner manufacturer.
• GITZO ACCSS8032 is certified for use with FARO Focus laser scanners.
When working with the laser scanner, two aspects must always be considered:
• Due to long recording times and high data-quality requirements, you must
adjust the tripod to be as stable as possible.
• Because a laser scanner moves during operation, the tripod must always
be as rigid as possible.
To achieve stability and rigidity, observe the following guidelines:
• Extend the tripod as little as possible. Less height means more accuracy.
• Extend the thicker segments of the legs before extending the thinner segments.
Always start with the
thickest leg segments and
pull them out completely
before you pull out the
next-largest segments.
• It is acceptable to extend a leg segment only partially if necessary to achieve a
specific height, but do not partially extend several segments of the same leg.
• Standard working height: the tripod has four leg segments, pull out the first
three fully and leave the fourth one inserted. This results in a working height
of approx. 148 cm, which allows an ergonomic operation of the scanner. Only
pull out the smallest leg segments when you need a larger tripod height.
• The tripod is equipped with large adjustable rubber feet. Each time you move
the tripod, check to ensure that the feet are correctly resting on the ground. If
you need to place the tripod on unstable ground (e.g., grass, gravel, mud) use
the supplied spikes instead of the rubber feet. Press the spikes individually into
the ground until they reach a stable, load-bearing layer.
• After you set the tripod on the ground, check the leg latches. If any of the
latches are loose, spread the legs slightly until the latches cannot be wiggled.
This ensures that the tripod is firmly planted on the ground, and unlikely to
shake or vibrate during scanning.
Three fully extended leg segments
provide a comfortable working
height.
Only pull out the smallest leg
segments if you need the working
height.
• The use of the center column significantly reduces the rigidity of the tripod.
We recommend that you avoid using the center column when operating laser
scanners. If you can’t reach the tripod height you need in any other way, keep
the extended length of the center column as short as possible. A better alter-
native, however, is to move the tripod to a different, higher position instead.
Use the center column only as a last resort. If you often need high working
heights, we recommend using a larger tripod.
IMPORTANT!
This setup can lead to reduced
our quality and should only be
used in exceptional cases.
• For scans close to the ground, slide all leg segments into each other before
setting the leg angle to “flat”. The rubber feet have a recess that helps to
achieve full-surface contact even with a flat leg angle. To do this, you must
turn the feet individually by hand.
• Ensure that the twist-lock sleeves for leg length adjustment, the central wing nut
of the tripod shoulder, and the tripod head are always tightly screwed together.
• Especially in locations where there is a risk of vibration, it is advisable to slightly
tension the tripod legs before starting a scan. Tension the legs by holding two
of the three tripod legs as close to the ground as possible with your hands,
pulling them slightly apart from each other and away from the third leg, and
then pressing them into the ground.
• In windy conditions, use sandbags to stabilize each foot of the tripod. You
can also stretch a rope or shock cord between the tripod’s center hook and a
weight, switchable magnetic base, or existing anchor point.
5-10 mm
200 N
20 kg
max
5-10 mm
IMPORTANT!
By tensioning the tripod legs,
you increase the stability of the
tripod; especially in vibration-
prone locations.
Spare parts:
-Rubber feet (set) code GSF50 [3 pcs] / GSF50M [1 pc]
-Spikes (set) code GSF30S (spike and rubber feet)
-Regular center column code D107001
-Short center column code D114309
-Grease code GSGREASE02
-Wrench set code D3.2360 + D06.13
-Dust bag code D0101.11
-Center hook code D104214
-Upper plate (black anodized part,
outer Diameter 60,0mm)
incl. both set screws code D104215
-Center Screw (UNC ¼ - UNC 3/8) code D0702.01
-rubberized leg lock, large code D106470
-rubberized leg lock, medium code D106460
-rubberized leg lock, small code D106450
-Set of 3 path delimiter inserts
(on inner end of each carbon pipe)
3x small code D104223
-Set of 3 path delimiter inserts
(on inner end of each carbon pipe)
3x medium code D104222
-Set of 3 path delimiter inserts
(on inner end of each carbon pipe)
3x large code D104286
Service & Repair
To download the complete illustrated spare parts file please refer to the Customer
Service > Service & Repair section at the bottom of the gitzo.com home page.
For more information
please scan the QR code
https://knowledge.faro.com
FARO® Laser
Scanner
Tripod
ACCSS8032
114308 — 06/18
gitzo.com

Other Gitzo Camera Accessories manuals
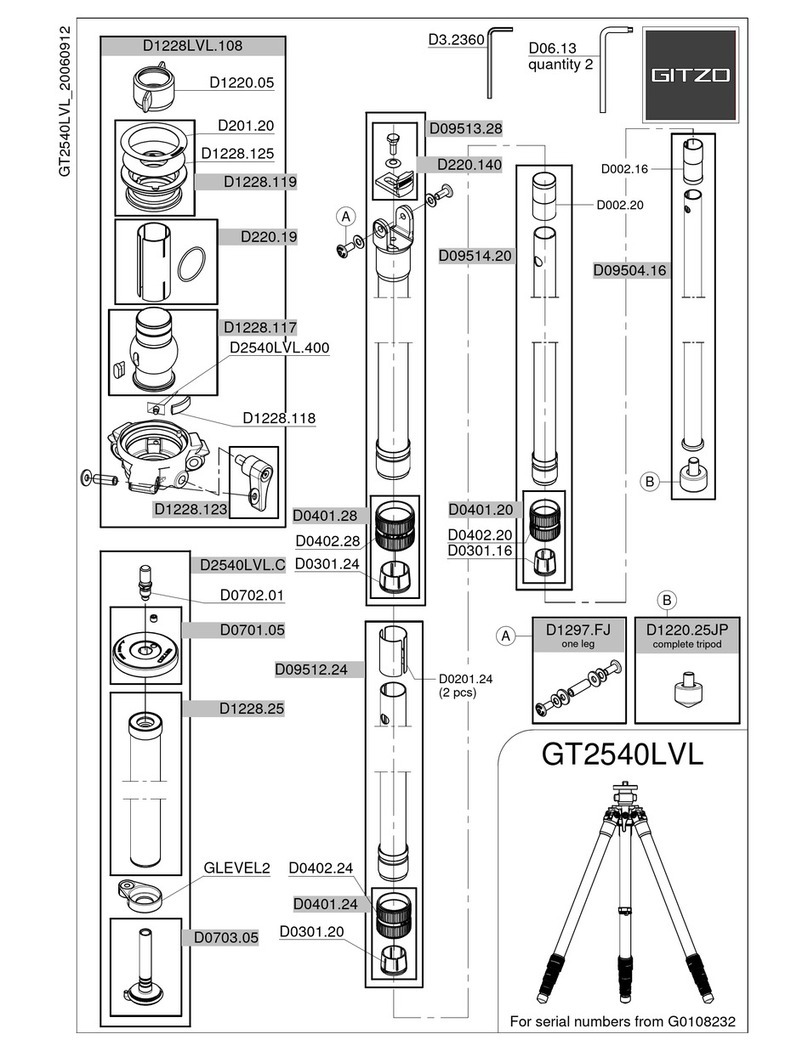
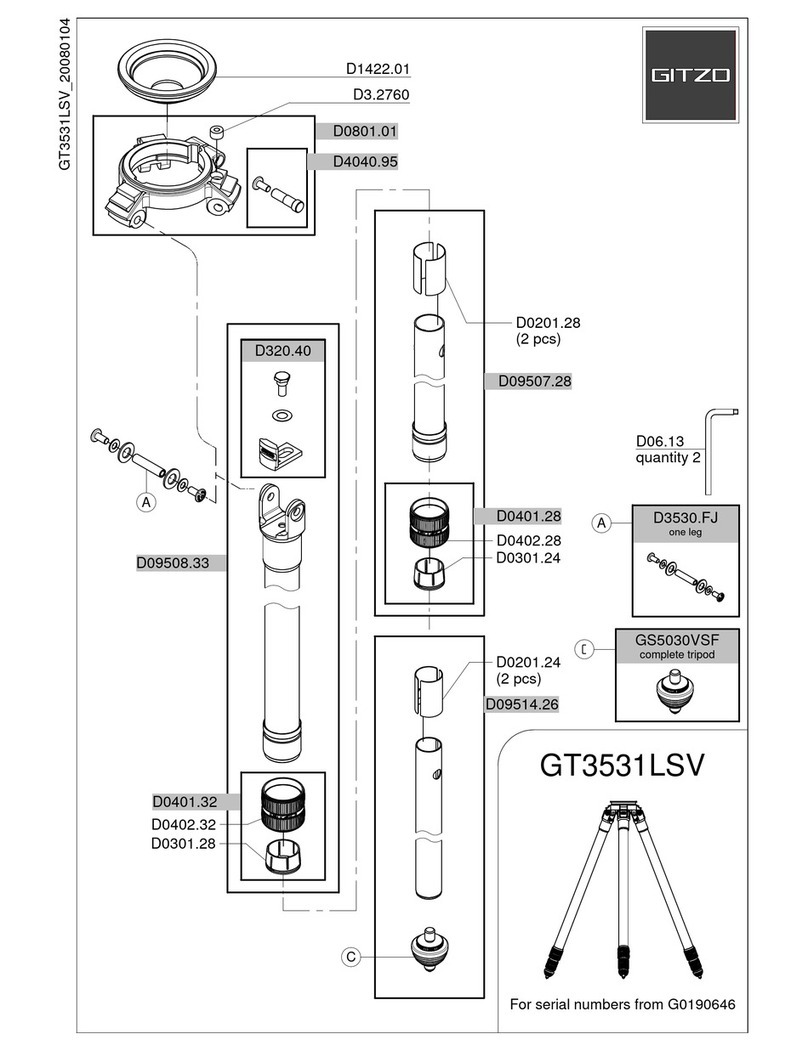
Gitzo GT3531LSV User manual

Gitzo

Gitzo GT3531LSV User manual

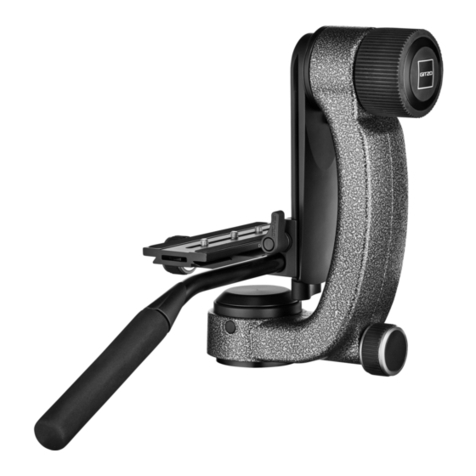
Gitzo Fluid Gimbal Head User manual

Gitzo

Gitzo Fluid Gimbal Head User manual

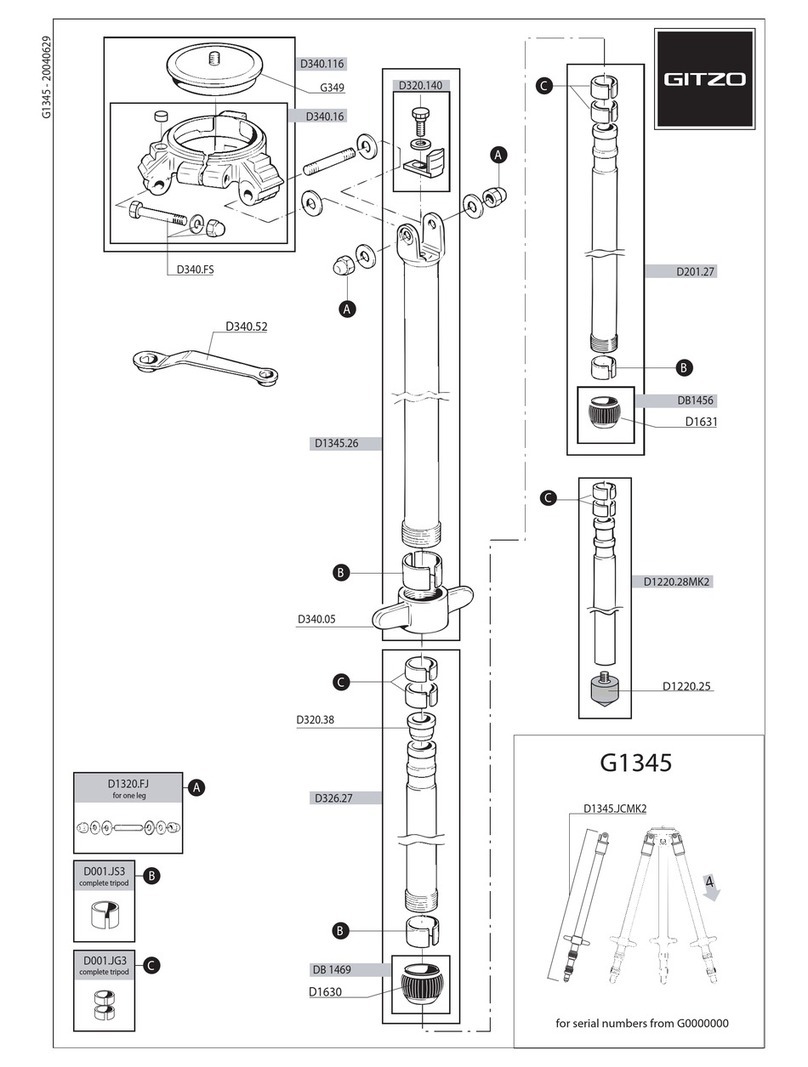
Gitzo Classic Inter Pro Studex Mk2  G1345 G1345 User manual

Gitzo

Gitzo Classic Inter Pro Studex Mk2 G1345 G1345 User manual

Gitzo GT3541XLS User manual

Gitzo

Gitzo GT3541XLS User manual

Gitzo 100 User manual

Gitzo

Gitzo 100 User manual

Gitzo GT5531S User manual

Gitzo

Gitzo GT5531S User manual

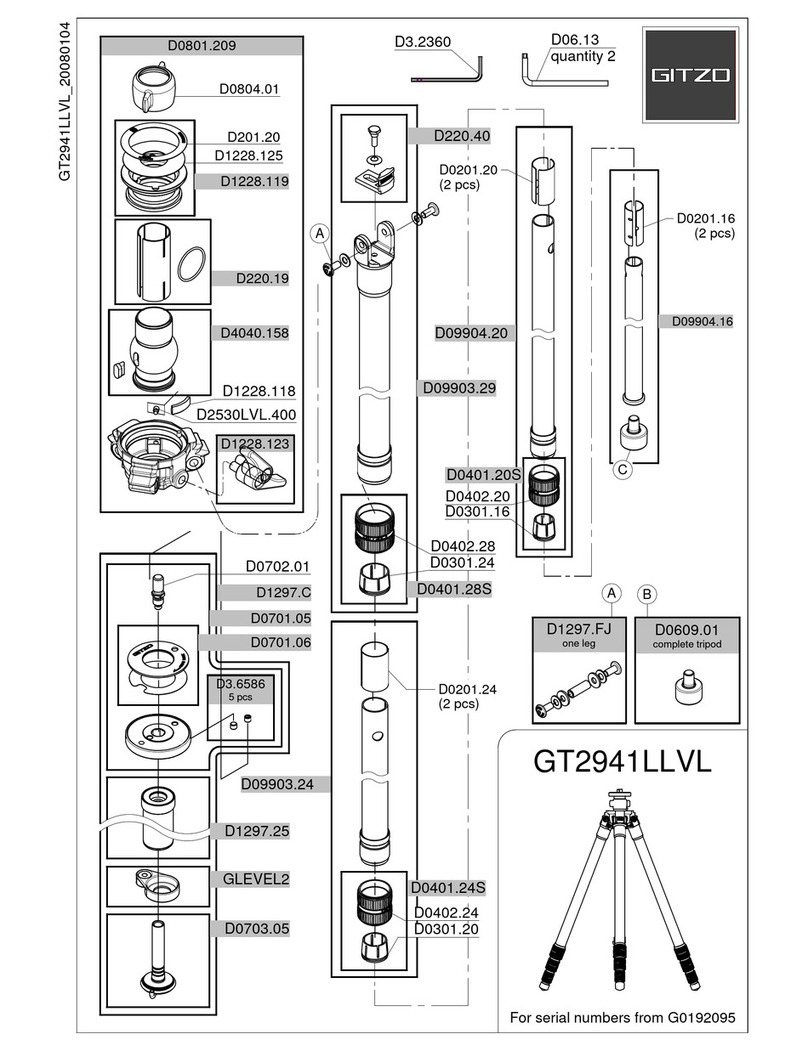
Gitzo GT2540LLVL User manual

Gitzo

Gitzo GT2540LLVL User manual

Gitzo GT1530 User manual

Gitzo

Gitzo GT1530 User manual

Gitzo G0045611 User manual

Gitzo

Gitzo G0045611 User manual

Gitzo GT2931EX User manual

Gitzo

Gitzo GT2931EX User manual

Gitzo GT2540 User manual

Gitzo

Gitzo GT2540 User manual

Gitzo GT-530 User manual

Gitzo

Gitzo GT-530 User manual

Gitzo GM2560T User manual

Gitzo

Gitzo GM2560T User manual

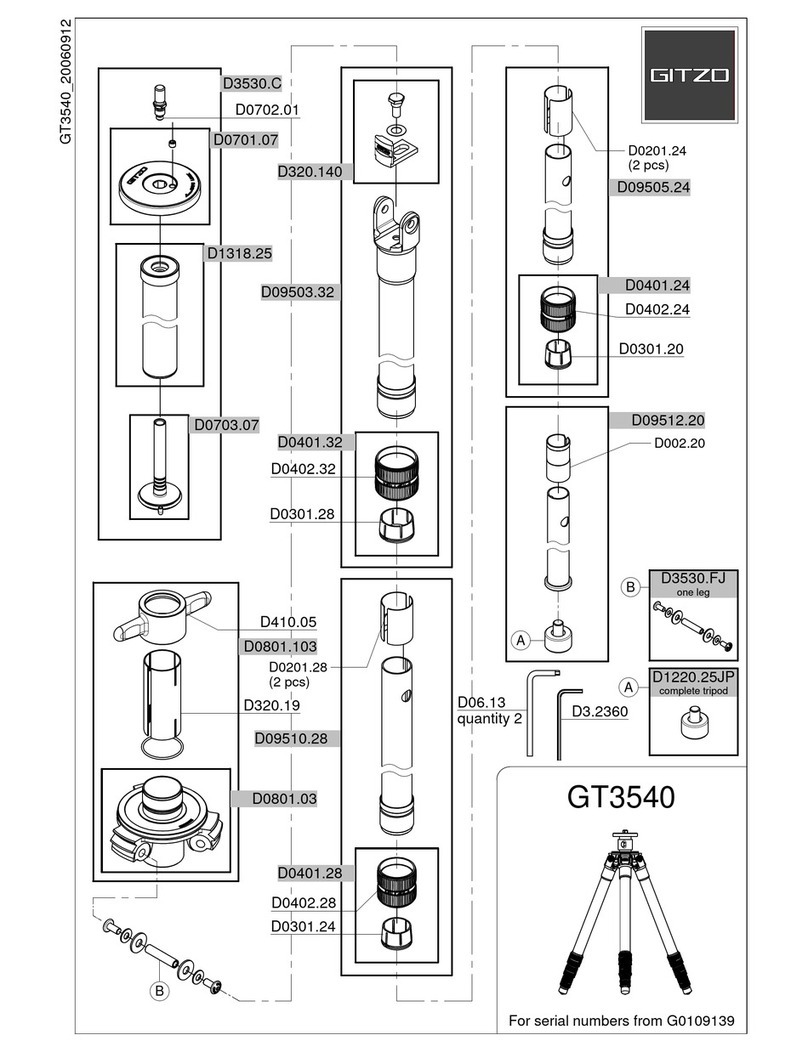
Gitzo GT3540 User manual

Gitzo

Gitzo GT3540 User manual

Gitzo GT2540G User manual

Gitzo

Gitzo GT2540G User manual

Gitzo G1158 User manual

Gitzo

Gitzo G1158 User manual

Gitzo GT-531 User manual

Gitzo

Gitzo GT-531 User manual

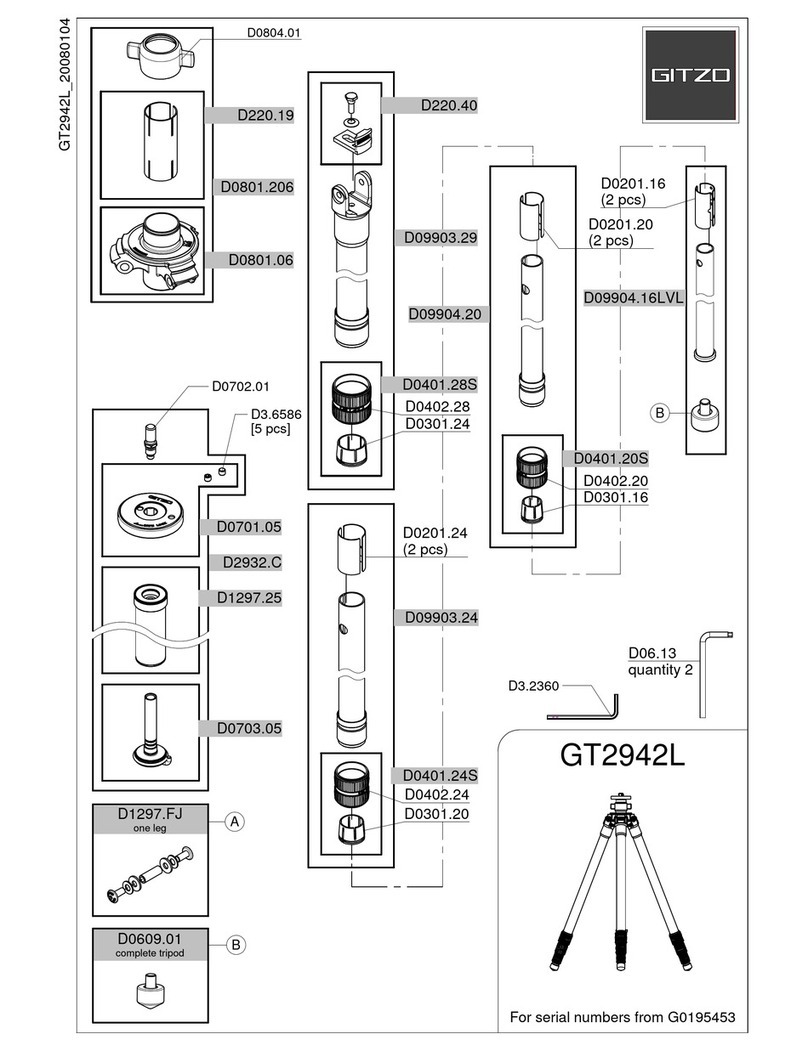
Gitzo GT2942L User manual

Gitzo

Gitzo GT2942L User manual

Gitzo GT2540EX User manual

Gitzo

Gitzo GT2540EX User manual

Gitzo GS5760D User manual

Gitzo

Gitzo GS5760D User manual

Gitzo GT2541G User manual

Gitzo

Gitzo GT2541G User manual

Gitzo GT2940L User manual

Gitzo

Gitzo GT2940L User manual

Gitzo GS5511S User manual

Gitzo

Gitzo GS5511S User manual
Gitzo GT3531 User manual

Gitzo

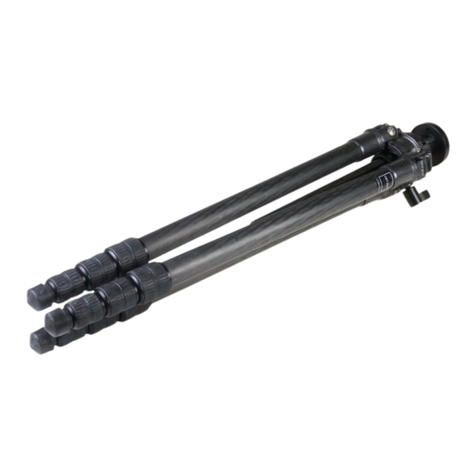
Gitzo GT3531 User manual

Popular Camera Accessories manuals by other brands

Silver Storm 303910 Safety instructions

Silver Storm

Silver Storm 303910 Safety instructions

AMX PT10-ADD instruction manual

AMX

AMX PT10-ADD instruction manual

Acebil PE-82GX Operation manual

Acebil

Acebil PE-82GX Operation manual

EnerSys PowerSafe RL Series Installation, Operating and Maintenance Instruction

EnerSys

EnerSys PowerSafe RL Series Installation, Operating and Maintenance Instruction

LITEWERKS LITE BLOX LB14 Series instruction manual

LITEWERKS

LITEWERKS LITE BLOX LB14 Series instruction manual

Rotolight RingLight Stealth Edition RL48-B quick start guide

Rotolight

Rotolight RingLight Stealth Edition RL48-B quick start guide

Camtree FF -PRIME instruction manual

Camtree

Camtree FF -PRIME instruction manual

Tekkeon MP3450-10 manual

Tekkeon

Tekkeon MP3450-10 manual

Worx WA3570 Original instructions

Worx

Worx WA3570 Original instructions

Trojan GC2 quick start guide

Trojan

Trojan GC2 quick start guide

BFT BAT installation manual

BFT

BFT BAT installation manual

Sega Tokio Selfie user manual

Sega

Sega Tokio Selfie user manual

Pentax Winder LX user guide

Pentax

Pentax Winder LX user guide

Ikelite 71722 instruction manual

Ikelite

Ikelite 71722 instruction manual

Vortex Summit Carbon II product manual

Vortex

Vortex Summit Carbon II product manual

Hahnel Remote Shutter Release instruction manual

Hahnel

Hahnel Remote Shutter Release instruction manual

Arecont Vision HGS2 installation manual

Arecont Vision

Arecont Vision HGS2 installation manual

Gradus Group Vello EZ-FLIP GEL SET user manual

Gradus Group

Gradus Group Vello EZ-FLIP GEL SET user manual

manuals.online logo
manuals.online logoBrands
  • About & Mission
  • Contact us
  • Privacy Policy
  • Terms and Conditions

Copyright 2025 Manuals.Online. All Rights Reserved.