manuals.online logo
Brands
  1. Home
  2. •
  3. Brands
  4. •
  5. Glasdon
  6. •
  7. Outdoor Furnishing
  8. •
  9. Glasdon MODUS 770 Manual

Glasdon MODUS 770 Manual

MODUS 770 AND MODUS 1280 (FLAT PACK)
OPERATIONAL, ASSEMBLY & FIXING INSTRUCTION LEAFLET
TM TM
P. 1
OPENING AND CLOSING HOUSING:
NOTE: To allow the wheeled bin to sit inside the housing in the correct position, it is recommended that
the lid of the wheeled bin remains attached and is simply folded over the back of the bin when in use.
For best results please ensure that the front of the wheeled bin is level with the front two extrusions.
NOTE: Ensure that all relevant personnel read the points listed below and that a copy is passed on to staff involved
with the installation. Please also refer to the ‘Manual Handling Operations Regulations 1992’ during the
handling of the product and materials used for installation. The total weight of this product is 102kg
(Modus 770) and 119kg (Modus 1280).
Insert Glasdon Key into lock and
turn anticlockwise to unlock the
door. (Alternatively: Turn twist
lock anticlockwise to unlock
door.)
Using handle pull door open
to 90 degree position.
To ensure that the door remains
open whilst removing the wheeled
bin, turn the door stay catch
clockwise so that it is positioned
horizontally.
Remove wheeled bin from
housing.
After replacing the wheeled bin,
remove the door stay catch by
pushing upwards anticlockwise so
that it is positioned vertically.
Close the door and insert key into
lock. Turn key clockwise to lock
door. (Alternatively: Turn twist lock
clockwise to lock door.)
1 2 3
45 6
We recommend that a risk assessment is undertaken to identify an appropriate location for your waste
collection and recycling units. In order to reduce risk, some organisations decide to place the units a
minimum of 5 metres away from buildings. Any potential risk can be further reduced by maintaining a
regime of regularly emptying the unit. You may also wish to consider installing a Glasdon FiresafeTM.
Glasdon Firesafe is an eective low cost auxiliary device designed to quickly extinguish re at source but is
not intended to replace primary re prevention measures. A regular inspection and maintenance
programme will ensure the device is kept in good working order. In the event that the device has been
discharged it must be replaced.
TOOLS REQUIRED:
13mm Spanner x1
Hand Drill with Pozi Drill Bit x1
10mm x 150mm Masonry Drill Bit x1
Rubber Mallet x1
Hammer x1
P. 2
KIT CONTENTS: 770L 1280L
ITEM A Left Side Panel x1 x1
ITEM B Back Panel x1 x1
ITEM C Right Side Panel x1 x1
ITEM D Door Panel x1 x1
ITEM E Hood x1 x1
ITEM F Aperture x1 x1
ITEM G Chute x1 x1
ITEM H Blanking Block x2 x2
ITEM I Side Skirting x2 x2
ITEM J Rear Skirting x1 x1
ITEM K 5mm x 20mm Chipboard Screw x54 x58
ITEM L M10 Nut x4 x4
ITEM M Bolt - M10 x 50 BZP x4 x4
ITEM N Nylon Washer 10.3 x 20.6 x 3.2mm x4 x4
ITEM O 4.8 x 60mm Screw S/S x4 x6
ITEM P Repair Washer M5 x 25mm S/S x16 x20
ITEM Q M6 x 25mm A2 Socket Cap Screw x4 x4
ITEM R M10 x 120mm Ground Fixing Bolt x4 x4
ITEM S Glasdon Key x1 x1
Assembled
Housing
(770)
A B C D
EF
17mm Spanner x2
5mm Allen Key x1
6mm Allen Key x1
GH
IJKL
MN O PQRS
Step 1: Assembly of Housing
1
4 5 6
789
P. 3
2 3
Hold panel (B) up to the extrusion
on panel (A) ensuring that the
feet with the pre-drilled holes are
on the ground. Push the end of
the board into the extrusion slot.
Using rubber mallet (so not to
damage the extrusions) tap the
side at the top of the extrusion so
that the board is pushed rmly
into the extrusion without any
gaps.
Tap the top of the extrusion to
ensure the board is level up to the
top of the extrusion.
Using hand drill and screw
provided (K), secure the top xing
in position by screwing from the
inside of the extrusion into the
board.
Using rubber mallet, tap the side
at the bottom of the extrusion to
ensure that the board is pushed
rmly into the extrusion without
any gaps.
Using hand drill and 6 o screws
provided (K), secure the
remaining xings on the inside of
the extrusion by screwing
through the extrusion into the
board.
With two panels assembled oer
the third panel (C) up to the
extrusion on panel (B). Push the
end of the board into the
extrusion slot.
Using rubber mallet tap the side at
the top of the extrusion so that
the board is pushed rmly into the
extrusion without any gaps.
Tap the top of the extrusion to
ensure the board is level up to
the top of the extrusion.
Using rubber mallet, tap the side
at the bottom of the extrusion to
ensure that the board is pushed
rmly into the extrusion without
any gaps.
With three panels assembled oer
the door extrusion (D) up to the
end of the board on panel (A).
Push the end of the board into
the extrusion slot.
Using rubber mallet, tap the side
at the top of the extrusion so that
the board is pushed rmly into
the extrusion without any gaps.
Tap the top of the extrusion to
ensure the board is level up to the
top of the extrusion.
Using rubber mallet, tap the side
at the bottom of the extrusion to
ensure that the board is pushed
rmly into the extrusion without
any gaps.
Move the door to the closed
position. Align the edge of the door
with the extrusion so that there is
an even gap running all the way
down. (approximately 10mm wide)
Step 1: Assembly of Housing (continued)
10
13 14 15
16 17 18
P. 4
11 12
Using hand drill and 6 o screws
provided (K), secure the
remaining xings on the inside of
the extrusion by screwing through
the extrusion into the board.
Using hand drill and 6 o screws
provided (K), secure the
remaining xings on the inside of
the extrusion by screwing through
the extrusion into the board.
Using hand drill and screw
provided (K), secure the top xing
in position by screwing from the
inside of the extrusion into the
board.
Using hand drill and screw
provided (K), secure the top xing
in position by screwing from the
inside of the extrusion into the
board.
To test the lock, Insert Key (S)
into triangular lock and turn
clockwise.
Now that all the panels are
assembled, lift the hood (may require
two people to lift) and locate the
moulded legs into the tops of the
extrusions.
Ensure that there is one nut in
each of the moulded legs. If not,
place one nut (L) into each
pre-drilled hole.
Using bolt (M) and washer (N),
push the xing through the central
hole on the inside of the extrusion
and tighten using your ngers.
Repeat on other three extrusions.
Locate the aperture into the door
extrusion slot.
Close the door and align aperture
with hood so that there is an even
gap between the hood and
aperture. (If the gap is uneven, go
to Steps 4 & 5 on page 8 to adjust
the door wheel then return to Fig
26.)
Using 17mm spanner, tighten the
bolt at the top of each extrusion
on the inside of the housing.
In order to secure the hood to the panels, x one o screw (O) with
washer (P) into each of the 6 o hood struts through to the panelling.
In order to minimise any gaps between the hood and panels you may
require somebody to push the hood down from the outside whilst
xing from the inside.
Step 1: Assembly of Housing (continued)
19
22
24 25
P. 5
20 21
23
26
Open door and using 9 o screws
(K) and hand drill, x through the
extrusion pre-drilled holes into
the aperture panel.
Place a blanking block (H) on
either side of the aperture panel
so that they ll the remaining gap
in the extrusion.
Open door and using 2 o screws
per blanking block (K) and a hand
drill, x through the extrusion
pre-drilled holes into each of the
blanking blocks.
With the door open, hold the
chute (K) against the back of the
aperture so that it is resting
against the extrusion. The chute
should be positioned central to
the aperture so that there is an
equal gap at the ends.
Using 4 o screws (K) and hand
drill, x through the chutes
pre-drilled holes into the aperture
panel.
To put the nal xings on the
hood, on the inside at the top of
the 4 o extrusions, x 2 o
screws (Q) into the two remaining
holes and secure with 5mm allen
key. These can be tightened to
reduce the gap between door and
the extrusion (opposite to Figs 26
and 27).
29
30 31
Step 1: Assembly of Housing (continued)
32
28
P. 6
33
OPTIONAL: The aperture panel can
be xed in place last once all
assembly , adjustment and ground
xing is complete to ensure it aligns
correctly with the hood.
Close the door. Should the gap
between the door and the
extrusion be too small (as above)
and the lock cover is catching,
further tighten extrusion bolts (Fig
26). This will increase the gap.
27
34
Using a 13mm spanner/socket
unscrew the two bolts with
washers on the inside at the
bottom of the extrusions and
remove.
Lift the extrusion upwards and
pull the spigot leg down to a
more appropriate height ensuring
that the housing is now level.
Replace the bolts and washers
into the new holes within the
spigot leg and tighten with
spanner/socket. Repeat Figs
34-36 on the other legs that
need adjusting.
35 36
Step 3: Ground Fixing (Concrete In)
37 38 39
Using a 10mm masonry drill bit,
drill through the hole in the spigot
leg down into the concrete
approximately 150mm deep.
The xing bolts (R) MUST appear as
above with the nut and washer at the
top of the bolt. Using a hammer, tap
xing bolt through the hole in the
spigot leg until it is ush with the
spigot plate.
Tighten bolt using 17mm
spanner. Repeat Figs 37-39 to
ground x the other three
extrusions.
Step 2: Adjustment of Spigot Legs When Sited on Uneven Ground
(If not required move on to Step 3)
P. 7
43
Lift door panel and pull wheel
down so that the axle drops down
the slot in the wheel support bar
(may require two people).
Once in correct position, tighten
up nut (left of wheel) to lock the
axle in place.
Tighten up nyloc nut (right of
wheel) ensuring that wheel can
still rotate freely but is secure on
the axle.
44 45
Step 5: Further Adjustment of Door Wheel (If Required)
46 47 48
40 41 42
Using 17mm spanner, loosen
nyloc nut on right hand side of
wheel.
Using 17mm spanner and 6mm
allen key, loosen nut on left side of
the wheel to free the axle from the
wheel support bar.
P. 8
Step 4: Adjustment of Door Wheel (If Required)
If the door is not level and there is
a large gap between the hood, as
seen above, the door wheel can
be adjusted.
Using 17mm spanner, hold the nut
closest to the wheel support bar and
using a second spanner unscrew the
outermost nut and remove. Repeat
on other wheel support bar xing point.
Using 17mm spanner remove the
second nut and washer. Repeat
on other wheel support bar xing
point.
Lift the wheel support bar o the
bolts, ensuring that the door is
still supported.
IMPORTANT NOTE: The door wheel must be positioned so that it is touching the ground when the door
is CLOSED. The main purpose of the door wheel is to support the large door when in the closed position.
AND MODUS ARE TRADEMARKS OF GLASDON GROUP AND ITS SUBSIDIARIES IN
THE U.K. AND OTHER COUNTRIES.
Replacement components are available direct from GLASDON.
GLASDON cannot be held responsible for claims arising from incorrect installation, unauthorised modifications or misuse of
the product.
Issue 2 December 2011 C000/0403
© Copyright 2011
Glasdon U.K. Ltd reserves the right to alter specifications without prior notice. Preston New Road
BLACKPOOL
Lancashire FY4 4UL
Tel: 01253 600410
Fax: 01253 792558
E-mail: [email protected]
Web: www.glasdon.com
P. 9
52 53 54
TM
Step 6: Attaching Rubber Skirting
49 50 51
Using side skirting (I), on the
INSIDE of the housing, align the
end of rubber next to the
extrusion so that it is touching the
ground.
Using a screw (K) and washer (P),
screw the xing through the
pre-drilled hole in the skirting
through into the board.
Repeat Fig 53 using the other
xings along the skirting ensuring
to pull the rubber tight
in between each point. Repeat
Figs 52 - 54 on the opposite side
of the housing and then use rear
skirting (J) for the back of the
housing.
Making sure that the wheel
support bar is 90 degrees to the
door, replace the washer and rst
nut onto the bolt and tighten (do
NOT overtighten).
Holding the nut with the 17mm
spanner, place the second nut
over the bolt and tighten securely
with a second spanner. Repeat
Figs 50 and 51 using other xings.
(Step 4 may need repeating)
Replace the wheel support bar
over the bolts using the
alternative holes to make the
adjustment of the door height.
Step 5: Further Adjustment of Door Wheel (continued)

Other manuals for MODUS 770

2

This manual suits for next models

1

Other Glasdon Outdoor Furnishing manuals

Glasdon Glasdon User manual

Glasdon

Glasdon Glasdon User manual

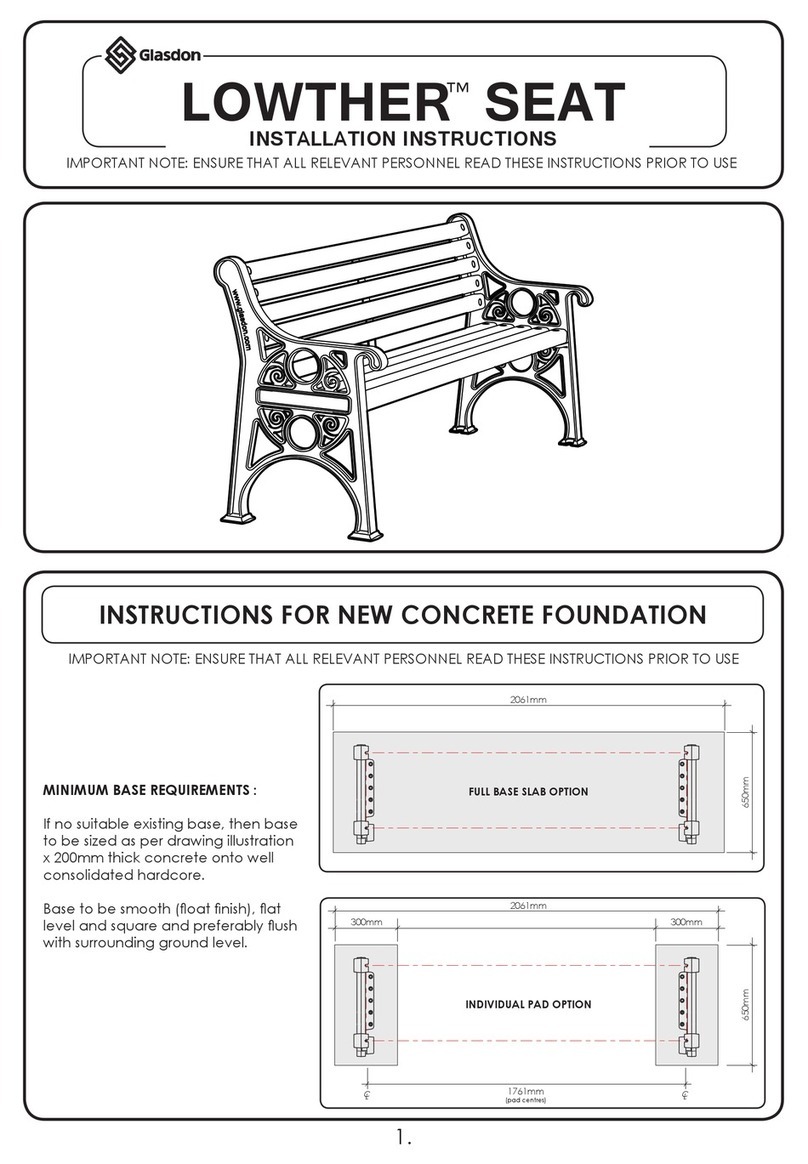
Glasdon LOWTHER SEAT User manual

Glasdon

Glasdon LOWTHER SEAT User manual

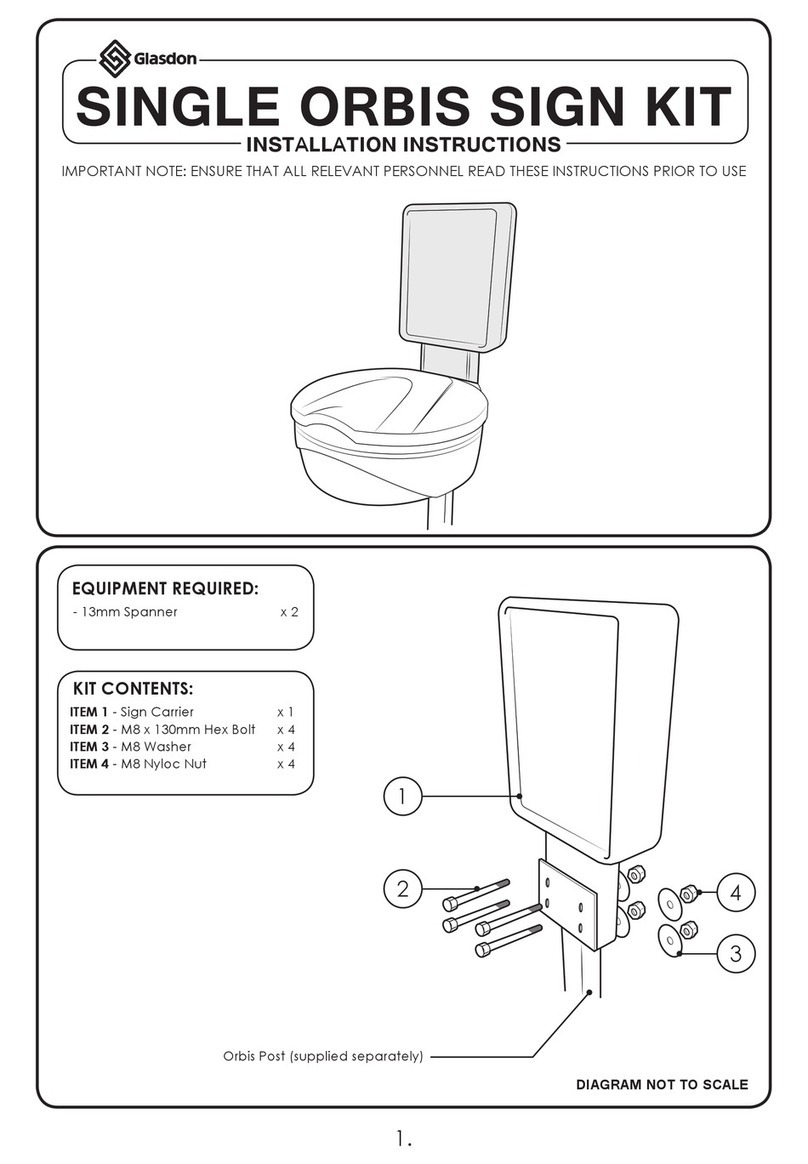
Glasdon Single Orbis Sign Kit User manual

Glasdon

Glasdon Single Orbis Sign Kit User manual

Glasdon RECYCLED MATERIAL PICNIC TABLE User manual

Glasdon

Glasdon RECYCLED MATERIAL PICNIC TABLE User manual

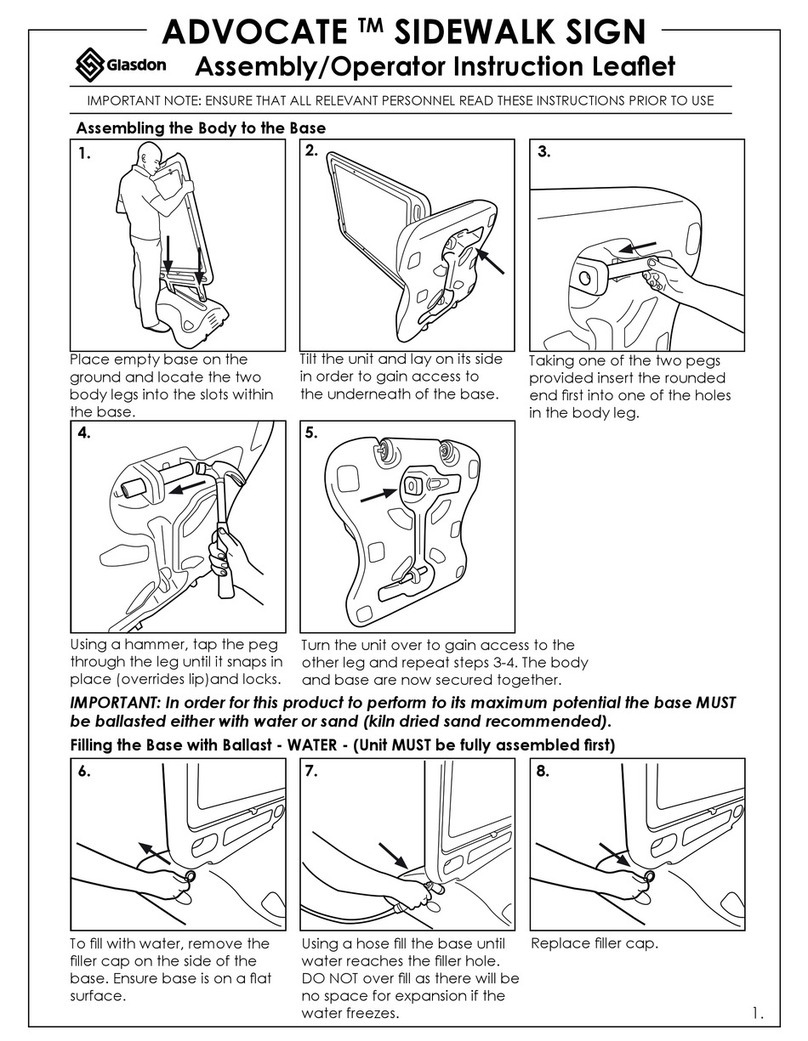
Glasdon ADVOCATE SIDEWALK SIGN User manual

Glasdon

Glasdon ADVOCATE SIDEWALK SIGN User manual

Popular Outdoor Furnishing manuals by other brands

HAPPATIO HPO-ZPTY-H owner's manual

HAPPATIO

HAPPATIO HPO-ZPTY-H owner's manual

leco Lamellenpergola manual

leco

leco Lamellenpergola manual

Jack-Post JPC-1001 Use and care guide

Jack-Post

Jack-Post JPC-1001 Use and care guide

Sojag 472647 Assembly instructions

Sojag

Sojag 472647 Assembly instructions

Naterial Oris Fix 2021R09P07 0518 Assemby - Use - Maintenance Manual

Naterial

Naterial Oris Fix 2021R09P07 0518 Assemby - Use - Maintenance Manual

Keter A-2351 Assembly instructions

Keter

Keter A-2351 Assembly instructions

BENITO Urban Dara PA694SMO Anchoring instructions

BENITO

BENITO Urban Dara PA694SMO Anchoring instructions

Central Park 5628902 Assembly

Central Park

Central Park 5628902 Assembly

Royalcraft Monaco manual

Royalcraft

Royalcraft Monaco manual

STI STI-30325 quick guide

STI

STI STI-30325 quick guide

Costway OP70839 user manual

Costway

Costway OP70839 user manual

Walmart GFS00520F Assembly instructions

Walmart

Walmart GFS00520F Assembly instructions

Mimosa Signature Silverleaves 3192437 quick start guide

Mimosa

Mimosa Signature Silverleaves 3192437 quick start guide

Courtyard Creations KUS899E-WM Assembly instructions

Courtyard Creations

Courtyard Creations KUS899E-WM Assembly instructions

Uberhaus 38115135 Operator's manual

Uberhaus

Uberhaus 38115135 Operator's manual

leco Profi Pavillion manual

leco

leco Profi Pavillion manual

L.L.Bean ADIRONDACK GLIDER Assembly instructions

L.L.Bean

L.L.Bean ADIRONDACK GLIDER Assembly instructions

Breezesta AD-0119 quick start guide

Breezesta

Breezesta AD-0119 quick start guide

manuals.online logo
manuals.online logoBrands
  • About & Mission
  • Contact us
  • Privacy Policy
  • Terms and Conditions

Copyright 2025 Manuals.Online. All Rights Reserved.