manuals.online logo
Brands
  1. Home
  2. •
  3. Brands
  4. •
  5. Glasdon
  6. •
  7. Outdoor Furnishing
  8. •
  9. Glasdon ADVOCATE SIDEWALK SIGN User manual

Glasdon ADVOCATE SIDEWALK SIGN User manual

Assembly/Operator Instruction Leaet
IMPORTANT NOTE: ENSURE THAT ALL RELEVANT PERSONNEL READ THESE INSTRUCTIONS PRIOR TO USE
IMPORTANT: In order for this product to perform to its maximum potential the base MUST
be ballasted either with water or sand (kiln dried sand recommended).
Filling the Base with Ballast - WATER - (Unit MUST be fully assembled rst)
Assembling the Body to the Base
Place empty base on the
ground and locate the two
body legs into the slots within
the base.
Tilt the unit and lay on its side
in order to gain access to
the underneath of the base.
Taking one of the two pegs
provided insert the rounded
end rst into one of the holes
in the body leg.
1. 2. 3.
4. 5.
6. 7. 8.
Using a hammer, tap the peg
through the leg until it snaps in
place (overrides lip)and locks.
Turn the unit over to gain access to the
other leg and repeat steps 3-4. The body
and base are now secured together.
To ll with water, remove the
ller cap on the side of the
base. Ensure base is on a at
surface.
Using a hose ll the base until
water reaches the ller hole.
DO NOT over ll as there will be
no space for expansion if the
water freezes.
Replace ller cap.
ADVOCATE TM SIDEWALK SIGN
1.
Assembly/Operator Instruction Leaet
Filling the Base with Ballast - SAND - (Unit MUST be fully assembled rst) 4 x 50lb bags
kiln dried sand
To ll with sand, lay the unit on
its side in order to gain access
to the ll port and
remove ller cap.
Using a funnel, pour sand
through ller port until it
reaches the level of the ller
hole.
10.
9.
2.
Place hand(s) around the side
of the body and place your
foot on the foot rest detail on
the side of the base.
Using your foot and hands to lever
the unit, tilt the unit towards you so
that the wheels engage with the
ground. Push the unit to its location.
IMPORTANT: Once the unit has been ballasted it will be very heavy (200lbs)
therefore take care when maneuvering.. See below.
To Maneuver the Advocate
Carefully lower the unit
back to the ground.
11. 12. 13.
14.
Place the chain through one the holes at the bottom of the body
and around the post/wall xing bracket. Secure in position.
To Chain the Unit to a Post/Wall CLEANING YOUR SIGN
We would recommend the unit is hand washed with
10% solution of mild detergent in warm water using a
soft bristle brush followed by a rinse with clean water.
GRAFFITI: Felt tip pen or paint may be removed
from Durapol using a proprietary grafti remover.
We would recommend using 3M GR1 Gratti
remover on the clear polycarbonate to ensure
the material does not go cloudy.
ADVOCATE TM SIDEWALK SIGN
To Insert/Remove a Poster (Poster Dimensions 40 x 30 inches) See step 27.
Unclip the clear protector
from the press studs and pull
back down into position over
the poster ensuring all the
magnets are connected.
Repeat steps 15 - 18 on the
opposite side of the body to
insert the second poster.
15. 16. 17.
Place ngers into the opening
recess at the bottom of the
body and pull the clear
polycarbonate protector away
from the body/magnets.
18.
Bend the clear protector up
and over the top of the body
using the press studs on both
sides to secure it in position.
This allows two hands for ease
of inserting the poster.
Take the poster and push the
top edge underneath the two
poster clips until it stops so that
it is held securely in place.
Ensure that both side edges of
the poster are overlapping the
magnets on the body.
19. 20.
21.
Pull the poster downwards
from underneath the poster
clips to remove. Unclip the
clear protector from the
press studs and pull back
down into position over
ensuring all the magnets are
connected.
Assembly/Operator Instruction Leaet
To remove the poster, rstly,
repeat steps 15-16.
Carefully lower the unit
back to the ground.
ADVOCATE TM SIDEWALK SIGN
3.
22. 23. 24.
25.
Assembly/Operator Instruction Leaet
To Fix the Wall Mounted Unit to a Wall - (Two people required for assembly)
26.
Lift the unit and position where
suitable on the wall using a
level to ensure it is horizontal.
NOTE: the rectangular
personalisation recess should
be at the bottom.
Open the clear polycarbonate
cover by lifting upwards. Using
a 7mm or 8mm masonry bit,
drill through each of the 4 holes
in the unit to make a small mark
on the wall.
Remove the unit from the wall
and drill 4 off holes where the
markings appear on the wall.
Insert a wall plug into each
hole and lift the unit back into
position on the wall.
Place a 25mm washer onto a
60mm screw provided and
push through hole in the unit.
Place a 28mm spacer onto the
screw so that is located
between the unit and the wall.
Locate the screw with the wall
plug and x the unit to the wall
using a pozi drive screwdriver.
Repeat on remaining 3 off xing
points. DO NOT overtighten.
3/4”
30”
40”
POSTER PRINTING DIMENSIONS
The unit is designed to frame
a 40 x 30 inch poster.
The poster can either
be printed on paper or it can
be laminated for added
durability. NOTE: The clear
polycarbonate protector has
a printed border therefore the
graphics must be inset so they
are not hidden by the border.
See dimensions above.
Glasdon, Inc.
5200D Anthony Road
Sandston
VA 23150
Sales Inquiries: 1-855-USGLASDON
General Inquiries: 804-726-3777
Fax: 804-726-3778
E-mail: [email protected]
Web: www.glasdon.com
AND ADVOCATE ARE TRADEMARKS OF GLASDON GROUP OR ITS
SUBSIDIARIES IN THE U.K. AND OTHER COUNTRIES
Issue 1 Sept. 2015 C000/0467 US
©Copyright 02/2016
Glasdon reserve the right to alter specications without prior notice.
nA planned maintenance schedule of regular inspection is recommended,
replacing components as necessary.
nReplacement components are available direct from GLASDON, Inc.
nGLASDON, Inc. cannot be held responsible for claims arising from incorrect
installation, unauthorized modications or misuse of the product.
ADVOCATE TM SIDEWALK SIGN
4.

Other Glasdon Outdoor Furnishing manuals

Glasdon Glasdon User manual

Glasdon

Glasdon Glasdon User manual

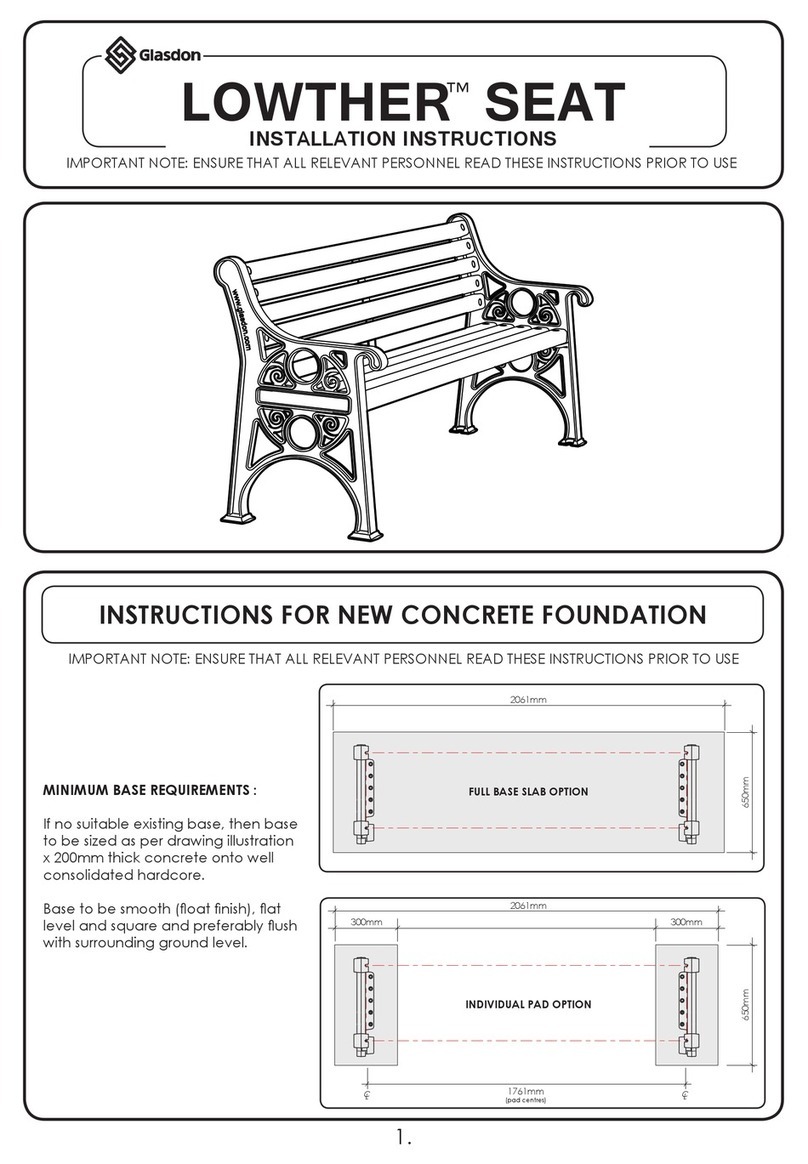
Glasdon LOWTHER SEAT User manual

Glasdon

Glasdon LOWTHER SEAT User manual

Glasdon RECYCLED MATERIAL PICNIC TABLE User manual

Glasdon

Glasdon RECYCLED MATERIAL PICNIC TABLE User manual

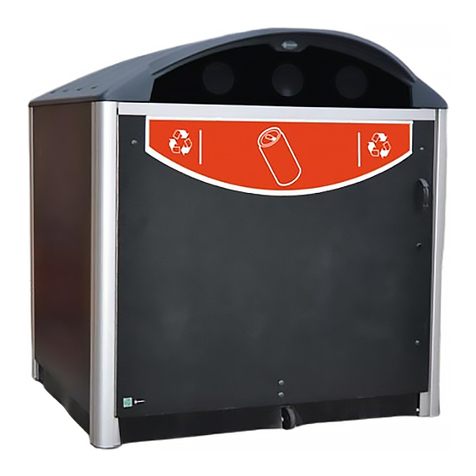
Glasdon MODUS 770 Manual

Glasdon

Glasdon MODUS 770 Manual

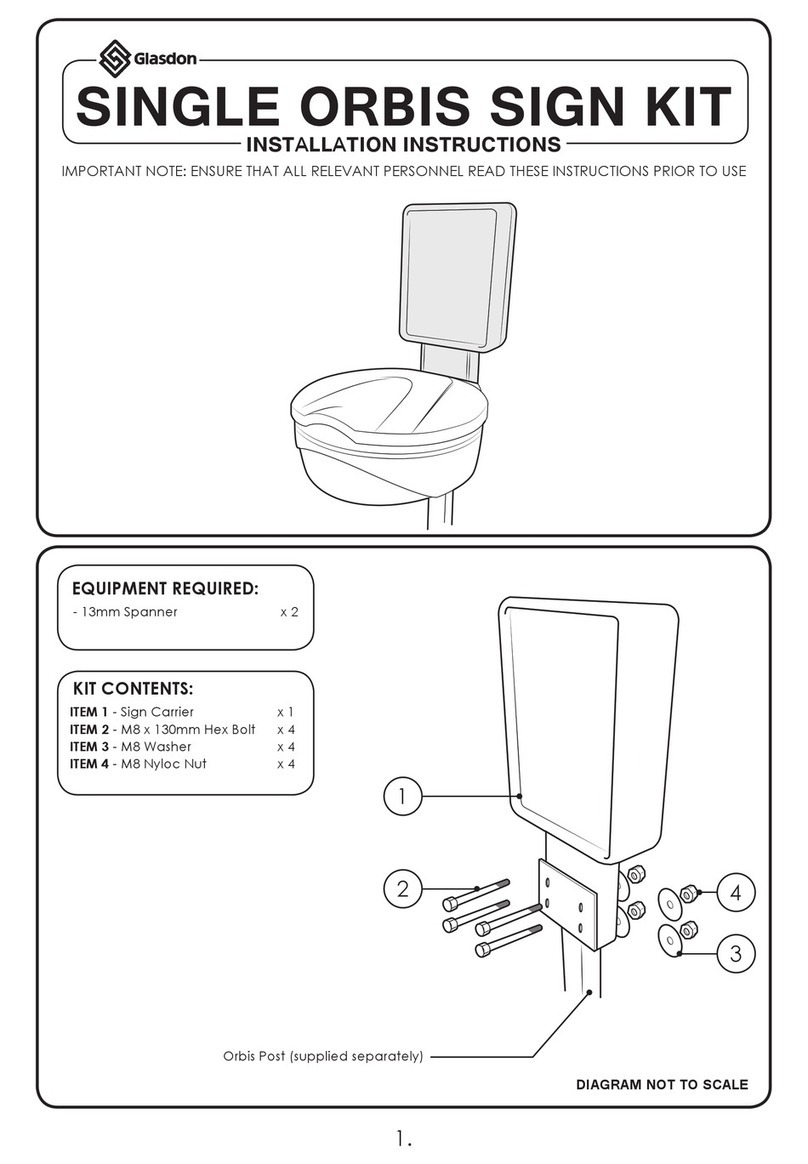
Glasdon Single Orbis Sign Kit User manual

Glasdon

Glasdon Single Orbis Sign Kit User manual

Popular Outdoor Furnishing manuals by other brands

Lemeks Palmako PA120-5930-3 Assembly, installation and maintenance manual

Lemeks

Lemeks Palmako PA120-5930-3 Assembly, installation and maintenance manual

Kettler WIRE 0106419 Assembly & operating instructions

Kettler

Kettler WIRE 0106419 Assembly & operating instructions

Courtyard Creations RTS023M Assembly instructions

Courtyard Creations

Courtyard Creations RTS023M Assembly instructions

for Living A111002300 Assembly instructions

for Living

for Living A111002300 Assembly instructions

Safavieh Outdoor Warlen PAT9016 quick start guide

Safavieh Outdoor

Safavieh Outdoor Warlen PAT9016 quick start guide

Berlin Gardens Harbor Bench 44 Assembly guide

Berlin Gardens

Berlin Gardens Harbor Bench 44 Assembly guide

Astonica 50104147 instruction manual

Astonica

Astonica 50104147 instruction manual

Hanover CORTDN5PCS-SU manual

Hanover

Hanover CORTDN5PCS-SU manual

Sunjoy L-GZ375PST owner's manual

Sunjoy

Sunjoy L-GZ375PST owner's manual

Sealey GSS1515 instructions

Sealey

Sealey GSS1515 instructions

kingsley-bate LO31 Assembly instructions

kingsley-bate

kingsley-bate LO31 Assembly instructions

Better Homes and Gardens BH18-084-099-66 Assembly instructions

Better Homes and Gardens

Better Homes and Gardens BH18-084-099-66 Assembly instructions

Kozyard Alexander Assembly manual

Kozyard

Kozyard Alexander Assembly manual

Porta-Dock C02 quick start guide

Porta-Dock

Porta-Dock C02 quick start guide

Nuu Garden SRD001-01 instruction manual

Nuu Garden

Nuu Garden SRD001-01 instruction manual

Granite VIP 85480 instruction manual

Granite

Granite VIP 85480 instruction manual

Sunjoy D-GZ841PST-E Assembly instructions

Sunjoy

Sunjoy D-GZ841PST-E Assembly instructions

Flash Furniture BT-7985-KID-BRN-LEA-GG Assembly instructions

Flash Furniture

Flash Furniture BT-7985-KID-BRN-LEA-GG Assembly instructions

manuals.online logo
manuals.online logoBrands
  • About & Mission
  • Contact us
  • Privacy Policy
  • Terms and Conditions

Copyright 2025 Manuals.Online. All Rights Reserved.