GlucoPlus Blood glucose monitoring system User manual

Blood Glucose Complete Monitoring System
Système de surveillance de la Glycémie
User's Manual
Guide d'utilisation
Allows easy application
from left or right
side of the test strip.
Lecteur de la gauche
ou de la droite.
TM
MD

INTRODUCTION
Thank you for selecting the GlucoPlus™ Blood
Glucose Monitoring System (GlucoPlus™ System).
This system was produced in close association
with diabetes healthcare professionals, most
importantly, people with diabetes.
Before using your GlucoPlus™ System for the first
time, please refer to Quick Reference Guide
included in this package. Should you require
further information, please study this User’s
Manual. Please forward your warranty card
immediately to GlucoPlus™ Inc.
If you have any questions or enquiries, please
contact GlucoPlus™ Inc. customer service or your
local GlucoPlus™ System Distributor.
3

TABLE OF CONTENTS
GETTING STARTED 5
GLUCOPLUS™ BLOOD GLUCOSE METER 6
GLUCOPLUS™ TEST STRIP 7
GLUCOPLUS™ CONTROL SOLUTION 8
GLUCOPLUS™ CHECK STRIP 9
SETTING METER PARAMETERS 10
TO SET THE TIME AND DATE 10
PREPARE FOR BLOOD SAMPLING 11
CODING YOUR METER 13
PERFORMING A TEST WITH GLUCOPLUS™ BLOOD GLUCOSE TEST STRIP 14
UNDERSTANDING YOUR TEST RESULT 16
REFERENCE 17
TO RECALL RESULTS STORED IN MEMORY18
SYSTEM SPECIFICATIONS 19
TAKING CARE OF YOUR METER 20
REPLACING THE BATTERY 20
CLEANING 22
STORAGE AND HANDLING 22
DISPLAY MESSAGES AND PROBLEM-SOLVING GUIDE 23
CUSTOMER SERVICE` 26
GUARANTEE 26
4

GETTING STARTED
The GLUCOPLUS™ Blood Glucose Monitoring
System consists of: GLUCOPLUS™ Blood Glucose
Meter, GLUCOPLUS™ Blood Glucose Test Strips,
and GLUCOPLUS™ Control Solution.
The GLUCOPLUS™ Blood Glucose Complete
Monitoring System includes:
GLUCOPLUS™ Blood Glucose Meter with
one 3V Lithium Battery (Preinstalled)
GLUCOPLUS™ Blood Glucose Test Strips
GLUCOPLUS™ Control Solution
Owner’s Operation Manual and Quick
Reference Guide
GLUCOPLUS™ Check Strip
GLUCOPLUS™ QuickTouch Adjustable Lancing
Device
Lancets
Carrying Case
Logbook
5

GlucoPlus™ BLOOD
GLUCOSE METER
Study this diagram and become familiar with all
the parts of your GLUCOPLUS™ Blood Glucose
Meter.
1 BUTTON Use button to turn the meter on
and off, activating different modes and
confirming changed values.
2 DISPLAY The large, easy to read display
shows blood glucose result, messages, glucose
results stored in memory, time and date.
3 BUTTON Use button to set options and
when you need to decrease values in setting
mode.
4BUTTON Use button to recall the
information stored in meter’s memory and to
increase values in setting mode.
5 NOTES You may hold the or button
down to scroll the numbers forward quickly
anytime during usage.
6STRIP SLOT Holds a GLUCOPLUS™ blood
glucose test strip and GLUCOPLUS™ check
strip in place when you perform blood glucose
test or perform check tests.
7DATA PORT Allows you to transfer the
information stored in the meter’s memory to a
computer to view, analyze and print.
8BATTERY COMPARTMENT Holds ONE 3v
Lithium battery. The battery is already installed
in your meter.
6
1
3
6
7
4
2
8
5

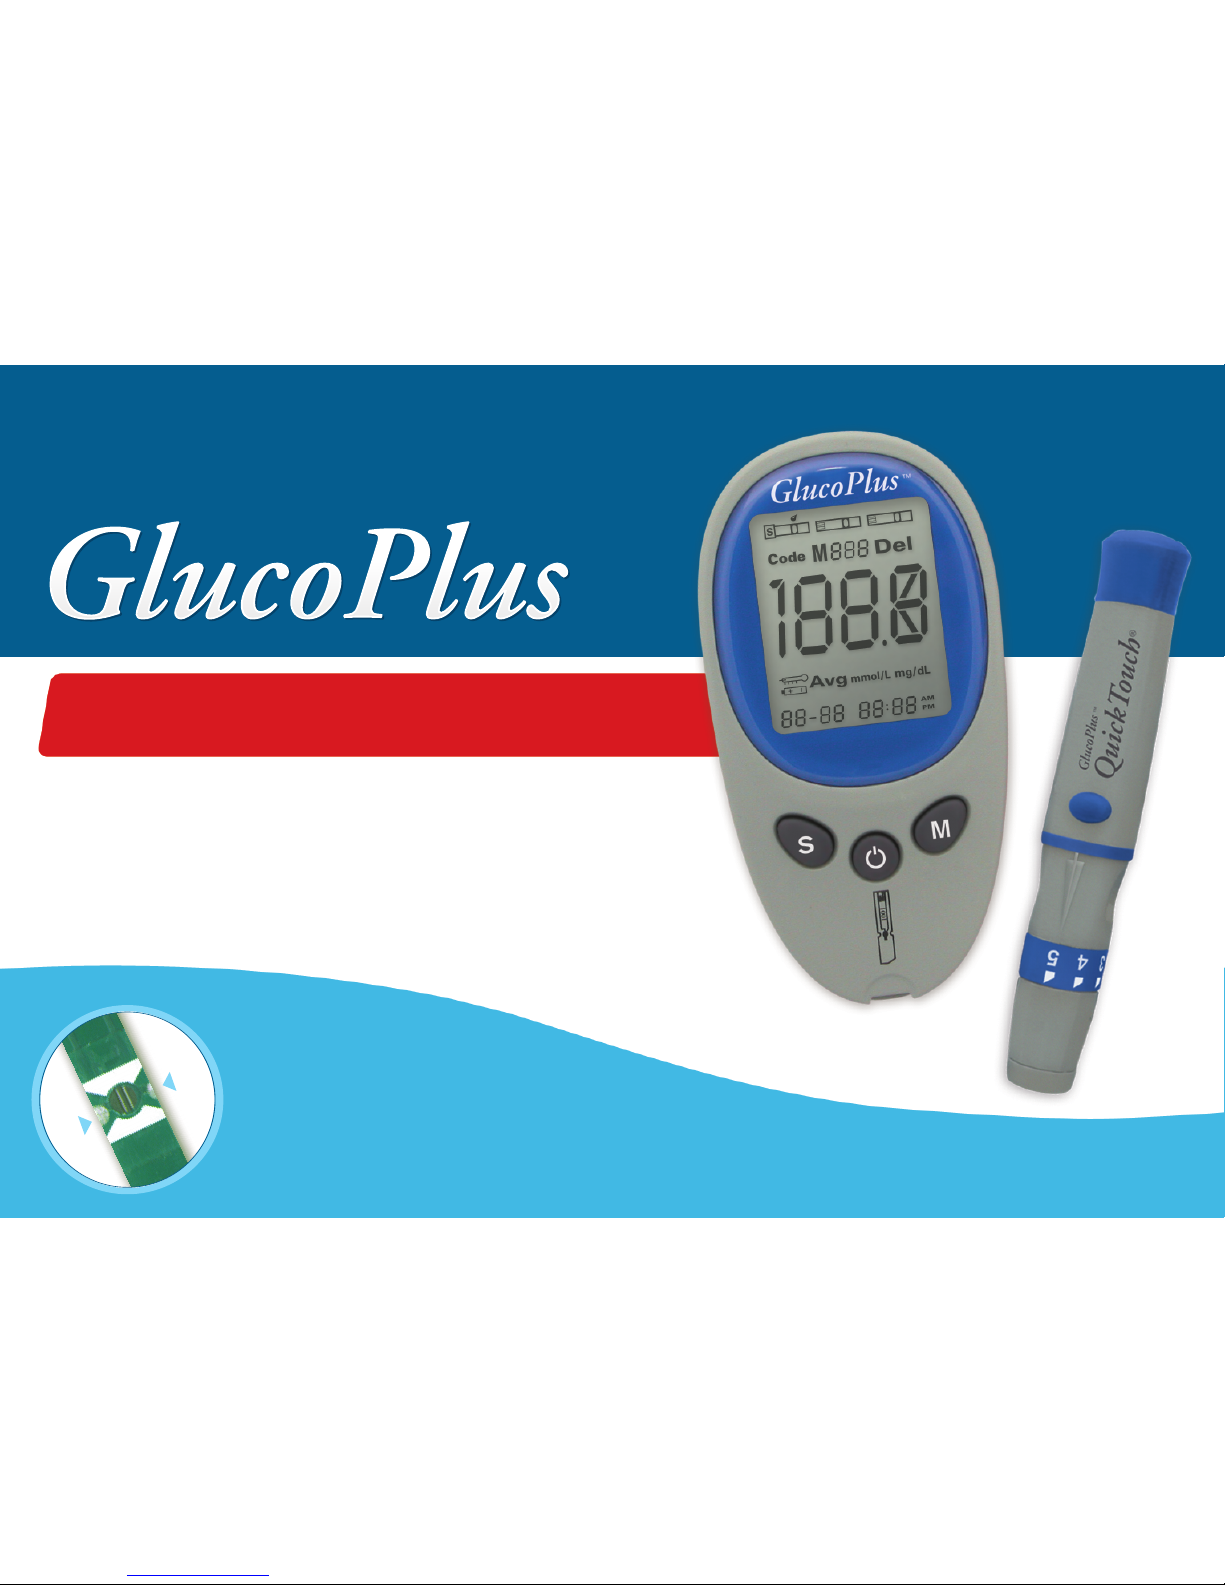
GlucoPlus™ TEST STRIP
IMPORTANT TEST STRIP INFORMATION
Do not use test strips beyond the expiration
date on the vial. The discard date for test strips
is (3) months after first opening the vial. Record
the discard date on the vial, when you open a
new vial of test strips.
Do not use damaged test strips or test strips
changed in any way, use test strip immediately
after removing it from the vial; replace the vial
cap and close it tightly.
Do not transfer test strips to a new vial. Always
carry test strips in their original vial.
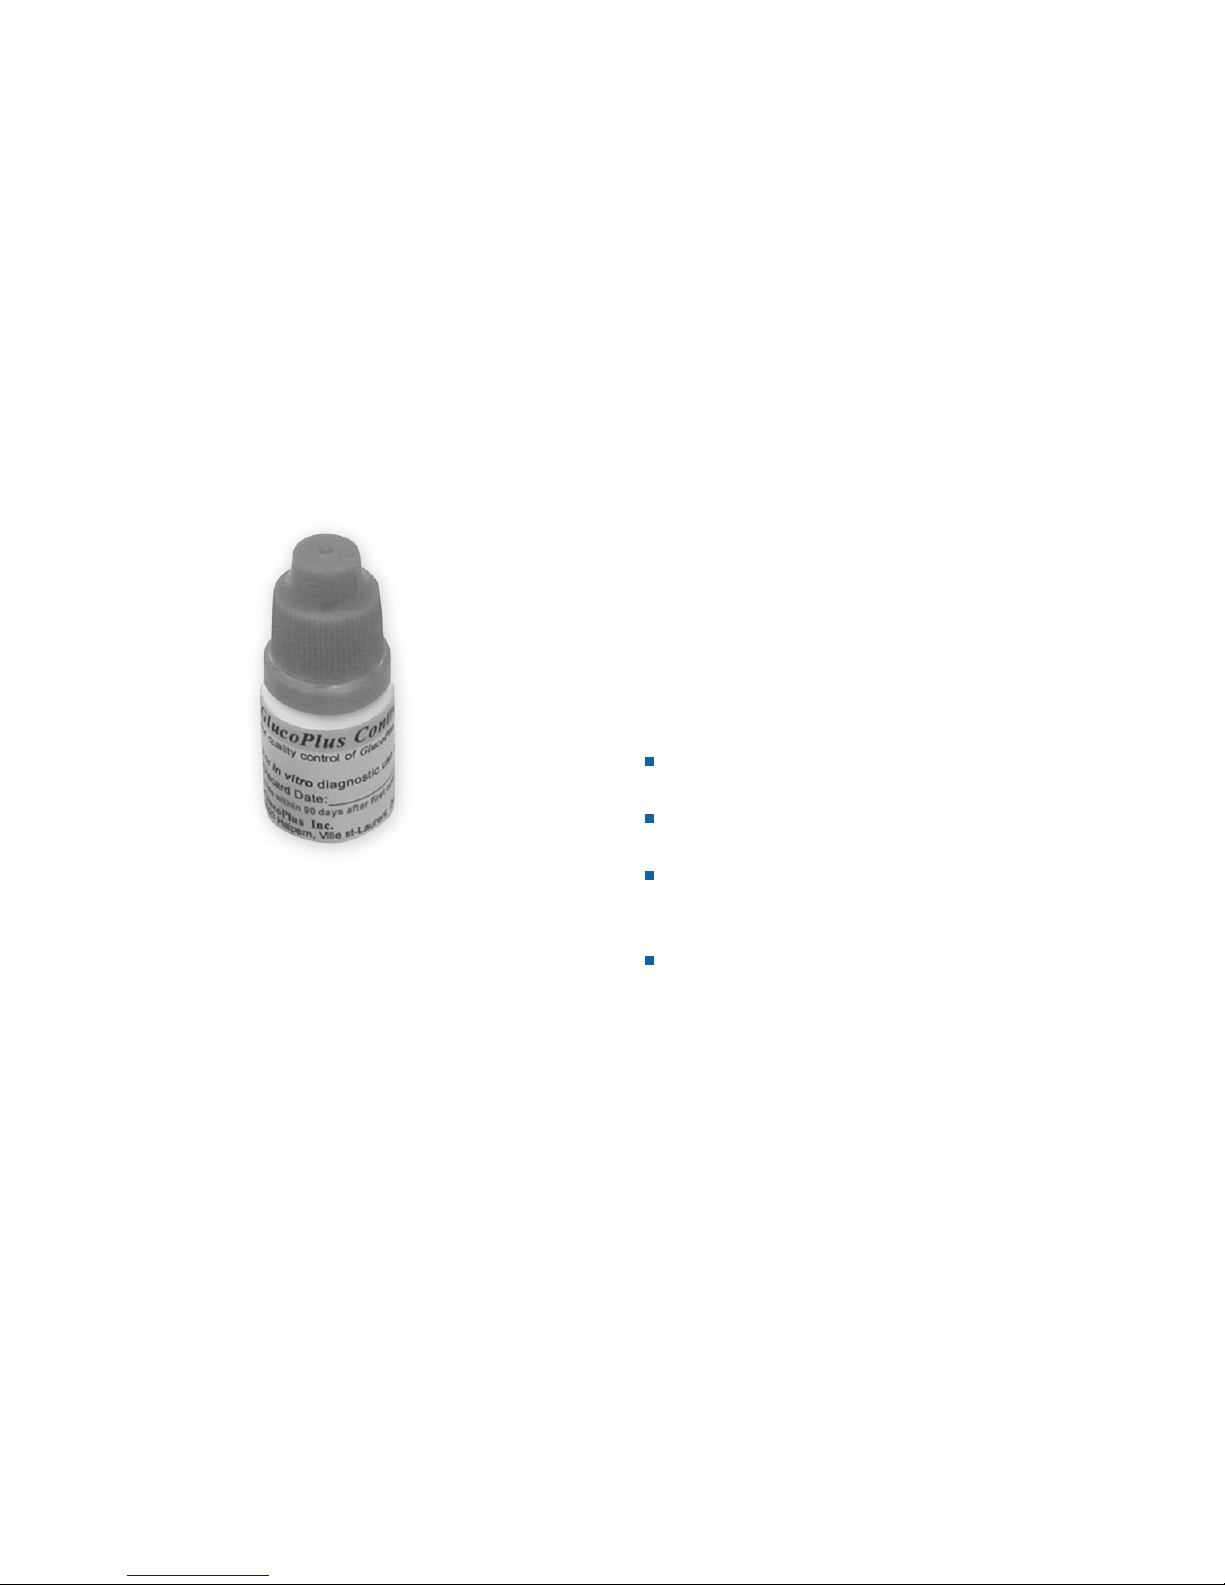
GLUCOPLUS™ Blood Glucose Test Strips are
intended for in vitro diagnostic use with
capillary whole blood or GLUCOPLUS™
Control Solution. Results will not be accurate if
used with plasma or serum samples.
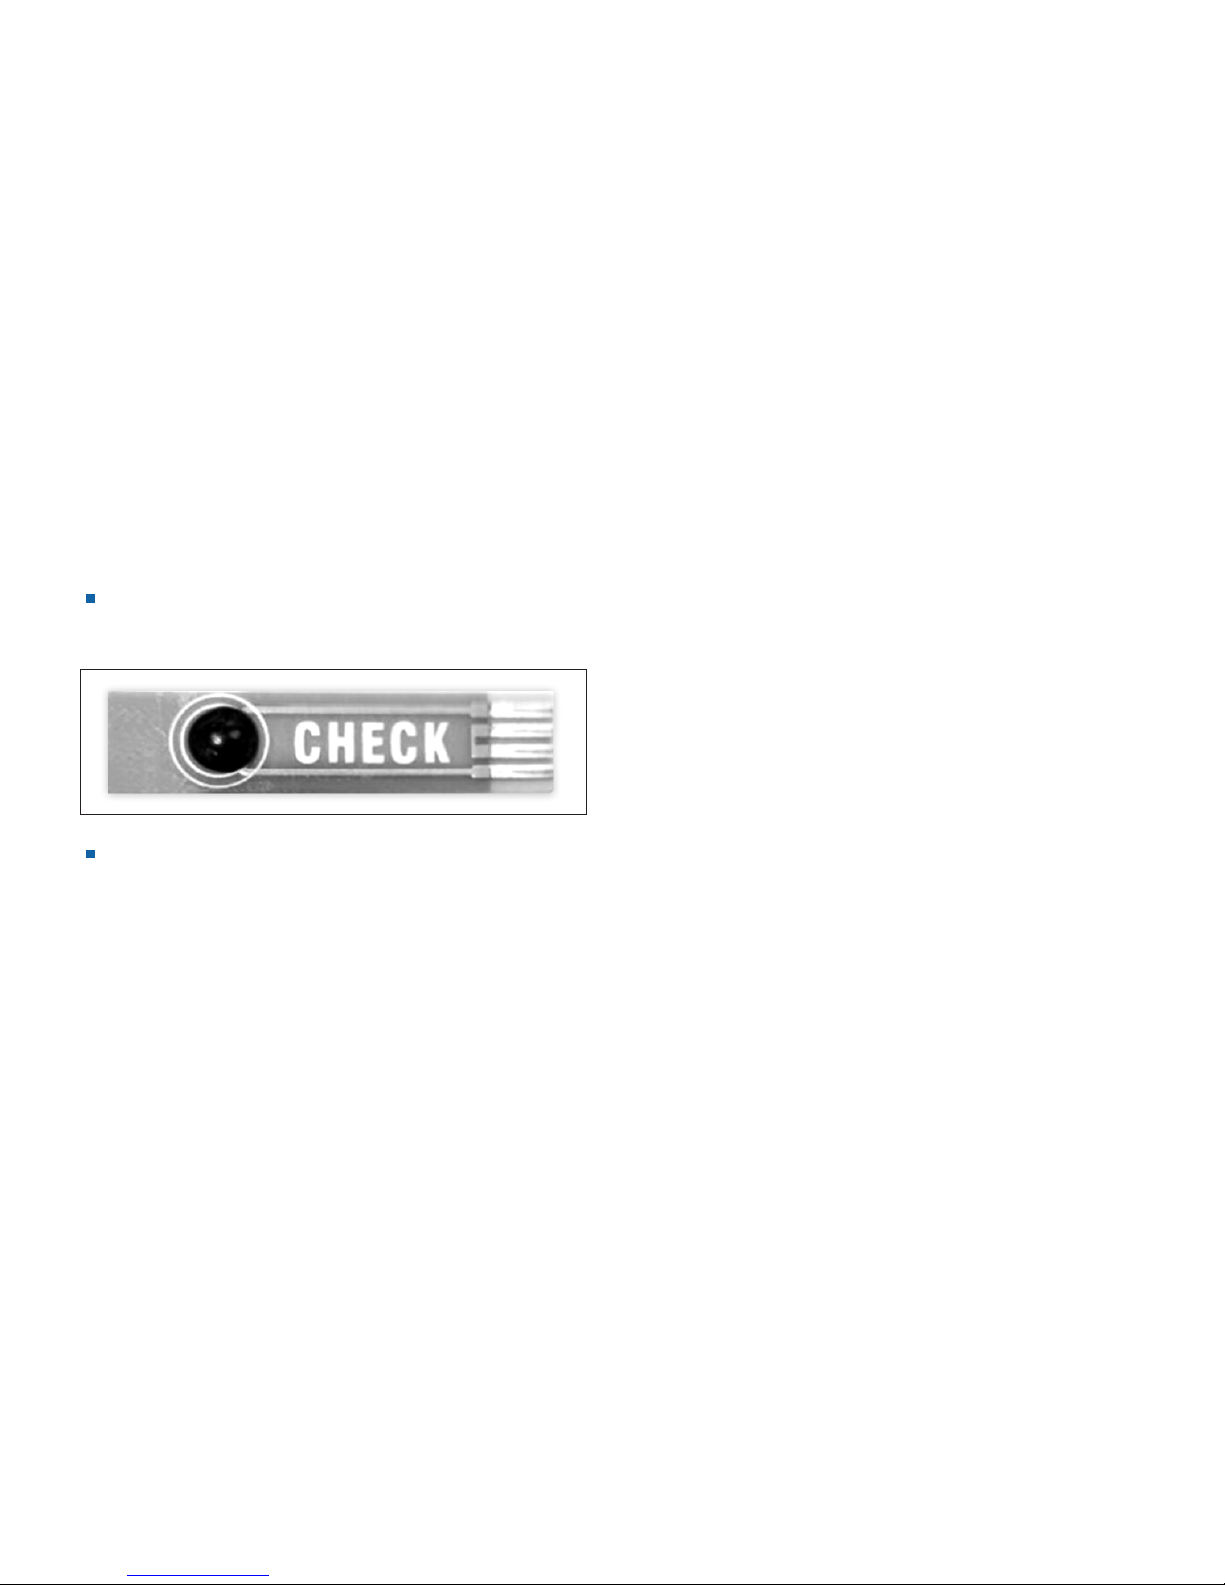
GLUCOPLUS™ System measures the amount
of glucose in capillary whole blood. Blood can
be applied to both the right and left side
aperture of the GLUCOPLUS™ Blood Glucose
Test Strip and is automatically drawn into the
reaction cell where the reaction takes place.
GLUCOPLUS™ Blood Glucose Test strips can be
damaged by heat and light. Keep them sealed
in the original vial. Store the vial in a cool, dry
place below to 40_/104_ and above 10_/50_.
Do not refrigerate.
Do not place in direct heat or sunlight.
Do not carry loose test strips in your carrying
case.
7

GlucoPlus™
CONTROL SOLUTION
Glucoplus™ Control Solution is used to check
that Glucoplus™ Blood Glucose Meter and
Glucoplus™ Blood Glucose Test Strip are working
together as a system.
Glucoplus™ Control Solution can be used in two
ways:
1To practice the test procedure
2To make sure that the GlucoPlus™ Blood
Glucose Meter and GlucoPlus™ Blood Glucose
Test Strips are working together properly.
PERFORM A TEST (PAGE 14)
Gently shake the control solution, apply a drop
on the test strip.
The test result should correspond to the range
printed on the test strip vial used.
Check the expiration date on the control
solution. Do not use if expired. Discard after
three months after first opening.
Store the control solution closed at
temperatures below 30ºC (86ºF).
8

GlucoPlus™ CHECK STRIP
Glucoplus™ Check Strip is used to check that the
meter is operating properly. Use when performing
quality control check on your meter.
Insert the check strip into test strip slot with
label side up as below.
You should obtain an acceptable “OK“
reading within 15 seconds, otherwise repeat
the test.
9

SETTING METER
PARAMETERS
SETTING THE TIME AND DATE
Time and Date should be set prior to testing if you
plan to download the results into software or to
review your memory to check when a test was
done.
To set the time and date:
1Press to turn meter on.
2When the last test result, time, date and a
moving strip appear, press BUTTON for 3
seconds (at the beep sound , the year will flash
- for example for the year 2004, number 4 will
appear).
3Press and release the or button to obtain
the desired year.
4Press and release to move to the month,
year, hour, minute and unit of measure.
5Press and release or button to obtain the
desired result. Upon changing the minute, the
unit will flash. Press or button for 3
seconds to change the unit of measurement to
mg/dL or mmol/L.
10

PREPARE FOR BLOOD
SAMPLING
GLUCOPLUS™ QUICKTOUCH
ADJUSTABLE LANCING DEVICE
Used with lancet to obtain a blood sample.
1Depth adjustment Cap
2Lancet Holder
3Cocking control
4Release Button
LANCET
Used with lancing device to obtain a blood
sample.
1Protective cap
11
1
2
34
1

1Remove the depth adjustment cap. Insert a
lancet into the lancet holder and push down
until it is fully seated.
2Twist off the protective disk until it separates
from the lancet.
3Replace the lancing device cap and set the
puncture depth to the desired number.
Note: the larger the number setting the deeper
the puncture.
4Pull back the cocking mechanism until it makes
a click, and then release. If it does not click, the
device may have been cocked when the lancet
was inserted.
12
1
2
3
4

CODING YOUR METER
Before you use your meter for the first time and
every time you open a new box of test strips, you
need to set the meter to “match” the strips. This
is called coding.
1Inserts the strip into the slot, the meter will
activate, The last code number will appear on
the screen.
2Press button until you hear the sound
of buzzer and the code value flashes,
press or button to obtain the code
number indicated on the new vial.
3Upon obtaining the right code number,
press to validate the change. The screen on
your Meter will illustrate as right figure. Now
your meter is ready for test.
13

PERFORMING A TEST
WITH GlucoPlus™ BLOOD
GLUCOSE TEST STRIP
1Wash your hands in warm, soapy water. Rinse
and dry completely. Warm your fingers to
increase blood flow.
2Load lancing device according to
manufacturer’s instruction.
3Remove new test strip from vial.
Be sure to tightly replace vial cap after
removing test strips. Insert test strip
immediately into test strip slot as illustrated on
the meter above strip slot. The meter turns on
automatically.
4Check that the code number in the monitor
matches the code on the vial of test strips you
are using.
5When the blood drop symbol flashes, you are
ready to perform a test.
14
1
3
4
5

6Use the Lancet loaded In Lancing device to obtain a
drop on the side of your finger. Hold the device
firmly against the side of your finger. Press the
release button. Gently massage your finger to
obtain the required blood volume. To perform the
test, you need only 1.5uL of blood sample resting on
your finger.
7Apply the blood sample to the right or left edge of the
strip in a way that is comfortable for you. Make sure
that the blood drop covers the test confirmation
window . When blood is applied to the strip, a line
moves on the display until measurement is completed.
8Test result appears in mmol/L or mg/dL depending
on the pre-set unit on your Meter. Your result is
automatically recorded in the meter’s memory. You
may also want to record the result in your log book.
9Remove test strip from meter. Discard the strip and
lancet in a container with lid.
10 If HI is displayed your blood glucose result may be
higher than 33.3 mmol/L or 600 mg/dL. If LO is
displayed, your blood glucose result may be lower
than 1.6 mmol/L or 30 mg/dL.
15
7
8
9
10

UNDERSTANDING YOUR
TEST RESULT
If your blood glucose result seems unusually high
or low, or inconsistent with your previous results,
check the following:
Does the test strip code number match the
code number on the meter?
Was the blood sample applied immediately to
the test strip within 3 minutes of removing it
from the vial?
Was the size of the blood sample sufficient?
Was the test strip vial cap tightly sealed?
Was the test strip used before the expiration
date?
Were the test strips stored away from extreme
temperatures in very cold or hot weather or
from areas of high humidity?
Then run a quality control check with your
Glucoplus™ Control Solutions and a new test
strip. If the control result is within the acceptable
range, review testing procedure and repeat your
blood glucose test with a new test strip. If your
blood glucose value is still inconsistent with your
previous results, glucose trend, or how you feel,
please contact your doctor.
16

REFERENCE
1Tietz N.W. textbook of Clinical Chemistry,
P.2190 (1994)
2American Diabetes Association Position
Statement, Diabetes Care Vol. 19 (Suppl.1),
p.S4 (1996)
17

Memory Recall
The Glucoplus™ Blood Glucose Meter
automatically stores 192 test results, letting you
review them in order from the most recent to the
oldest. If you have set the time/date feature, the
time and date of the results are also displayed. If
the memory is full and a new result is added, the
meter deletes the oldest result.
TO RECALL RESULTS STORED IN
MEMORY
Turn meter on, when test strip flashes,
press button till you hear a beep sound.
Pressing button allows you to see each test
stored in the memory. The record will appear in
order from the most recent to the oldest.
The meter also calculates and displays the
previous 1-, 7-, 14-, 21-, and 28-day averages.
While in memory mode, press button. The one
day average will be displayed, by pressing -
button you will obtain the averages of the
last 1-, 7-, 14-, 21- and 28-days. Press button
till you hear the beep to return to the previous
screen.
18

19
SYSTEM SPECIFICATIONS
1Assay Method Electrochemical biosensor
2Test Sample Capillary Whole Blood
3Test Result Plasma/Serum glucose
4Sample Size Less than 1.5 _L
5Measuring Range 30~600 mg/dL or1.6~33.3 mmol/L
6Measuring Time Less than 15 seconds
7Memory Capacity 192 test results with time/date
8Average Display 1-, 7-, 14-, 21-, 28-days average
9Power Supply One 3-volt Lithium Battery
10 Battery Life Approximately 1000 tests
11 Operating Temp. Range 10~400C (50~104(F)
12 Operating Relative Humidity 20%~80%RH
13 Automatic shut-off In 3 minutes

TAKING CARE OF YOUR
METER
REPLACING THE BATTERY
The Glucoplus™ Blood Glucose Meter comes
with battery already installed. Battery life will vary
depending on usage, so always keep a spare on
hand.
The battery should last about 18 months when
testing (2) times a day.
When the battery symbol appears on the meter
display, battery is getting low. (FIG. a)
You will still be able to test with low battery, but
you should replace it as soon as possible. When
battery symbol appears flashing on the display,
the meter will no longer give results and you must
replace the battery immediately. (FIG. b)
The meter’s current time/date settings are saved
for 30 minutes after battery has been removed.
20
a
b

TO REPLACE THE
BATTERY
Make sure the meter is turned off.
Let the front of the meter rest in the palm of
your hand.
With your thumb, press upward on the
opening tab of the battery compartment door
and lift upward. (FIG. c)
Remove the old battery and insert the new 3-
volt Lithium battery into the battery
compartment, being sure to align the plus (+)
and minus (-) signs correctly. (FIG. d)
Lower the battery compartment door until it
snaps shut. Check to see that your meter is
working. If it fails to turn on, the battery may
have been inserted incorrectly. Remove the
battery and reinsert them illustrated.
21
c
d
This manual suits for next models
1
Table of contents
Popular Blood Glucose Meter manuals by other brands

Zoetis
Zoetis AlphaTRAK 2 Meter user guide

ISCtech
ISCtech LASER DOC Quick reference guide

Infopia
Infopia CLOVER A1c Self Instructions for use

Abbott
Abbott FreeStyle Libre quick start guide

Advocate
Advocate Redi-Code+ BMB-EA001 user manual

Home Aide Diagnostic
Home Aide Diagnostic Easy Trak II G-425-3 user manual