
1Printed in China.
2 PACK DRONES & FLAG DRONE RACER SET
READ ALL WARNINGS AND PRECAUTIONS BEFORE USE
SAFETY WARNINGS
• Not recommended for children under 12 years of age. As with all electrical products, precautions should be
observed during handling and use to reduce the risk of electrical shock.
• Adult supervision is required at all times
• Drive drone only on smooth flat surfaces
• Never fly drones above or near people, sudden changes in wind or other conditions could lead to unexpected
crashes.
• Always use caution when flying drone vehicles, obey relevant laws, respect the privacy and property rights of
others.
• The drone shall never be modified or used for anything except its intended purpose.
• Before each use, an adult should review the product and battery to determine that no damage or hazards exist
• DO NOT TOUCH SPINNING PROPELLERS
• Do not allow anything to intentionally make contact in any way with spinning propellers
o Prevent contact with spinning blades by turning off remote prior to handling drone
• Use caution and pay attention to your surroundings while operating drone
• Do not fly drone into animals, people, or inanimate objects
• Keep drone away from power lines, buildings, trees, public areas, and any other potentially hazardous areas.
• Do not operate in rain, heavy wind, and or any type of severe weather
• Do not land drone on wet surfaces
• Never touch or allow others to touch drone while it is flying
• Always turn drone off when it is not in use
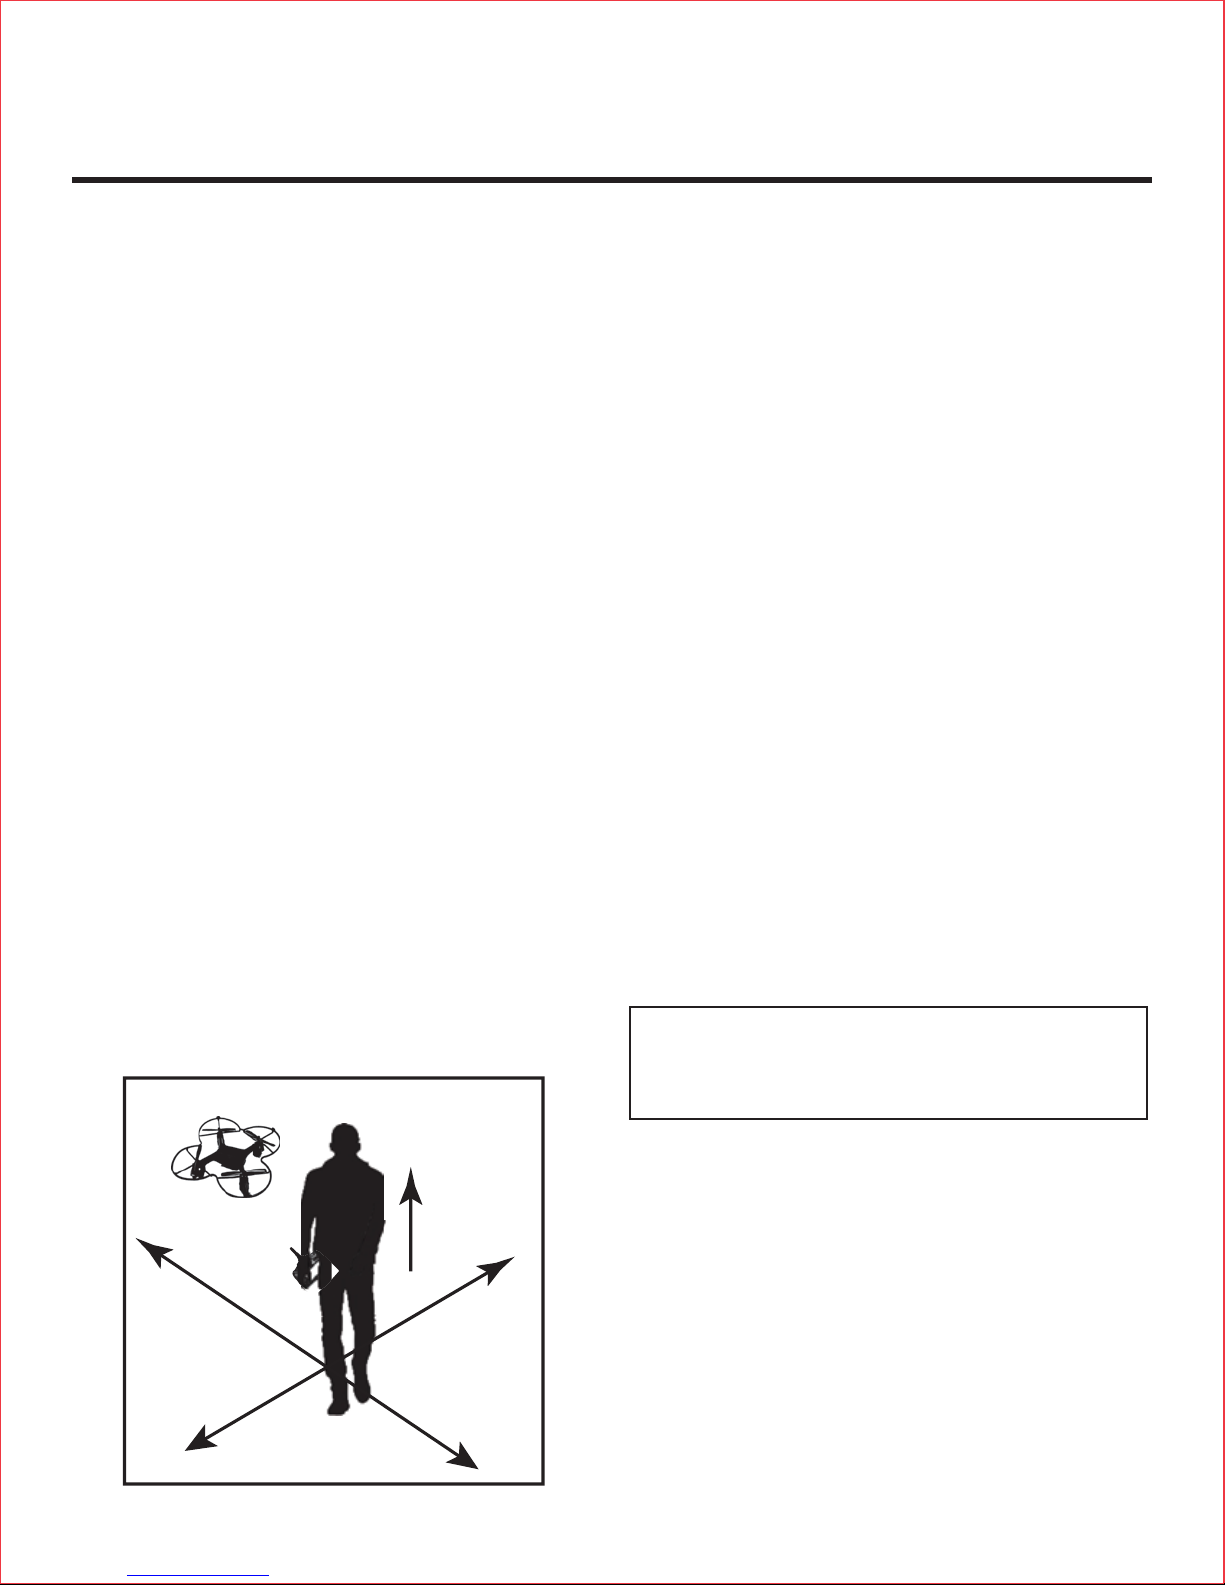
• Always fly drone in large open areas
• The drone will lose controlling capabilities if fly distance is more than maximum recommended altitude of 100 ft.
Keep below 100 ft. to avoid potential crashing risk.
Note: This equipment has been tested and found to comply with the limits for a
Class B digital device, pursuant to part 15 of the FCC Rules. These limits are
designed to provide reasonable protection against harmful interference in a
residential installation. This equipment generates, uses and can radiate radio
frequency energy and, if not installed and used in accordance with the
instructions, may cause harmful interference to radio communications.
However, there is no guarantee that interference will not occur in a particular
installation. If this equipment does cause harmful interference to radio or
television reception, which can be determined by turning the equipment off and
on, the user is encouraged to try to correct the interference by one or more of the
following measures:
—Reorient or relocate the receiving antenna.
—Increase the separation between the equipment and receiver.
—Connect the equipment into an outlet on a circuit different from that to which
the receiver is connected.
—Consult the dealer or an experienced radio/TV technician for help.
This device complies with Part 15 of the FCC Rules. Operation is subject to the
following two conditions: (1) this device may not cause harmful interference, and
(2) this device must accept any interference received, including interference that
may cause undesired operation.
Fly-aways are the responsibility of the individual
pilot and will not be replaced by the manufacturer.
WARNING: Changes or modifications to this unit not
expressly approved by the party responsible for
compliance could void the user’s authority to operate
the equipment.
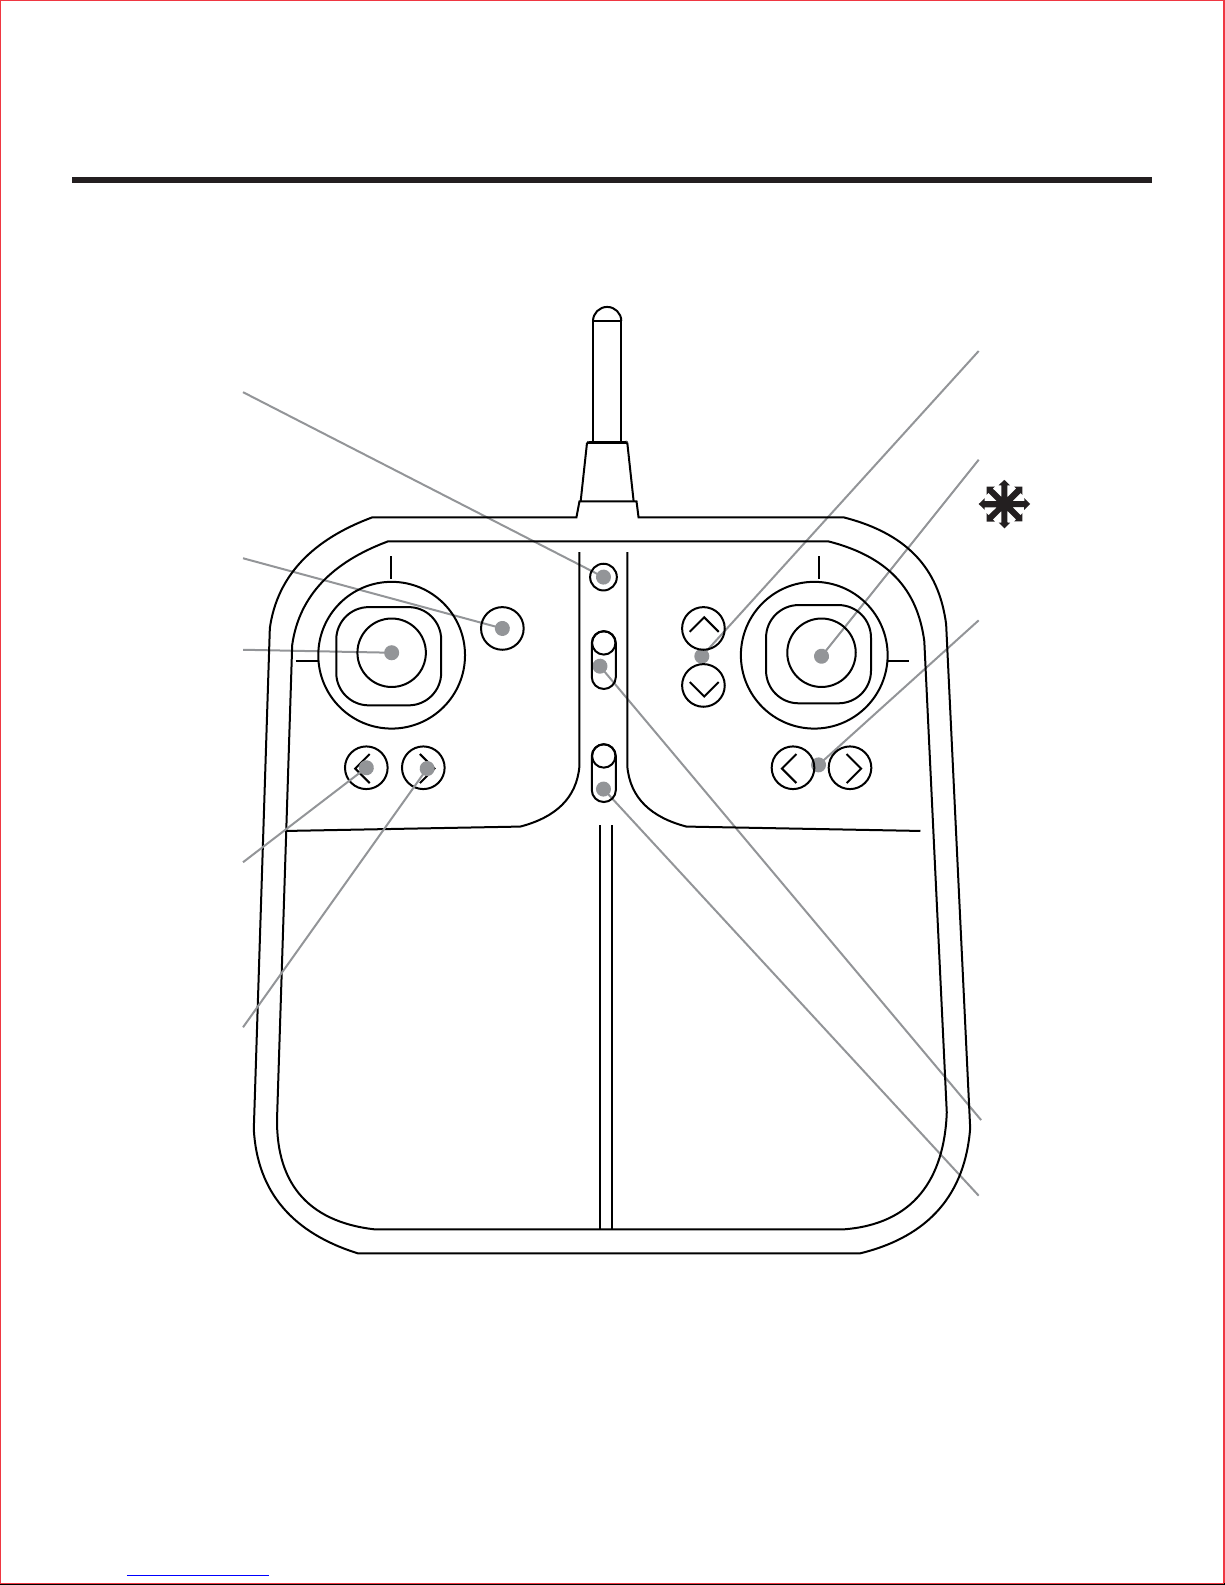
TROUBLESHOOTING:
When remote switch is turned on, the remote light does not
illuminate:
1) Check that batteries in the remote are installed correctly OR
2) Replace with new batteries
When the remote is switched on, the remote LED is flashing and
remote is beeping:
1) Remote batteries are low; replace them with new batteries
Drone and remote properly pair, but the drone will not lift-off:
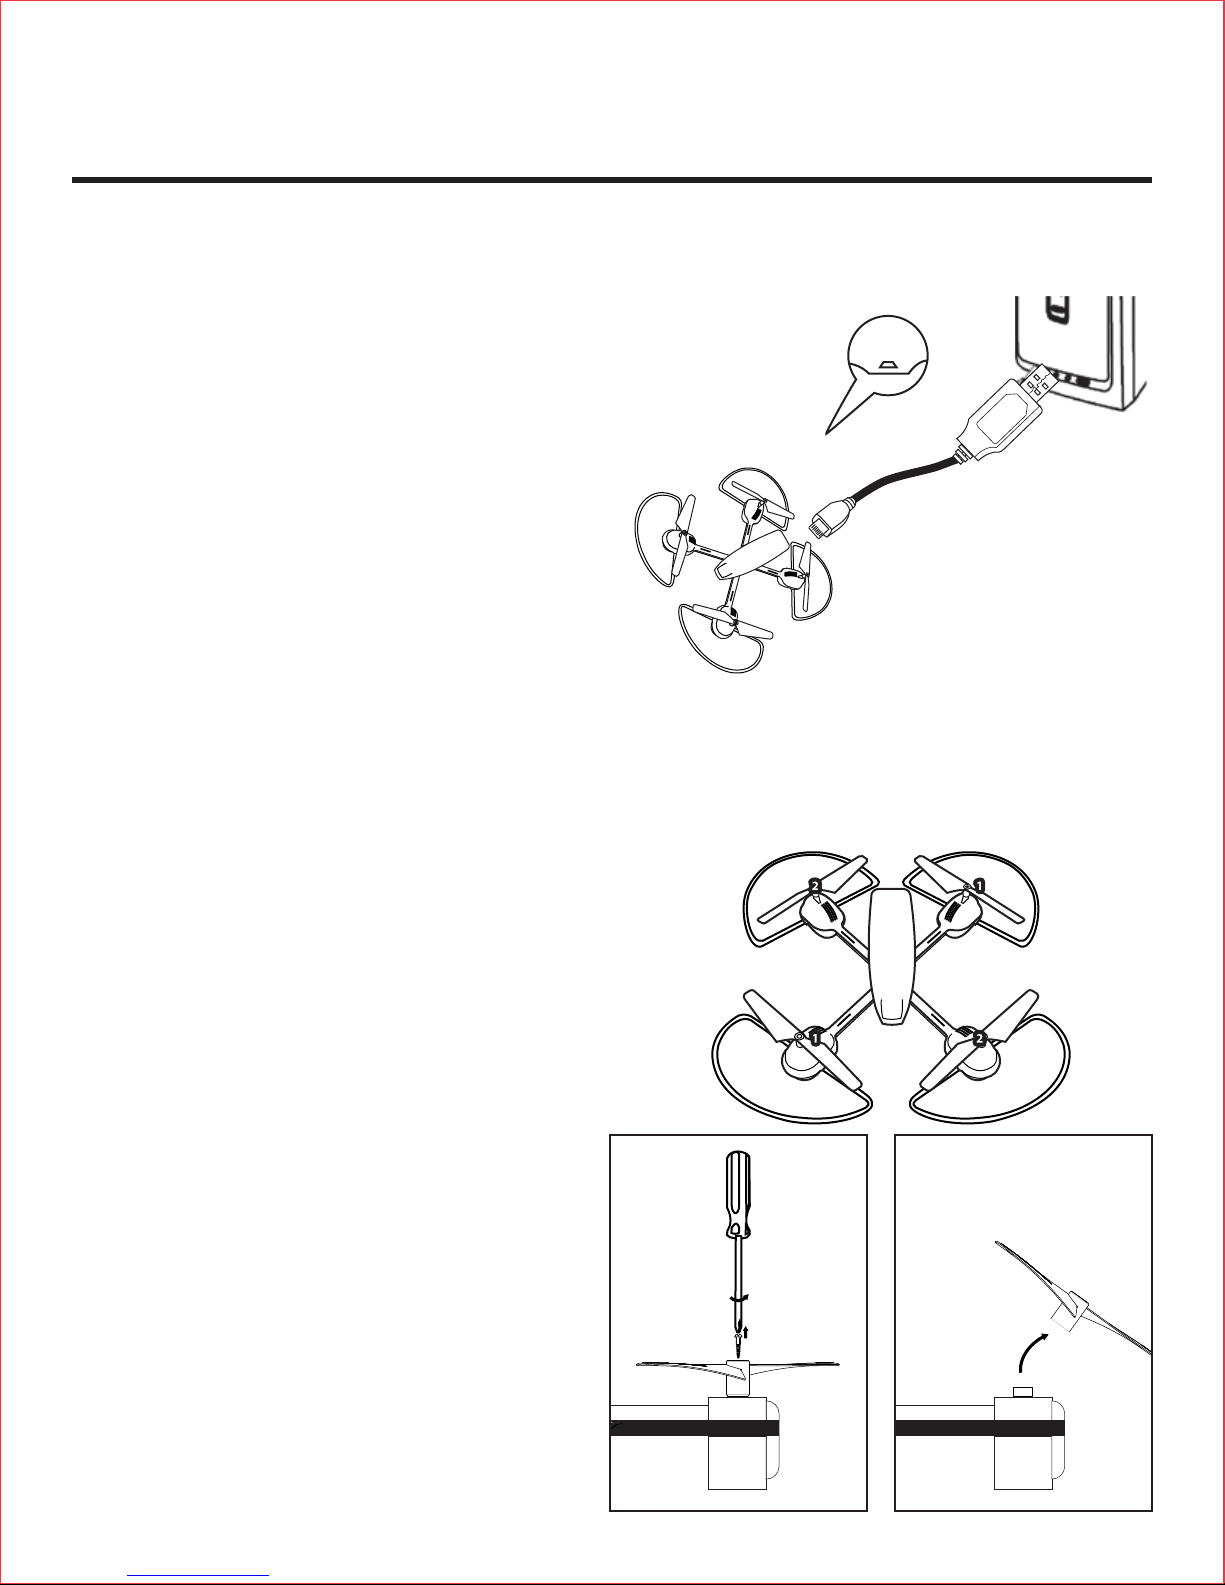
1) Drone Li-Po needs charging. Use charging cable to connect the
drone to power source.
After trimming the drone, the drone flight is very unstable and
cannot fly properly:
1) One or more blades are most likely damaged;
2) Turn off the drone and remote.
3) Replace with the proper number replacement blade and try
flying again.
After impact, the drone is unstable:
1) Put the left remote control lever to the left bottom and put the
right remote control lever to the right bottom at the same time
which connected to the drone (diagram to right).
2) If the above does not resolve the issue, reboot the drone and
controller and pair again.
Remote Controller and Drone can not be paired:
1) Check Point: Remote Controller must be closed to Drone, not
exceed 4 meters.
Note: If there are 2 sets of Drones within 4 meters for Pairing, you
must pair one successfully before pairing the second set.
Drone is powered by a rechargeable 3.7V 350mAh Li-Po battery (included). Transmitter
requires 6 “AA” batteries (not included). Colors and styles may vary. *This drone weighs
0.192 lbs (87g). As of December 21, 2015, the Federal Aviation Administration (FAA) only
requires registration on unmanned aircrafts weighing more than 0.55 lbs. Visit
www.faa.gov/uas/registration/ for more information. Although the FAA does not require this
drone to be registered, ongoing compliance with federal, state, and local laws is an owner’s
sole responsibility. Always fly safely and respect the privacy of others.


 user manual")


