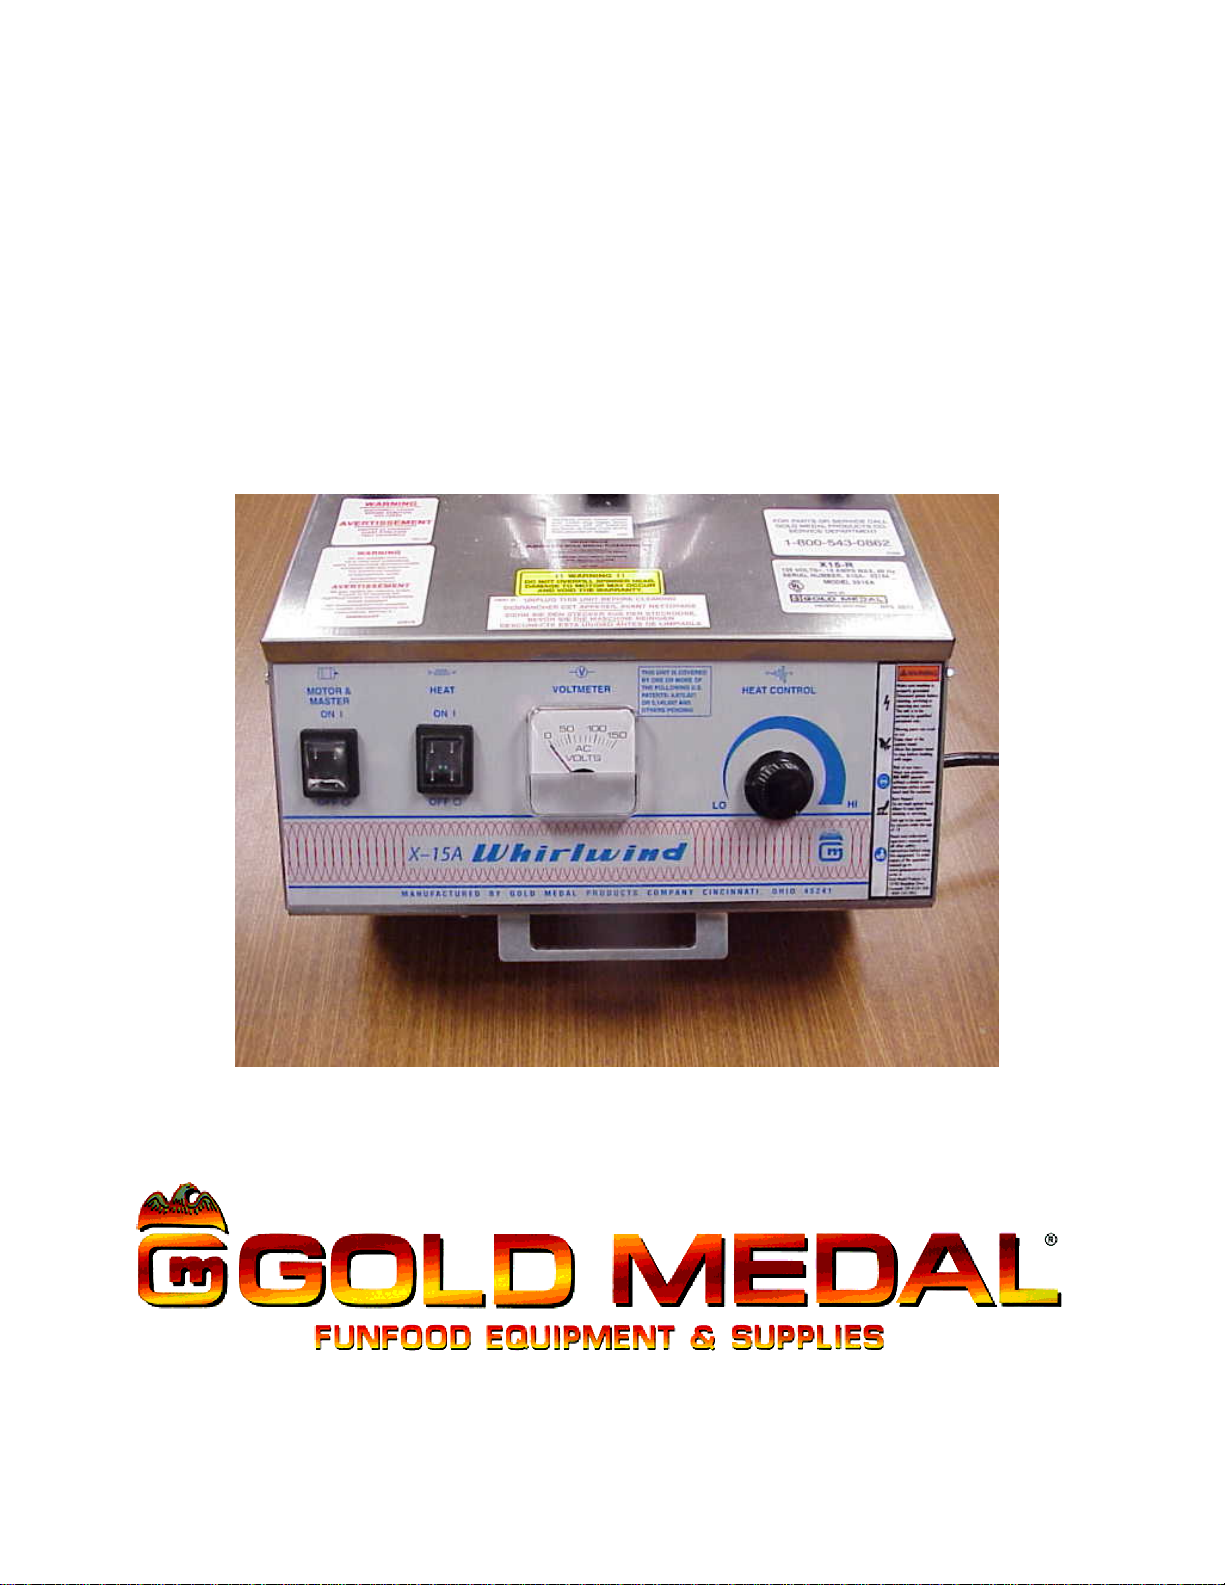
Gold Metal X-15 User manual

Part No. 69016
X-15 Floss Machine
Instruction Manual
3015A
Cincinnati, OH 45241-4807 USA


Model 3015A
3
Installation Instructions
Inspection of Shipment:
Unpack all cartons and check thoroughly for any damage that may have occurred during
transit. Damage claims should be filed immediately with the transportation company. Gold
Medal Products is not responsible for damage that occurs in transit.
Setup:
Your new Warmer is completely assembled and tested at the factory.
Remove all packing material and tape before starting operation.
Electrical Requirements:
The following power supply must be provided:
120 Volt, 60 Cycle, single phase
Your electrician must furnish sufficient power for proper machine operation. We recommend
this warmer be on a dedicated and protected circuit. Failure to wire properly will void the
warranty and may result in damage to the machine.
It is Gold Medal Products Company’s recommendation that this machine be plugged directly
into a wall outlet. The use of extension cords is not recommended due to safety concerns,
and may cause sacrificed and/or reduced performance.
Before You Plug In Machine:
1. Make sure the wall outlet can accept the grounded plugs (where applicable) on the power
supply cord.
2. The wall outlet must have the proper polarity. If in doubt, have a competent electrician
inspect the outlet and correct if necessary.
3. DO NOT use a grounded to un-grounded receptacle adapter.

Model 3015A
4
4. Remove all padding and restraints.
5. Remove the four shipping brackets located around the motor mount casting. This will allow the
motor mount casting to “float” freely on the springs.
6. Make sure the floss ribbon (heating element) located inside the head assembly has not shaken
out of the band during transportation. If the ribbon is out of the band, push it back into place
manually.
Operating Instructions – Controls and Their Functions
MOTOR AND MASTER SWITCH - Turns motor "on" or "off" and supplies current to the heat
switch.
HEAT SWITCH – Turns on power to the heating element (ribbon) "on" or "off."
HEAT CONTROL – Adjust level of power to the heating element (ribbon).
VOLT METER – Displays level of power to the heating element (ribbon.
SUGAR FOR YOUR COTTON CANDY
Our ready to use FLOSSUGAR is the preferred sugar for your new cotton candy machine, but and 100%
pure Cane or Beet Sugar will do just fine. Our FLOSSUGAR gives you good rich colors, and great flavors,
too. It is packed in handy half-gallon sealed cartons, with E-Z pour spout for filling your machine.
FLOSSUGAR comes in 8 flavors, and you can easily change colors for greatest variety, and best sales.
If you want to “Mix Your Own”—use our FLOSSINE, and please follow our directions. If you want a deeper
color, slightly dampen the mixed sugar—use a tablespoon of water per five pounds of sugar—sprinkle water
over sugar, and mix well. DO NOT USE EXCESS COLOR—too much color will mess up the ribbons on
your machine, and could impart a bitter taste to the candy. There is a limit as to how dark you can make
cotton candy-that’ s because it is 98% air and we cannot color the air.
Today 99% of the sugar manufactured is “Extra Fine Granulated” which does have some small particles
which can slip through the ribbons without being melted. If this becomes objectionable, you can seek out
Medium Coarse, or sanding sugars. The larger crystal size will require a little more heat to melt. Read the
label on the bag of sugar—today we see some “Free Flowing” sugar for restaurants, and it contains
cornstarch, which will burn onto your ribbons, clogging them rapidly. We have also seen some cheap off-
brand “sugar” which is a blend of sugar and dextrose or corn syrup. This product makes very poor cotton
candy. Please make sure you get good sugar for your cotton candy machine.

Model 3015A
5
INSTALLATION OF FLOSS STABLIZER
1. 2.
3. 4.

Model 3015A
6
Making Cotton Candy
1. Follow the guidelines described on page 3 for supplying power to machine.
2. With main switch still OFF, fill floss head. Always fill it 90% full with sugar. This 90% level is necessary
to obtain a balanced condition in the floss head. DO NOT OVERFILL! Excessive vibration will occur if
overfilled. Before turning the power on, manually turn the head to balance out the sugar. This will
eliminate excessive vibration of the head.
Important: NEVER add sugar when motor is running.
3. Turn MAIN SWITCH and HEAT SWITCH "ON." Turn Heat switch “Full On” then when candy production
starts reduce heat.
4. Make a note of what voltage makes the best cotton candy for future reference.
Pick a cone; if it sticks in the stack of cones, twist it off the stack.
Hold an inch or two of the pointed end of the cone between two fingers and a thumb. With a
light flicking action, roll cone in the web of floss building up in the pan. Lift the cone up with
the ring of floss attached and rotate the cone to wrap the floss. DO NOT roll floss while the
cone is inside the pan. This will pack the floss too tightly.
If the floss fails to stick to the cone, pass the cone near the spinner head to pick up a “starter”
of melted sugar. Lift the cone out of the pan and wrap the floss with a "figure eight"
movement of the hand. This leaves giant pockets and makes the final product appear larger.
Make sure room humidity is not too high, or product will be "heavy".

Model 3015A
7
Making Cotton Candy (con’t)
1. Grip cone as shown. 2. Break into web of 3. Wind the sugar 4. Lift web of floss from the
floss with the cone. onto the cone. pan and roll onto the cone.
5. 6. 7. 8.
DO NOT PUT HANDS OR OBJECTS IN ROTATING SPINNER HEAD.
DO NOT FILL SPINNER HEAD WITH SUGAR WHILE IT IS ROTATING.
WEAR EYE PROTECTION
DO NOT PUT HANDS NEAR ROTATING SPINNER HEAD,
USE FLOSS CONE TO COLLECT COTTON CANDY.

Model 3015A
8
FLOATER ADJUSTMENT
In operation, the floss will collect on the FLOSS STABILIZER. If the floss collects “low” on the stabilizer,
twist the front (leading) edge of the leather floaters down. You get more lift and the floss will collect higher.
Form leather floaters as shown. This creates a lifting action to float the floss higher on the outside wall of
the floss pan.

Model 3015A
9
SHUT DOWN PROCEDURE
When completing operation for the day (or any prolonged period), run all the sugar out of the floss head.
Turn the Heat Switch off and continue to run the machine for 1 minute to cool the floss head. Then turn off
the main Switch. NEVER put water into the floss head to try and clean the machine while it is plugged into
the wall socket and still mounted on the machine.
FLOSS BANDS AND RIBBONS
The GOLD MEDAL Floss machine is equipped with a patent pending FLOSS BAND designed to give long
life, trouble-free service with little care. DO NOT scratch the band. To clean, unplug the machine and wipe
with a damp cloth.
GOLD MEDAL Floss Ribbons (heat elements) are made of nickel wire with insulation at the terminal point
and on the lead wires. They are designed to be as reliable as the GOLD MEDAL Floss Bands: however, the
ribbons must be handled carefully. DO NOT stretch the ribbon or it will not function properly.
Disassembly and Removal
1. Remove all sugar from the head of the machine before disassembling. If the unit is inoperative, carefully
turn the machine on its side and shake the sugar out.
2. Remove the four spinner cap retainer screws and spinner cap. In some cases, the sugar has caused the
cap and band to stick together. Applying gentle pressure with the heel of the hand should free the parts
for removal.
3. Remove the element lead wire retaining screws with a ¼" (9.5mm) nut driver and remove the element
lead wires from the terminals in the floss head. This will allow the band and ribbons to be removed.
4. Remove the band and ribbons. If there is excessive sugar buildup, soak the band and ribbons in hot
water until the sugar dissolves. When the sugar has been removed, tap the band in the palm of your
hand to loosen the ribbons for removal.
5. Inspect, then clean or replace band and ribbons. The primary reason for ribbon replacement is carbon
build up inside the ribbon wire from which the heating element is manufactured. If the ribbon is being
cleaned only, an additional hot water soak may help remove some of the carbon buildup.

Model 3015A
10
TROUBLESHOOTING
LOW PRODUCTION
1. Check for excessive carbon on the ribbons. Follow the instructions for removing and cleaning band and
ribbon if needed.
2. Check the line voltage. A primary reason for low production and poor equipment performance is low line
voltage. You mast have at least 115 VAC at the plug machine to work properly. Have an electrician
check the line voltage and add new lines for all of the various equipment you have plugged into the
electric circuit if there is not enough current for the requirement listed on the equipment nameplate.
3. Foreign objects in the head assembly may short out a ribbon or cause an out-of-balance condition.
EXCESSIVE SMOKE
1. Check the product mixture being used. For best results, use nothing with a cornstarch base.
2. Check the band and ribbon for excessive sugar build up and remove if needed as described on page 9
of this manual.
EXCESSIVE VIBRATION
If the equipment is new, verify that shipping bolts have been loosened and packing materials were removed
from the machine.
When adding sugar to the floss head, always fill it 90% full to obtain a balanced condition in the head and
eliminate vibration. DO NOT add sugar with motor running!
Check for stretched or uneven suspension springs.
Run the sugar completely out, then check for foreign objects or sugar lumps in the head assembly.

MAINTENANCE INSTRUCTIONS

ORDERING SPARE PARTS
* Always speak to a Gold Medal Products Technical Service Advisor before
ordering any parts to help ensure accuracy for your product. Included
diagrams may not be the latest information.
1. Identify the needed part by checking it against the photos, illustrations, and/or parts list.
2. When ordering, please include part number, part name, and quantity needed.
3. Please include your model name, serial number, and date of manufacture (located on
the machine nameplate) with your order.
4. Address all parts orders to:
Parts Department
Gold Medal Products Co.
10700 Medallion Drive
Cincinnati, Ohio 45241-4807
Or, place orders by phone or online:
(800) 543-0862
(513) 769-7676
Fax: (513) 769-8500
E-mail: [email protected]
Web Page: www.gmpopcorn.com

Model 3015A
13
PARTS LIST
CABINET ASSEMBLY
1 47155 Rubber Feet 3/4" High 8 Feet and Bowl Support
2 87085 Power Supply Cord 1
3 67069 Handle 2
4 20006 Suspension Spring 4 Not Shown
5 55219 Relay 1
6 48018 Cooling Fan 1
7 48019 Shipping Brackets
*
4 Install when transporting
8 42798 Switch, On/Off 2
8 48786 Switch Cover 2
9 48675 Phase Control (heat control) 1
11 48730 Voltage Control PCB 1
12 48673 Heat Sink 1
13 48669 Motor 120 Volt 1
14 42320 Brush Holder Assembly 1 not shown
15 42008NM Brush Inspection Cover 2
16 20034 Carbon Brush 4 not shown
17 48674 Potentiometer 1
18 40793 Knob for Potentiometer 1
19 47199 Cooling fan power cord 1 not shown
42040 Floss Aluminum Pan
3010 Whirl Grip Stablizer
43030 Clip, Whirl Grip

Model 3015A
14
FLOSS MACHINE ASSEMBLY
3
15
2
8
7
18
1

Model 3015A
15
12
11
5
6
17
13

Model 3015A
16
HEAD ASSEMBLY
Item No. Part No. Quantity Description
1 43166 1 Spinner Cap, High Capacity
2 42438 1 Lower Spinner Head
3 48671 1 Upper Spinner Head
4 42517 1 Floss Band, 5" Double (1)
5 48755 2 5" Ribbon Assembly (2)
6 42032 2 3 1/2" Head Stud
7 20020 2 Slip Ring
8 42025 1 Top Washer, Phenolic
9 20054 1 Bottom Washer, Phenolic
10 42030 1 Stud Insulator, 5/8"
11 42154 2 Stud Insulator, 1/2"
12 74125 1 Set Screw 1/4-20
Components Not Shown On Drawing
42305 Terminal Assembly
42162 Terminal Guard, Phenolic
74143 Hex Nut #10-32
42215 Washer #10 External Tooth
20010 Leather Floater
48401 Acorn Nut 1/4-20 Nylon
46513 Set Screw, 1/4-20
42199 10-24 x 2 3/4" Cap Screws (4)
42045 8-32 x 1/4" Screw (Attaches Ribbon Wires)

Model 3015A
17
3015A FLOSS HEAD ASSEMBLY

Model 3015A
18
ELECTRICAL SCHEMATIC

WARRANTY
WE WARRANT to the original purchaser the Gold Medal equipment sold by us to
be free from defects in material or workmanship under normal use and service. Our
obligation under this warranty shall be limited to the repair or replacement of any
defective part for a period of six (6) months from the date of sale to the Original
Purchaser with regard to labor and two (2) years with regard to parts and does not
cover damage to the equipment caused by accident, alteration, improper use, voltage,
abuse, or failure to follow instructions.
THIS WARRANTY IS IN LIEU OF ALL OTHER WARRANTIES EXPRESSED
OR IMPLIED, AND OF ALL OTHER OBLIGATIONS OR LIABILITIES ON OUR
PART, INCLUDING THE IMPLIED WARRANTY OF MERCHANTIBILITY.
THERE ARE NO WARRANTIES WHICH EXTEND BEYOND THE DESCRIPTION
ON THE FACE HEREOF. We neither assume, nor authorize any other person
to assume for us, any other obligation or liability in connection with the sale of said
GOLD MEDAL equipment or any part thereof.
The term “Original Purchaser” as used in this warranty shall be deemed to mean that
person, firm, association, or corporation who was billed by the GOLD MEDAL
PRODUCTS COMPANY, or their authorized distributor for the equipment.
THIS WARRANTY HAS NO EFFECT AND IS VOID UNLESS THE ORIGINAL
PURCHASER FIRST CALLS GOLD MEDAL PRODUCTS COMPANY AT 1-800-
543-0862 TO DISCUSS WITH OUR SERVICE REPRESENTATIVE THE
EQUIPMENT PROBLEM, AND, IF NECESSARY, FOR INSTRUCTIONS
CONCERNING THE REPAIR OR REPLACEMENT OF PARTS.
GOLD MEDAL PRODUCTS COMPANY
10700 Medallion Drive
Cincinnati, Ohio 45241-4807 USA
www.gmpopcorn.com
Phone: 1-800-543-0862
Fax: 1-800-542-1496
© The text, descriptions, graphics and other material in this publication are the proprietary
and exclusive property of Gold Medal Products Company and shall not be used, copied,
reproduced, reprinted or published in any fashion, including website display, without its
express written consent.
This manual suits for next models
1
Table of contents
Other Gold Metal Kitchen Appliance manuals