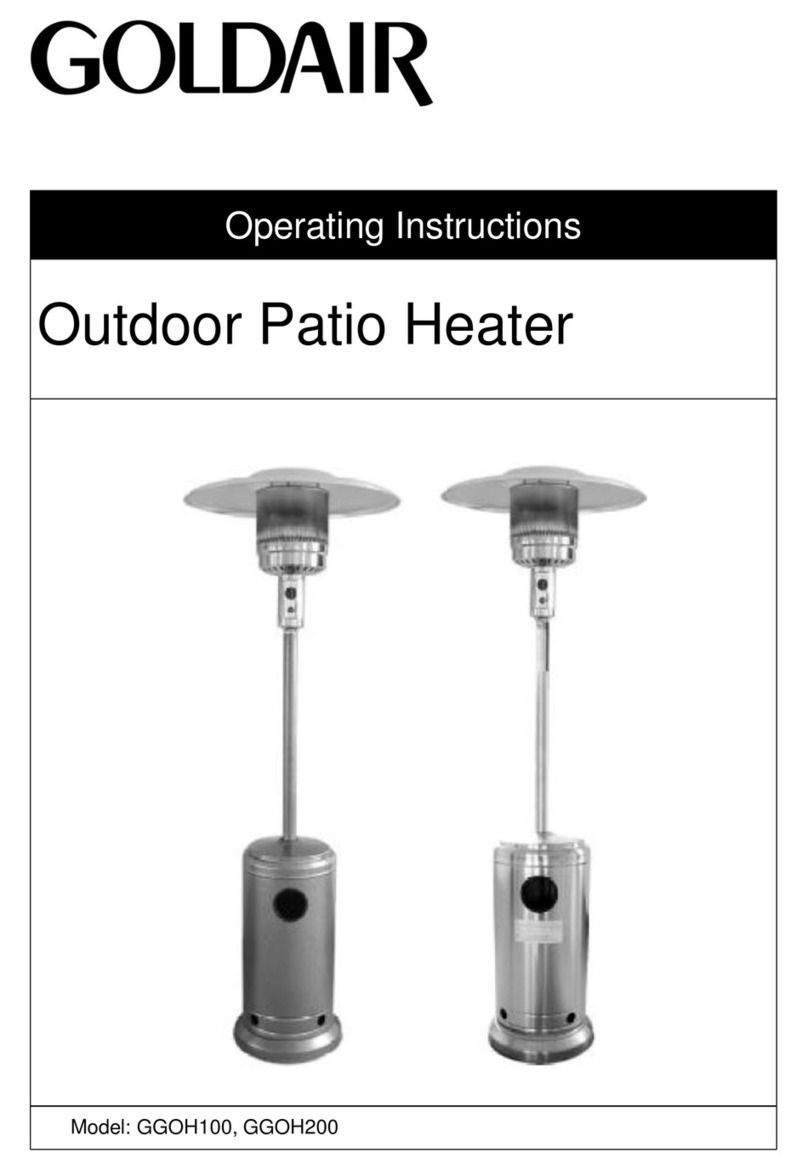
Goldair GGOH100 User manual

For model: GGOH100, GGOH200
OUTDOOR PATIO HEATER
OPERATING INSTRUCTIONS

Thank you for choosing a Goldair Appliance. This Goldair Patio Heater has been
designed and manufactured to a high standard of engineering and with proper use
and care, as described in this leaflet, will give you years of useful service. Please
read these instructions carefully.
READ ME FIRST
Take extra care when unpacking and assembling your Goldair Patio Heater. Some edges
may be sharp from the manufacturing process and may result in cuts if not assembled
with care.
Before attempting to assemble your Goldair appliance, ensure all parts are correct and
contained within the box as per the components list.
Goldair suggests laying out all components on a large flat surface and removing any
plastic or protective material before assembling your patio heater.
Do not dispose of packaging until completely satisfied with assembly of your patio heater

CLEANING AND CARE OF YOUR PATIO HEATER
Ongoing Maintenance
Your Patio Heater requires regular maintenance (interior and exterior) to ensure it remains in proper working
order and to maintain its appearance.
Exterior:
Stainless Steel Patio Heaters
Overtime dirt and salt may build up on your heater. To clean, wash with warm/hot soapy water. Wash off soapy
water with warm/hot clean water, leave to air dry. Apply a stainless steel BBQ protector to stainless steel
surfaces. This will apply a protective coating on the exterior of the heater and assist in repelling the elements.
Stainless steel will rust if you do not look after it properly
From time to time spotting may occur on the exterior of your patio Heater. This is normal and is due to moisture
and/or other elements building up (it is highly recommended that all outdoor products are stored under an eve
with a cover to protect against the harsh New Zealand elements . To ensure that spotting and discoloration
does not become worse and more visible resulting in permanent damage to your heater, it should be cleaned
and removed straight away. This is best done with a stainless steel cleaner/cutback solution, or if the spotting is
larger and harder to remove, use a stainless steel/metal polish and then a cleaner/solution. Always use a soft
cloth to clean your patio heater.
Never use abrasive heavy duty sponges or scouring pads on the exterior of your patio heater, these products
will begin to remove the stainless steel finish resulting in an uneven surface and faster rusting in the future.
Powder Coated Patio Heaters
Overtime dirt and salt may build up on your heater. To clean, wash with warm/hot soapy water. Wash off soapy
water with warm/hot clean water, leave to air dry. Once dry, use a BBQ exterior cleaner, this will apply a
protective coating on the exterior of the patio heater and assist in repelling the elements. Always you use a soft
cloth to clean your patio heater.
Never use abrasive heavy duty sponges or scouring pads on the exterior of your patio heaters, these products
will begin to remove the powder coated finish resulting in an uneven surface and may result in rusting in the
future.
Spider and insect webs –Sometimes spiders and other insects climb into the tubes, gas lines and other areas
of the patio heaters. The insects can spin webs, build nests and lay eggs. The webs or nests can be very small,
but they are very strong and can block the flow of gas. To avoid this occurring, clean burners prior to use, after
storing, at the beginning of your BBQ season or after a period of one month without use. Guards are on the air
intakes in an effort to reduce this problem, but it will not eliminate it. An obstruction can result in a “flashback” (a
fire in the burner tubes). The burner may still light, but the obstruction does not allow full gas flow to the burners.
Note: Complications arising from spider and insect webs built up inside gas lines are expressly excluded from
warranty.

USE OUTDOORS ONLY
This heater shall only be used in an above ground open-air situation with natural ventilation, without stagnant areas,
where gas leakage and products of combustion are rapidly dispersed by wind and natural convection.
Any outdoor enclosure in which the heater is used shall comply with one of the following:
•An enclosure with walls on all sides, but at least one permanent opening at ground level and no overhead cover. See
Figure 1.
•Within a partial enclosure that includes an overhead cover and no more than two walls. See Figure 2 & 3.
•Within a partial enclosure that includes an overhead cover and more than two walls, the following shall apply:
- At least 25% of the total wall area is completely open; and
-At least 30% of the remaining wall area is open and unrestricted. See Figure 4 & 5.
•In the case of balconies, at least 20% of the total of the side, back and front wall areas shall be and remain open and
unrestricted.
The following diagrams provide a diagrammatic representation of outdoor areas. Rectangular areas have been used in
these figures - the same principles apply to any other shaped area
Figure 1 - Enclosure with walls on all sides but Figure 2 - Partial Enclosure with overhead cover and
no overhead cover no more than two walls
Figure 3 - Partial Enclosure with overhead cover and Figure 4 - Open side at least 25% of total wall area.
no more than two walls 30 % or more in total of the remaining wall area is
open and unrestricted.
Figure 5 - Open side at least 25% of total wall area.
30 percent or more in total of the remaining wall
area is open and unrestricted

EXPLODED DIAGRAM


GAS CYLINDER INFORMATION
• This patio heater is designed to be used with a gas cylinder not exceeding 9KG
• The gas cylinder supply valve must be turned off when the patio heater is not in use.
• Gas cylinders must be stored outdoors, out of reach of children and must not be stored in a
building, garage or any other enclosed area.
• The gas cylinder used must incorporate a safety collar to protect the valve assembly.
IMPORTANT:
• When disconnecting and removing the gas cylinder for the purpose of refilling, always
follow these procedures.
• Ensure that all gas control valves on the patio heater and the gas cylinder are turned off
before disconnecting the regulator from the cylinder.
• Do not smoke or use a naked flame near the patio heater or gas cylinder while
disconnecting the gas line between the heater and gas cylinder.
• Remove the gas cylinder from the enclosure before disconnecting the regulator from the
patio heater.
• Tighten all connections before placing the gas cylinder back in its enclosure.
• The gas leak testing procedure should be conducted every time the gas cylinder is refilled
and reconnected to the appliance before using the appliance.
REGULATOR CONNECTION
1. Check that all control knobs are in the ‘Off’ position.
2. Make sure the cylinder valve is off.
3. Remove the protective cap from the cylinder, if present.
4. Leak test the connection with a soapy water solution.
(See Gas Leak Testing Procedure)
GAS LEAK TEST PROCEDURE
Never use a naked flame to check for gas leaks. Always use the following procedure to
check for gas leaks.
1. In a small container, mix up a solution of water and detergent/soap. Mix the solution well.
2. Make sure that the gas supply valve on the gas cylinder is turned on.
3. Make sure that the gas control valves on the heater are all turned off.
4. Using a brush or spray bottle apply the solution to the gas line and each join in the gas
line.
5. Bubbling of the solution will indicate that there is a leak present.
6. Re-tighten or re-seal any joints that are leaking.
7. If a leak persists then contact Goldair or a Gas Service Agent.


SERVICING & SPARE PARTS
Your gas appliance should be serviced annually by a certified gas service
agent
COVER
Please note that the Goldair Patio Heater Cover “if supplied” is not covered
under your warranty.
SUPPORTAND TECHNICALADVICE
North Shore City, Auckland, New Zealand
Monday –Friday 8am-5pm
Phone: 0800 232 633
Website: www.goldair.co.nz
NATURAL HAZARD SPIDERS
Spider and insect webs –Sometimes spiders and other insects
climb into the tubes, gas lines and other areas of the heater.
The insects can spin webs, build nests and lay eggs. The webs or
nests can be very small, but they are very strong and can block
the flow of gas. To avoid this occurring, clean burners prior to use,
after storing, at the beginning of your BBQ season or after a
period of one month without use. Guards are on the air intakes in
an effort to reduce this problem, but it will not eliminate it. An obstruction can result in a “flashback”
(a fire in the burner tubes). The burner may still light, but the obstruction does not allow full gas flow
to the burners.
Please note issues with spider and insect web build ups inside gas lines are expressly
excluded from warranty.

Your Goldair product has been inspected, tested and is guaranteed subject to the
following for a period to one year from the date of purchase against defects in
workmanship and materials. During this period, such defects will be rectified by
repair or replacement of the product purchased. Your warranty becomes invalid if in
our opinion the product has been misused, incorrectly assembled, tampered with,
connected to a gas supply not corresponding with the name plate specification,
stored outdoors without the use of a BBQ cover and exposed to the elements or not
regularly maintained as per the “Cleaning and Care and Maintenance” notes at the
beginning of this user manual. The warranty does not include any labour or other
associated expense that may be involved in removal or installation of the product.
Normal wear & tear and any issues involving spider/insect web build ups inside gas
lines are expressly excluded.
If your Goldair product fails to operate satisfactorily, please contact Goldair via phone
in the first instance. To obtain a repair or replacement product under this warranty,
you will need to produce satisfactory evidence of date of purchase. The completed
warranty and purchase receipt must be presented with the product. The warranty
should be filled out at the time of purchase. It is in your interest to make sure this is
done. Please note, BBQ covers (if included) are not covered under the warranty.
If the product is to be replaced (cannot be repaired) then that replacement will be of
the same or similar product or accessory excluding packaging, instruction card etc.
Where a replacement product is supplied, this shall be guaranteed for the balance of
the original warranty period.
Any model that is no longer available will be replaced by a model of a value and with
such features as we consider appropriate in the circumstances. Goldair Ltd is not
responsible for freight forwarding charges, losses or damage in transit.
If service is required after the warranty period has expired, the product should be
inspected by a qualified gas service technician. Service outside of the warranty
period will be at your cost.
Consumers GuaranteeAct (1993).
In accordance with the above act, consumers are advised that: The manufacturer
does not undertake that repair facilities and parts are necessarily available for this
product.
If any of the provisions of the foregoing are contrary to any relevant legislation, then
that provision shall be deemed to be excluded from the warranty and the rest of the
provisions will continue to apply.
ONE YEAR WARRANTY
IMPORTANT: PLEASE RETAIN THIS WARRANTY CARD
NAME:
ADDRESS:
PURCHASED FROM:
DATE OF PURCHASE:
NAME OF PRODUCT:
MODEL No:
Other manuals for GGOH100
1
This manual suits for next models
1
Table of contents
Other Goldair Patio Heater manuals
Popular Patio Heater manuals by other brands

Outdoor Leisure
Outdoor Leisure Heat-N-Glo TD120A owner's manual

Lava Heat
Lava Heat Lava 2G instruction manual

Blue Sky Outdoor Living
Blue Sky Outdoor Living OFBUTTERFLY4PC owner's manual

Blumfeldt
Blumfeldt Loras manual

Four Seasons Courtyard
Four Seasons Courtyard SRFP41305 quick start guide

Dyna-Glo
Dyna-Glo DGPH301BL owner's manual

Alice's Garden
Alice's Garden LAPLAND EHS2000WACBK manual

AZ Patio Heaters
AZ Patio Heaters HPS-C-SS owner's manual

Swann
Swann Al Fresco SH16310N Assembly Photo Guide

Prem-I-Air
Prem-I-Air EH0368 manual

emerio
emerio PH-121951.1 instruction manual

Optimus
Optimus PHP-1500DIR Instruction manual and owner's guide