CGOLDENWALL YP Series User manual

Users Manual
for
YP Series Electronic Scale

Brief Introduction
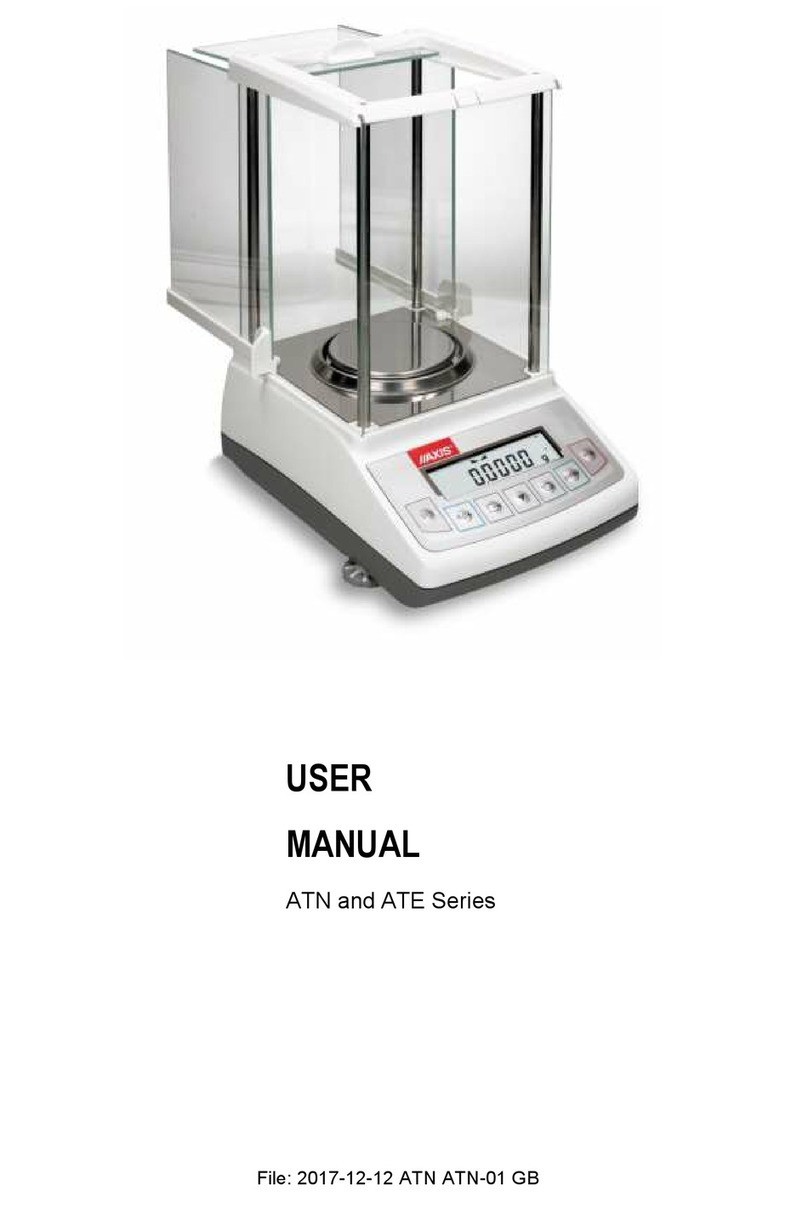
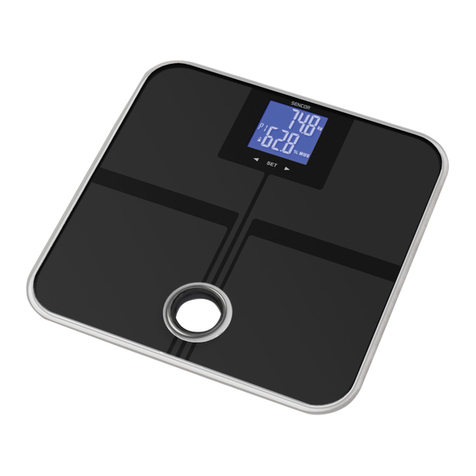
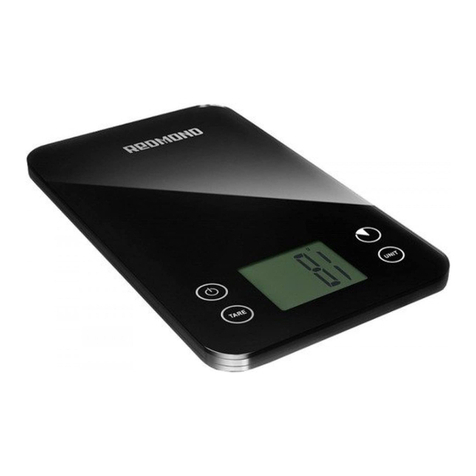
YP scale is an intelligent scale made with highly-stable sensor and single-chip
microcomputer. It features multi-units conversion, counting, percentage, RS232, tare
removal, self-calibration, and memorizing. It is precise, fast and stable, easy to
operate, and multi-functional, and can apply to the fast weight and quantity
measurement in manufacturing, agriculture, commerce, school, etc. This product
conforms to JB5374-91 (electronic scale) industry standard.
Technical Data
1.Preparation
1. Put scale on a stable and even place. Avoid vibration, direct sunray, airstream or
strong electromagnetic wave disturbance.
2. Working environment:
temperature limits: 5C~35C temperature fluctuation: ≤5C/h
relative humidity: 50~85
2.Start
1. Plug one side of adapter or power cord to scale power inlet, the other side to AC
mains.
2. Turn on power switch. Display in order “8.8.8.8.8.8.”, “max measurement value”,
“-------”. When stable, it displays “0” or “0.0”or“0.00” to enter weighing status.
3.Calibration
1. Preparations before calibration:
1) turn on scale and warm up over 15minutes.
2) leave scale tray empty without any objects.
2. Single-point calibration:
Model
1002~3000
2
1001~
300001
1000~
300000
40000~500000
Measure
ment
range
100g~3000
g
100g~30k
g
1.0kg~300
kg
40kg~500kg
D
10mg
100mg
1g
10g
E
100mg
1g
10g
100g
Power
supply
AC 220V 50Hz ,DC 6V~9V
Power
capacity
1W
Grade
Ⅲ

1)Push “CAL”button and then let go, it displays “CAL” and then blinks with weight
value. Push“CAL” and choose the weight value to be added. Add corresponding
weight and it displays“-----”. After it is stable, it displays calibrated value.Take
weight down it displays “-----”. After scale is stable, it displays 0. Calibration done
and enter weighing status.
2)
During calibration, can push “Tare” button to stop calibration returning to weighing
status.
3. Multi-points calibration
1)Push and hold“CAL”until it displays “CAL-L”. Let button go and then it blinks
with weight value to be added. Add corresponding weight on it displays “------ ”.
When scale is stable and displays the corresponding value, take weight down, and it
displays “------ ”.When scale is stable, it automatically blinks with the weight value to
be added for the next point. Repeat above operation until all points calibrations are
done. Return to weighing status.
2)During calibration, can push “Tare” button to stop calibration returning weighing
status.
4.Weighing
1.After warm up or calibration, put the object on scale tray. When the black point on
the bottom left of screen disappears, the weight of the object can be read.
2.The maximum measurement weight is the maximum value +9d displayed when
machine starts (d is the minimum display reading).If the weight exceeds maximum
value, it displays upper line “------”showing it exceeds the range. Should take the
object away immediately, otherwise will damage the machine.
5.Tare removal
Push “Tare” shortly it displays“-------”. When scale is stable it displays 0. The tare on
the tray is removed.
6.Backlight
When machine starts it enters backlight-on status. If need to adjust brightness, push
and hold “Tare” and in the mean time push “unit” button shortly, then the brightness
can be adjusted in a loop. Let two buttons go after suitable brightness is found.
7.Modes
Scale modes can be switched according to needs. Push and hold “Count” button it
displays “COU” “100%” “-END-“ in a loop.”COU” is counting mode, “100%” is
percentage mode, “-END-“ is to quit “counting” or “percentage” mode and return to
weighing status.
8.Other features
A. Units conversion

Push ”units” button shortly and choose the units in “scale parameters setup”. To
choose certain unit, must ensure this unit has been opened. Refer to “units setup” in
“scale parameters setup”
B. Counting
1).Push and hold “Count” until it displays “COU”. It blinks with counting number.
Push “count” and choose the number to be set up between 10.20.50.100.200.500, then
add corresponding qty of objects on the tray. Push ”CAL” to confirm and it displays
“------”. When scale is stable, counting setup is done. When the unit weight of object
for counting is less than 2d, it displays “Err-3”and counting setup can not be carried
out.
Need to take more objects as one collectively for re-setup. Push “Tare” to return
to weighing status.
2).During “counting” setup, can push “Tare” button to stop setup and return to
weighing status.
3).After “counting” setup is done, push ”Count” button to switch between counting
and weighing status.
C. Percentage
1).Hold “Count” button until it displays “100%”. Let the button go and it blinks with
“100”. Put on the object to be setup as 100% and push “CAL” to confirm Scale
displays “------“. When it is stable, it displays “100%”. Take the object down and put
on other object and it displays the percentage of this object to the object setup. When
the object set up is less than 20d, it displays “Err-4” meaning the setup object is too
small and need to increase the weight of the setup object. Push “Tare” button to return
to weighing status.
2). During percentage setup, can push “Tare” to return to weighing status.
3).After setup is done, push “count” button to switch between percentage and
weighing status.
D. Printing
1).One time printing: Set up as manual printing mode in “scale parameters setup”.
Push “Print” button once for one time data output.
2).Continuous printing: Set up as continuous output in “scale parameters setup”.
Scale outputs data continuously.
3).Timing output: Set up as timing output in “scale parameters setup”. Scale outputs
data at the time setup.
4)Printing mode setup refers to “printing mode setup” in “scale parameters setup”
F. Baud rate
Scale has 4 baud rates to choose: 1200.2400.4800.9600. Refer to “Baud rate setup” in
“scale parameters setup”
G. RS232 communication
Scale uses RS232 UART communication. Data format is 10 digits:
One digit as start position, 8 digits as data and one digit stop position. No verification.
Data frame format:
1 2 3 4 5 6 7 8 9 10 11 12 13 14 15 16
K, */space, +/-, data, data, data, data, decimal point, data, data, data, unit, unit,

unit, OD, OA
1. K: start code
2. */space: * indicates data unstable; space indicates data stable
3. +/-:+ indicates positive data,- indicates negative data
4. 4-11 :weighing data output by scale. Position of decimal point changes for
different scale models.
5. 12-14: Unit of data output. For example, unit g output as :space+space+g.
6. 15-16: Data end mark
H. Parameters setup
Push and hold “Count” to start machine. Let button go when it displays “UNIT”. Push
“Count” again shortly and it displays as follows in a loop:
UNIT---buzz---A.0FF---b.9600---P.O---zero 1---bz 3---╊┏A02
1.Unit setup
Push “Count” button and choose “UNt”. Push “Unit” button and choose units
between g-kg-ct-lb-oz-ozt in a loop. Push “CAL”button to close or open the unit
chosen.
2.Buzzer setup
Push “Count” button and choose “buzz1”. Push “Unit” button and choose ON or Off.
1 indicates ON and 0 indicates off.
3.Timing shutdown setup
Push “Count” button and choose A.OFF.Then push “Unit” and choose:
OFF:indicates no shutdown
30:indicates automatic shutdown if no button pushing and no weighing for 30seconds.
2:indicates automatic shutdown if no button pushing and no weighing for 2miniutes.
5: indicates automatic shutdown if no button pushing and no weighing for 5miniutes.
10:indicates automatic shutdown if no button pushing and no weighing for
10miniutes.
4.Baud rate setup
Push “Count” button and choose “b.9600”. Then push “Unit” and choose baud rates
between “9600-1200-2400-4800”.
5.Printing mode setup
Push “Count” button and choose “P.0”. Then push “Unit” and choose between
“0-1-2-3-4”:
0:indicates manual print out.
1: indicates print one time every 30seconds
2: indicates print one time every 60seconds
3:indicates print one time every 120seconds
4:indicates continuous output.
6. Zero point display range setup
Push “Count”button and choose “zero 1”. Then push “Unit”and choose between 0-4d.
7.Back to zero setup
Push” Count” button and choose“bz 4”. Then push “Unit” and choose between 0-5d.
O indicates 1/3d; 1:indicates 2/3d; 2:indicates 1d; 3:indicates 4/3d; 4:indicates

5/3d; 5 indicates 2d.
8.Zero point tracking setup
Push “Count” button and choose “ᅡ┏A0 2”. Then push “Unit” and choose between
0-5.
When parameters setup done or during setup, hold “Count” button until it
displays “stored” to save parameters set up and return weighing status. If push
“Tare” button then parameters will not be saved but back to weighing status.
10.Error messages:
Blinking with upper line: indicates accumulated weight of objects to weigh exceeds range. Should
take objects away immediately or do multi-point calibration again.
Blinking with bottom line: indicates weight of object to weigh is too light. Need to do multi-point
calibration again; or indicates broken sensor.
11.Application notice:
1. Plug in and warm up as per instructions before use.
2. Tare weight and weights add up can not exceed weighing range.
3. If weighing is not accurate, should do calibration by using standard weights.
4. If round tray needs to be taken down fom scale, take down after turning the tray
clockwise. Don’t pull up the tray by force to avoid damage to sensor.
12.Components
1).Electronic scale 1unit
2).Manual 1pc
3).Approval card/packing slip 1pc
4).Scale tray 1pc
Notes: weighing 100g-800g round tray(square tray optional)
weighing 1000g-2000g square tray 130*130
weighing 3000g-8000g big square tray 175*165
5). Power adapter (or power cord) 1pc
6).Standard weight (weight over 3000g optional)1pc
Attention: some content of the manual may change without prior notice due
to product updates. If it is different with product in kind, product in kind
prevails.
Err_1:
Weighing module broken. Need to return to factory for repair.
Err_2:
Weighing data lost. Need to do multi-point calibrations again.
Err_3:
Counting setup error. Object unit weight for counting setup too light.Need to add more
objects and take them as one collectively for re-setup.
Err_4:
Percentage setup error. Need to increase the weight of object for setup.
Err_5:
Percentage calculated value exceeds display range. Need to increase the weight of
object for setup or decrease the weight of object to be calculated.
Table of contents

