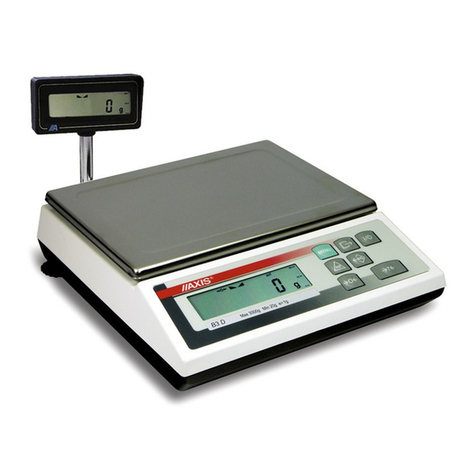
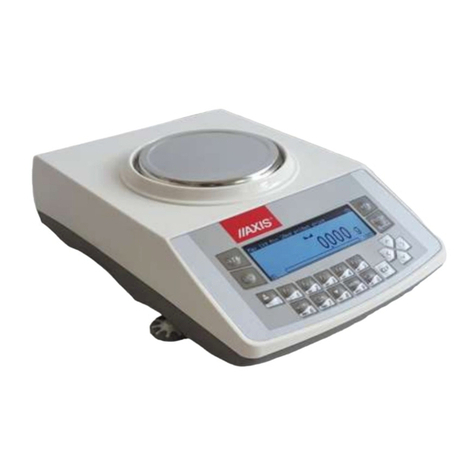
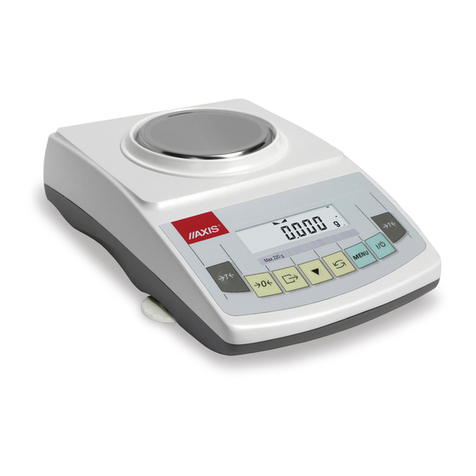
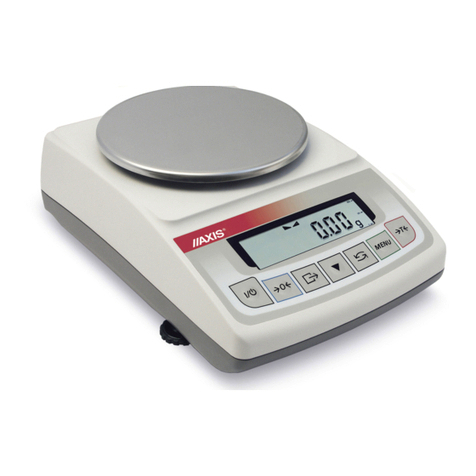
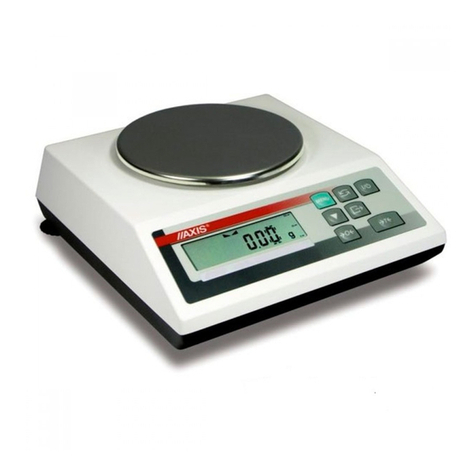
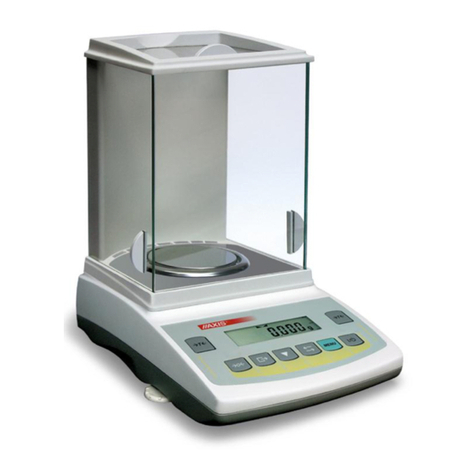
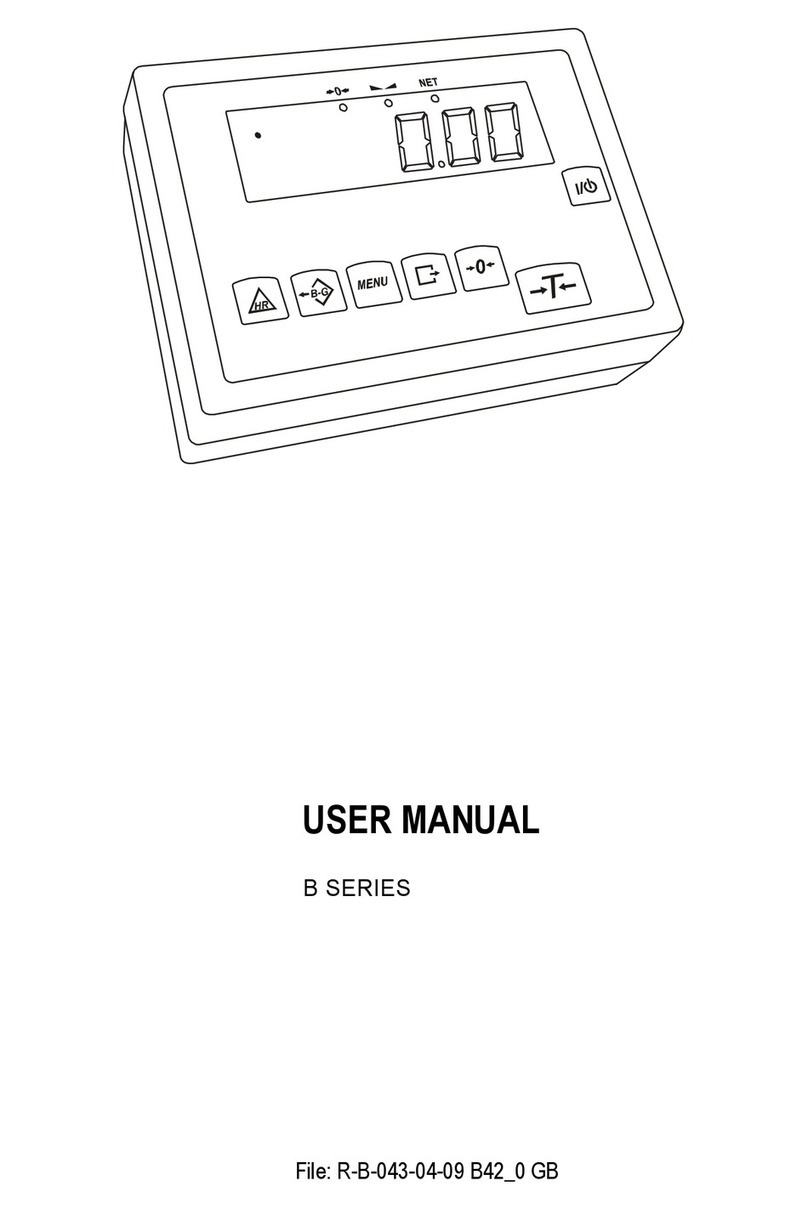
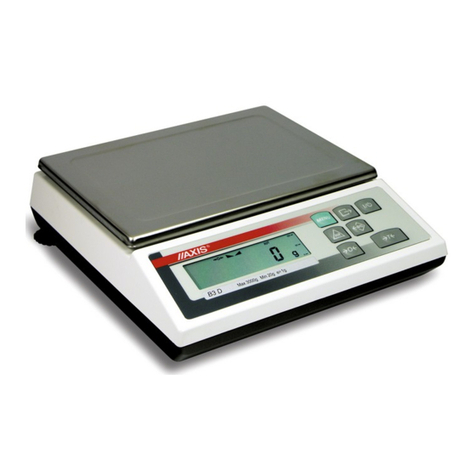
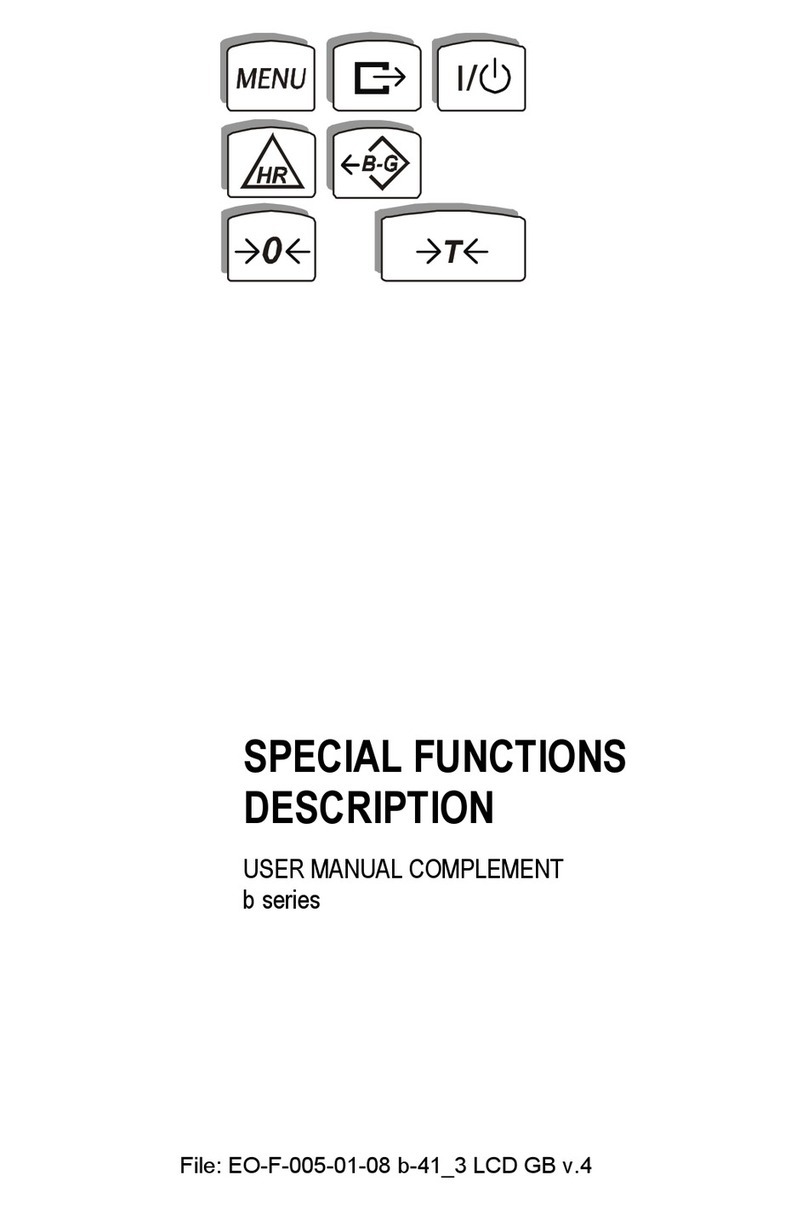
Axis ATN Series User manual

USER
MANUAL
ATN and ATE Series
File: 2017-12-12 ATN ATN-01 GB

2 USER MANUAL
__________________________________________________________________________________________________________________
Contents:
1. General description..............................................................................................................................................................3
2. Set........................................................................................................................................................................................3
3. Safety rules ..........................................................................................................................................................................4
4. Technical data......................................................................................................................................................................5
5. General scale view...............................................................................................................................................................6
6. Keys and indicators..............................................................................................................................................................9
7. Preparing working environment .........................................................................................................................................10
8. Preparing scale to work .....................................................................................................................................................11
9. Balance start ......................................................................................................................................................................13
10. Weighing with tare .............................................................................................................................................................14
11. Scale menu ........................................................................................................................................................................15
12. Menu navigation rules........................................................................................................................................................16
13.General operation principles ..............................................................................................................................................22
14. Internal calibration (ATN) ..................................................................................................................................................23
15. Checking the balance ........................................................................................................................................................24
16. Connection with a computer or a printer ............................................................................................................................25
16.1 Detailed protocol description in standard mode.........................................................................................................26
17. Scale setup (SEtUP) ..................................................................................................................................................29
17.1 Scale calibration (CALIb) ...........................................................................................................................................30
17.2 Autotare function (AUtotAr).......................................................................................................................................34
17.3 Weight unit selection (UnIt)........................................................................................................................................35
17.4 Serial port parameters setting (SErIAL) ....................................................................................................................36
17.5 Printout configuration (PrInt)....................................................................................................................................37
17.6 Weighing speed selection (SPEED) .........................................................................................................................39
17.7 Entering reference zero value (ZErO)........................................................................................................................40
18. Special functions description .....................................................................................................................................40
18.1 Product and user identification (Prod and USEr) .......................................................................................................42
18.2 Pieces counting function (PCS) ................................................................................................................................44
18.3 Percentage weighing function (PErC).......................................................................................................................45
18.4 Label choosing function (LAbEL)...............................................................................................................................46
18.5 Weighing animals function (LOC) ..............................................................................................................................48
18.6 Constant tare memory function (tArE) .......................................................................................................................49
18.7 Maximum value indication function (UP)....................................................................................................................51
18.8 Total weight function (totAL) ......................................................................................................................................52
18.9 Checkweighing function (thr) .....................................................................................................................................54
18.10 Setting date and time function (dAtE) ........................................................................................................................57
18.11 Statistical calculations function (StAt) ........................................................................................................................58
18.12 Function for summing recipe ingredients (rECIPE)....................................................................................................61
18.13 Density determination (dEnSItY)................................................................................................................................62
19. Troubleshooting and maintenance.............................................................................................................................65
USER MANUAL 3
__________________________________________________________________________________________________________________
1. General description
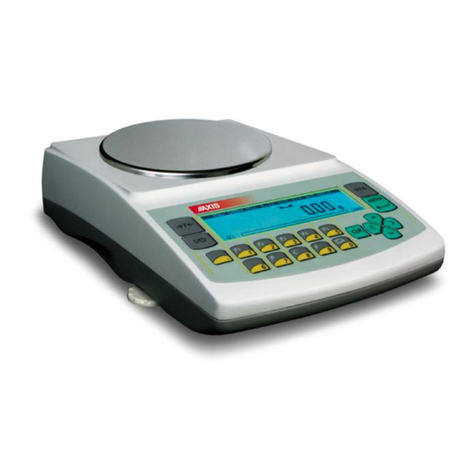
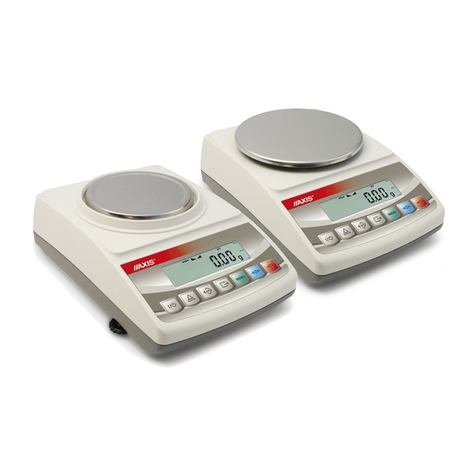
ATN and ATE series electronic balances are destined for laboratory works which require high accuracy.
ATN balances have LCD display and internal calibration, which corrects weighing precision during
exploitation. ATE series are not equipped with internal calibration system.
SPEEd option enables to change weighing speed that allows to adjust the balance to working conditions.
In particular, if user chooses FASt speed setting then small weight portion batching for eg. in pharmacy is
possible.
All scales are metrologically tested by manufacturer.
All balances can have legal verification (except ATE) or be calibrated by laboratory with PCA accreditation.
According to an order balances can be calibrated.
NACE classification: 33.20.31.
2. Set
Standard set consists of:
1. Balance
2. Pan plate, Decorative pan
3. Pan cover
4. Metal floor
5. Feeder

4 USER MANUAL
__________________________________________________________________________________________________________________
3. Safety rules
It is necessary to follow safety rules of work with the scale shown
below. Obeying those rules is the condition to avoid electrical shock or
damage of the scale or connected peripheral devices.
All repairs and necessary regulations can be made by authorised personnel only.
To avoid fire risk use a feeder of an appropriate type (if feeder is supplied with the scale) and
supply voltage has to be compatible with specified technical data.
Do not use the scale when its cover is opened.
Do not use the scale in explosive conditions.
Do not use the scale in high humidity environment.
If the scale seems not to operate properly, switch it off and do not use until checked by
authorised service.
According to current acts of low about protection of natural
environment, wasted scales should not be put into waste containers
together with ordinary waste.
Wasted scale after operation period can be delivered to units authorized for gathering wasted
electronic devices or to the place where it was bought.

USER MANUAL 5
__________________________________________________________________________________________________________________
4. Technical data
Balance type
ATN160
ATE160
Load (Max)
160g
160g
Load (Min)
10mg
10mg
Readout (d)
0,1mg
0,1mg
Verification unit (e)
1mg
1mg
Tare range
-Max
-Max
Accuracy class
I
Repeatibility
0,2mg
Linearity
0,2mg
Working temperaturę
+18 ÷+35 °C
Weighing time
<5s (SPEED option set to default)
<3s (SPEED option set to FAST)
Pan dimension
90mm
Balance dimensions
185(with legs 195)x290x310mm
Weighing chamber dimension
150x160x200mm
Interfaces and equipment
RS232C, USB, clock,
options: RS485, LAN, Bluetooth, PS2, WY analog, transoptor
out
Supply
~230V 50Hz 9VA / =12V 1,2A
Scale weight
4,5kg
4kg
Recommended standard of mass
(OIML)
100g E2
100g E2
Internal calibration
-
Note:
E2 - international calibration weight class according to O.I.M.L. Requirements about calibration weight
accuracy are connected with these classes.

6 USER MANUAL
__________________________________________________________________________________________________________________
5. General scale view
1 –pan
2 –pan support
(under pan)
3 –pan ring
(against blows)
4 –chamber floor
5 –scale keys
6 –rotating legs
7 –level
8 –display
9 –weighing chamber
7
6
12
3
4
9
85

USER MANUAL 7
__________________________________________________________________________________________________________________
Connectors view:
Printer or
computer

8 USER MANUAL
__________________________________________________________________________________________________________________
ON OFF
Przełącznik
adjustacji
RxD (odbiór)
TxD (nadawanie)
masa
obudowa
RS232CZasilacz
USB
Zasilacz
1
2
3
4
5
6
7
8
9
12V
~230V/50Hz
Drukarka
lub komputer
Supply
Supply
Switch
RxD (receive)
TxD (send)
GND

USER MANUAL 9
__________________________________________________________________________________________________________________
6. Keys and indicators
key
I/
-switch on / switch off (standby),
"
T
- taring (storing package mass subtracted from weighed mass)
"
- change mode of balance work,
"
0
- zeroing the scale when pan is empty (option) ,
"
MENU
-special function menu,
"
- result printout,
"
- internal calibration / changing menu position,
indicator
0
- zero indicator (when scale pan is empty),
"
- indicator of weighing result stabilisation,
"
NET
- net mass (after use of →T← key),
bar
indicator
- indicator of scale load (0-100%).
indicator
OFF
- switching scale with key (standby),
"
pcs
- indication in pieces
The use of keys during entering numeric values (special functions):
-increment current digit,
-insert comma,
T
- move to next position,
MENU - finish entering
Note:
1)0keys and 0, NET indicators don’t work in balances without legal verficatio.
2) key pressed two time during auto-calibration stops auto-calibration

10 USER MANUAL
__________________________________________________________________________________________________________________
7. Preparing working environment
+18°C
+33°C
Location for the scale should be chosen with care in order to limit influence of the factors that can interrupt
working scale. This location has to maintain proper temperature for working scale and necessary space for
its operating. The scale should stay on stable table made of material that does not influence magnetically
on the scale.
Rapid air blasts, vibrations, dust, rapid temperature changes or air humidity over 90% are not allowed in
scale surrounding. The scale should be far from heat sources and devices emitting strong electromagnetic
or magnetic fields.

USER MANUAL 11
__________________________________________________________________________________________________________________
8. Preparing scale to work
Initial actions:
1. Remove from the box safely all the elements.
Attention: Keep the original box and inserts. In future it will be need to securely send the
balance.
2. Put the balance on stable surface.
3. Mount (screw in) 4 metal columns to balance.
4. Put upper frame and screw 4 mounting tap bolts.
5. Slide in glass walls according to picture below:
End actions:

12 USER MANUAL
__________________________________________________________________________________________________________________
1. Place the scale on a stable ground not affected
by mechanical vibrations and airflows.
2. Level the scale using rotating legs 6so that the
air bubble in water level 7at the back of the scale is in
the middle.
3. Put metal floor 4in the weighing chamber.
4. Put secure ring 3
5. Gently put pan plate 2 into mechanism hole and
put pan cover 1
6. Plug in supplier to 12V socket on the back of the
balance
Scale should be transported in the way, that there is no risk of accidental pressing or
overweighing a pan.
If the scale was taken from a lower temperature surrounding to a room with higher
temperature, e.g. in winter, moisture can liquefy on the scale casing. Do not connect power
supply to the scale, because this can cause damage or improper work of the scale. In this
case leave the scale for at least 4 hours unplugged for acclimatization.
7
6
12
3
4

USER MANUAL 13
__________________________________________________________________________________________________________________
9. Balance start
Plug feeder into ~230V power supply socket.
When the pan is empty plug feeder output
connector into 12V socket at back of the scale.
Autotests and internal calibration will be
performed.
Autotest of balance display.
(autotests of internal electronic elements C1:8
displayed only when any test result is negative)
Showing scale program version.
Internal calibration –about 1 minute (press key
if You want to terminate calibration)
Ready to work.
It is recommended that before you start measuring the internal temperature is stable. For this to happen,
the balance should remain turned on for at least 2 hours. To maintain the accuracy of the balance it is not
recommended to turn off the power.
g
AUT
~1 min.
NET
OFF BAT CAL
MIN OK MAX 0MODE AUT TOTALMODE AUT TOTAL
%ctng/m2
pcslbmg
B/G T FILTERSUM
kg

14 USER MANUAL
__________________________________________________________________________________________________________________
10. Weighing with tare
Balance indication should be readout when the
weighing chamber is closed and the result is
stable.
Zero indication and
0
indicator mean that
the scale is ready to work.
After putting container (package) tare the scale
using
T
key. NET indicator will show up.
Put on weighted object and readout net weight
(NET indicator shows that scale indicates net
weight).
In order to readout gross weight press key
(B/G indicator shows that scale indicates gross
weight). Press again key in order to come
back to net indications.
00
g
g
g
g
g
NET
NET
B/G

USER MANUAL 15
__________________________________________________________________________________________________________________
11. Scale menu
All scales except for basic metrological functions: weighing and taring, have many special functions and
configuration options.
In order to ease using functions user can create
his own (personalized) menu.
Creating personalized menu:
In „out of the box” scale after pressing MENU
key only SEtuP option (it contains all
configuration options) is available.
One of the configuration options is Menu that is
used to create personalized menu.
To add a function to personalized menu press
T
key when the function is indicating.
Chosen function is indicated with „o” sign on the
left side of display.
After adding all necessary functions press out
in order to come back to weighing mode. User
now after pressing MEnu key has access to
selected earlier functions and to SEtuP option.
dEFAULt option is used to set factory settings
MODE
MODE
MODE
MODE
MODE
MODE
MODE
MODE
g
AUT

16 USER MANUAL
__________________________________________________________________________________________________________________
12. Menu navigation rules
Choosing menu options:
Scale menu shows up after pressing Menu key.
First menu position is displayed for about 10
seconds. After 10 seconds successive menu
positions are displayed automatically.
Choosing menu position (option) is done by
pressing
T
key when it is displayed on the
screen.
After choosing position (option) usually several
options show up:
on –turning on selected option,
OFF - turning off,
out –out to menu.
Accelerated working with menu:
First menu position is displayed for about 10s.
User can change menu positions manually by
pressing key.
Immediate out to previous menu level is done
by using Menu key.
key working method:
0
g
g
AUT
g
g
g

USER MANUAL 17
__________________________________________________________________________________________________________________
During standard weighing
key is used to
switch between net and gross indication.
When special function e.g. PCS is turned on,
using
key enables to go back to standard
weighing mode.
Sign „o” on the left side signalizes that special
function is turned on and user can go back to
function mode by pressing
key.
Inscribing numerical values:
Inscribing numerical values is needed in some
special functions e.g. tArE function requires to
inscribe tare values.
Keys:
- decimal point,
T
- next digit position,
- increasing digit inscribed value (use also
0),
MENU –end of inscribing
g

18 USER MANUAL
__________________________________________________________________________________________________________________
key
(PCS)
(totAL)
...
...
out
SEtUP
Prod
USEr
PCS
Unit
PErc
LOC
tArE
UP
totAL
thr
StAt
rECIPE
out
()o()o
Menu
CALIB
Autotar
UnIt
MENU
- personalized function menu created using SEtUP / MEnu
- sensitivity calibraton (only not verificated scales)
- fast calibration (without confirmation of putting weight)
- calibration with confirmation
- calibration report printout
- internal calibration time interval
- internal calibration temperature interval
- exit
- autotaring
- autotaring on
- autotaring off (lasts 10min)
- exit
- settings
- creating menu (” “- added to menu)
- choosing product
- choosing user
- pieces counting function
- actual unit selection
- percentage conversion function
- animals weighing function
- tare memory bank
- maximum value function
- summation series of measurements function
- threshold values comparing function
- statistics function
- recipe weighing function
- exit
o
CAL on
CAL StP
CAL Prn
CAL tM
CAL C
out
Aut on
AUt OFF
out
CArAt (ct)
MGrAM (mg)
HGrAm (kg)
Pound (Ib)
ounCE (oz)
ounCE (ozt)
GrAin
PEnnYW
GrAM (g)
out
- unit choice
- carat
- miligram
- kilogram
- pound
- ounce
- aphotecary ounce
- grain
- jednostka jubilerska
- gram
- exit

USER MANUAL 19
__________________________________________________________________________________________________________________
- measure speed setting
- slow
-
- fast
-
- exit
medium
restore default setting
- serial ports settings settings
- port - 1
- transmission speed (1200, ... ,115 200 bps)
- bits quantity (7 or 8)
- parity control
- transmission type (Stab, no StAb, Auto,Cont.,rEMoVE)
- protocol (LonG, EPL, EPL_A, EPL-d, PEn-01)
- barcode reader MJ4209 cooperation
- exit
- port-2 (as above)
- printout data configuration / transmission
- port - 1
- header (scale type, Max, d, e, serial nr)
- scale operator id number
- data
- time
- succesive printout/measurement number
- product identification number
- product barcode number
- product name
- pieces quantity (PCS function)
- product unit weight
- net weight
- package weight (tare)
- gross weight
- total weight (totAL function)
- measurement number and value in one line printout
- exit
- port-2 (as above)
- exit
SErIAL
PrInt
SPEEd
bAUd
bItS
PArItY
SEndInG
Prot
Scann
out
HEAdEr
User Id
dAtE
tIME
Prn no
Prod Id
Prod bA
Cont
APW
nEt
tArE
Gross
totAL
no LCD
out
Port-1
Port-2
out
SLOW
MEd
FASt
dEFAULt
out
Port-1
Port-2
out

20 USER MANUAL
__________________________________________________________________________________________________________________
This manual suits for next models
3
Table of contents
Other Axis Scale manuals

Axis
Axis BD/S series User manual

Axis
Axis AGN50 User manual

Axis
Axis BTA Series User manual

Axis
Axis BDM Series User manual

Axis
Axis B/E Series User manual

Axis
Axis AG Series User manual

Axis
Axis 4BA SERIES User manual

Axis
Axis BLM Series User manual

Axis
Axis 4B/F Series User manual

Axis
Axis 4BA/T Series User manual

Axis
Axis B/U Series User manual

Axis
Axis BD/TL Series User manual

Axis
Axis BA/LG Series User manual

Axis
Axis ATA1200 User manual

Axis
Axis B/P Series User manual

Axis
Axis 4BA SERIES User manual

Axis
Axis 4B/NA Series User manual

Axis
Axis AGN/C Series User manual

Axis
Axis B Series User manual

Axis
Axis LCD GB V4 User manual