5.4 Gas Connection
This appliance has been tested and pre-set before leaving the factory, however minor adjustments
may be necessary to suit the gas supply pressure. Correct operation of the appliance must be tested
as part of the installation procedure.
Note: Gas fitting must only be carried out by an authorised and qualified person.
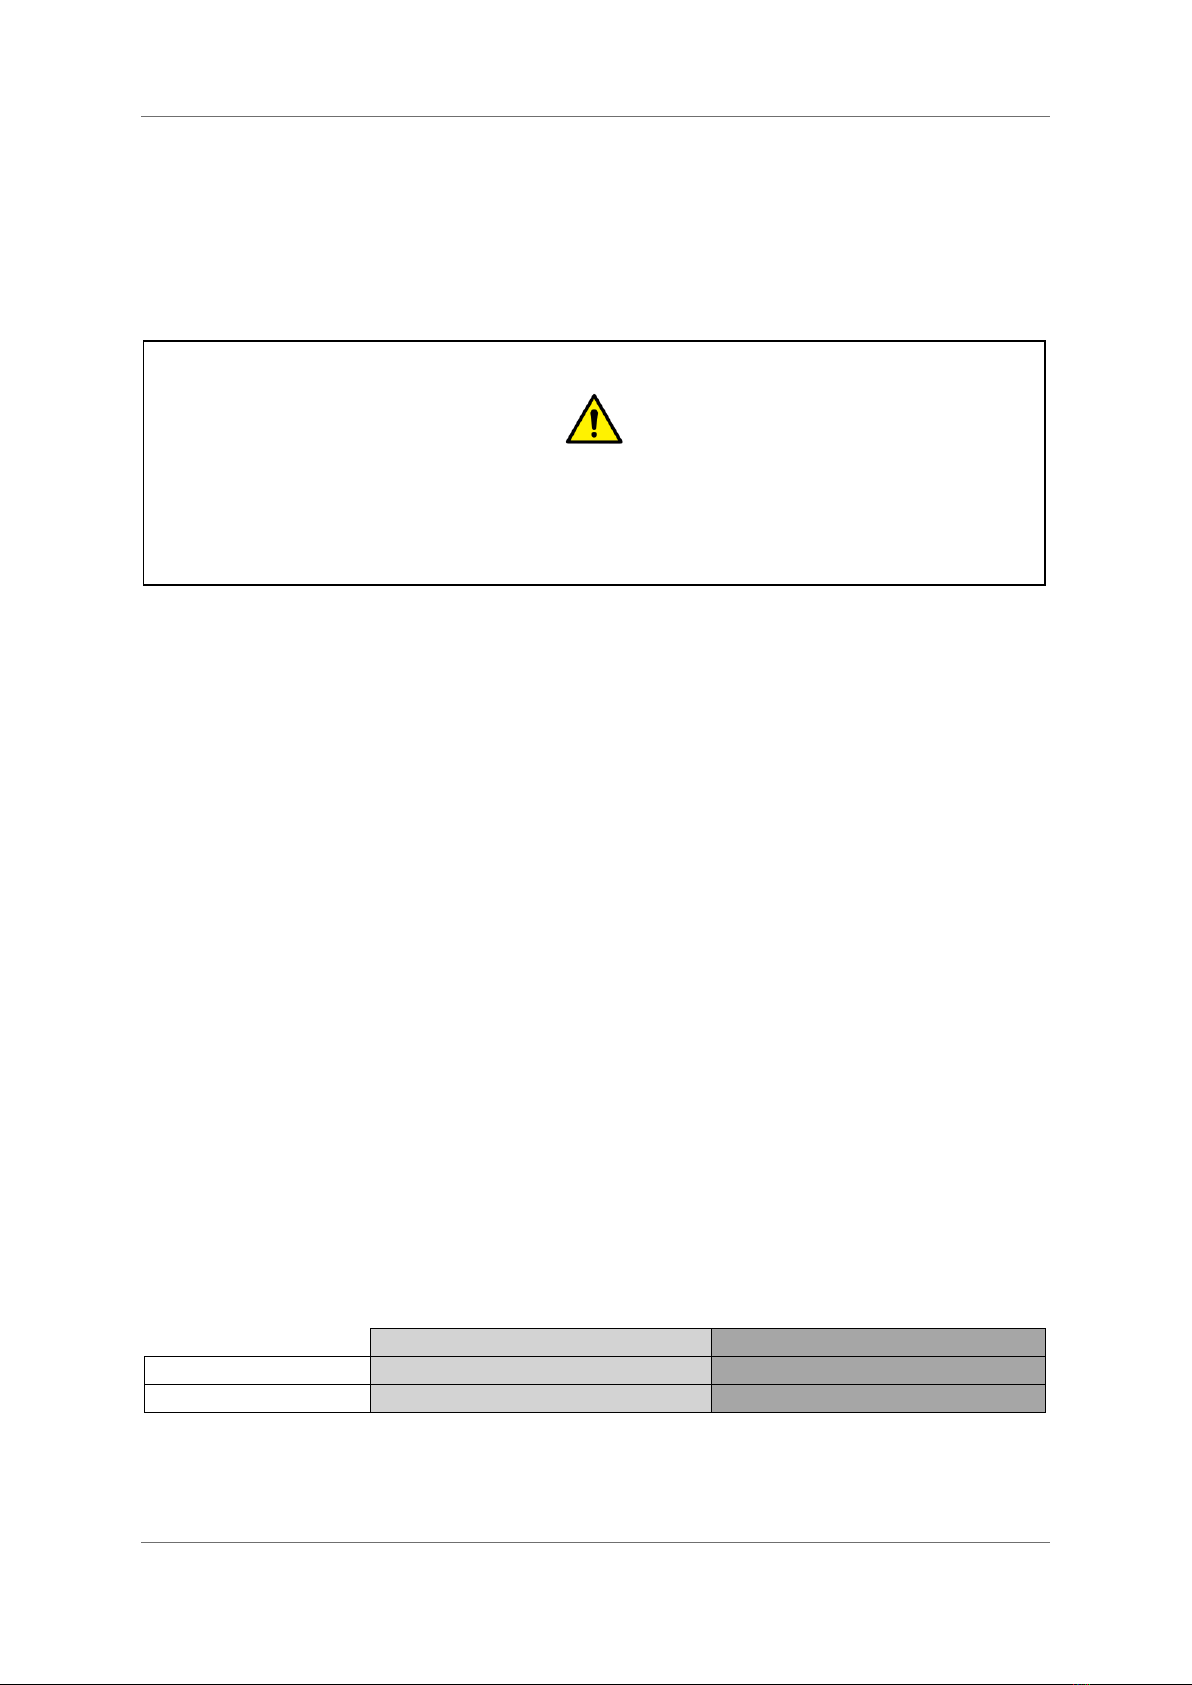
1. Have a licensed gas fitter or your gas supply company
connect & check that the gas supply line pressure and
volume are adequate for the appliance being installed. The
required pressure and input rating is shown on the rating
plate behind the door.
2. Install the appliance in accordance with AS5601 &
AS/NZS5601. Ensure that the appliance gas type corresponds
with the gas supply. Different gas types are NOT compatible;
however, the appliance can be converted from one gas type to another. Please see
conversion instructions for more details and contact the dealer for any necessary
components.
3. Fit an individual manual isolating valve to the appliance gas supply.
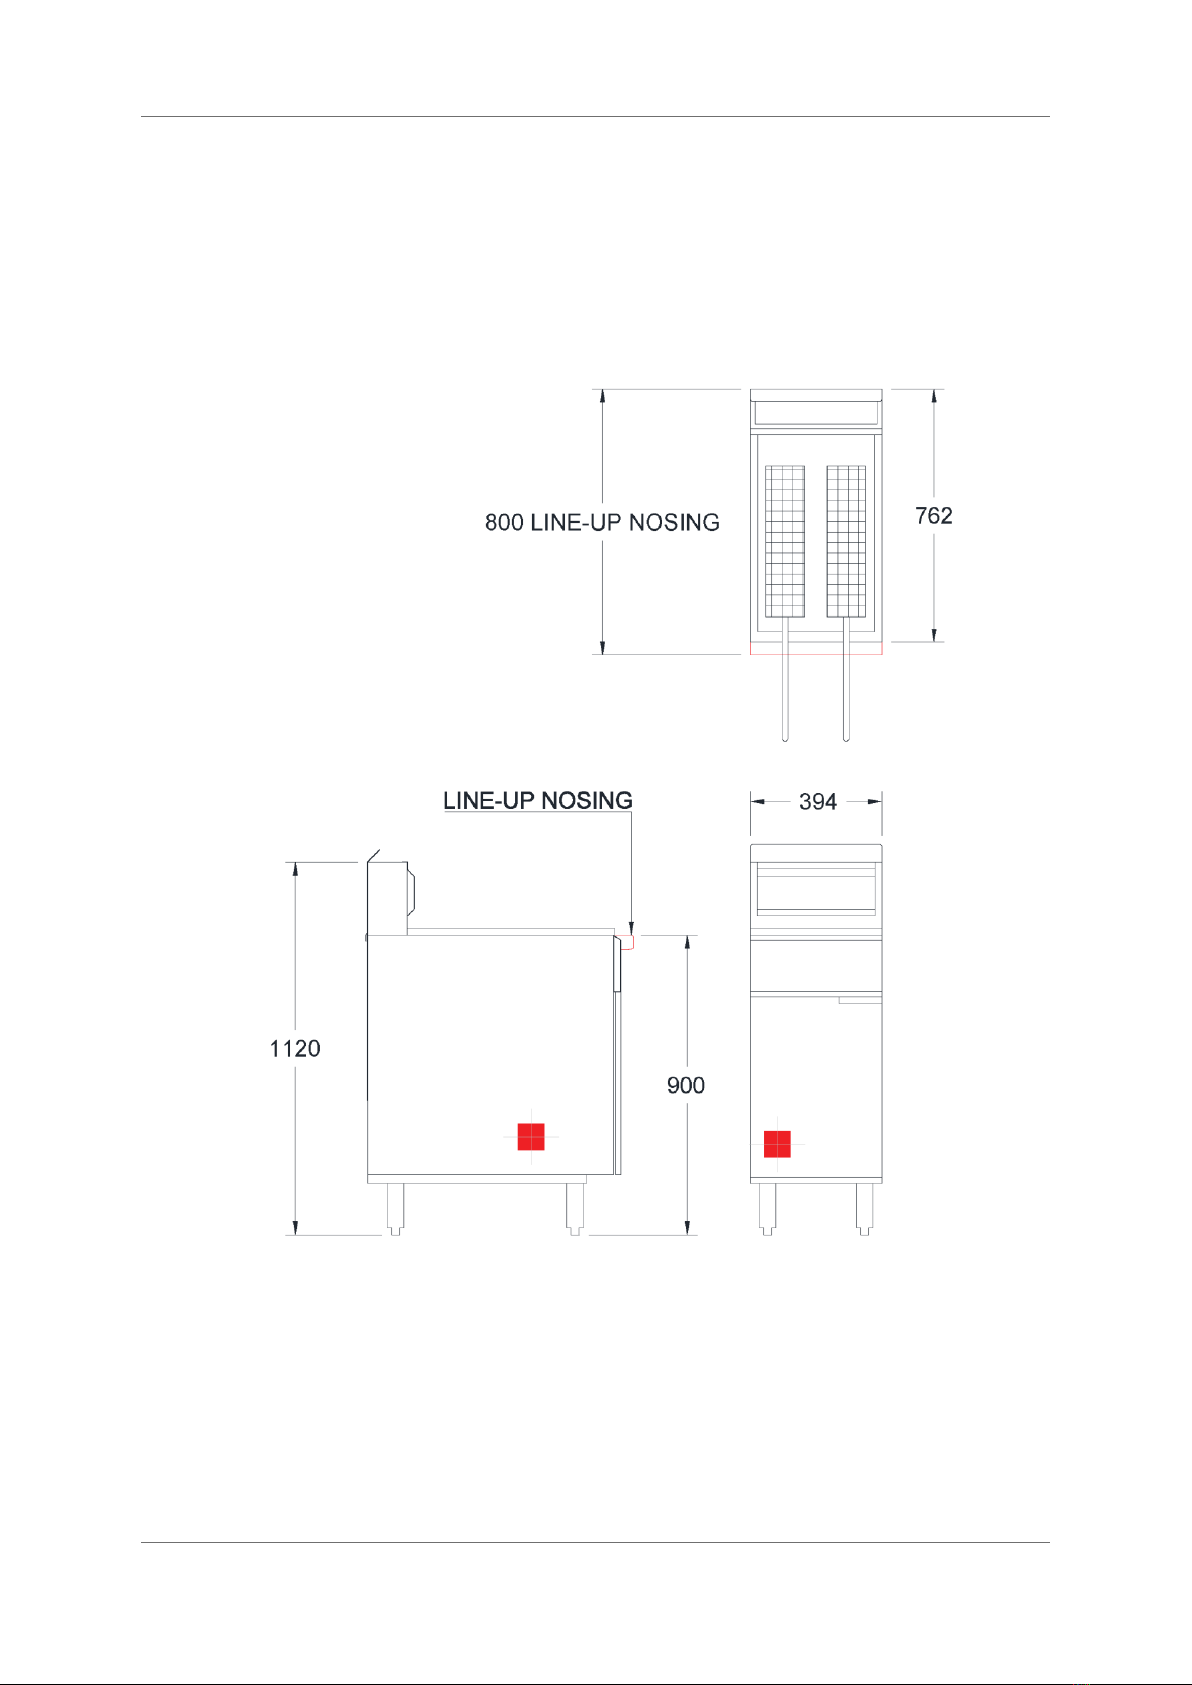
4. Connect the appliance to the gas supply. Location of the connection is shown in Dimensions
section 3 and is facing the rear of the appliance with a ¾” B.S.P female fitting.
Note: Do not fit an external gas regulator to this appliance. All gas valves in this model
have an inbuilt regulator and fitting an external regulator will cause the appliance to run
inefficiently.
5. Ensure all gas connections are tight and free of leaks using appropriate gas detecting
equipment.
6. Bleed out any air in the lines.
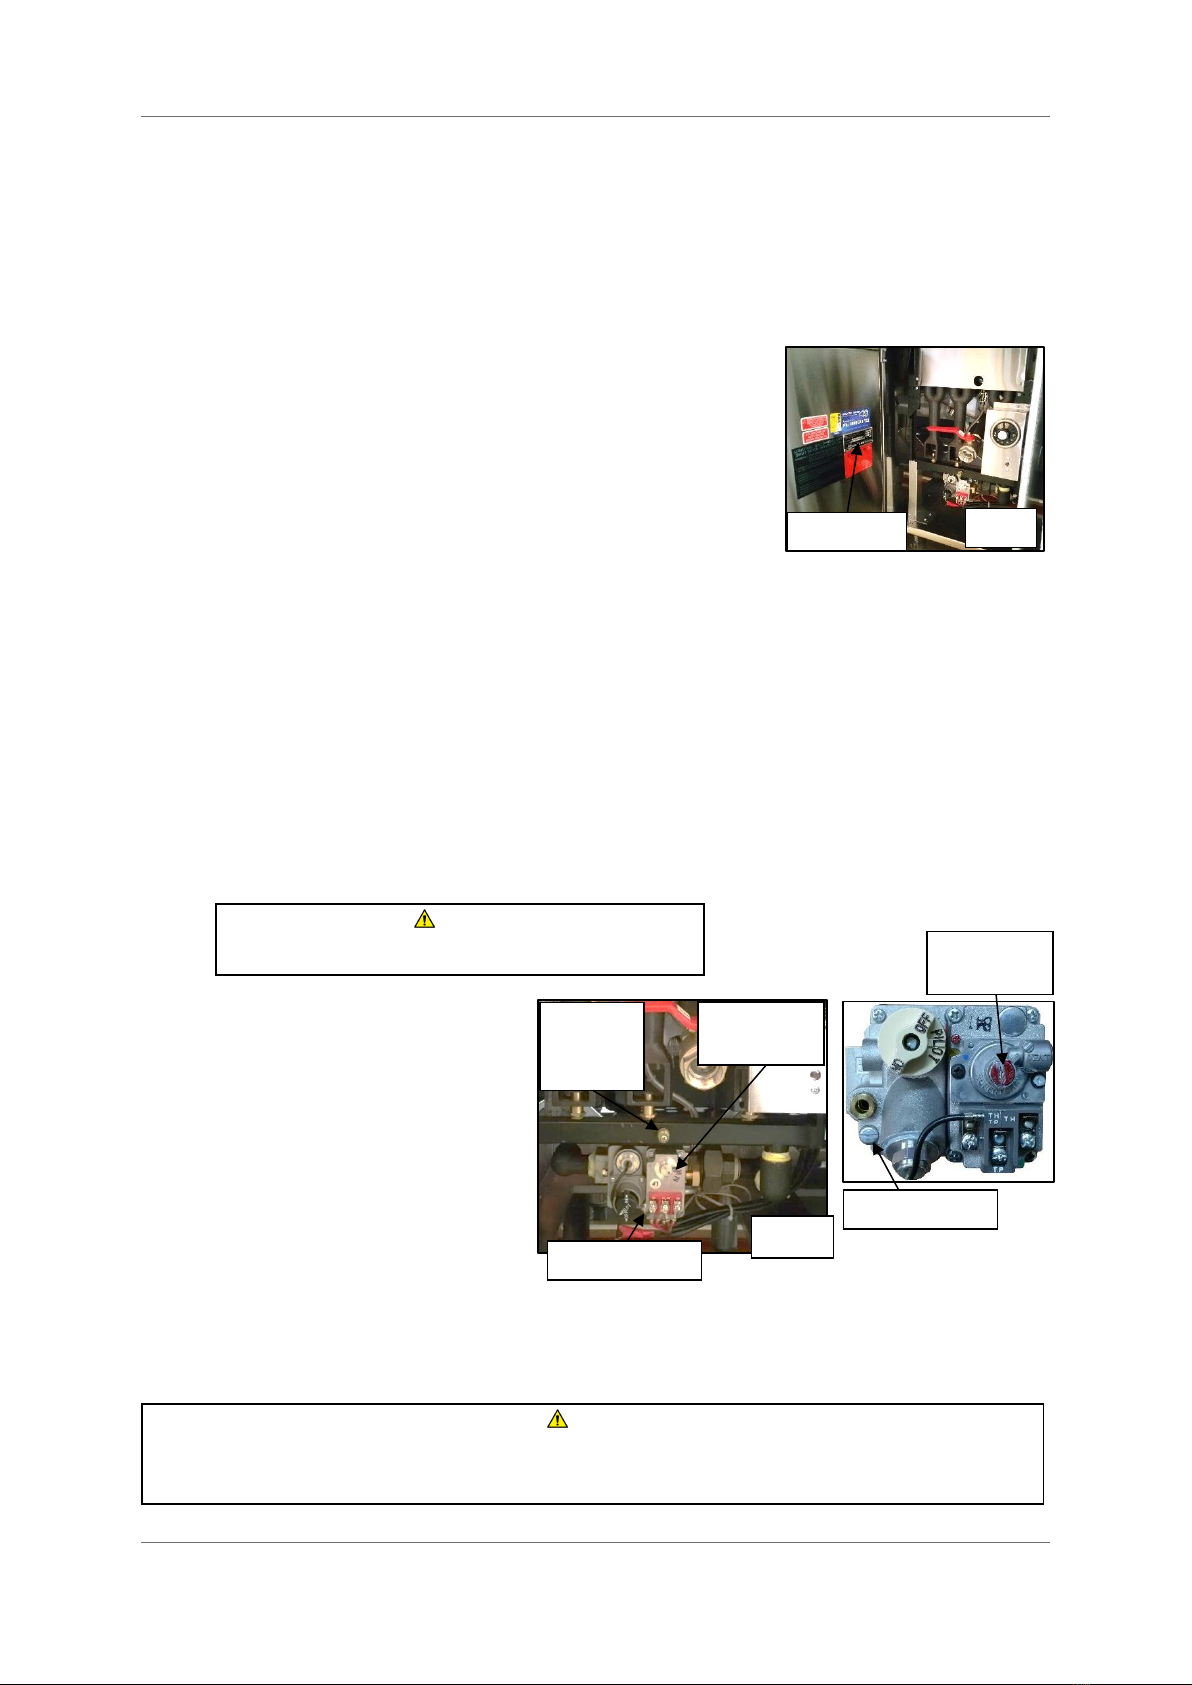
7. Measure the appliance operating
pressure at the manifold test
point with the appliance running.
If required, adjust the pressure at
the gas valve to the value shown
in Specifications section 3.3- Gas
Supply Requirements.
8. Although the pilot is set in the
factory, check that the pilot
flame is not yellow, wavy or too
harsh. Final adjustments can be
made through the pilot adjustment hole.