Goodmans GMP31G3S User manual

GMP31G3S
MP3 PLAYER WITH SPEAKERS
Please read this instructions before use and keep for further reference.
USER GUIDE

Page 2
The lightning ash with arrowhead symbol within an equilateral triangle is intended to alert the user
to the presence of uninsulated “dangerous voltage” within the product’s enclosure that may be of suf-
cient magnitude to constitute a risk of electric shock.
The exclamation point within an equilateral triangle is intended to alert the user to the presence of
important operation and servicing instructions in the literature accompanying the appliance.
WARNING:
To prevent re or shock hazard, do not expose this device to rain or moisture. Dangerous high voltage is present inside the
enclosure. Do not open the cabinet.
PRECAUTIONS
For Customer Use:
Enter below the serial number that is located on the bottom of the unit. Retain this information for future reference.
Model No. GMP31G3S
Serial No.

Page 3
PROTECT YOUR HEARING:
Hearing experts advise against the constant use of personal stereos played at high volume. Constant
exposure to high volumes can lead to hearing loss. If you should experience ringing in the ears or
hearing loss, discontinue use and seek medical advice.
Notice:
This product is protected by certain intellectual property rights of Microsoft. Use or distribution of such
technology outside of this product is prohibited without a license from Microsoft.
For recycling or disposal information about this product, please contact your local au-
thorities or the Electronics Industries Alliance: www.eiae.org.
PRECAUTIONS

Page 4
IMPORTANT SAFETY INSTRUCTIONS
Read Instructions: All the safety and operating instructions should be read before the product
is operated.
Retain Instructions: The safety and operating instructions should be retained for future refer-
ence.
Cleaning: Unplug this product from the wall outlet before cleaning. Do not use liquid cleaners
or aerosol cleaners. Use a damp cloth for cleaning.
Water and Moisture: Do not use this product near water (e.g., near a bath tub, washbowl,
kitchen sink, laundry tub, in wet basements, or near a swimming pool and the like).
Power Sources: This product should be operated only from the type of power source indicated
on the rating label. If you are not sure of the type of power supply to your home, consult your
product dealer or local power company. For products intended to operate from battery power or
other sources, refer to the operating instructions.
Power-Cord Protection: Power supply cords should be routed so that they are not likely to be
walked on or pinched by items placed upon or against them, paying particular attention to cords
at plugs, convenience receptacles, and at the point which they exit from the product.
Servicing: Do not attempt to service this product yourself as opening or removing covers may
expose you to dangerous voltage or other hazards. Refer all servicing to qualied service per-
sonnel.
Heat: The product should be situated away from heat sources such as radiators, heat registers,
stoves, or other products (including ampliers) that produce heat.
1.
2.
3.
4.
5.
6.
7.
8.

Page 5
TABLE OF CONTENTS
PRECAUTIONS...................................................................................................................2
IMPORTANT SAFETY INSTRUCTIONS...................................................................................4
TABLE OF CONTENTS.........................................................................................................5
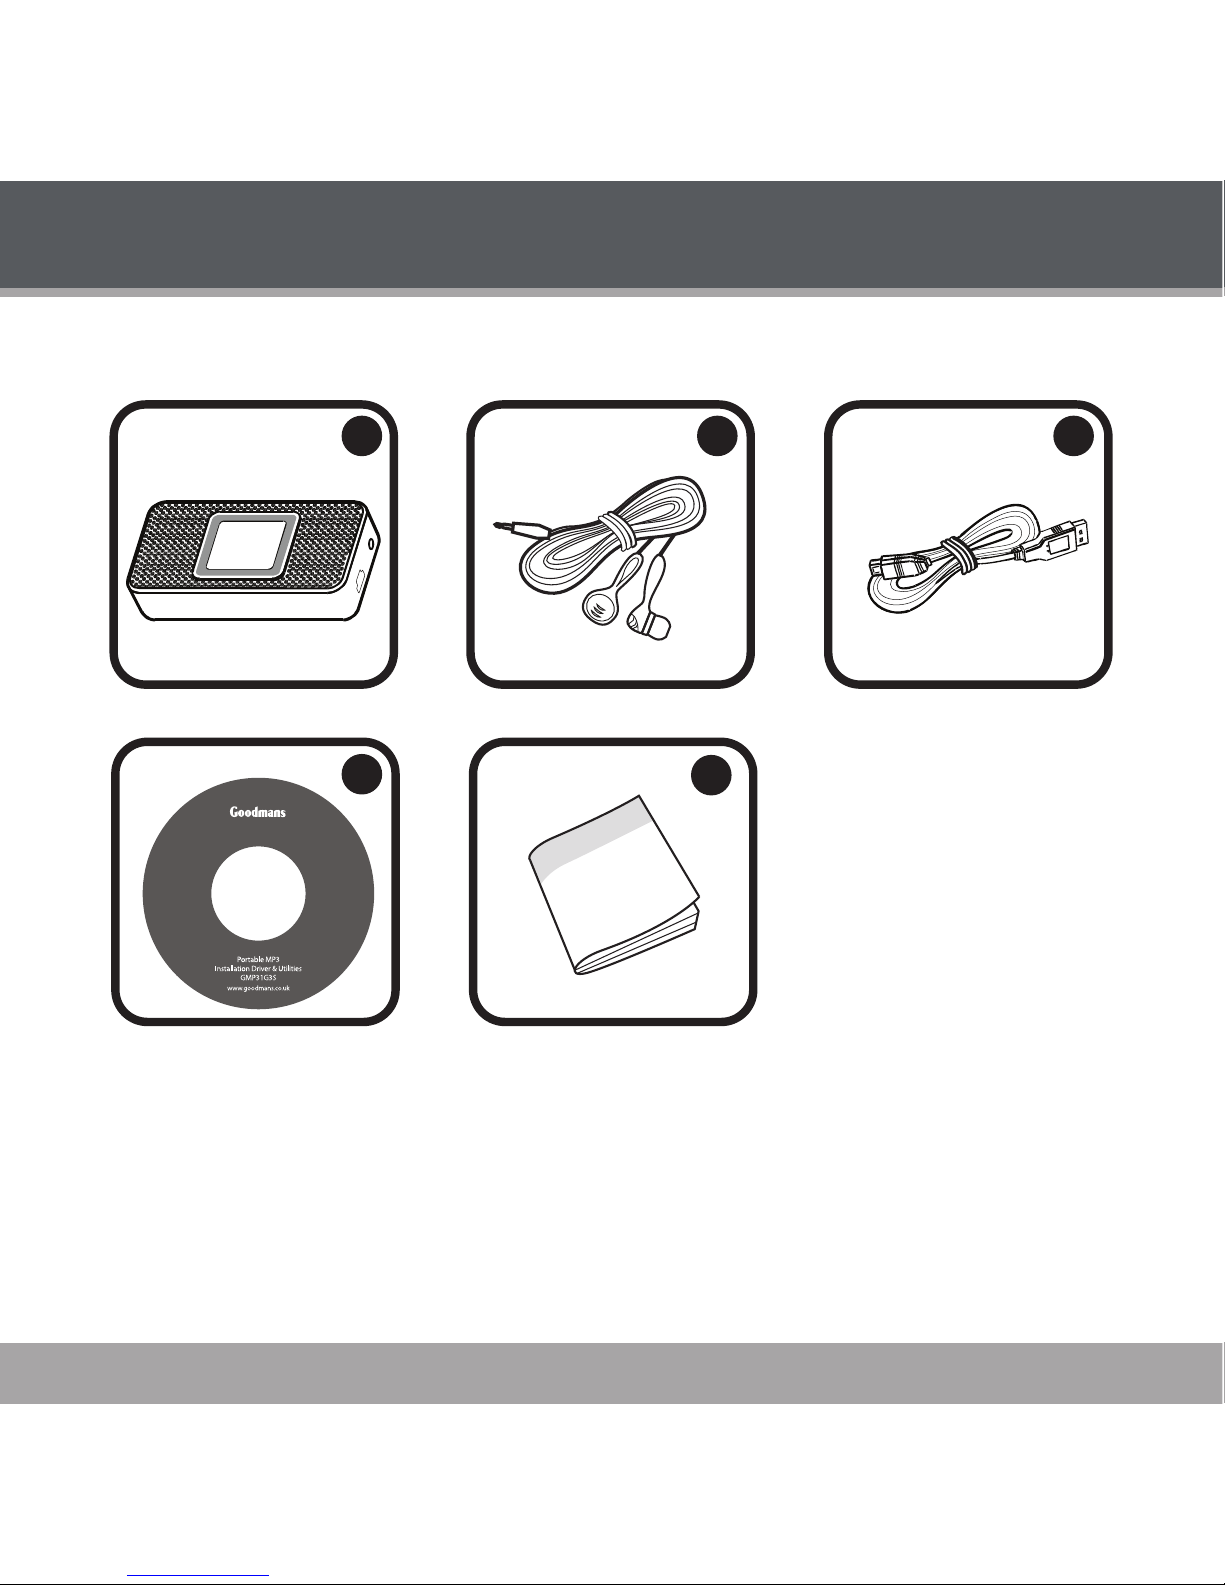
PACKAGE CONTENTS........................................................................................................7
FEATURES...........................................................................................................................8
GETTING STARTED..............................................................................................................9
GMP31G3S at a Glance...........................................................................................................................9
Front View ......................................................................................................................................9
Top View.........................................................................................................................................9
Left View ........................................................................................................................................9
Right View ......................................................................................................................................9
Connections............................................................................................................................................10
Connecting Headphones ............................................................................................................10
Connecting Power .......................................................................................................................10
USB Charge ......................................................................................................................10
Connecting to a Computer...........................................................................................................11
Disconnecting from a Computer .................................................................................................12
Microsoft Windows ......................................................................................................................12
Macintosh OS X ...........................................................................................................................12
USB Driver Installation .....................................................................................................13
GMP31G3S Display................................................................................................................................14
Play Mode ....................................................................................................................................14
Record Mode ...............................................................................................................................14
Using the GMP31G3S Controls .............................................................................................................15
Power On/Off ...............................................................................................................................15
Hold Function...............................................................................................................................15
Reset Function.............................................................................................................................15
Adjusting the Volume...................................................................................................................15
Navigating the Menu....................................................................................................................15
Main Menu at a Glance.....................................................................................................16
NAVIGATOR MODE..........................................................................................................17
Playing Music..........................................................................................................................................17

Page 6
TABLE OF CONTENTS
Navigator Menu Controls.............................................................................................................17
Music Playback Controls .............................................................................................................17
Music Options ..............................................................................................................................18
Repeat A-B Mode ........................................................................................................................18
RECORD MODE...............................................................................................................19
Recording Voice .....................................................................................................................................19
Recording Controls......................................................................................................................19
Saved Recordings........................................................................................................................19
SETTINGS MODE.......................................................................................................................20
Setting Your Player’s Options ............................................................................................................... 20
Settings Menu Controls .............................................................................................................. 20
Settings Options ......................................................................................................................... 20
DEL FILES MODE.......................................................................................................................22
Deleting Files on Your Player ................................................................................................................ 22
Del Files Menu Controls ............................................................................................................. 22
File Browser Options
ABOUT MODE...........................................................................................................................23
ABOUT WINDOWS MEDIA PLAYER..........................................................................................24
TROUBLESHOOTING.................................................................................................................25
SPECIFICATIONS......................................................................................................................27

Page 7
PACKAGE CONTENTS
Please make sure that the items listed below are included in the package. Should an item be missing,
please contact the local retailer from which you purchased this product.
GMP31G3S
Stereo Earphones
USB Extension Cable
Installation CD
Instruction Booklet
1.
2.
3.
4.
5.
1
4
2
5
3

Page 8
FEATURES
1GB Integrated Flash Memory stores up to 240 Songs
High-Contrast LCD Display with Backlight
Integrated Stereo Speakers
Plays MP3 and WMA Digital Music Files
Plays Digital Music from most online stores and subscription services
ID3 and LRC support for song and synchronized lyric information display
Integrated Microphone for Digital Voice Recording
Mobile Data Storage Function
USB 2.0 Full-Speed for Fast File Transfers

Page 9
GETTING STARTED
GMP31G3S at a Glance
Front View
Display Screen
Stereo Speakers
Top View
Menu
Record
Repeat A-B (press and hold)
Previous
Reverse (press and hold)
Play/Pause
Power (press and hold)
Next
Forward (press and hold)
Volume Down
Volume Up
Left View
Microphone
Hold Switch
Right View
Headphone Out
Neckstrap Hook
USB Port
1.
2.
3.
4.
5.
6.
7.
8.
9.
10.
11.
12.
13.
14.
2
34
10 12
11 14
13
68
579
1

Page 10
Connections
Connecting Headphones
Connect headphones/earphones to the Headphone Out jack
for private listening.
Lower the volume level before connecting headphones, then
gradually increase the volume for comfortable listening.
Hearing experts advise against the constant use of personal
stereos played at high volume.
Constant high-volume use can lead to hearing loss. If you experience ringing in your ears or hear-
ing loss, discontinue use immediately and seek medical advice.
Connecting Power
The GMP31G3S operates on an integrated rechargeable lithium-ion battery. The battery should be
charged fully before using your player for the rst time.
USB Charge
Use the supplied USB cable to connect your player to a computer. Your player will be charged while it
is connected to a powered-on computer.
GETTING STARTED
USB Port
USB Port
(mini)
Computer

Page 11
Connecting to a Computer
If you are using Windows 98 SE, you must install the USB driver contained on the supplied Installation
CD. Please see the USB Driver Installation section for more information.
To connect to a computer:
Turn the player off.
Connect the player to your computer using the supplied USB cable. It may take Windows several min-
utes to recognize and set up the device the rst time it is connected depending on your hardware
conguration.
If your computer is running Windows XP and Windows Media Player 10 or newer, your player
will be detected as an “MTP Audio Device” when you open “My Computer”.
If your computer is running Windows 98 SE, NT, 2000, or ME, your player will be detected as
a “Removable Disk” when you open “My Computer”.
If you are using Windows Media Player 10 (WMP10), WMP10 can be set to synchronize
with your player automatically upon connection.
For more information and support regarding music transfer and synchronization with
Windows Media Player (WMP), please see the help section included with WMP (click
Help > Synchronizing Content to Devices).
1.
2.
GETTING STARTED
USB Port
USB Port
(mini)
Computer

Page 12
Disconnecting from a Computer
If your player is recognized as an MTP device, you may simply unplug the cable to disconnect from a
computer. If it is recognized as a USB Mass Storage device (i.e., a “Removable Disk”), then follow the
steps below to prevent data loss or corruption.
Microsoft Windows
Double-click the green arrow in the taskbar located on the lower-right
side of the computer screen (Safely Remove Hardware).
Safely Remove Hardware:
Select “USB Mass Storage Device” from the list that
appears and then click on “Stop”.
Stop a Hardware Device: Select “USB Mass Storage
Device” from the list that appears and then click on “OK”.
Select “USB Mass Storage Device” from the list that
appears and then click on “OK”.
When the “Safe to Remove Hardware” window appears,
click the OK button and disconnect the USB cable from
the player and your computer.
Macintosh OS X
On the left side of the Finder window, identify the appropriate Remov-
able Disk icon.
Click on the “Eject” arrow on the right of the Removable Disk icon.
Disconnect the USB cable from the player and your computer.
1.
2.
3.
1.
2.
3.
GETTING STARTED

Page 13
USB Driver Installation
It is not necessary to install the USB driver if your computer is running Microsoft Windows ME/2000/
XP or newer, or Macintosh OS X. Computers running these operating systems will recognize your
player automatically when connected.
If your computer is running Windows 98 SE:
Insert the Installation CD into your computer’s CD or DVD drive. Make sure to place the mini-CD in
the center, recessed well of the drive tray.
Navigate to MY COMPUTER and double-click on the CD/DVD drive icon (usually “D:”).
Double-click on the folder “Win98 USB Drivers”.
Double-click on the SETUP icon (SETUP.EXE) to start the USB driver installation program.
Follow the on-screen instructions to complete the installation and then restart your computer.
Mini-CDs should only be used in normal tray-loading CD/DVD drives. Mini-CDs may be
used in slot-loading drives with the proper adapter; please contact your computer or drive
manufacturer for more information.
1.
2.
3.
4.
5.
GETTING STARTED

Page 14
GMP31G3S Display
Play Mode
Playback Status
(Play, Pause, Stop)
Current Track Number /
Total Number of Tracks
Battery Level
Equalizer Mode
Song Title / Filename
Elapsed Track Time /
Total Track Time*
* A “ / ” symbol separating the Elapsed Track Time and Total Track Time indicates that the number of
tracks and folders loaded on the player is less than 200 and 140, respectively.
A “ | ” symbol indicates that the number of tracks and folders loaded on the player is greater than 200
and 140, respectively.
Record Mode
Recording Status
(Record, Pause, Stop)
Battery Level
Current Recording File
Elapsed Record Time /
Total Record Time Available
1.
2.
3.
4.
5.
6.
1.
2.
3.
4.
GETTING STARTED
1234
5
6
12
3
4

Page 15
Using the GMP31G3S Controls
Power On/Off
To turn your player on, press .
To turn your player off, press until the screen displays “Bye Bye!”
Hold Function
The Hold switch (located on the left side of your player) locks/unlocks the key controls of
your player to prevent them from being pressed accidentally.
To lock the key controls, slide the HOLD switch in the direction of the arrow. The
screen will display a “Lock” icon.
To unlock the key controls, slide the HOLD switch in the opposite direction of the arrow.
Reset Function
The Reset key (located on the rear of your player) will power off and reset your player. If your player
freezes or otherwise behaves abnormally, use a pin to push this key to reset your player.
Adjusting the Volume
When your player is in Play Mode, press or to adjust the volume level down or up, respec-
tively.
Navigating the Menu
To access the Main menu at any time, press . To exit the Main menu, press again.
To move the selection left, press .
To move the selection right, press .
To conrm (enter) a selection, press .
To cancel or to return to the previous menu screen, press .
GETTING STARTED

Page 16
GETTING STARTED
Main Menu at a Glance
Menu Item Function
Navigator Find and play music folders or les
Record Make digital voice recordings
Settings Adjust the player’s options:
Play Mode, EQ, Contrast, Backlight, Lightcolor, Power, Rec Set, or Lyric
Del Files Delete les from your player
About View information about your player
Exit Exit the Menu

Page 17
NAVIGATOR MODE
Playing Music
To play music and folders on your player, select and conrm NAVIGATOR from the Main menu.
Navigator Menu Controls
Use the following controls in Navigator mode menu.
Key Function
Press Move the selection up
Press Move the selection down
Press Return to the previous folder
Press Enter the selected folder
Press
If a folder is selected, plays all music in the selected folder.
If a le is selected, plays the selected le.
Music Playback Controls
Use the following controls during music playback in Play Mode.
Key Function
Press Pause playback. Press again to resume playback
Press Play the previous track
Press and hold Reverse through the current track

Page 18
Key Function
Press Play the next track
Press and hold Fast-forward through the current track
Press or Adjust the volume level down or up
Press Enter Repeat A-B mode
Press and hold Enter Record mode and start recording
Music Options
Music playback options may be set in the SETTINGS menu. Please see the Settings section for more
information.
Repeat A-B Mode
Repeat A-B mode allows you can dene a segment of an audio track to be played repeatedly in a
loop.
During music playback, press to set the start point “A” of the loop.
Press again to set the end point “B” of the loop. The track segment will now play repeatedly in
a loop from point “A” to point “B”.
Press again to resume normal playback.
NAVIGATOR MODE

Page 19
RECORD MODE
Recording Voice
To record voice les, select and conrm RECORD from the Main menu. Recording will start im-
mediately.
To quickly access record mode during music playback, press and hold .
Speak into the integrated microphone located on the left side of the player.
Recording Controls
Use the following controls during recording in Record Mode.
Key Function
Press Pause recording. Press again to resume recording
Press Stop and save recording. The player will exit to the Main menu.
Saved Recordings
To stop and save your recording, press in Record mode. Your recording will be saved to the
VOICE folder as a le named “VXXX.WAV” where XXX corresponds to the numerical sequence in
which the recording was made (numbering starts from 001).
You can play back your recordings from NAVIGATOR mode.

Page 20
Setting Your Player’s Options
To set your player’s options, select and conrm SETTINGS from the Main
menu. The following options are available in the Settings menu: Play Mode,
EQ, Contrast, Backlight, Lightcolor, Power, Rec Set, and Lyric.
Settings Menu Controls
Use the following controls in the Settings mode menu.
Key Function
Press Move the selection left
Press Move the selection right
Press Enter a selection
Press Return to the previous screen
Settings Options
Menu Item Function
Playmode
Adjust the order in which tracks are played.
Normal: Play tracks in sequential order.
Repeat one: Play the current track repeatedly.
Repeat all: Play all tracks repeatedly.
Shufe: Play tracks in random order.
Preview: Play the rst 10 seconds of each track.
Eq (Equalizer)
Adjust the equalizer mode settings to change the way music sounds on
your player.
Set the option that best matches the music you are listening to: Normal,
Rock, Jazz, Classic, Pop, or Bass.
SETTINGS MODE
Table of contents
Other Goodmans MP3 Player manuals

Goodmans
Goodmans GMP32005 User manual

Goodmans
Goodmans CDMP3527K User manual

Goodmans
Goodmans GMP33005 User manual

Goodmans
Goodmans GMP31G7DAB User manual

Goodmans
Goodmans GMP34G9 User manual

Goodmans
Goodmans GMP316 User manual

Goodmans
Goodmans GMP31000 User manual

Goodmans
Goodmans GMP34G5 User manual

Goodmans
Goodmans GMP32000B User manual