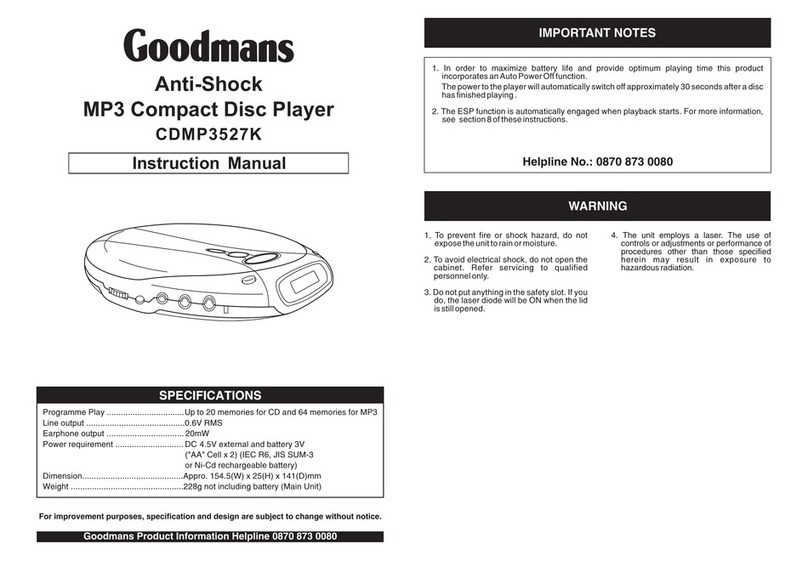
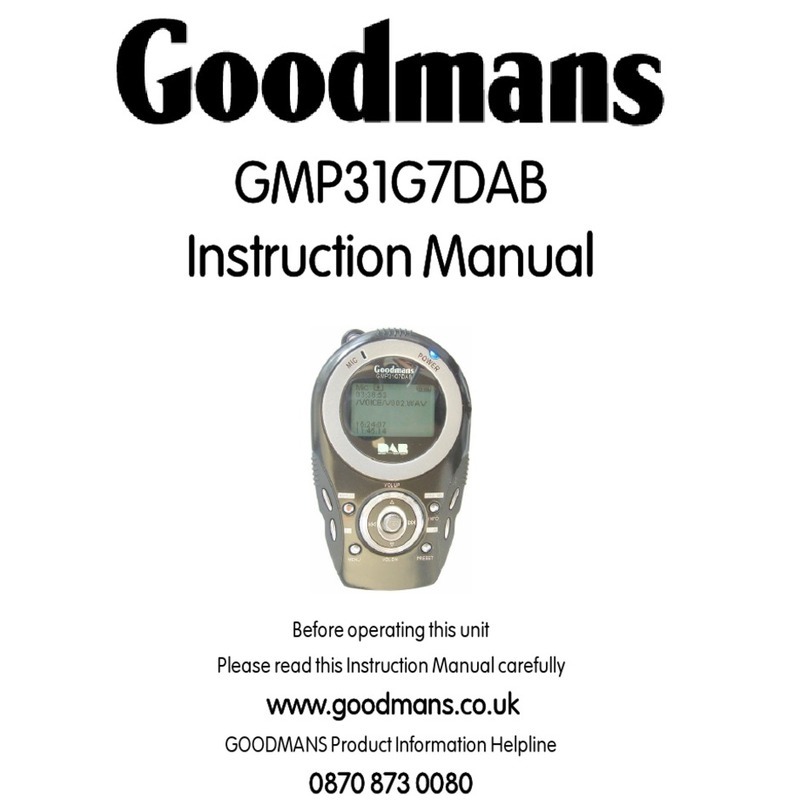
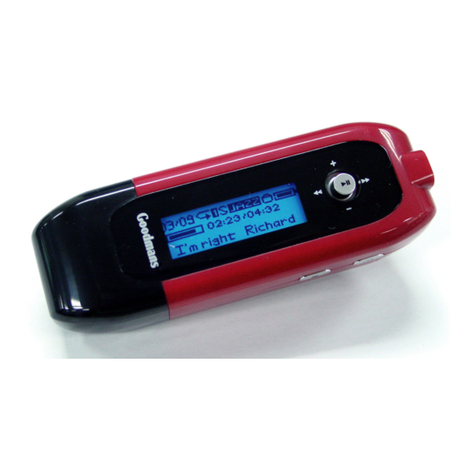
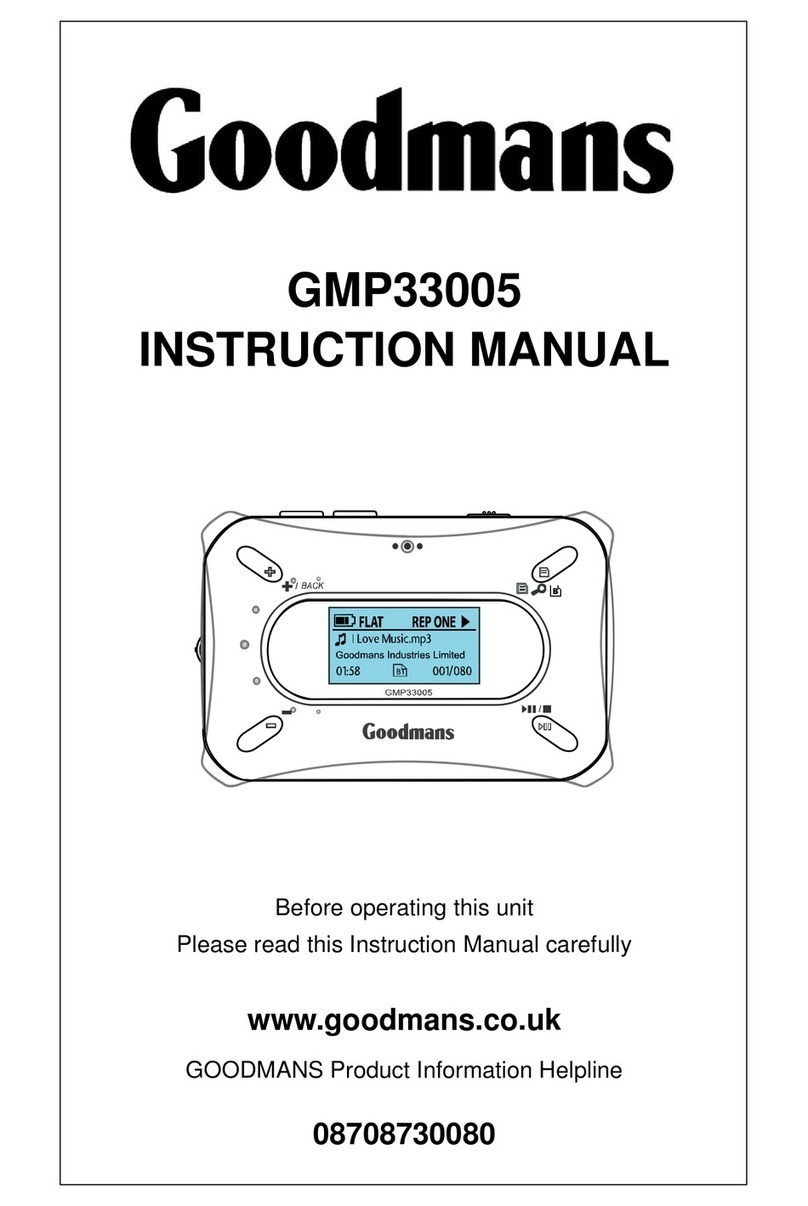
Goodmans GMP34G9 User manual

GMP34G9 and GMP38G9 MP3 players
User Guide
IMPORTANT: Please read all instructions carefully before
use and keep for future reference
MENU
GMP34G9 - GMP38G9_IB_Rev1_Nov08.indd 1 17/11/2008 11:16:57

2
Introduction
Thank you for choosing this Goodmans MP3 player. Not only can you
listen to your favourite MP3 tracks, but you can also watch videos and
view images.
It’s really simple to use; you can fully operate your MP3 player using the menu system, and charge it
up using a standard USB connection on your PC.
Safety is important
Use of any electrical equipment should be undertaken with care. Please read the Safety
instructions on pages 24 and 25 before you operate this MP3 Player.
Copyright warning notice
Please be aware that copyright laws may apply to the music/material you are intending to record.
The copying and distribution of MP3 and WMA files without the permission of the owner is against
copyright laws. Infringement of these laws may result in prosecution. If in doubt, seek advice before
making your recording.
DONT FORGET! The images displayed in this user guide are for reference only and may differ to
the product supplied. However this will not affect the operations described.
MP4’s are compressed video files. This
product can playback MP4 files and is
supplied with software so that you can
create your own.
MP3’s are music files that you have
purchased or ripped from an audio CD. This
product can playback MP3 files.
GMP34G9 - GMP38G9_IB_Rev1_Nov08.indd 2 17/11/2008 11:16:58

3
What’s in the box
Other things you will need
Contents
01
02
03
04
MP3 Player
Personal Computer
You will need a PC to upload your files to your MP3 player.
Your MP3 Player ...........................4
Get going......................................5
Daily use ......................................8
Advanced features .......................9
DRM...........................................14
Software ....................................17
Troubleshooting..........................21
Specifications.............................23
Stereo Earphones
USB Cable
Software Disk with User Guide
05
06
07
08
Quick Start Guide
GMP34G9 - GMP38G9_IB_Rev1_Nov08.indd 3 17/11/2008 11:16:59

4
01 Your MP3 Player
EARPHONE Socket
POWER ON / OFF
/ HOLD Button
USB Socket
VOL UP Button
PLAY/PAUSE
Button
SKIP
BACKWARDS
Button
MENU
Button
LCD Screen
SKIP
FORWARDS
Button
MICROPHONE
Button
RESET
Button
VOL DOWN
Button
GMP34G9 - GMP38G9_IB_Rev1_Nov08.indd 4 17/11/2008 11:17:00

5
02
Charging the Battery
Using the USB Cable supplied, connect the
larger end to one of your PC’s USB sockets.
Then, connect the smaller end to the USB
Socket on the top of your MP3 player.
The screen will show the connection image
and the charging bar will be active, once
fully charged, the charging bar will stop
moving.
DONT FORGET!
The charging time is approximately 2 - 3 hours.
The MP3 player cannot be used to playback during charging.
To stop recharging at any time, disconnect the USB cable from your MP3 player.
1
Get going
GMP34G9 - GMP38G9_IB_Rev1_Nov08.indd 5 17/11/2008 11:17:00

6
02
Connecting to your PC
You do not need a driver to use this MP3 player with your PC.
DONT FORGET! This MP3 player is not compatible with PC’s running Windows
98SE.
Your MP3 player has two modes of operation, depending on the operating system and
version of Windows Media Player that you are using. To toggle between MTP and MSC
modes press the PLAY button when the MP3 player is connected to the PC.
Windows 2000 Windows XP
without WMP 10
or above
Windows XP
with WMP 10 or
above
Windows Vista
MSC Mode P P P P
MTP Mode P P
MSC Mode (Mass Storage Class Mode)
In MSC mode, the MP3 player will be shown as a ‘Removable Disk’ when connected to
a PC.
MTP Mode (Media Transfer Protocol Mode)
In MTP mode, the MP3 player will be shown as an ‘Audio Player’ when connected to a PC
with Windows Media Player 10 or above installed.
DONT FORGET! You need to use MTP mode when transferring files with DRM
encryption. For further information about DRM see page 14.
Get going
2
GMP34G9 - GMP38G9_IB_Rev1_Nov08.indd 6 17/11/2008 11:17:00

7
02
Transferring files to your MP3 Player (MSC Mode)
DONT FORGET! Do not use the following procedure for transferring files with
DRM encryption.
You can copy files to your MP3 player into the ‘MUSIC’ folder using ‘My Computer’ or
‘Windows Explorer’. Similarly files can be deleted from your MP3 player.
Once the files have been transferred, wait for a few seconds before disconnecting
the MP3 player.
DONT FORGET! Do not disconnect the unit while files are being transferred as
this may corrupt the files.
3
Get going
Disconnecting your MP3 Player
Once the files have been successfully transferred, click on the ‘Safely Remove
Hardware’ icon on the PC’s task bar.
Select the USB Mass Storage Device from the Hardware Devices list.
Click the ‘STOP’ button. The Stop Hardware Device window will appear.
Select the Audio Player USB Device from the list and click ‘OK’.
A window will appear on the PC’s task bar stating that the USB Mass Storage
Device can be safely removed.
Disconnect the MP3 player from your PC.
4
GMP34G9 - GMP38G9_IB_Rev1_Nov08.indd 7 17/11/2008 11:17:01

8
03
Switching on and playing Music
files
Connect the earphones.
Slide the power switch upwards to turn on
the MP3 player.
Simply press the PLAY/PAUSE button to
start playback. The files stored in the root
directory will be played first followed by any
files stored in folders.
Switching the MP3 Player off
Slide up and hold the power switch to turn
off the MP3 player.
Adjusting the volume
To increase the volume, press the
VOL UP button.
To decrease the volume press the VOL
DOWN button.
Skipping to the next/previous file
To skip to next file, press the SKIP
FORWARDS button.
To skip to previous file, press the SKIP
BACKWARDS button.
Fast-forwarding and rewinding a
file
To fast forward within a file, press and hold
the SKIP FORWARDS button.
To rewind within a file, press and hold the
SKIP BACKWARDS button.
Pausing play
To pause play during playback, press the
PLAY/PAUSE button briefly.
To resume playback, press the
PLAY/ PAUSE button again.
Hold Function
When the HOLD switch is moved to the ‘Hold’
position, all buttons are disabled. This prevents
you from accidentally pressing buttons while
using the unit on the move.
Daily use
GMP34G9 - GMP38G9_IB_Rev1_Nov08.indd 8 17/11/2008 11:17:01

9
04Advanced features
File
You can view all the current folders and files on
the unit using the file feature.
Accessing and deleting Files
With the ‘MUSIC’ menu displayed, press the
UP or DOWN button to highlight a file or
folder, and press the PLAY button to enter
File mode.
You can delete a file or folder if you press
and hold the PLAY button.
To exit the File mode and return to the
‘MUSIC’ menu, repeatedly press the MENU
button.
Playlist
You can create a playlist on your MP3 Player, or
use a playlist that has been created in Windows
Media Player.
Select ‘FILE’ from the ‘MUSIC’ menu.
Choose the song that you want to add to
the playlist and press the PLAY button for
two seconds.
Select ‘ADD TO LIST’, then press the PLAY
button to confirm.
Repeat steps 2 and 3 to add other songs to
your playlist.
DONT FORGET! If you choose to create
your playlists in Windows Media Player,
you need to synchronise it to your MP3
Player using MTP mode.
To playback a playlist;
Select ‘PLAYLIST’ and press the PLAY
button to confirm.
Your playlists will be shown on the MP3
Player.
Select the playlist that you want to listen to,
then press the PLAY button to confirm.
Select one of the songs in your playlist and
press the PLAY button to listen.
GMP34G9 - GMP38G9_IB_Rev1_Nov08.indd 9 17/11/2008 11:17:02

10
04
Voice recording and playback
Recording
Using the internal microphone you can record
voice files.
Select ‘RECORDINGS’ from the main menu.
Press the UP or DOWN button to choose
the recording setting.
Recording will start after you select
‘RECORD’ in the main menu.
Each recording is automatically assigned a
file name, e.g. MIC0002.WAV, and this is
shown on the display when recording.
The duration time of the recording is shown
on the display.
Pause recording
To pause a recording, press the PLAY
button.
To resume recording, press the PLAY button
again.
End recording
When you have finished recording, press
the MENU button. After a few seconds the
recording is saved.
If you wish to start another recording select
‘RECORD’ and repeat the above procedures.
Playing recorded files
Use the UP or DOWN button to highlight
‘VOICE’, and press the PLAY button to enter
Voice mode.
Press the UP or DOWN buttons to select
the recording you wish to play.
Press the PLAY button to start playback.
Advanced features
GMP34G9 - GMP38G9_IB_Rev1_Nov08.indd 10 17/11/2008 11:17:02

11
04
Settings menu
The Settings menu allows you to adjust various
settings on the MP3 Player. To open and
navigate this menu;
Select ‘SETTINGS’ in the main menu, then
Press the PLAY button.
Press the UP and DOWN buttons to
choose one of the sub menus.
Press the PLAY button to enter the sub
menus.
To exit a sub menu, press the MENU button
at any time.
Shutdown mode
Use the shutdown function to automatically
turn off the MP3 Player after a set period of
inactivity;
In the ‘SETTINGS’ menu, select
‘SHUTDOWN’ and, then press the PLAY
button.
Press the UP and DOWN buttons to select
the required time.
Press the PLAY button to confirm the
setting.
Display
There are four brightness levels available; Low,
Medium, High and Maximum. To adjust the
time before the backlight is turned off, choose
between 5, 10 and 30 seconds.
Format
You can format your MP3 Player using the menu
system on the player.
Select ‘FORMAT’ in the ‘SETTINGS’ menu.
Press the PLAY button.
Select ‘QUICK’ from the popup menu.
Select ‘COMPLETE’ to format the MP3
Player.
DONT FORGET! Formatting your MP3
Player will delete all of your files.
Reset
You can reset your MP3 Player to the factory
defaults.
Select ‘RESET’ in the ‘SETTINGS’ menu.
Press the PLAY button.
Select ‘YES’ to reset the MP3 Player.
Advanced features
GMP34G9 - GMP38G9_IB_Rev1_Nov08.indd 11 17/11/2008 11:17:02

12
04
SYS Info
This displays information about your MP3 Player,
and shows you how much remaining space you
have.
Refresh
When new files have been added to your MP3
Player, you should use the refresh facility so that
your MP3 player can easily search and sort files
using the ID3 tag information.
After the refresh has been completed, you will
be able to search and choose your MP3 files by
Genre, Artist, Album or Title.
File Sort
This function will sort the files and folders into
alphabetical order. There are two options;
‘FORCE SORT’ This will sort all of your files
and folders immediately. If there are lots
of files and folders this may take a few
minutes to complete.
‘AUTO SORT’ This will sort all of your files
and folders the next time you switch on
your MP3 Player.
Music menu
The Music menu allows you to adjust various
playback functions on the MP3 Player. To open
and navigate the menu;
In music mode press MENU button
Press the UP and DOWN buttons to
choose one of the sub menus.
Press the PLAY button to enter the sub
menus.
To exit a sub menu, press the MENU button
at any time.
Repeat/Random
There are seven different play modes.
No Repeat Play songs in order and then stop.
Repeat One Keep on playing the same song.
Repeat All Repeat all songs.
Random All Play all songs in a random order.
DirRepOne Play one song in the directory/folder.
DirRep Repeat all songs in the directory/folder.
DirRanAll Randomly play all songs in the directory/folder.
Advanced features
GMP34G9 - GMP38G9_IB_Rev1_Nov08.indd 12 17/11/2008 11:17:02

13
04
Advanced features
Equaliser
There are several preset equaliser settings for
you to choose from. They are Normal, Pop,
Rock, Classic, Jazz, Bass and Custom.
A3D
When A3D is enabled, it will add a 3D stereo
effect. Select ‘OFF’ to disable this function.
Playspeed
You can adjust the playback speed between
Normal, Fast and Slow.
E-book Reader
You can view E-books that are in .TXT format.
Select ‘EBOOK’ in the main menu. Press the
PLAY button to enter.
Browse to a txt file and press the PLAY
button to view.
Use the UP and DOWN buttons to scroll
through the file.
Photo Viewer
You can view images that you have stored on
your MP3 Player in JPG, BMP and GIF format.
Select ‘PHOTO’ in the main menu. Press the
PLAY button to enter.
Browse to an image file and press the PLAY
button to view.
Use the LEFT and RIGHT buttons to view
other images.
Lyric Display Function
This MP3 player supports and shows lyric files
that have a .LRC extension.
Download the lyric file from your preferred
music download site.
Make sure that the name of the MP3 and
LRC file have exactly the same filename
except for the relevant file extension.
Copy both files to the same folder of your
MP3 Player. The Lyrics will be displayed on
your MP3 Player when you playback the
corresponding MP3 file.
GMP34G9 - GMP38G9_IB_Rev1_Nov08.indd 13 17/11/2008 11:17:02

14
05
DRM
What is DRM?
Music downloads bought from on-line shops
and website are usually protected with Digital
Rights Management (DRM). This protects the
downloaded tracks from piracy and prevents
them from being publicly shared on the internet.
Depending on the DRM usage rights
specified by the on-line shop or website, your
downloaded DRM tracks maybe able to be
played on your PC, burned to a CD or transferred
to an MP3 Player.
DONT FORGET!
1. Each on-line shop or website will have
different usage rights. Always check your
usage rights.
2. For full DRM compatibility we
recommend that Windows XP and
Windows Media Player 10 are used.
Subscription Services
Some on-line shops or websites offer
subscription services, which allow you to
download an unlimited amount of DRM tracks
without paying for each of them separately. A
License is downloaded with each track which
incorporates a start and end date. At the end of
the billing period, you will need to reconnect to
the on-line shop and renew your subscription.
Your licenses are then updated with a new
start and end date. If you do not update your
subscription at the end of the billing period, you
will be unable to listen to the tracks.
Download Services
This is the most popular service offered by
on- line shops or websites. The DRM encrypted
tracks can be downloaded to your PC, and
depending on the usage rights assigned by the
on-line shop, they can be synchronized to the
unit using Windows Media Player.
Transferring DRM files
Do not drag and drop DRM files directly to
your MP3 Player. The file will not play unless
Windows Media Player 10 is installed on
your PC or it is transferred using the following
procedure.
DONT FORGET!
1. To support DRM tracks, the MP3 Player
must be in MTP mode (DRM Download
mode).
2. The example on the next page uses
Windows XP and Windows Media Player
10.
GMP34G9 - GMP38G9_IB_Rev1_Nov08.indd 14 17/11/2008 11:17:02

15
05
DRM
Connect the MP3 Player to your PC.
If ‘MTP’ does not appear on the display of
the unit, press the PLAY button once to
switch it to MTP mode.
Launch Windows Media Player.
Select the ‘Sync’ tab in the top navigation
bar.
Select ‘Edit Playlist’.
From the View library drop down menu,
select Auto Playlists.
Scroll through the Auto Playlists screen
and select ‘Music tracks with content
protection’.
Your DRM encrypted tracks are listed.
Click on each of the tracks, to add it to the
‘Sync List’ in the right hand column.
GMP34G9 - GMP38G9_IB_Rev1_Nov08.indd 15 17/11/2008 11:17:03

16
05
Select OK when all of the tracks that you
require have been added to the sync list.
Select ‘Start Sync’.
Your DRM tracks will be synchronised with
the unit.
DONT FORGET! Do not remove the
MP3 Player from your PC while it is being
synchronized, as this could damage the
files and the MP3 Player.
When your tracks have been synchronised,
they will be listed in the right hand column.
Disconnect the MP3 Player.
DONT FORGET! This procedure can also
be used to transfer files that are not DRM
encrypted.
DRM
GMP34G9 - GMP38G9_IB_Rev1_Nov08.indd 16 17/11/2008 11:17:04

17
06
Software
MTV Video Converter
In order to play video files on your MP3 Player,
you must change the video files into MTV
format.
The MTV Video Converter software can be
installed from the supplied CD by following the
on screen instructions.
The following video formats can be converted:
*.avi, *.qt, *.mov, *.3gp, *.mpg, *.mpeg, *.dat,
*.vob, *.wmv, *.asf, *.rm, *.rmbv, *.ram.
Converting files using the
MTV Video Converter Software
Go to Start>Program>MP3
Player>VideoConverter.
Click the ‘Input Video’ button to select the
video file you wish to convert.
Browse to where your videos are stored,
select a video file and then click ‘Open’.
GMP34G9 - GMP38G9_IB_Rev1_Nov08.indd 17 17/11/2008 11:17:04

18
06
Click on the ‘Output Video’ and select where
you want to save the file. Click the ‘OK’
button.
Select the ‘Advanced Settings’ button.
DONT FORGET! The advanced setting
are only available after you have selected
the file you want to convert.
Select the ‘Output Video Quality’.
DONT FORGET! The default ‘Output
Video Quality’ is High Quality.
Select the ‘Output Frame Size’.
DONT FORGET! 160 X 128 is generally
the best size for your MP3 Player.
You can choose to convert all or only part
of your movie clip by adjusting the start and
finish times.
DONT FORGET! If you are converting all
of the movie clip leave these setting as
they are.
Software
GMP34G9 - GMP38G9_IB_Rev1_Nov08.indd 18 17/11/2008 11:17:04

19
06
You can test your setting using the preview
function. Tick the ‘MTV preview’ box and
then click the ‘Start Preview’ button.
When you are happy with your settings,
deselect the ‘MTV Preview’ box and click
the ‘Start Conversion’ button.
The conversion status will be shown.
When the movie file has finished converting
the following screen will display. Click ‘OK’
to confirm.
Transferring the converted files to
your MP3 Player
DONT FORGET! The MP3 Player will only
play video files in the .MTV format. Make
sure your files have been converted using
the supplied software.
Connect the MP3 Player to your PC.
Decide where you want to transfer your
video files to.
Drag and drop the previously converted
.MTV file to the Video folder in MSC mode.
Software
GMP34G9 - GMP38G9_IB_Rev1_Nov08.indd 19 17/11/2008 11:17:06

20
06 Software
Double click the ‘Safely remove hardware’
icon (in the system tray at the bottom of the
screen).
Click on ‘Stop’ and then disconnect the MP3
Player.
Slide Show Maker
Slide Show Maker is used to make a slide show
sequence for your MP3 Player. It takes multiple
images and converts them into a single file.
Go to Start>Program>MP3
Player>Slideshowmaker.
Click ‘Load Image’ to add your images.
Click the up and down buttons to adjust the
order of the images.
Click on ‘Transform’ to convert and save the
slide show.
Copy the .SLS file to the SLS folder on your
MP3 Player using MSC mode.
DONT FORGET! Select ‘SLIDESHOW’ in
the menu of your MP3 Player, and then
your MP3 Player will run the slideshow
while you are listening to music.
GMP34G9 - GMP38G9_IB_Rev1_Nov08.indd 20 17/11/2008 11:17:07
This manual suits for next models
1
Table of contents
Other Goodmans MP3 Player manuals

Goodmans
Goodmans GMP31G7DAB User manual

Goodmans
Goodmans GMP32005 User manual

Goodmans
Goodmans CDMP3527K User manual

Goodmans
Goodmans GMP33005 User manual

Goodmans
Goodmans GMP31000 User manual

Goodmans
Goodmans GMP31G3S User manual

Goodmans
Goodmans GMP34G5 User manual

Goodmans
Goodmans GMP32000B User manual

Goodmans
Goodmans GMP316 User manual