PC Connection
9
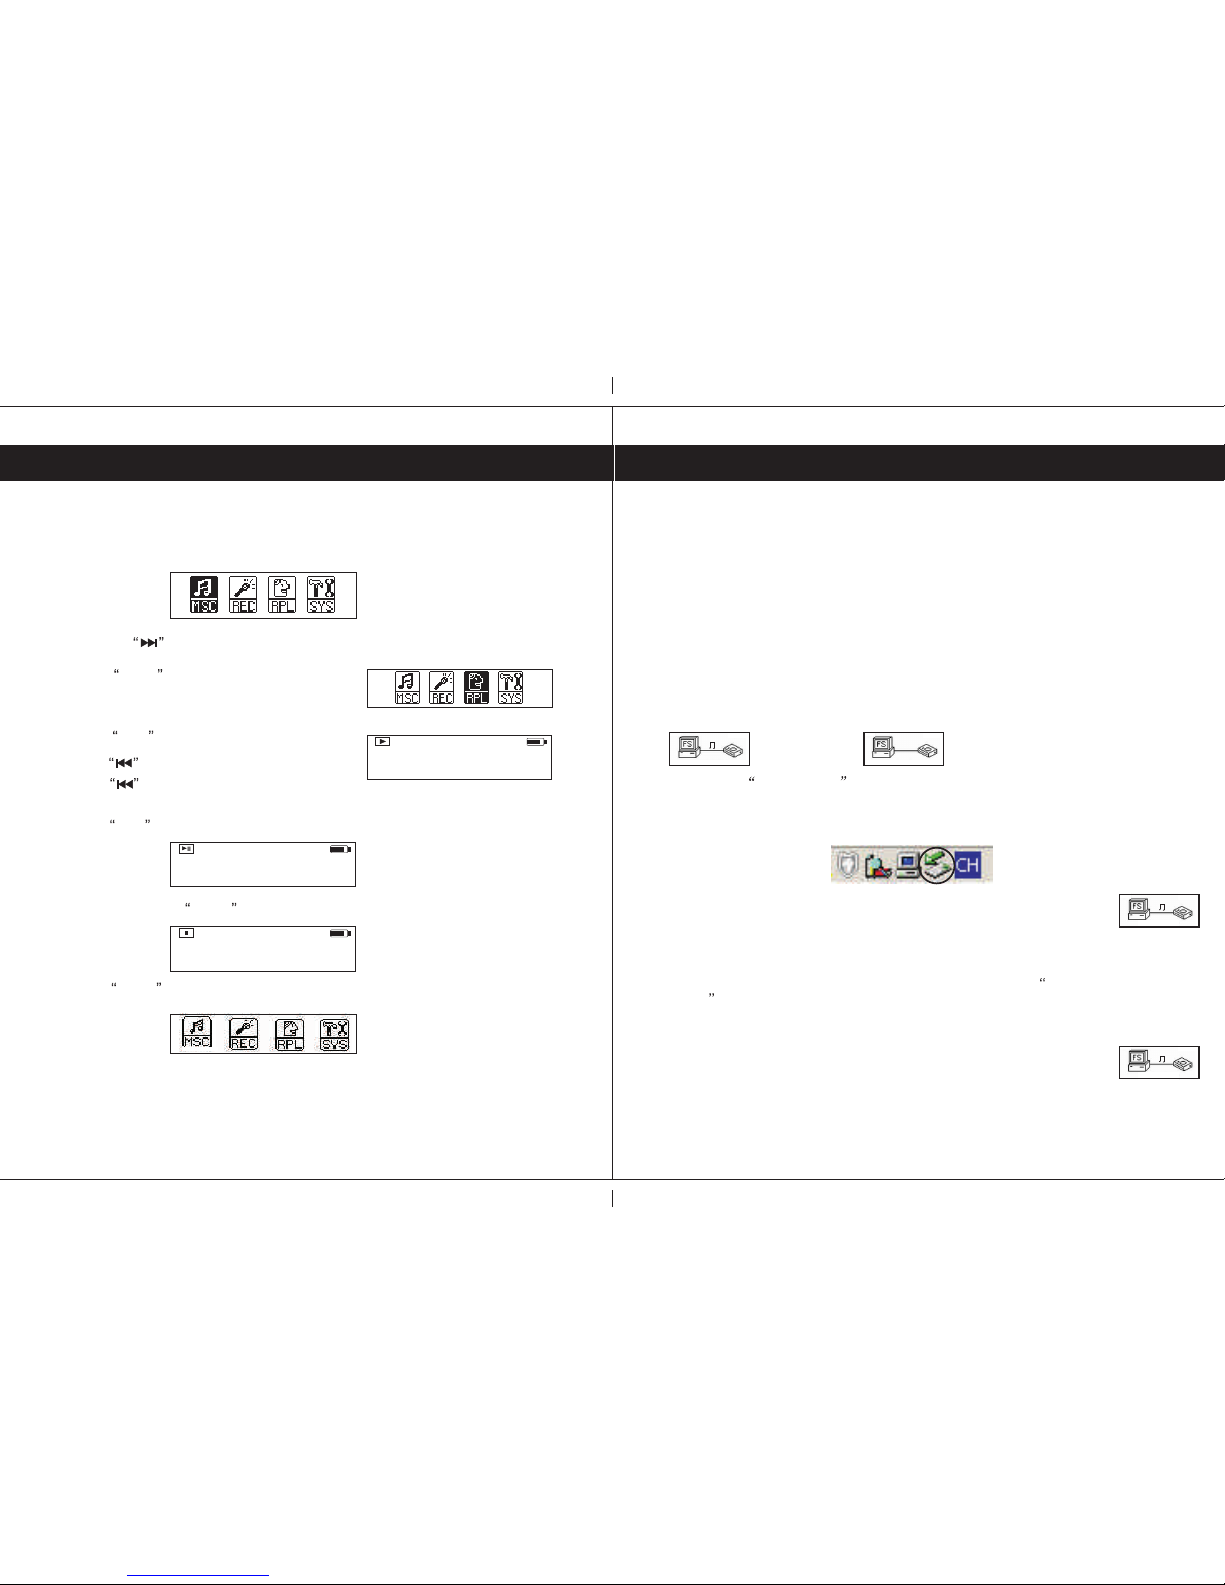
Music files in either MP3 or WMA format may be added or played in the following way.
- Ensure the unit is turned off.
- Locate the USB extension cable from the supplied accessories and insert the
plug into an available USB socket on the PC. Try to connect directly to the PC
and avoid connecting via passive USB hubs as these may cause transfer problems.
- Plug the unit into the socket on the other end of the extension cable, Windows
should now identify the player and initialize the relevant mass storage driver
for it. The player will switch on and the following screens will be shown on the display.
1. Waiting/Inactive status 2. Ready to transfer File.
-Double click on My Computer Icon, a window will be opened and a removable
drive will be shown normally designated E: or F: if the computer has one hard drive
or partition and one CD ROM drive however it can be any letter not already used . A
green arrow (stop/eject Icon) will be shown in the right side of the system tray.
- The removable drive can be used in the same way as normal hard drive
and the MP3 or WMA files can be dragged into the drive and stored into
the player memory.
Note: If WMA (windows media audio) files do not play after being copied to the
player using the Drag & Drop method, the files may have DRM (Digital Rights
Management) copy protection included. If this is the case use the copy to CD
or Device option in Microsoft windows media player to copy the files to the player.
- When files are being download from the PC, the following screen will be
shown on the display.
- When files are being upload to the PC, the following screen will be
shown on the display.
WAITINGWAITING
READINGREADING
WAITINGWAITING READYREADY
Adding Music files to the playerAdding Music files to the player
Via USB (For PCs with Windows98SE/ME, please installVia USB (For PCs with Windows98SE/ME, please install
the drivers using the supplied installation disc, pleasethe drivers using the supplied installation disc, please
see page 10 for details)see page 10 for details)
20
Product Information Helpline0870 873 0080
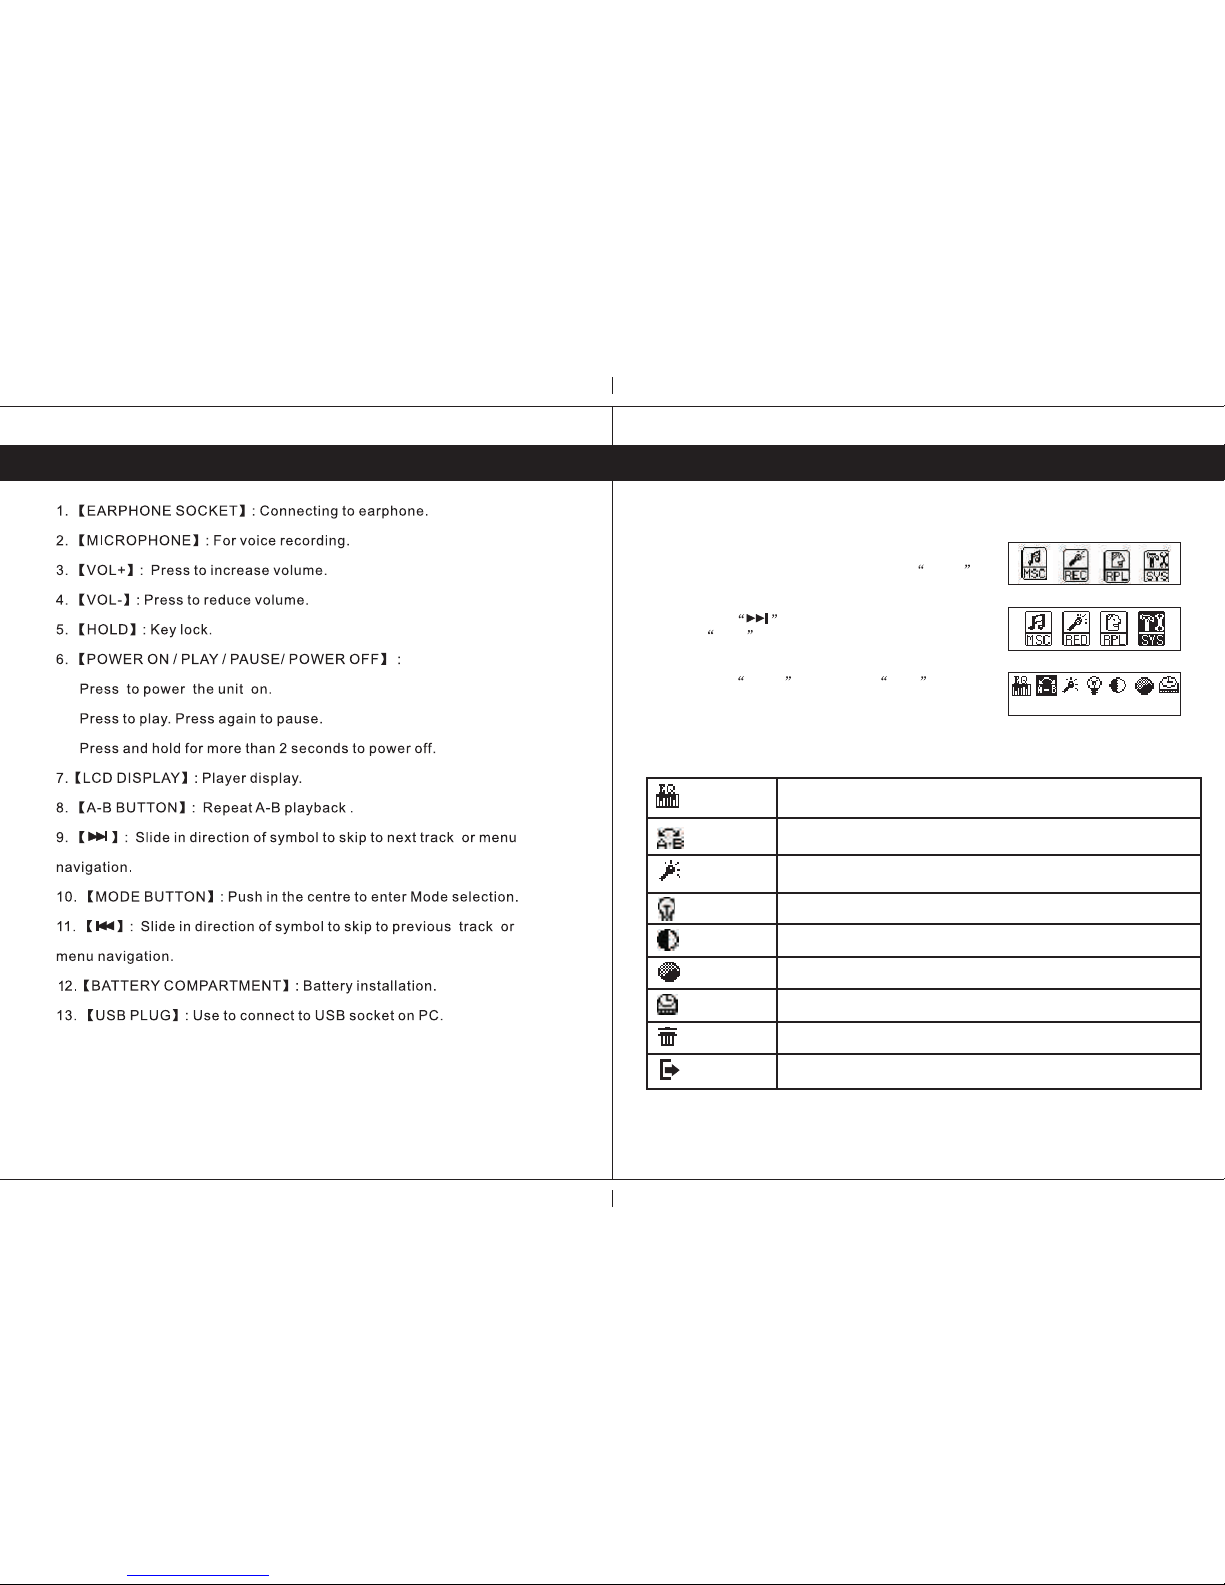
- Press themode key to enter the MainMenu.
Playback voice files.Playback voice files.
- Press Play key to start playback.
press Mode key to enter.
- Press the key to selectthe voice playback option.
- Press keyto select previous voice file.
- Press keyto select next voice file.
- Press Play key to pause playback.
- Press &Hold the Mode key for approx 2 seconds tostop playback.
- Press Mode key to exit to the MainMenu.
/VOICE/V005.WAV/VOICE/V005.WAV
00:01:24 01:08:2000:01:24 01:08:20
00:01:30 01:08:2000:01:30 01:08:20
/VOICE/V005.WAV/VOICE/V005.WAV
00:01:31 01:08:2000:01:31 01:08:20
/VOICE/V005.WAV/VOICE/V005.WAV
Playback Recorded files