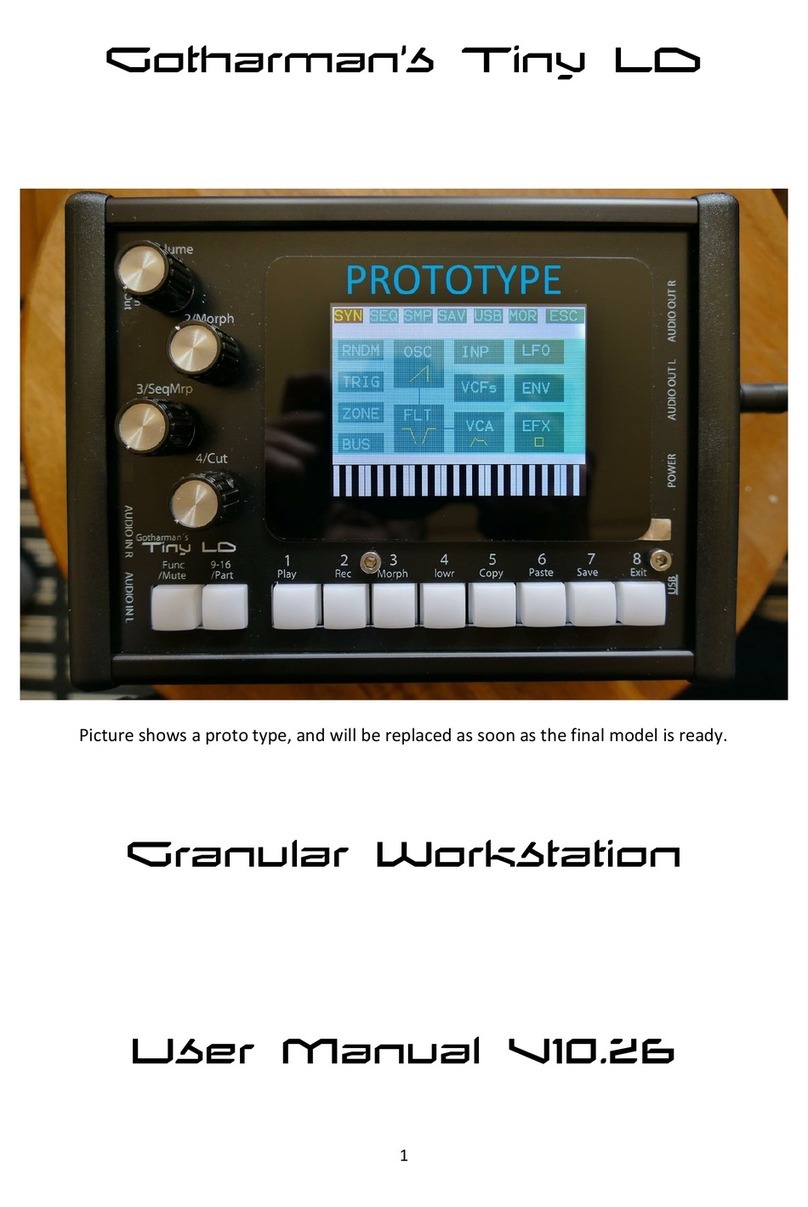
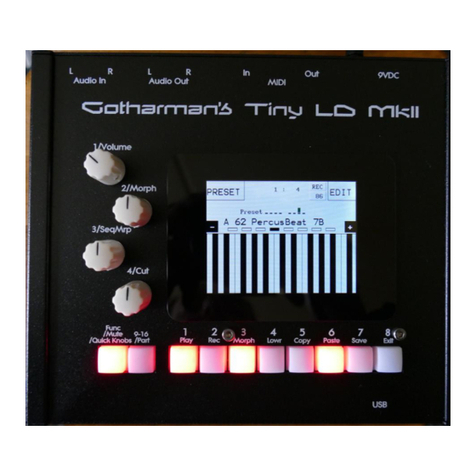
Gotharman Tiny LD User manual

1
Gotharman’s Tiny LD
Granular Workstation
User Manual V13.80

2
Content Of This Manual
Introduction 9
Very Special Thanks To 11
In The Box 12
Getting Started 13
Connecting MkI 13
Connecting MkII 16
User Interface 23
Preset Select Screen 26
Operating Tiny LD 30
Trigger synth/sampler parts manually 30
Starting/stopping Sequencer 31
Selecting a Part/Track 32
Selecting Effects Processors 32
Note Tracks Steps view/edit 33
Mute/Unmute Note Tracks 34
Copy Morph Layer A to B 35
Panic 35
Compare Preset 36
Exit from any page 37
Shortcut to Save Preset 37
Upper and Lower Parameter Rows 38
Preset Reload/Song Step Advance 39
Audio Bus System 40
Tiny LD Structure 41

3
Synth/Sampler Parts 42
Modulation Sources 43
Accessing The Synth Part Pages 50
Editing The Parameters 52
Parameters Randomizer 53
Trigger Setup 55
Zone Setup/Microtunings 57
Audio Bus Setup 60
Oscillator/Sampler/Noise 65
Percussion Synthesizer 67
Oscillator Parameters 73
Setting Up (Stereo) Samplings 101
Granular Modulators 115
Random Generators 117
Digital Filters 118
VCA 127
Envelope 1 and 2 131
LFO 1 to 16 135
Audio Inputs Setup 139
Analog FilterBoard 140
Dual Line Analog Filterboard 208
Effects Processors 216
Insert Effects 1 to 8 218
List of Insert Effects 219
Insert Effects Select Page 222
Mix Mod, Inp Gain and Backwards 224
Chorus 226
Distortion 228
Bit Crush 230
Pitch Shifter 232
Resonator 235
Stretcher 237
FM 239
Glitch Shifter 1, 2 and 3 241
Pitch Shaper 243
FAT 245
Filters 247
Filters 2 250
Compressor 252
Expandor 254

4
PitchShaper2 256
Delays 259
Variator 261
Time Stretch 263
Sample Pitch 265
Bass Enhancer (optional) 267
EQ 269
OverShifter 272
EQ2 274
Output Effects 1 and 2 276
List of Output Effects 277
Output Effects Select Page 279
Mix/Pan Modulation and Backwards 282
Delays 284
Granulator SQ 287
Variator 290
Reverb 292
Granulator (unsynced) 294
Xfade Granulator 297
Abstruct0 300
Time Stretch 303
Sample Pitch 305

5
Sequencer 307
Entering The Sequencer 313
Sequencer Main 316
Clear Sequence 318
Swing All 319
Note subtrack 320
Adjusting The Offset Of All Steps 323
Gate Time subtrack 325
Velocity subtrack 327
Position subtrack 329
Sub Position subtrack 331
Templates and Note Scales 333
Templates for Position subtrack 335
Note Track Mod page 337
Clear Note Track 339
Double Note Track 340
Realtime Recording of Notes 341
Step Recording of Notes 343
Track/Part Internal/External Operation 346
Audio Track Recording 349
Controller tracks 360
Controller Track templates 364
Controller Tracks CC page 366
Clear Controller Track 368
Double Controller Track 369
Controller Tracks Realtime recording 370
Recording Parameter Tweaks 373
Pitch Bend and CC recording auto setup 374
Controller Tracks Step Recording 376
Synth and Sequencer Morphing 377

6
More… Parameters/Setup 378
Common Settings 381
Morph Setup 383
Common Settings 2 387
Initialize Preset 389
Parameter Snap Mode 390
FilterBoard Setup 391
VCF8 cutoff limit 393
User Filter 394
FLASH Memory Check 402
Delete Sample Bank 403
Delete All Presets and Songs 404
C.P. 405
Preset/Song Mode 406
Display Update Rate 407
Save Preset 408
Song Mode 412
Accessing Song Mode 413
Song Edit page 417
Song Select page 419
Song Realtime Recording 421
Save Song 425
Initialize Song 429
Copy/Paste 431
Sequencer Steps Copy/Paste 434
Sample Record and Edit 437
Recording a Sampling 438
Edit a Sampling 445
Adjusting Start/End Points 447
Sample Chops 448
Wave Chop System 452
Deleting Last Recorded Sampling 460
Deleting Other Samplings 462
Graphical Sample Editing 463
Wave Builder 477

7
USB 480
USB Sample Preview 482
Open A Directory 483
Importing Files 484
Importing Multiple Files 486
Reload Multiple Files 487
Import Samplings As Chops 489
Make a New Directory 492
Delete File From USB Drive 493
Export Samples, Presets, Songs and User Filter 494
Updating Tiny LD Firmware 496
MIDI Specs 503
Parameters CC Control 505
Parameters CC numbers list 507
Effects parameters 1 and 2 510
Controlling Parameters From Controller Tracks 511
Safe Boot Mode 512
Installing Analog FilterBoard 513

8
This product is produced and tested to comply with the low voltage directive (2014/35/EU) and the
electromagnetic compatibility directive (2014/30/EU).
I hope that you will deform some great tracks

9
Introduction
Thank you very much for purchasing/consider to purchase a Gotharman’s Tiny LD.
Tiny LD are a multi-timbral and polyphonic granular workstation with 16 parts. The granular
functions in it includes oscillator/sampler granular modulators and special granular effects.
Each of the 16 parts has a stereo oscillator/sampler, 2 filters with 16 different filter types, a stereo
VCA, 3 envelopes, 4 random generators and 2 granular modulators, a random one and a
sequenced one. Additional modulation sources includes 16 global LFO’s, 32 sequencer controller
tracks, 8 audio bus envelope followers, touch screen keyboard Y position and MIDI keyboard,
velocity, aftertouch, pitch bend and CC’s.
The oscillators has morphable waveform, that morphs from sine to triangle to saw to square to
feedwave. PW does something on all waveforms. 9 oscillator types are available: Bright, smooth,
resonator, percussion 1-3*, cymbal1-2* and clap*. *In trial mode. License must be purchased to
unlock save functionality.
The samplers can hold up to 43 minutes of samplings/ maximum 2.048 samplings. Samplings can
be chopped by level peaks, wave zero points, or in equally sized slices. Up to 64 chop points are
possible for each sampling. Samples are stored in FLASH memory, and played back directly from
this, so: No loading times!
Each part can be send to up to two of 8 audio busses at the same time. Pan modulation can
control the send level to each of the 2 busses.
On the audio busses up to 8 insert effects and an analog filter can be placed, for processing the
sounds from the parts and from its audio inputs.
The output from the audio busses can be sent to any or both of the 2 audio outputs and to any or
both of the 2 output effect processors.
The 16 parts can be sequenced from a build-in sequencer, that has 16 note tracks, with up to 64
steps each, and 32 controller tracks, with up to 128 steps each. Each note track has a position
track, that makes it possible to alter the position of each step, making polyphonic step sequencing
and various direction modes possible. A sub position track is also available for micro timing.
Realtime, step time and xox style recording are possible. Knob movements and MIDI CC’s can be
recorded, both in realtime and step time on the controller tracks.
Both the note tracks and the controller tracks can also control external MIDI devices, with up to
128 notes of polyphony.
10
Audio tracks can be recorded on the note tracks. These can be instantly chopped for true
deforming manipulation.
The sound generating parts, the LFO’s, the effects processors and the sequencer has 2 layers of
parameter settings, layer A and layer B, that can be independently adjusted, and morphed
between, using the Morph and Seq Morph knobs.
All the parameter settings can be stored in any of 1024 rewritable preset locations, and recalled at
any time.
1024 song locations are available, for programmed playback of presets, and for tracks mute
automation.
I hope that you will enjoy your Tiny LD for a long time, and deform a lot of great tracks.

11
Very special thanks to:
Dominic Rippel
Charles Beullac
Jorge Villarroya Traver
Bach Pham
For supporting this project from the start. I sincerely appreciate your help.

12
In The Box
In the Tiny LD box should be:
-Tiny LD itself
-A power supply –Multi plug –Works in most countries.
If any of these items are missing, please get in touch with Gotharman’s.

13
Getting Started
Connecting MkI:
On the right end panel of your Tiny LD, you will find the power switch, connection for power
supply, stereo audio outputs, and USB.
You would probably like to connect the audio outputs to a mixer or an amplifier, or anything else
that ends out in a speaker/a set of speakers. Since Tiny LD doesn’t have built in speakers, it just
needs to be connected to something, that can transfer its amazing sound to you. These should be
connected, using ¼” mono jack cables.
The left audio output (marked “AUDIO OUT L(hp)) doubles as a stereo headphone connector.
Please make sure that nothing is connected to the right audio output, when plugging headphones
into this connector.

14
To the USB connector, a USB drive can be connected.
This should be:
-Maximum 32 GB
-FAT formatted
With a USB drive connected, you can:
-Import, export and back up samples as .wav files
-Import deFormer .lds samples
-Import, export and back up Tiny LD/LD3 presets and songs
-Update Tiny LD
-PLEASE NOTICE: The included factory samples CANNOT be exported. So if you want to keep these,
you should take care not to delete them. A USB stick with the factory samplings might be available
in the future.
To import a .wav file from another device, it must be:
-Mono or stereo
-44.1 KHz sample rate –Tiny LD will import other sample rates, but they will play back in a wrong
speed
-16 bit or 24 bit native PCM
-Standard wav’s or broadcast wav’s

15
On the left end panel of your Tiny LD, you will find the stereo audio inputs and MIDI in and out.
Connect any line stereo/mono audio sources to the audio inputs, for sampling and/or processing
through Tiny LD’s effects and optional analog filter.
If the Tiny LD touch screen keyboard and step buttons seems a bit too limited, you might want to
connect a MIDI keyboard to MIDI in, in order to take full advantage of Tiny LD’s fully chromatically
playable sounds. It is also possible to connect anything that transmits a MIDI clock, if you would
like the sequencer of Tiny LD to sync to the rest of your setup.
On MIDI out, MIDI clock, MIDI CC’s from the Tiny LD edit knobs, and notes and CC’s from its
sequencer are transmitted. Connect any MIDI gear to this, that you would like to control from Tiny
LD.

16
Connecting MkII:
On the rear panel of your Tiny LD MkII, you will find the power switch, connection for power
supply, MIDI in and out, and stereo audio inputs and outputs.
You would probably like to connect the audio outputs to a mixer or an amplifier, or anything else
that ends out in a speaker/a set of speakers. Since Tiny LD doesn’t have built in speakers, it just
needs to be connected to something, that can transfer its amazing sound to you. These should be
connected, using ¼” mono jack cables.
The left audio output doubles as a stereo headphone connector. Please make sure that nothing is
connected to the right audio output, when plugging headphones into this connector.
Connect any line stereo/mono audio sources to the audio inputs, for sampling and/or processing
through Tiny LD’s effects and optional analog filter.
If the Tiny LD touch screen keyboard and step buttons seems a bit too limited, you might want to
connect a MIDI keyboard to MIDI in, in order to take full advantage of Tiny LD’s fully chromatically

17
playable sounds. It is also possible to connect anything that transmits a MIDI clock, if you would
like the sequencer of Tiny LD to sync to the rest of your setup.
On MIDI out, MIDI clock, MIDI CC’s from the Tiny LD edit knobs, and notes and CC’s from its
sequencer are transmitted. Connect any MIDI gear to this, that you would like to control from Tiny
LD.

18
On the front facing panel, you will find the USB connector.
To the USB connector, a USB drive can be connected.
This should be:
-Maximum 32 GB
-FAT formatted
With a USB drive connected, you can:
-Import, export and back up samples as .wav files
-Import deFormer .lds samples
-Import, export and back up Tiny LD/LD3 presets and songs
-Update Tiny LD

19
-PLEASE NOTICE: The included factory samples CANNOT be exported. So if you want to keep these,
you should take care not to delete them. A USB stick with the factory samplings might be available
in the future.
To import a .wav file from another device, it must be:
-Mono or stereo
-44.1 KHz sample rate –Tiny LD will import other sample rates, but they will play back in a wrong
speed
-16 bit or 24 bit native PCM
-Standard wav’s or broadcast wav’s

20
Starting Up
Connect the supplied power adaptor to the Power input, and to a 100V to 240V power source –
Usually a wall socket.
It’s a 9V, minimum 2.0A type with a 2.1 mm DC plug, with positive middle. The power supply on
the picture is only for reference. The actual one might look different.
Some Tiny LD’s might have been shipped out with a power adaptor, that has multiple tips. If you
have received one of these, you should use the tip with the blue ring, and make sure that the 2
parts are alligned to the text “Tip”:
Please look at the picture, on the next page….
Other manuals for Tiny LD
2
Table of contents
Other Gotharman Desktop manuals

Gotharman
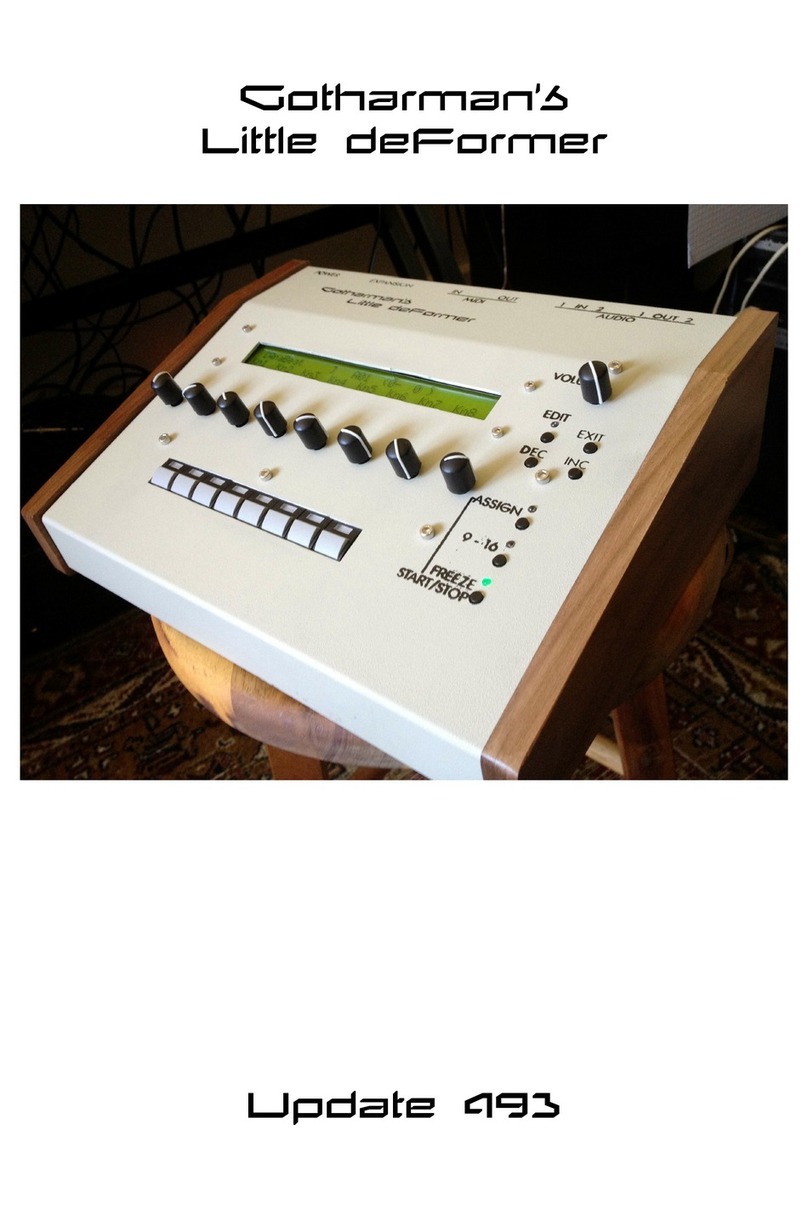
Gotharman Gotharman's Little deFormer User manual

Gotharman
Gotharman Gotharman's Little deFormer User manual

Gotharman
Gotharman Tiny LD User manual

Gotharman
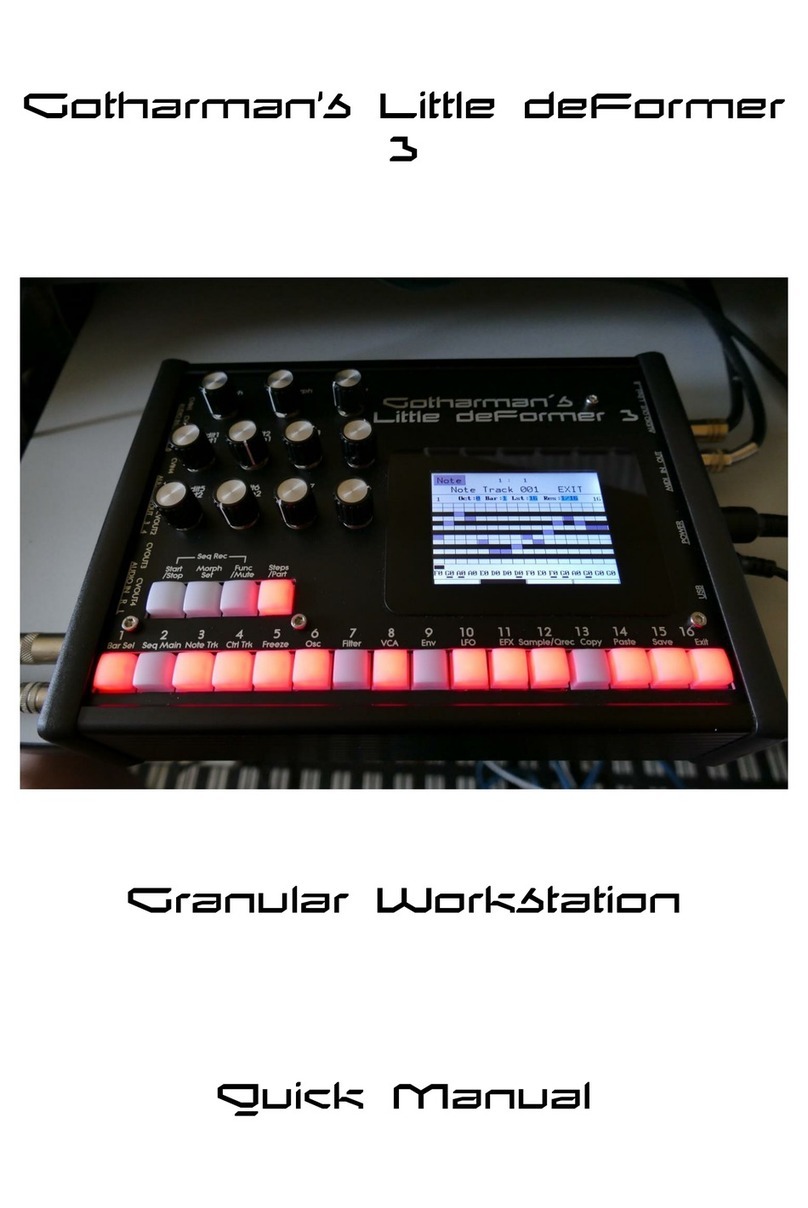
Gotharman Little deFormer 3 Installation guide

Gotharman
Gotharman Little deFormer 3 Technical manual

Gotharman
Gotharman Gotharman's Little deFormer 3 Technical manual

Gotharman
Gotharman Tiny LD User manual

Gotharman
Gotharman Little deFormer 3 Technical manual