Gotrec A2pro User manual

Thank you for choosing Dual Camera DVR. For
proper usages and application, please read this
manual thoroughly before using this product.
Gotrec
DVR A2pro User Manual

Content:
1. Feature:
………………………………………………………….
2. Precaution:
……………………………………………………..
3. Appearance and Parts:
……………………………………
4. Operation Instruction:
……………………………………
5. Application:
…………………………………………………..
6. Specification:
………………………………………………….
7. Troubleshooting:
……………………………………………
8. Accessories:
…………………………………………………..
Features

1. Genuine product of Car DVR performance is compiled to genuine manufacture
requirement.
2. Dual Full HD Front /Rear camera.
3. Front Camera use 140-degree wide angle Lens to capture every moment.
4. Rear camera use 120-degree wide angle Lens to focus the key image.
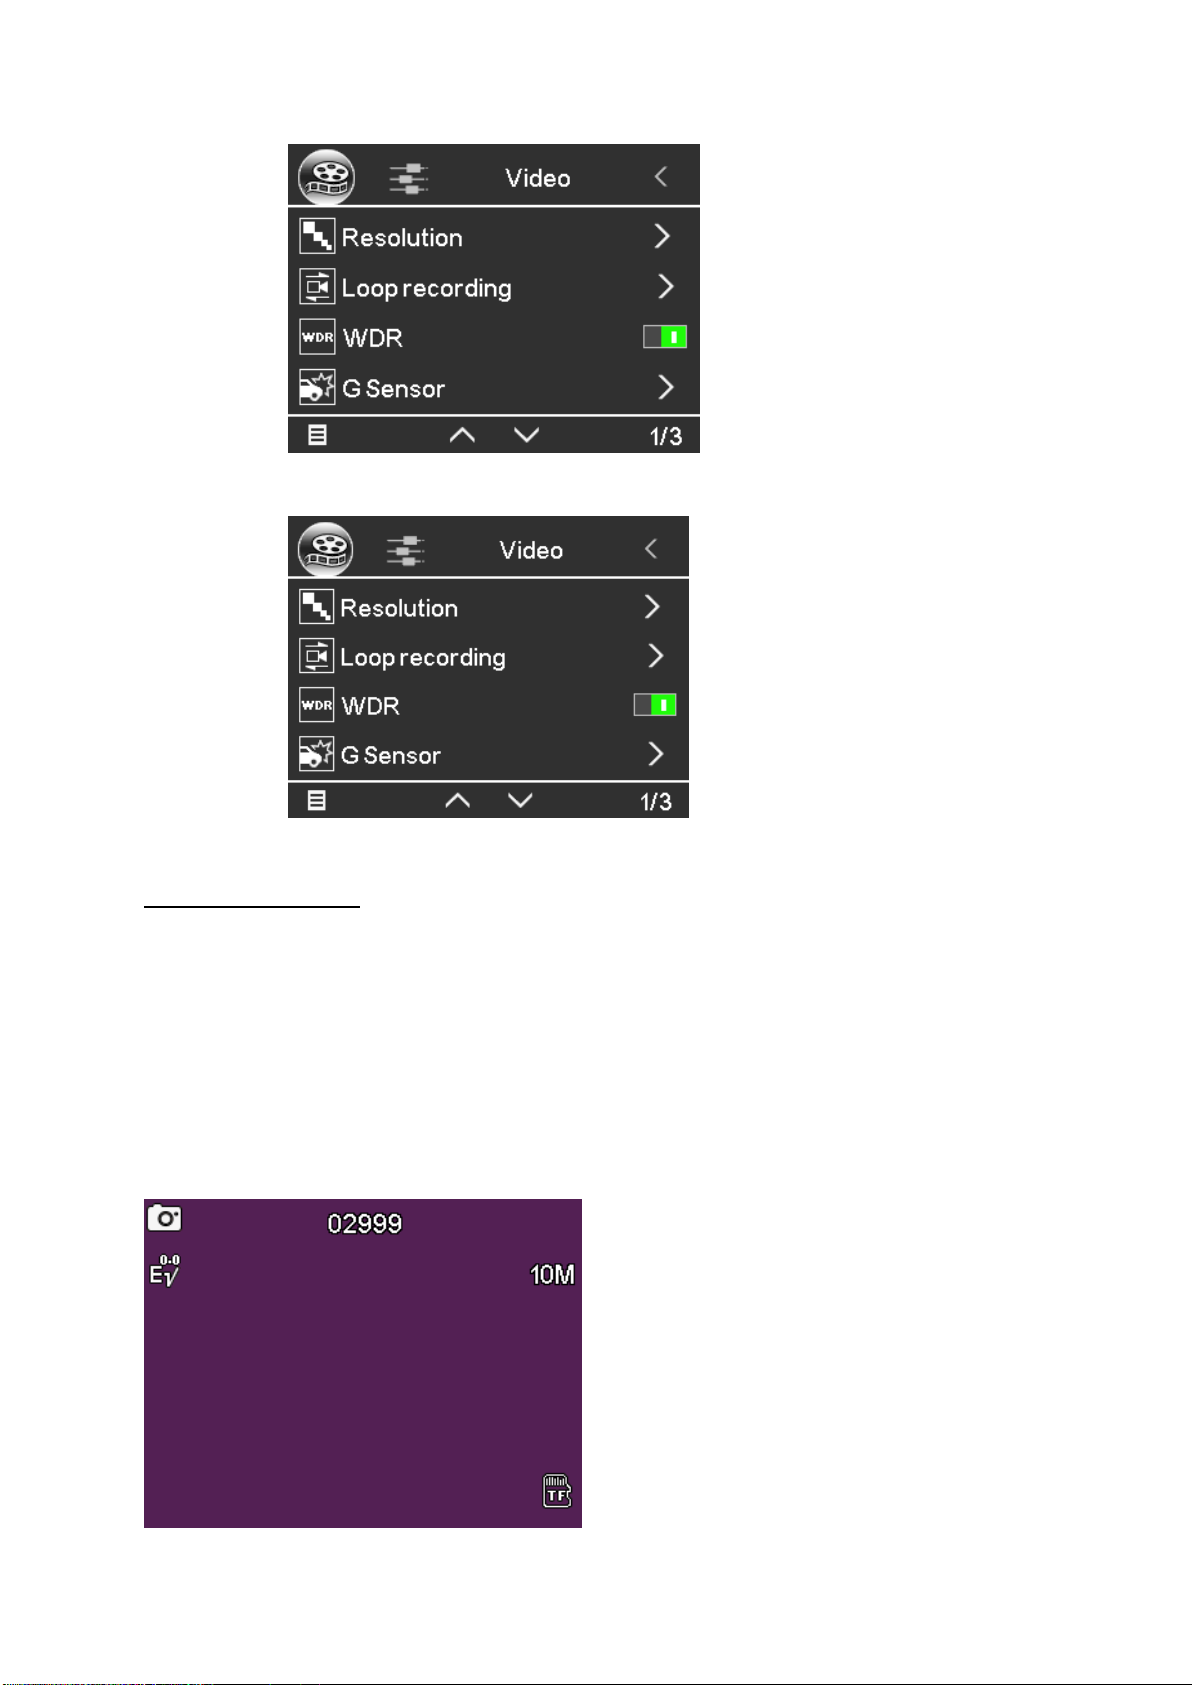
5. WDR function improve the good video quality.
6. Built-in G-sensor, the device will automatically record the emergency record upon an
even.
7. User friendly smart phone APP can link the derive via WiFi , user can share their
happy video and pictures to social media.
Features
1. Do not operate the Car DVR while you are driving.
2. The product is for safety driving only, it records the video when you are driving.
3. The best video capture quality for this product is around 2.5~10 meters.
4. The video quality may be reducing in extremely dark environment.
5. Please configure the date and time with APP in first time start the device and re-
configure every month or replace the battery.
6. Tinted glass are not allowed on the camera area, to avoid affecting video quality.
7. Avoid touching camera lens, except for cleaning purpose.
8. Do nor disassemble the product to avoid damage.
9. To avoid malfunction, this product can only be installed/repaired by TCAT sales and
service centre.
10. To avoid damaging the recorded video, please do not remove the Micro SD card
during recording.
11. It is recommended to format the Micro SD card every three months, to prolong the
Micro SD card’s life span.
12. The video record file will have two files, one is normal video record file and other is
emergency record file.
13. RGB three-color light status: press the WiFi key, turn on the WiFi, the green light
flashes; when connected to the mobile phone APP, the green light is always on; turn
off the WiFi, the green light is off The card is abnormal when the red light is on, and
the blue light flashes during normal recording.
14. When manually stop the recording, the device will not automatically continue
recording until restart the engine. User must manually restart the recording.
15. The warranty conditions of this product is 3 year.
Precaution

A. Key Functions
The keys and definitions are shown in the following table:
No
Button
Definition
1
M (Menu)
Function 1: In recording mode /
photographing mode, short press [Menu key
/ MEMU] to enter the main menu function
setting table, short press [Up key / UP] or
[Down key / DOWN] to select the option to be
set in the submenu, short Press 【OK】/ OK
Appearance and Parts
Operation Instruction

to confirm. After setting, press 【Menu key /
MEMU】shortly to exit the menu setting
function (Press OK button stop recording
first.).
Function 2: Mode key / MODE function
In standby mode, press and hold [Menu key /
MEMU] to switch between the three modes of
recording mode / photographing mode /
playback mode.
2
OK (confirm)
Function 1: start/Stop video / photo / play
function
In standby mode, short press [Confirm key /
OK] to start recording, and short press
[Confirm key / OK] again to stop recording.
Take photo: In the photo mode, short press
[confirm key / OK] to take a photo.
Play Video: In the playback mode, short
press [confirm key / OK] to play the file.
Function 2: Confirm function
In addition to recording mode /
photographing mode, short press [Menu key
/ MENU] to enter the main menu mode, press
[Up key / UP] / [Down key / DOWN] to
browse, and press [OK] Key / OK] to confirm.
3
(Up)
Function 1: page up function
Page up function in menu setting and
playback mode.
Function 2: Manual emergency record, press
“up “in video recording, the recording file
will keep in emergency file fold.
Function 3: Change front camera or rear
camera in photographing mode.
4
(Down)
Function 1: page down function
Page down function in menu setting and
playback mode.
Function 2: Turn off the recording function
In standby mode and recording mode, short
press [DOWN / DOWN] to turn off the
recording function. At this time, the icon at
the bottom left of the screen becomes a
prohibition icon to indicate that the

recording function has been turned off. Short
press again to start recording, and the
prohibition icon disappears.
5
Wifi
One click to open WiFi connection,
Configuration with APP: Press and hold for 3
seconds-configuration mode
B. Video Interface
1. Current recording time 2. Video icon
3. Loop recording / 3 minutes 4. Gravity sensing / Medium
5. Motion detection ON 6 WDR ON
7. Current time 8. Mic audio recording
9. WIFI Status 10. GPS signal (optional)
11. Resolution Status 12. Memory card size
13. Speed status (optional-GPS support) 14. Memory card status
C. System Setting Menu Interface
In the recording interface (Under the state of stopping recording), short press
[ Menu Button ] to enter the system function setting interface, short press [ Up
button ] or [ Down Button ] to select the option that needs to be set and press
[ Confirm Button ] to confirm ; Press [ Menu Button ] again to return to the previous
menu.

D. Camera Interface
1. On the recording interface ( with the recording stopped ), press and hold[ Menu
Button ] once to switch to the camera interface.
2. Photograph: Short press [ Confirm Button ] to take a picture ;
3. Photograph setting: On the camera interface, press [ Menu Button ] once to enter
the photo setting interface , short press [ Up Button ] or [ Down Button ] to adjust
related setting and press [ OK ] to confirm.

E. Playback video / Picture interface
1. Enter the interface: On the recording interface ( with the recording stopped ),
press and hold [Menu Button] twice to switch to the video / picture playback interface.
2. Playback: Short press [ Up Button] or [ Down Button ] to select the video / picture
to view. Press [ OK] to play, short press [ Menu Button] to return to the previous
directory.
3. Delete file: In the playback interface, short press [ Menu Button] once to delete /
lock the video, etc. Short press [ Confirm Button] to play, short press [ Menu Button ]
to return to the previous directory.
F. WIFI Interface.
In the video recording mode, long press the [ WIFI Button ] to turn on the WIFI
function. After turning on the WIFI function, press the [ WIFI Button] shortly to turn off
the WIFI.

G. Function introduction
1.Use the automatic recording function
Start the car engine, the recorder automatically starts and turns on the recording
function, and the video indicator flashes. Turn off the car engine, the recorder
automatically saves the recorded content and shuts down. The recorded images are
stored on the TF card in sections. When the TF card is full, the recorder will
overwrite the previously recorded images. The recording time period can be set in
the menu by yourself, and the range is 1 minute / 3 minutes / 5 minutes / close four
files.
[Note] If you select any of the three files of "1/3/5" minutes, the recorder will
overwrite the image recorded earlier when the TF card is full.
If you select "Close", the file will be saved in 3 minutes. It will not continue recording
when the card is full.
2.Resolution
In the menu setting interface, the user can select the resolution of the recording,
FHD P30 / FHD P30 + FHD30 / FHD P30 + HD P30. This setting is only for the front
camera, and it is invalid for the rear camera.
3.Loop recording
In the menu setting interface, the user can select the editing time of the recording.
The unit supports four modes of off / 1/3/5 minutes; the default is 3 minutes.
4.WDR
In the menu setting interface, the user can select WDR on or off. The system default
is on.
5.G Sensor
This machine has a built-in G-sensor. If there is a serious vehicle collision, the
recorder will lock the interrupted video at the time of the accident and save it as an
emergency image. At the same time, the lock icon is displayed at the top of the
display. The locked image will not be overwritten.
This function is medium by default.
[ Reminder ]
The G-sensor supports sensitivity adjustment. You can change the settings in the
settings menu according to actual needs; locked videos will not be automatically
overwritten and need to be manually deleted.
6.Motion detection
In the menu setting interface, turn on the motion detection function. When camera
detect the motion status, the video is automatically saved for 10 seconds.

7.Exposure compensation
Users can increase or decrease the exposure intensity of the front camera according
to the ambient brightness.
8.Video and audio
In the menu setting interface, the user can choose to turn on or off the recorded
audio.
9.Date labels
In the menu setting interface, after opening the date label, the recorded video will
display the date.
10.Parking monitoring ( Based on G-Sensor detection)
When the parking monitoring function is turned on, in the power-off and shutdown
state, if the car vibrates (the trigger sensitivity can be set in the menu as required),
the recorder will automatically start recording for 20 seconds and then back to
standby mode.
11.Time-lapse recording
Time-lapse recording frame rate is divided into three options: 1 frame / second, 2
frames / second, and 3 frames / second; when 1 frame / second is selected, when
the car is off, the machine will take a picture every second and form a segment of 1
minute Video file for you to monitor in real time; if there is no memory card inserted,
when the car goes out, it will not enter one second and one shot, the machine will
automatically shut down.
There are four options of Time-lapse recording time: 2H / 8H / 12H / 24H. When 2H
is selected, the system will automatically shut down after 2 hours of monitoring.
12.File format
The system has 3 file format options, MP4 / MOV / TS, and the default is TS format.
13.Time zone
The user can select the corresponding time zone according to the area used. The
system default is GMT + 08: 00.
14.GPS DB(Optional)
This interface can view GPS positioning number and GPS signal value.
15.Date/time
In the recording or standby state, press System Settings to enter the system settings
menu, and click the date and time option to enter the time and date settings. After
adjusting to the current date and time, click the OK button to save.
Note: In order to effectively record the date and time of evidence collection for driving
safety accidents, please set the correct time before using this machine.

16.Automatic shutdown
When the automatic shutdown function is set to 1 minute, the machine will shut down
after 1 minute without recording and no operation; the system is turned off by default.
17. Screen saving
When the screen saving function is set to 30 seconds, the machine will automatically
turn off the screen after 30 seconds without any operation. After the screen is closed,
press any key to turn on the screen; the system defaults to off.
18.Key sound
In the menu setting interface, the user can choose to turn on or off the key sound;
the system defaults is on.
19.Language settings
The system has multiple languages such as English / Thai / Malaysian.
20.AV Out
Support AV out function to link in car video system, the device LCD will off when use
this function.
21.Formatting
This function will erase all the files of the memory card, please pay attention when
using it.
24.Default settings
After the user selects this function, except for the clock, the system menu options will
be restored to the factory settings.

H. Installation Guide ( Based on the car mode will be designed)
1. Shut down the car engine.
2. Insert the TF card into the recorder card slot.
[Note] Please use a high-speed TF card (Class10). The TF card supports a
maximum of 512GB.
3. Connect the bracket to the host, and then fix the machine to the front windshield of
the car.
4. Connect one end of the installation cable to the machine, and then connect the
other end to the fuse box. Please connect as follows:
Black-GND
Yellow ---- B+ 12V (battery)
Red ---- ACC (+12V)
5. Install the rear camera on the back of the vehicle, pay attention to the direction
when installing. The wiring can be laid along the roof of the vehicle. After installation,
connect the rear plug to the rear camera interface of the recorder.
6. Adjust the lens position to ensure that the lens is level with the ground.
7. Start the engine and check if the machine is installed correctly.
[Note] When the machine is installed correctly, the display of the machine is on; the
machine starts to enter the recording state, and the video icon flashes. Please pay
attention to check whether the picture on the display is normal. If the picture
displayed is inverted, please contact us in time.

Application Download
1. For the first time using the recorder, please scan the QR code below with your
mobile phone to download the APP:
Android Apple
2. After starting the car and turning on the recorder and entering working state, find
the WIFI beginning with " DVR_TC2-XXX -****" in the phone settings, and enter the
default password 12345678 to connect.
3. Enter the APP after the connection is completed, and the time of the recorder will
be synchronized with the current mobile phone time. If the memory card is used for
the first time on this device, you need to format the TF card on the APP.
Application

Application operation instructions
Processor and memory characteristics
Processor Type
NT96675
Memory
1 Gbit (Built-in)
Flash
8 MByte
Display
IPS 2” HD Screen
External port
8 ~ 512G 10class TF card
Speaker
8 ohm 1 watt mono speaker
MIC
4015 Standard omnidirectional microphone
Features
Front camera
IMX307 / 2MP 1080P / 6G+IR 140°1920 x 1080 (30
f/s)
Photo
Support
Dynamic range adjustment
Support
Video format
MOV, MP4, TS
Picture format
JPG
Storage compression method
H.264
Language support
English, Thai, Malaysian
One second per shot
Support
G-sensor
Support
Loop recording
Support
Parking monitoring
Support
Working environment
Temperature
-20 ℃~+ 70 ℃
Operating humidity
15 –65% RH
Storage temperature
-40 ℃~ +80 ℃
Specification

If your device is not working properly, please check it as follows. If the problem cannot be
solved, please contact our customer service centre.
Malfunction
Reason
Solution
Cannot boot
Bad cable
Contact reinsert cable
Cannot record
No memory card inserted
Insert memory card
Memory card is damaged
Replace the memory card
Insert card cannot meet the
requirements.
Insert memory card required
by the device.
No post recording
Post recording plug is loose
Tighten the rear recording
plug
Extension cable / rear
camera is damaged
Replace the extension cable
/ rear camera is damaged
Troubleshooting

Item
Description
Pictures
1
Main Device*1
2
Rear Camera*1
3
Power cable*1
4
Rear Camera
extend cable*1
Accessories

[Note] When the device installed successfully, the device display light; the device starts to
enter the recording state, and the recording icon flashes. Please check if the picture on the
screen is standard or not. If the display is inverted, please contact us in time.
Information provided in the instruction manual of the driving recorder is for reference
only. Please refer to the physical machine during the use of the user. Our company
does not assume any responsibility for fines or traffic accidents caused by the use of
this product.
5
Holder*1
6
Cable tube*1
7
Warranty card*1
8
User manual*1
9
Micro SD Card
16G*1

FCC Warning
This device complies with part 15 of the FCC rules. Operation is subject to the following two conditions:
(1) this device may not cause harmful interference, and (2) this device must accept any inte rference
received, including interference that may cause undesired operation.
Changes or modifications not expressly approved by the party responsible for compliance could void the
user's authority to operate the equipment.
NOTE: This equipment has been tested and found to comply with the limits for a Class B digital device,
pursuant to part 15 of the FCC Rules. These limits are designed to provide reasonable protection against
harmful interference in a residential installation. This equipment generates uses and can radiate radio
frequency energy and, if not installed and used in accordance with the instructions, may cause harmful
interference to radio communications. However, there is no guarantee that interference will not occur in
a particular installation. If this equipment does cause harmful interferenceto radio or television reception,
which can be determined by turning the equipment off and on, the user is encouraged to try to correct
the interference by one or more of the following measures:
••Reorient or relocate the receiving antenna.
••Increase the separation between the equipment and receiver.
••Connect the equipment into an outlet on a circuit different from that to which the receiver is
connected.
••Consult the dealer or an experienced radio/TV technician for help.
Radiation Exposure Statement
This equipment complies with FCC radiation exposure limits set forth for an uncontrolled environment.
This equipment should be installed and operated with minimum distance 20cm between the radiator and
your body.
Table of contents