gm-elektronik.swiss | adm@gm-elektronik.swiss
GM-1525-B
Page 6 | 23 oi_GM-1525-B_02_en
3. Getting started / setup
To set up the unit:
1. Place the unit on a suitable shelf or table
2. Connect the power adaptor between the unit and the mains supply
3. Getting started / setup
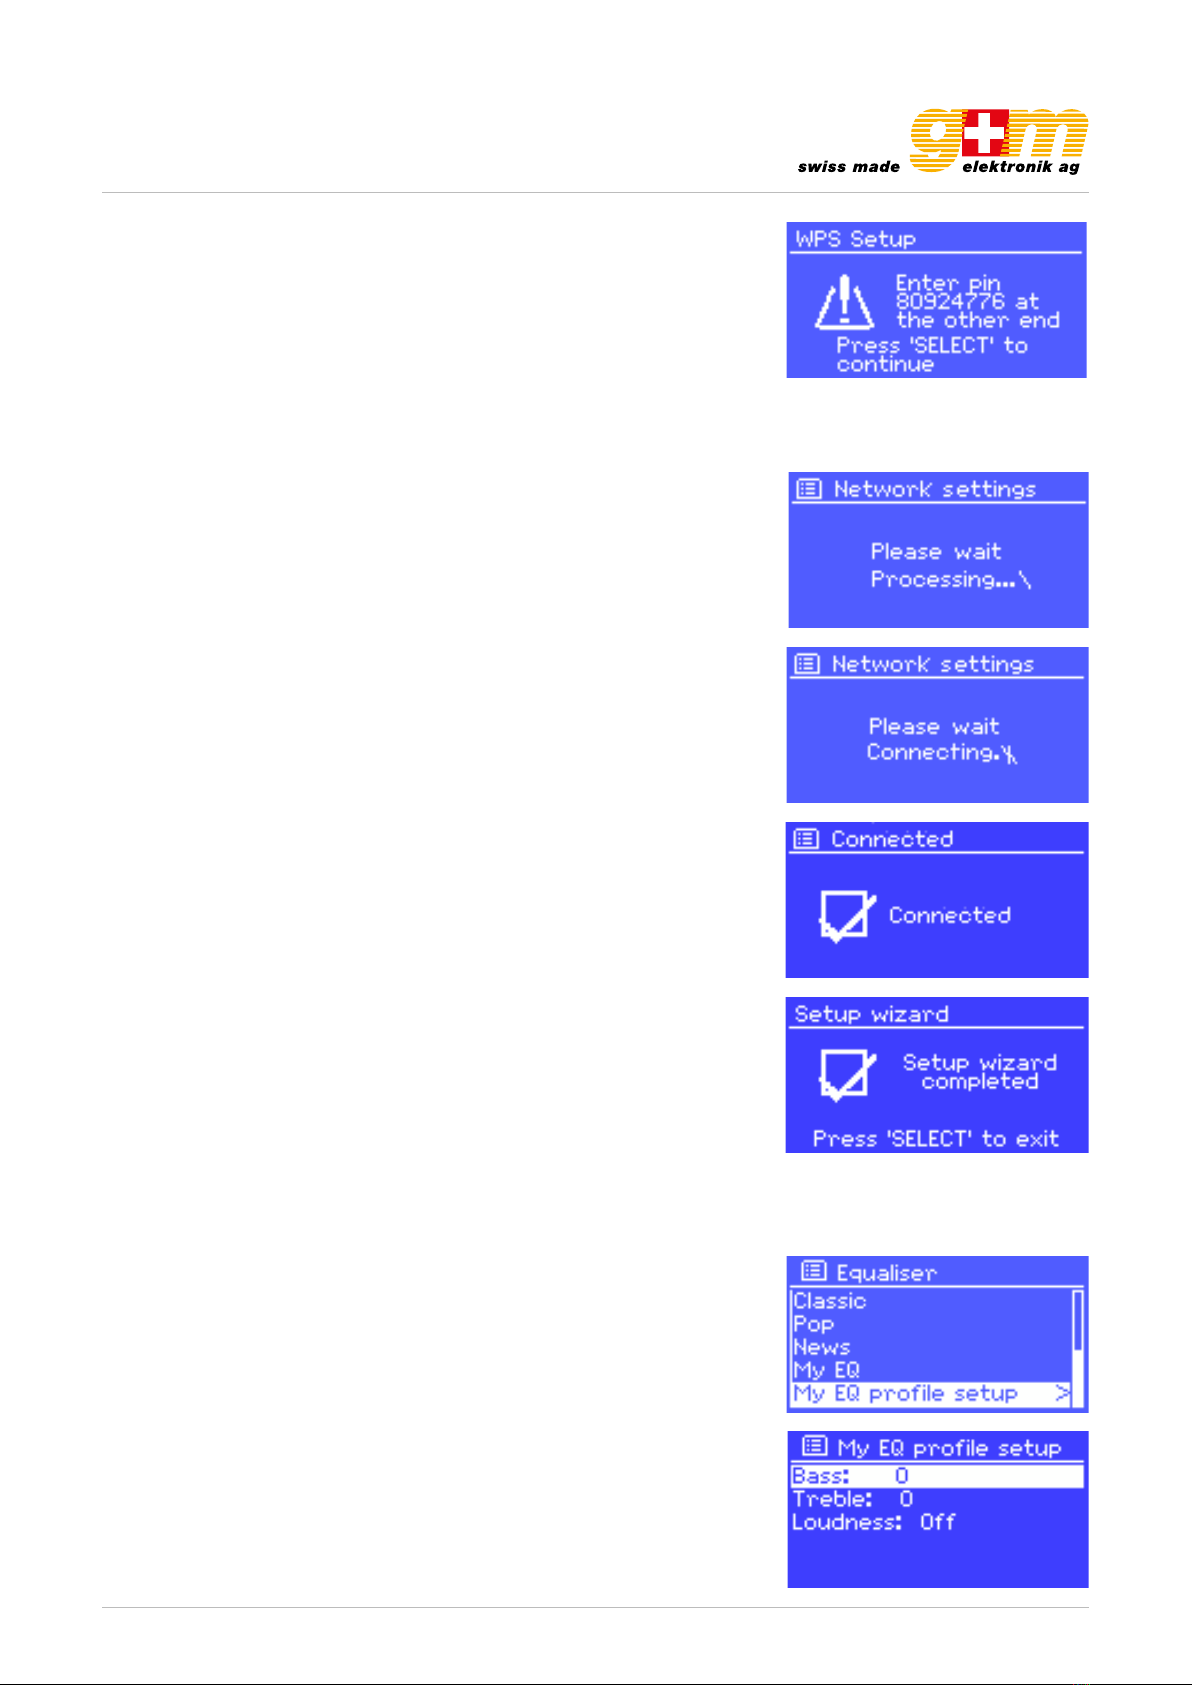
3.1. Setup wizard
When the unit is started for the first time, it runs through a setup wizard to con-
figure settings for date/time and network. Once this has finished, the system is
ready to use in most modes.
Note: To change these settings later, select Menu > System settings >. To
run the setup wizard again, select Menu > System settings > Setup wizard.
Select Yes to start the setup wizard.
If you choose No, the next screen asks if you would like to run the wizard next
time the unit is started. The system then starts without configuring time / date
and network settings and enters the Main Menu.
Note: If power is removed while the wizard is in progress, the wizard will run
again next time when the unit is started.
3.1.1. 12 / 24 hour display
To change between 12 and 24 hour display, select set 12 / 24 hour and then
select your preference.
3.1.2. Time / Date
The time and date can be updated manually or automatically. With auto-up-
date, the time and date are automatically synchronized with external clocks.
Auto-update is generally more accurate.
Auto-update works with data sent over DAB, FM or the Internet. The clock is
only updated when in a corresponding mode, so it is best to select a mode
you use regularly.
DAB and FM use time signals broadcast with radio transmissions. Network
uses a time signal sent from the Frontier Silicon Internet radio portal when in
any network- connected mode.
1. Select Update from DAB, Update from FM, Update from Network or No
update.
2. If you are updating from the network, set your time zone.
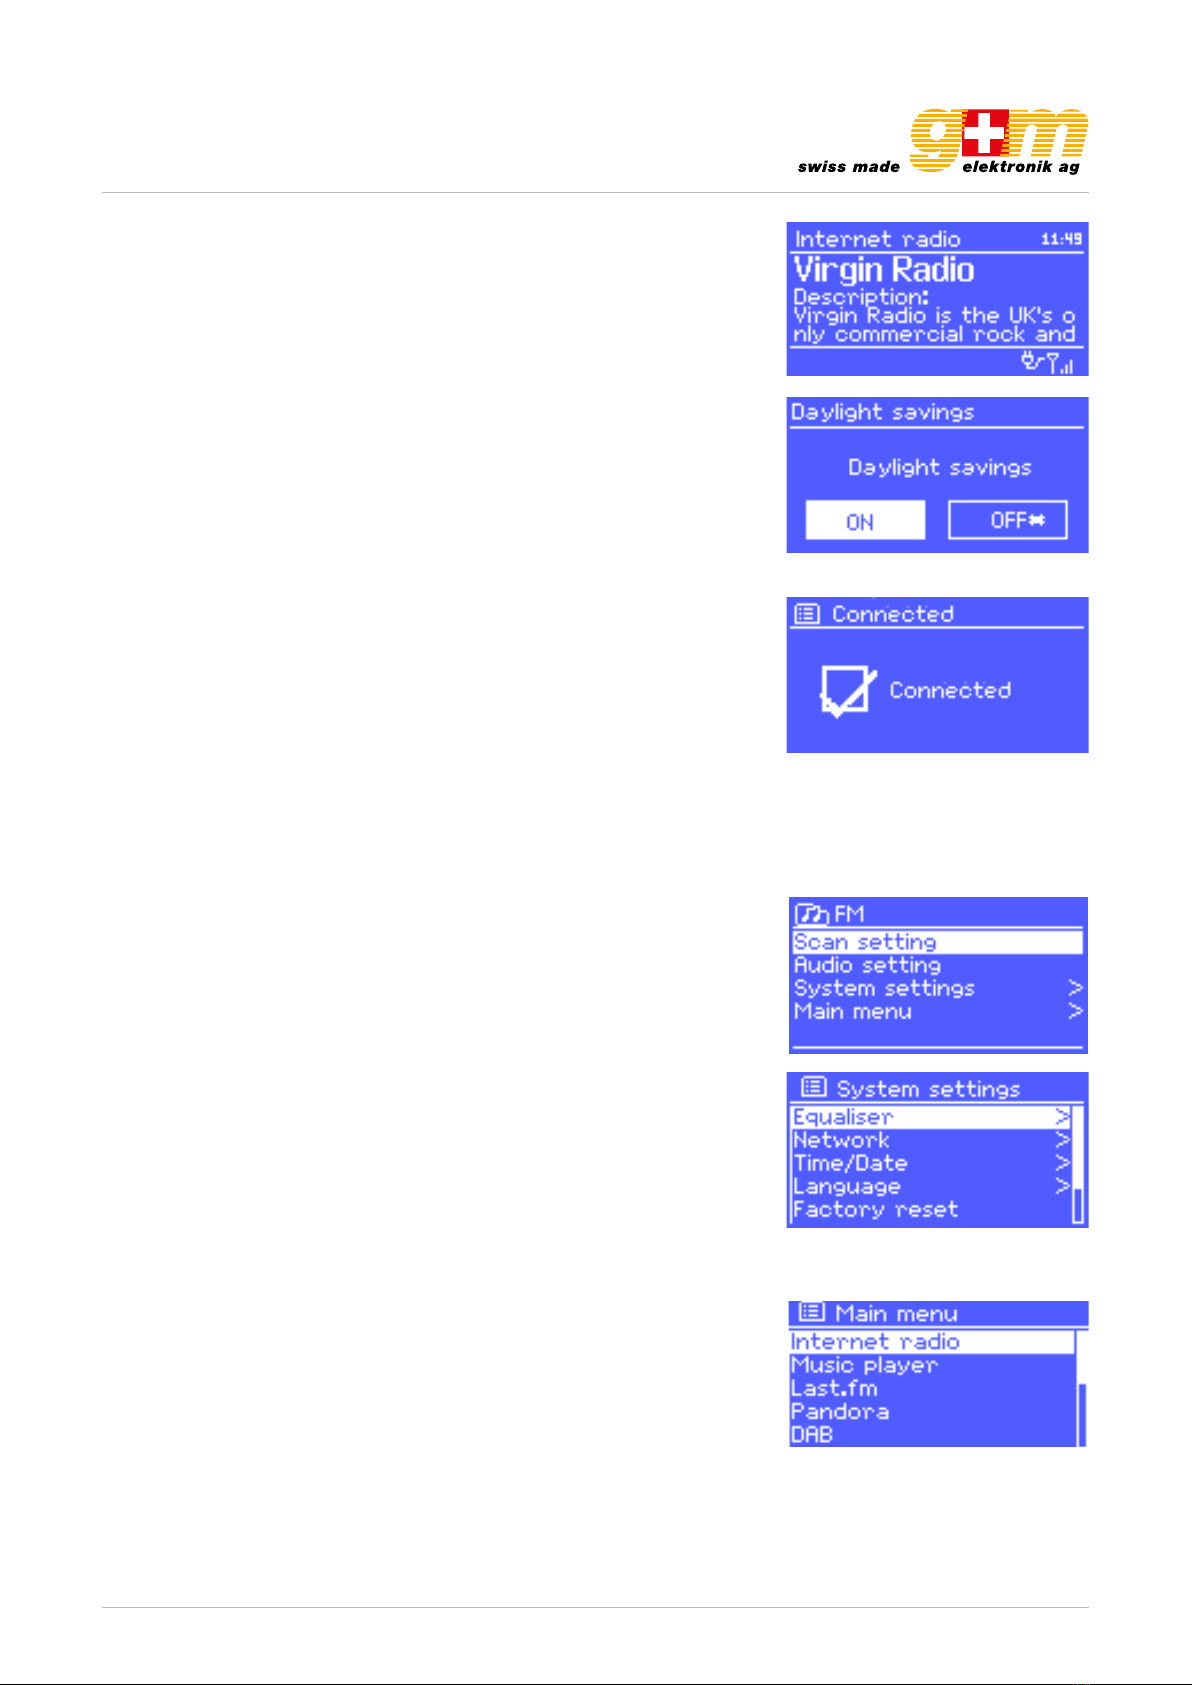
3. If your country uses daylight saving, the automatically updated time from
the network may be wrong by one hour. When daylight savings are in effect
(during the winter), turn on the Daylight savings option to rectify this.
Note that if you are updating the time from DAB or FM, the Daylight savings
option has no effect on the clock’s time. The unit will auto-update from the
selected source when time information is available.
WELCOME