Accessory: GPSI-3900 Driver ID
Link: https://help.gpsinsight.com/installation-guide/gpsi-3900-driver-id/ Last Updated: March 24th, 2017
Copyright ©2021 GPS Insight Page 1 of 9
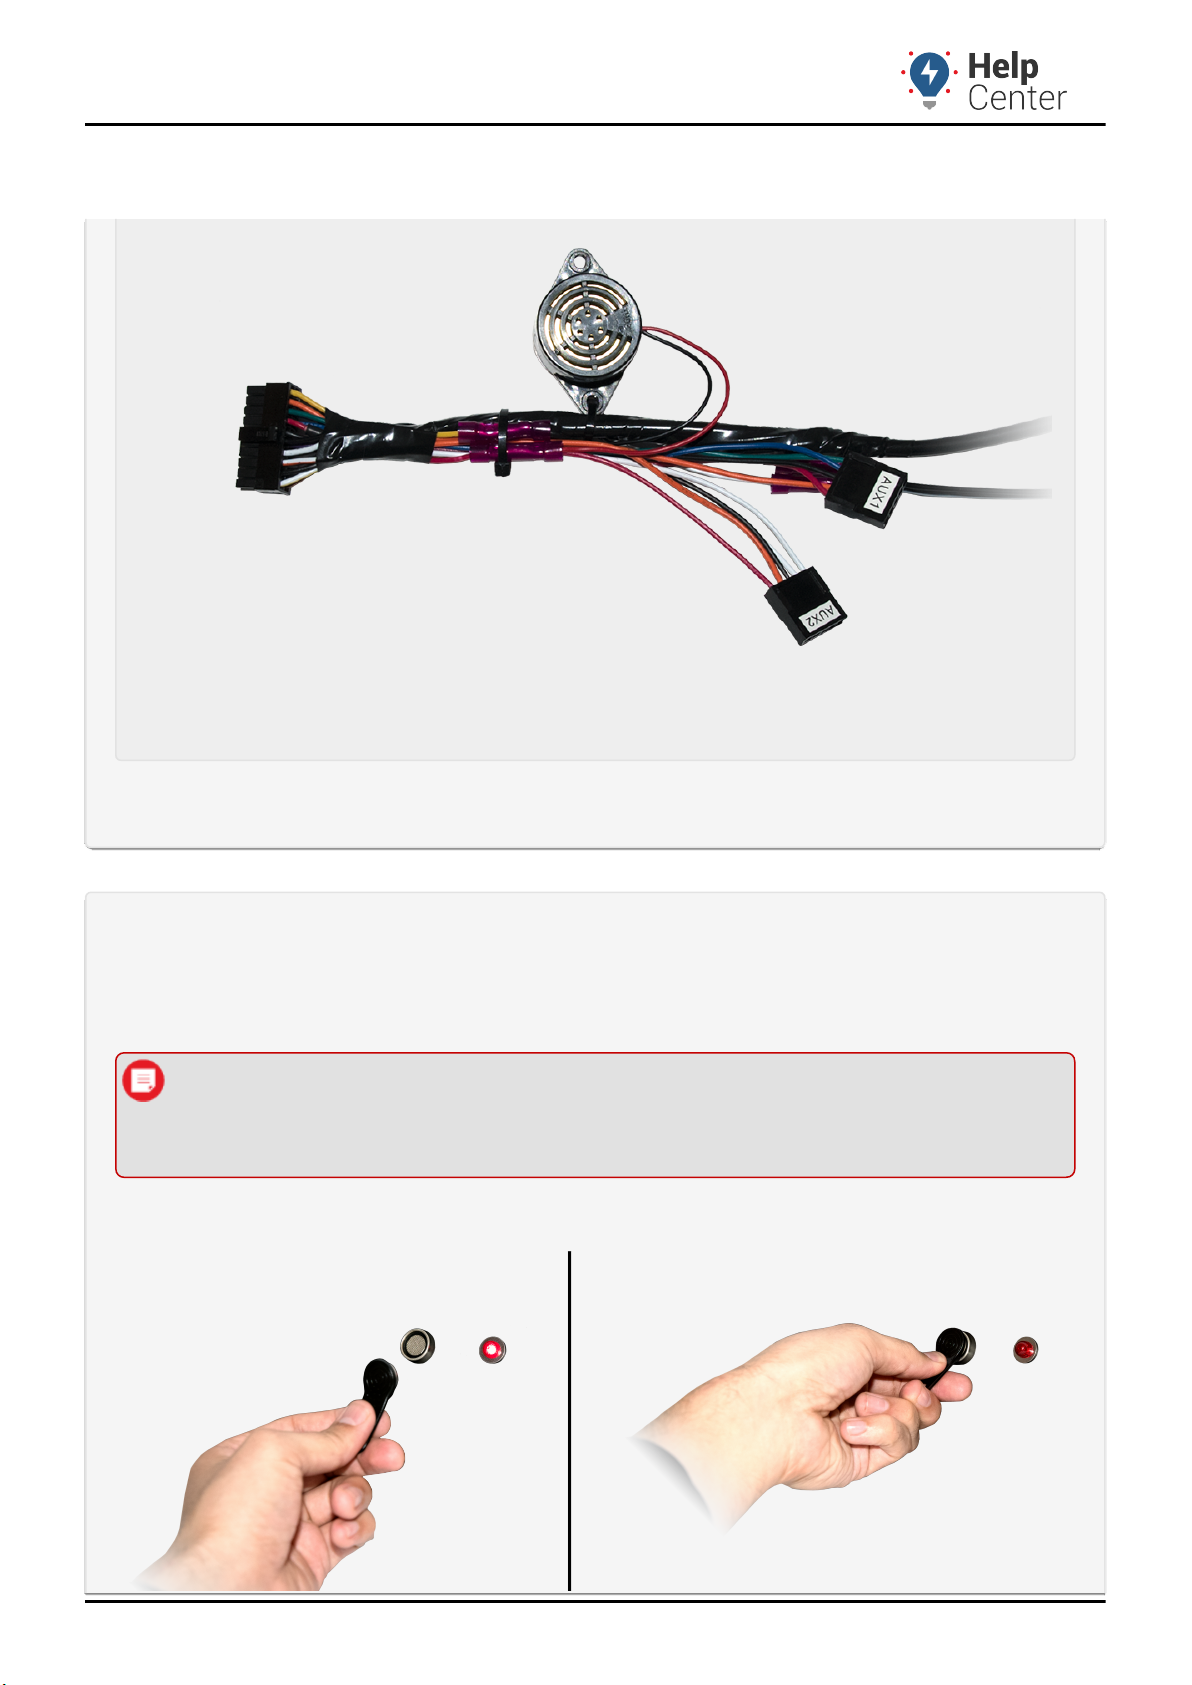
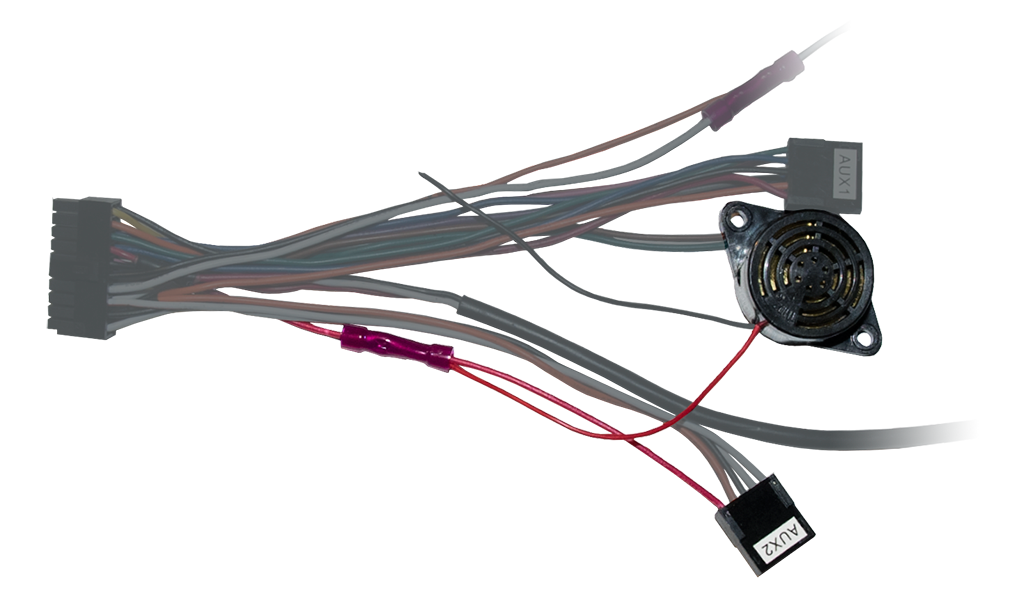
The installation kit contains one iButton Reader, one plastic washer, one metal locking washer, four butt
connectors, two key fobs, and one buzzer, or one light. Additional tools and supplies you need include one drill,
one 10 mm. drill bit, one 13 mm. drill bit (light), wire strippers, a crimping tool, electrical tape, and zip-ties.
Installation Overview
The following steps provide an overview of the installation process:
Determine the mounting location1.
Prep the mounting location2.
Assemble iButton Reader and run wires to device3.
Connect iButton Reader to device4.
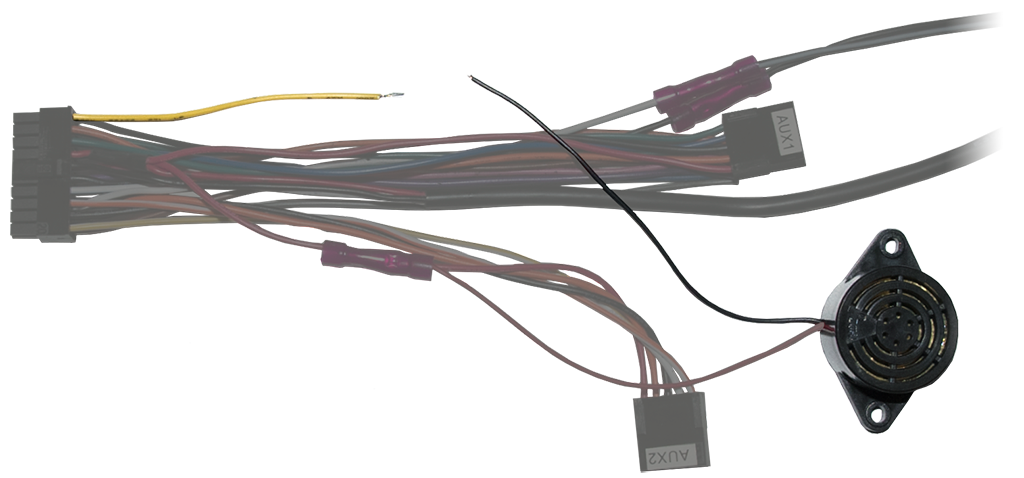
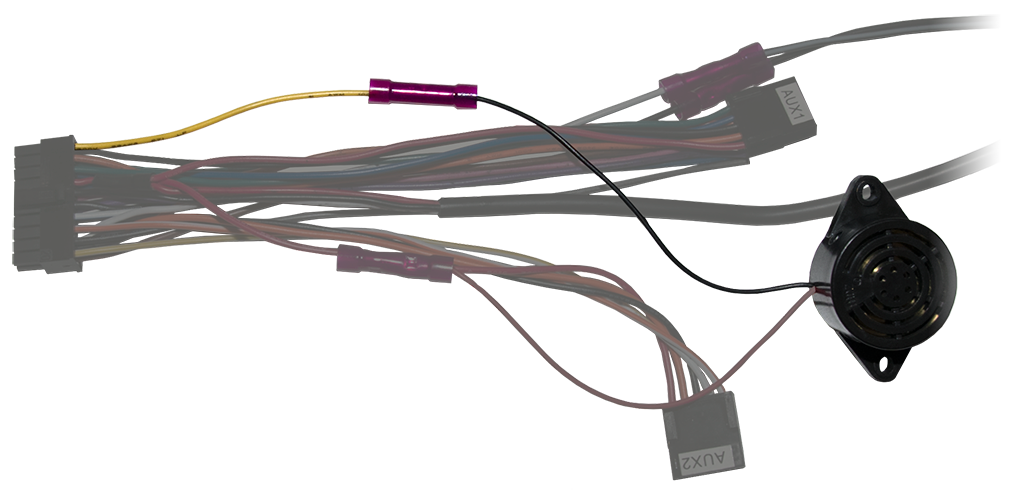
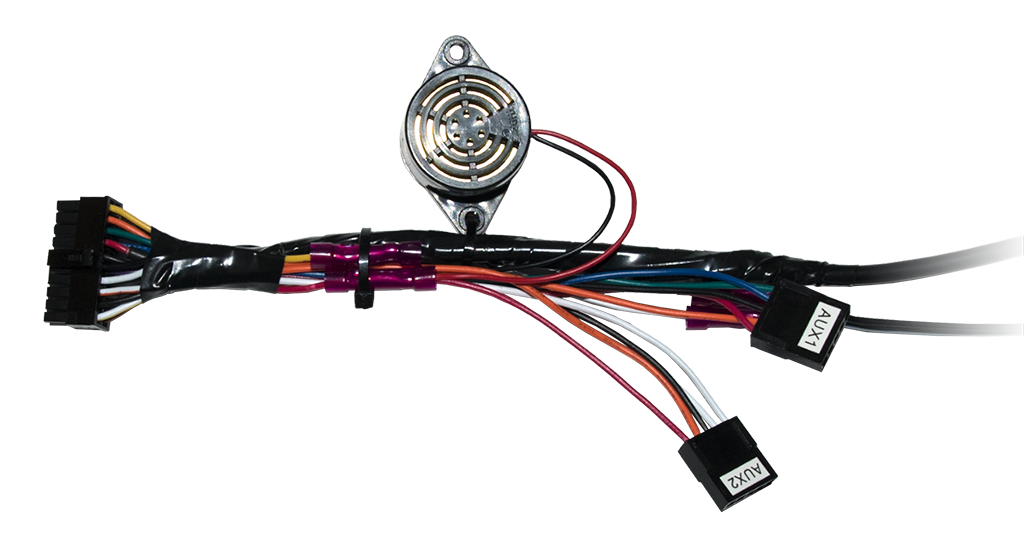
Install Driver Notification System5.
Verify installation and reassemble dash6.
Installation Steps
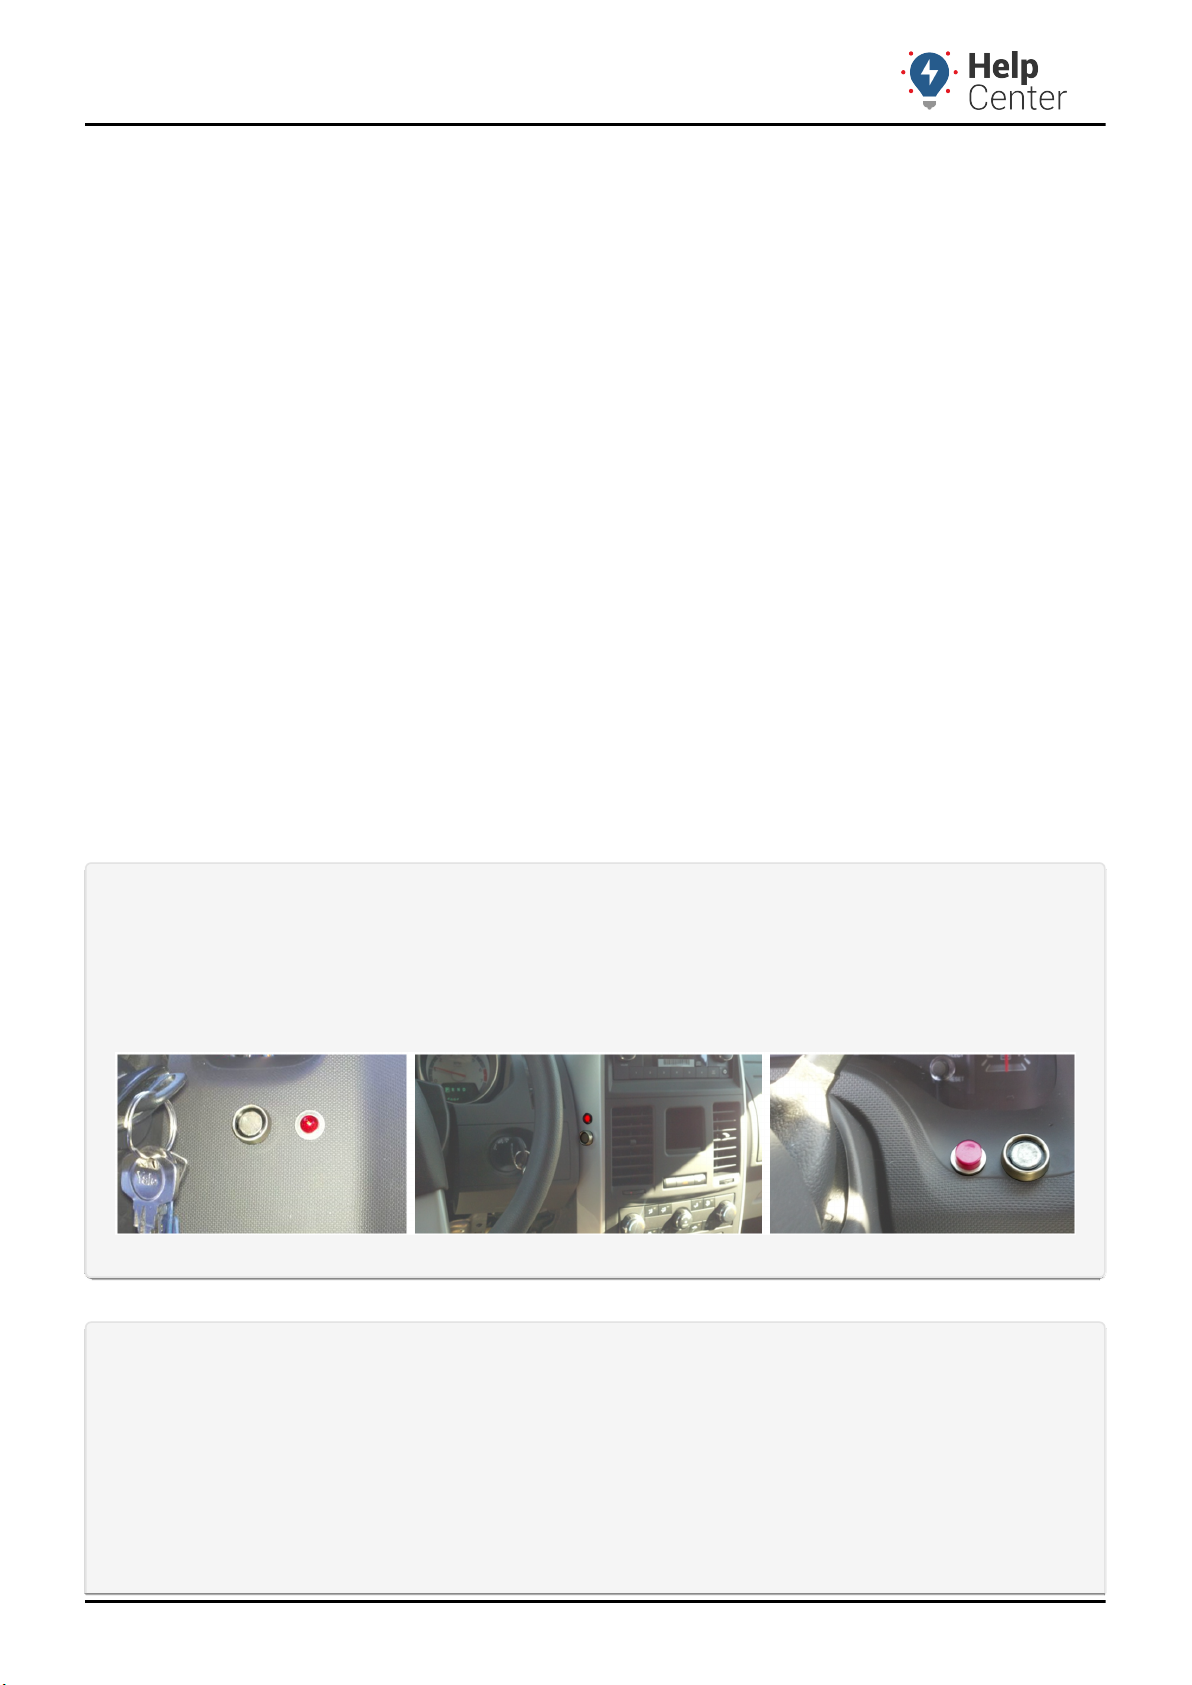
1. Determine the mounting location.
Before you begin, it is important that you sit in the driver’s seat to determine a suitable mounting
location. The iButton Reader and light (if applicable) should be visible and easy to reach from the driver’s
seat.
2. Prep the mounting location.
Carefully pull back the dash panel where the Driver ID kit is being installed.1.
Next, confirm the area directly behind the mounting location is clear of any interference so there2.
are no issues reassembling the dash with the iReader installed.


