Front JK GraBars Handle Installation Instructions:
Remember to register your products at www.GraBarsUSA.com
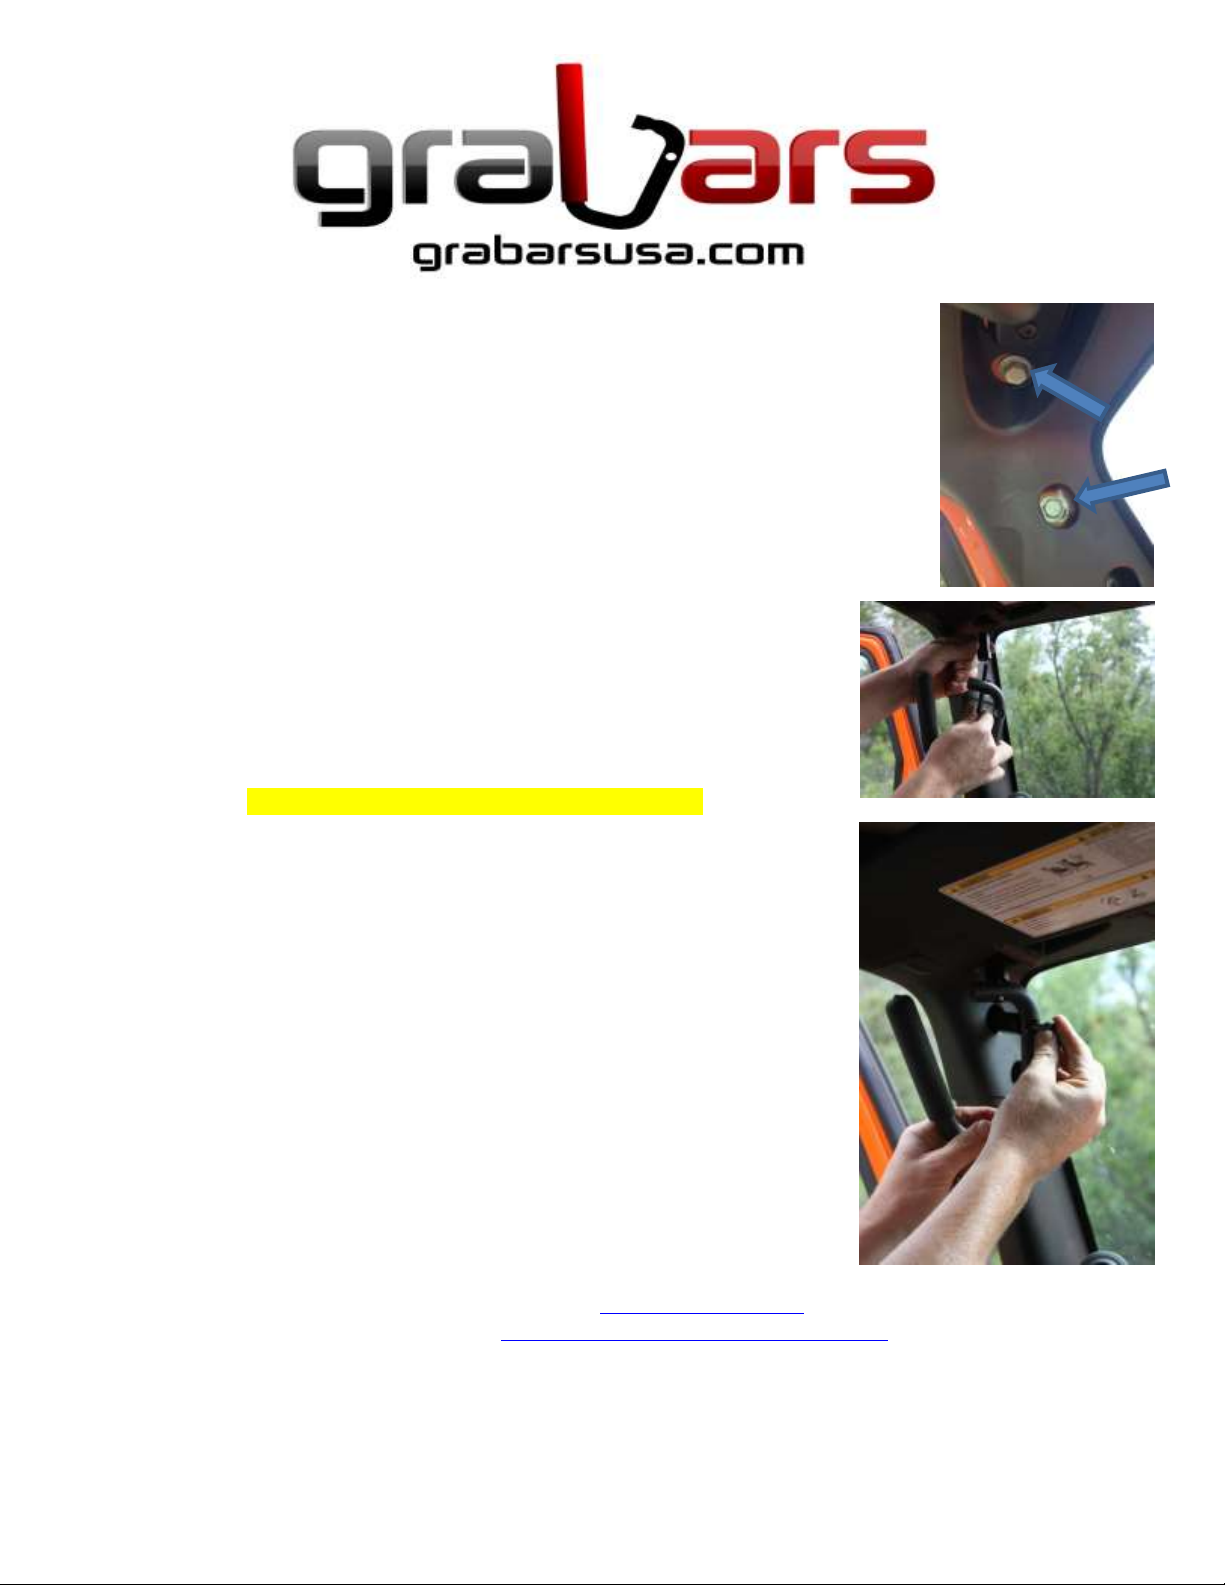
Step 1:
Remove the (2) 8mm bolts (photo on right) in the inside upper-corner of the windshield
frame, using a 13mm socket and ratchet. Use caution when removing the side bolt as it can
easily fall behind the plastic cover during removal! We back out the bolt most of the way, and
then use a pair of needle nose vise-grips to grab the bolt, and finish removing.
(New bolts are provided with your order)
Step 2:
Install the short 8mm bolt through the top hole of the handle, then through the
short spacer. Tighten the bolt with the handle and spacer into the upper hole of the
windshield frame (Do not tighten! Only turn it in a couple of threads). Then place
the long spacer onto the side hole of the windshield frame and add the long 8mm
bolt through the handle, and through the long spacer. Tighten the bolt until it’s
almost tight. Now tighten the upper bolt and torque to 300 in-lbs using a 6mm hex
wrench. Then tighten the side bolt to 300 in-lbs using a 6mm hex wrench. We use a
short 3” long hex wrench and tighten it as hard as we can.
NOTE: Make sure you have the left handle for the left side, and the right-handle for
the right side. This is determined by the counter sunk holes for the side bolts.
Repeat steps 1 & 2 for the other side.
Congratulations on installing your new Solid Steel GraBars; we thank you for
partnering with Welcome Distributing! If you have any questions or need any
additional help, don’t ever hesitate to contact us!
Please visit our website at www.GraBarsUSA.com
“Like US” on Facebook at www.Facebook.com/Welcome.Distributing!


