manuals.online logo
Brands
  1. Home
  2. •
  3. Brands
  4. •
  5. Graco
  6. •
  7. Industrial Electrical
  8. •
  9. Graco 243549 User manual

Graco 243549 User manual

309108
Rev. A
First choice when
quality counts.t
INSTRUCTIONS
INSTRUCTIONS
This manual contains important
warnings and information.
READ AND KEEP FOR REFERENCE.
Programmed Integrated Circuit
Chip Kit
Part No. 243549
Before Beginning
1. Write down the Informer setup parameters. They
will be needed for reprogramming later. Refer to
manual 309102 for further information.
2. Put on the grounding strap provided.
CAUTION
Wear the grounding strap provided with the kit to
avoid shorting out the circuit board.
3. Follow the Pressure Relief Procedure at right.
Pressure Relief Procedure
WARNING
INJECTION HAZARD
The system pressure must be manually relieved to
prevent the system from starting or spraying acci-
dentally. Fluid under high pressure can be injected
through the skin and cause serious injury. To
reduce the risk of an injury from injection, splashing
fluid, or moving parts, follow the Pressure Relief
Procedure whenever you:
Dare instructed to relieve the pressure,
Dstop spraying,
Dcheck or service any of the system equipment.
1. Turn off the fluid supply to the meter.
2. Shut off all electrical power to the fluid system.
3. Follow the Pressure Relief Procedure for your fluid
system dispensing device.
GRACO INC. P.O. BOX 1441 MINNEAPOLIS, MN 55440–1441
ECOPYRIGHT 2000, GRACO INC.
Graco Inc. is registered to I.S. EN ISO 9001
2 309108
Remove the Battery
NOTE: Reference numbers in the text correspond to
the numbers in the Informer manual 309102.
Remove the battery, using the following applicable
procedure.
WARNING
FIRE AND EXPLOSION HAZARD
To reduce the risk of fire or explosion:
DDo not remove or install the battery in a hazard-
ous location.
DThe internal and external ground wires for the
display must be correctly connected.
DFor a Display Assembly Mounted on the Meter
1. Remove the display mounting screws (35) and the
external ground wire (44) from the sensor (31). Pull
the sensor out of the lower housing (11). Refer to
Fig. 1.
9633A
35 or 54
12 31 or 51
44 or 64
11
1
Fig. 1
2. Remove the screw (43) and disconnect the internal
ground wire (9a) from the sensor (31). See Fig. 2.
3. Unplug the connector (9) from the sensor circuit
board by pressing the connector latch (B), then
pulling the connector off the receptacle (C).
4. Move the display assembly (A) to a non-hazardous
location.
5. Remove the four screws (12) and remove the
display assembly lower housing (11).
6. Remove the one screw (8a) that secures the cover
(7) and internal ground wire (9b) to the battery (3).
9
A11 (Ref)
3
BC
9a 43
31 (Ref)
Display Assembly to Mount on Meter
9b
8a (Ref)
6
Fig. 2 9631A
7
309108 3
DFor a Remotely Mounted Display Assembly
1. Remove the display mounting screws (54) and the
external ground wire (64) from the adapter (51).
Refer to Fig. 1.
2. Remove the screw (63) and disconnect the internal
ground wire (16) from the adapter (51). Pull the
adapter out of the lower housing (11). See Fig. 3.
3. Remove the four screws (12) and remove the
display assembly lower housing (11).
4. Unplug the removeable terminal blocks from their
receptacles (14, 15). Refer to Fig. 4.
5. Move the display assembly (A) to a non-hazardous
location.
6. Remove the one screw (8a) that secures the cover
(7) and internal ground wire (16) to the battery (3).
Remote Display Assembly
A11
3
16 63
51 (Ref)
8a (Ref)
6
Fig. 3 9631A
Complete the Installation
1. Remove the remaining four screws (8) and take off
the circuit board cover (7). Refer to Fig. 4.
2. Disconnect the battery from the battery connector.
3. Note the location of the notch (A) and the orienta-
tion of the chip (5), then carefully remove the chip
from its socket on the board (6).
4. Make sure the new chip is correctly oriented, then
insert it in the socket.
5. Reattach the circuit board cover and screws.
6. Reinstall the battery (3), in the reverse order of
removal.
7. Reprogram the setup parameters, which were re-
corded under Before Beginning on page 1.
Fig. 4
TI0243 (part)
5
6
14
8
7
8a
315
D
A
4 309108
Graco Standard Warranty
Graco warrants all equipment manufactured by Graco and bearing its name to be free from defects in material and workmanship on
the date of sale by an authorized Graco distributor to the original purchaser for use. With the exception of any special, extended, or
limited warranty published by Graco, Graco will, for a period of twelve months from the date of sale, repair or replace any part of the
equipment determined by Graco to be defective. This warranty applies only when the equipment is installed, operated and maintained
in accordance with Graco’s written recommendations.
This warranty does not cover, and Graco shall not be liable for general wear and tear, or any malfunction, damage or wear caused by
faulty installation, misapplication, abrasion, corrosion, inadequate or improper maintenance, negligence, accident, tampering, or sub-
stitution of non–Graco component parts. Nor shall Graco be liable for malfunction, damage or wear caused by the incompatibility of
Graco equipment with structures, accessories, equipment or materials not supplied by Graco, or the improper design, manufacture,
installation, operation or maintenance of structures, accessories, equipment or materials not supplied by Graco.
This warranty is conditioned upon the prepaid return of the equipment claimed to be defective to an authorized Graco distributor for
verification of the claimed defect. If the claimed defect is verified, Graco will repair or replace free of charge any defective parts. The
equipment will be returned to the original purchaser transportation prepaid. If inspection of the equipment does not disclose any defect
in material or workmanship, repairs will be made at a reasonable charge, which charges may include the costs of parts, labor, and
transportation.
THIS WARRANTY IS EXCLUSIVE, AND IS IN LIEU OF ANY OTHER WARRANTIES, EXPRESS OR IMPLIED, INCLUDING BUT
NOT LIMITED TO WARRANTY OF MERCHANTABILITY OR WARRANTY OF FITNESS FOR A PARTICULAR PURPOSE.
Graco’s sole obligation and buyer’s sole remedy for any breach of warranty shall be as set forth above. The buyer agrees that no other
remedy (including, but not limited to, incidental or consequential damages for lost profits, lost sales, injury to person or property, or any
other incidental or consequential loss) shall be available. Any action for breach of warranty must be brought within two (2) years of the
date of sale.
Graco makes no warranty, and disclaims all implied warranties of merchantability and fitness for a particular purpose in connection
with accessories, equipment, materials or components sold but not manufactured by Graco. These items sold, but not manufactured
by Graco (such as electric motors, switches, hose, etc.), are subject to the warranty, if any, of their manufacturer. Graco will provide
purchaser with reasonable assistance in making any claim for breach of these warranties.
In no event will Graco be liable for indirect, incidental, special or consequential damages resulting from Graco supplying equipment
hereunder, or the furnishing, performance, or use of any products or other goods sold hereto, whether due to a breach of contract,
breach of warranty, the negligence of Graco, or otherwise.
FOR GRACO CANADA CUSTOMERS
The parties acknowledge that they have required that the present document, as well as all documents, notices and legal proceedings
entered into, given or instituted pursuant hereto or relating directly or indirectly hereto, be drawn up in English. Les parties reconnais-
sent avoir convenu que la rédaction du présente document sera en Anglais, ainsi que tous documents, avis et procédures judiciaires
exécutés, donnés ou intentés à la suite de ou en rapport, directement ou indirectement, avec les procedures concernées.
Graco Phone Number
TO PLACE AN ORDER, contact your Graco distributor, or call this number to identify the distributor closest to you:
1–800–367–4023 Toll Free
All written and visual data contained in this document reflects the latest product information available at the time of publication.
Graco reserves the right to make changes at any time without notice.
Sales Offices: Minneapolis, Detroit
International Offices: Belgium, Korea, Hong Kong, Japan
GRACO INC. P.O. BOX 1441 MINNEAPOLIS, MN 55440–1441
www.graco.com
PRINTED IN USA 309108 March 2000. Revised May 2000
Other Graco Industrial Electrical manuals

Graco Reactor 2 Hydraulic Instruction Manual

Graco

Graco Reactor 2 Hydraulic Instruction Manual

Graco REACTOR 246028 User manual

Graco

Graco REACTOR 246028 User manual

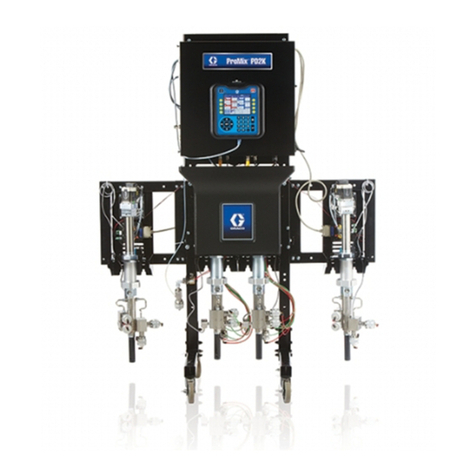
Graco ProMix PD2K Use and care manual

Graco

Graco ProMix PD2K Use and care manual

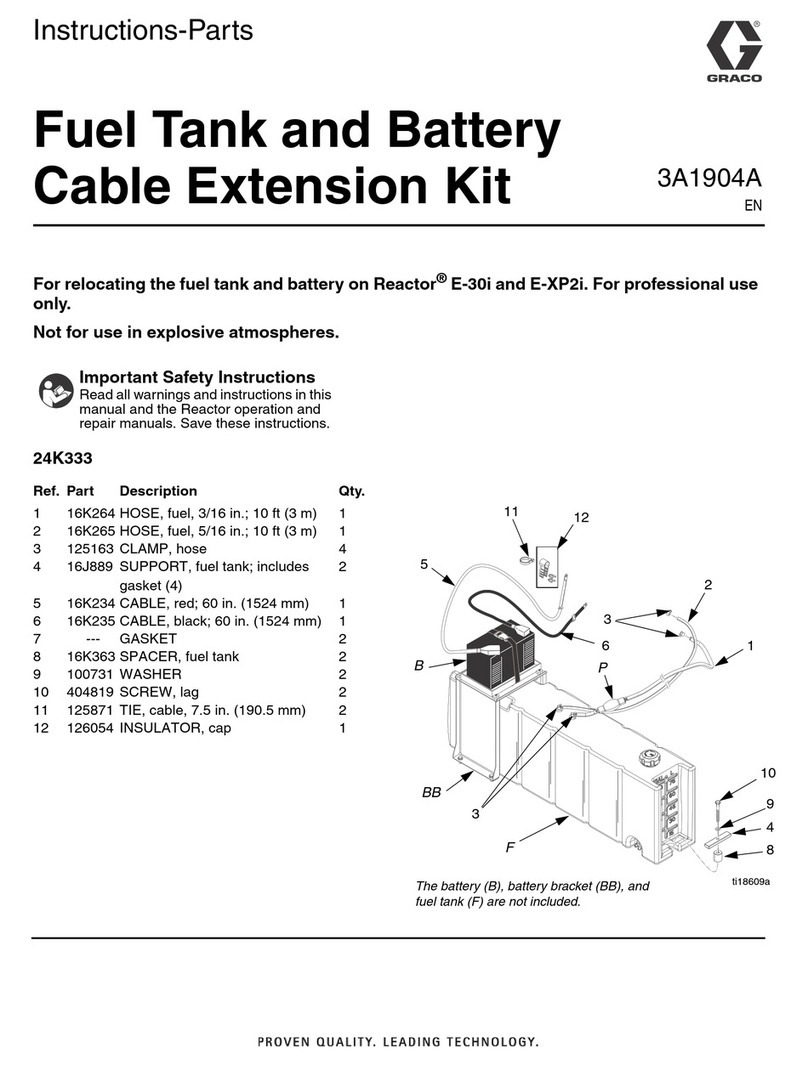
Graco 24K333 Parts list manual

Graco

Graco 24K333 Parts list manual

Graco 25D117 Instruction Manual

Graco

Graco 25D117 Instruction Manual

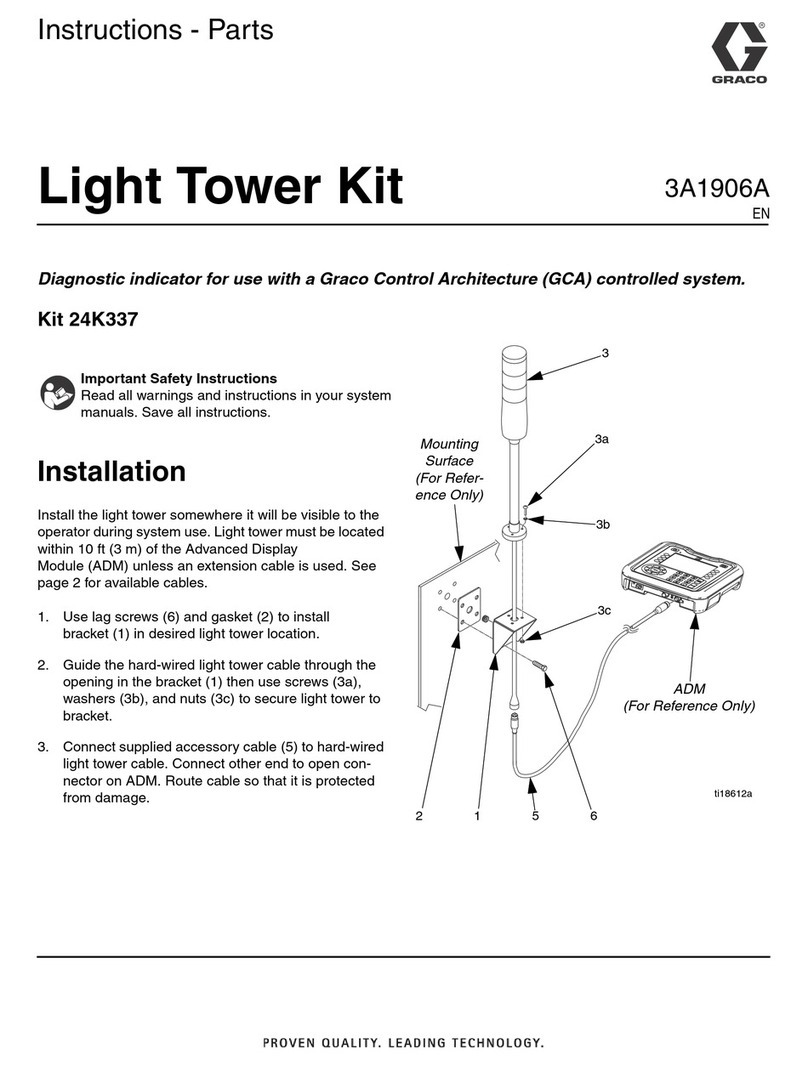
Graco 24K337 Parts list manual

Graco

Graco 24K337 Parts list manual

Graco EcoQuip 2 Use and care manual

Graco

Graco EcoQuip 2 Use and care manual

Graco Series A Setup guide

Graco

Graco Series A Setup guide

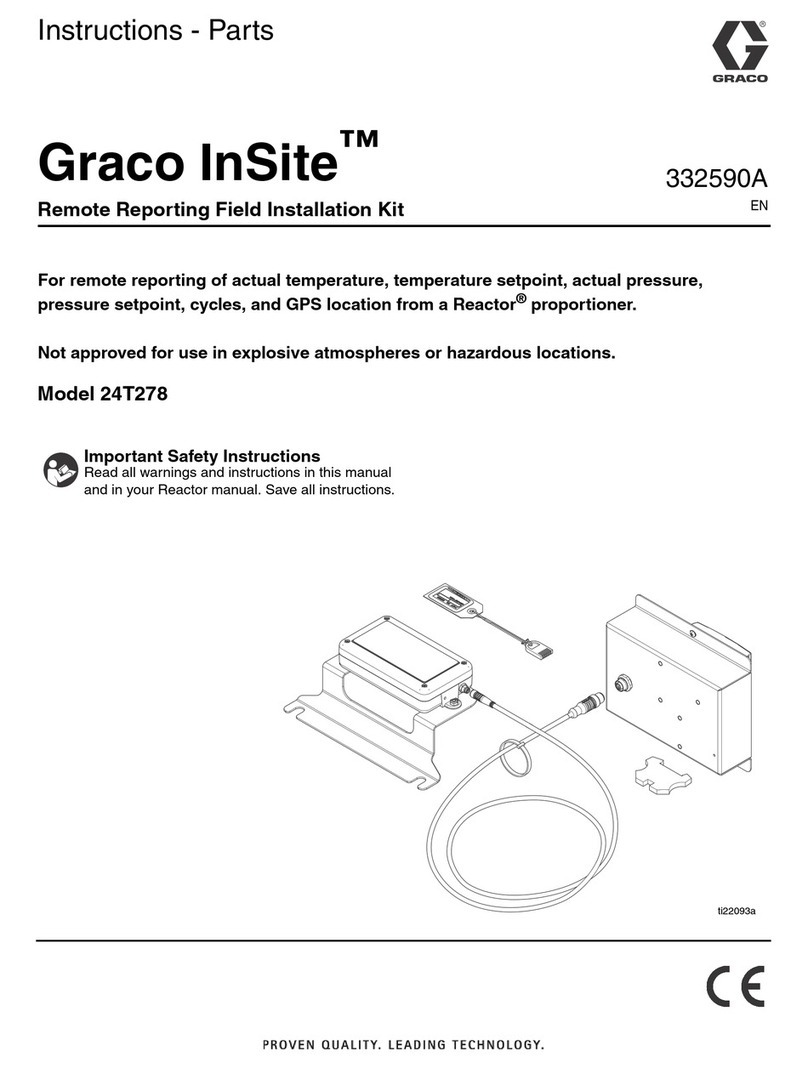
Graco InSite 24T278 Parts list manual

Graco

Graco InSite 24T278 Parts list manual

Popular Industrial Electrical manuals by other brands

Oriental motor SUPER VEXTA U1215GA Operator's manual

Oriental motor

Oriental motor SUPER VEXTA U1215GA Operator's manual

GST C-9504E quick start guide

GST

GST C-9504E quick start guide

unicraft EFW Series operating instructions

unicraft

unicraft EFW Series operating instructions

Rutenbeck REG LWL installation guide

Rutenbeck

Rutenbeck REG LWL installation guide

Javelin J800 Operation manual

Javelin

Javelin J800 Operation manual

Eaton Companion II back-up current-limiting fuse installation instructions

Eaton

Eaton Companion II back-up current-limiting fuse installation instructions

Rockwell Automation Enwatch EK-44750C Service bulletin

Rockwell Automation

Rockwell Automation Enwatch EK-44750C Service bulletin

GenInterlock GE-200HDA instructions

GenInterlock

GenInterlock GE-200HDA instructions

Geokon GK-401 instruction manual

Geokon

Geokon GK-401 instruction manual

Murata GRM2165C1H391JA01 Series Reference sheet

Murata

Murata GRM2165C1H391JA01 Series Reference sheet

Knick ProLine P22400 manual

Knick

Knick ProLine P22400 manual

Siemens SIMOVERT MASTERDRIVE SIMOLINK-Board operating instructions

Siemens

Siemens SIMOVERT MASTERDRIVE SIMOLINK-Board operating instructions

Murata GRM022R60J103KE19 Series Reference sheet

Murata

Murata GRM022R60J103KE19 Series Reference sheet

Sensorex SD7500CD Product Instruction Sheet

Sensorex

Sensorex SD7500CD Product Instruction Sheet

Murata GRM1555C1H4R9BA01 Series Reference sheet

Murata

Murata GRM1555C1H4R9BA01 Series Reference sheet

Murata GRM31CR71A226KE15 Series Reference sheet

Murata

Murata GRM31CR71A226KE15 Series Reference sheet

Murata LLA319R71A105MA01 Series Reference sheet

Murata

Murata LLA319R71A105MA01 Series Reference sheet

Siemens 5WG1 262-1EB01 Operating and mounting instructions

Siemens

Siemens 5WG1 262-1EB01 Operating and mounting instructions

manuals.online logo
manuals.online logoBrands
  • About & Mission
  • Contact us
  • Privacy Policy
  • Terms and Conditions

Copyright 2025 Manuals.Online. All Rights Reserved.