manuals.online logo
Brands
  1. Home
  2. •
  3. Brands
  4. •
  5. Graco
  6. •
  7. Water Pump
  8. •
  9. Graco 240291 Operation manual

Graco 240291 Operation manual

This manual suits for next models

6

Other Graco Water Pump manuals

Graco DynaMite 25D100 Parts list manual

Graco

Graco DynaMite 25D100 Parts list manual

Graco 198466 User manual

Graco

Graco 198466 User manual

Graco saniforce 2150 User manual

Graco

Graco saniforce 2150 User manual

Graco President 218747 Operation manual

Graco

Graco President 218747 Operation manual

Graco saniforce 2150 Manual

Graco

Graco saniforce 2150 Manual

Graco ProMix PD2K User manual

Graco

Graco ProMix PD2K User manual

Graco 258906 Assembly instructions

Graco

Graco 258906 Assembly instructions

Graco Husky 715 Datasheet

Graco

Graco Husky 715 Datasheet

Graco Reactor 2 Series Instruction Manual

Graco

Graco Reactor 2 Series Instruction Manual

Graco Series A Operating instructions

Graco

Graco Series A Operating instructions
Graco 24H689 User manual

Graco

Graco 24H689 User manual

Graco Check-Mate 2100 Operation manual

Graco

Graco Check-Mate 2100 Operation manual

Graco SaniForce 24E836 Parts list manual

Graco

Graco SaniForce 24E836 Parts list manual

Graco DM-22 User manual

Graco

Graco DM-22 User manual

Graco Husky 1040 Operation manual

Graco

Graco Husky 1040 Operation manual

Graco 224826 User manual

Graco

Graco 224826 User manual

Graco 257100 Instruction Manual

Graco

Graco 257100 Instruction Manual

Graco Series B Operation manual

Graco

Graco Series B Operation manual

Graco Viscount High-Flo Plus 25E933 Operation manual

Graco

Graco Viscount High-Flo Plus 25E933 Operation manual

Graco KING A Series Operation manual

Graco

Graco KING A Series Operation manual

Graco 222012 User manual

Graco

Graco 222012 User manual

Graco Dyna-Star 200:1 User manual

Graco

Graco Dyna-Star 200:1 User manual

Graco Bulldog User manual

Graco

Graco Bulldog User manual

Graco ToughTek F340e Use and care manual

Graco

Graco ToughTek F340e Use and care manual

Popular Water Pump manuals by other brands

Watershed Innovations HYDRAPUMP SMART FLEX Instructional manual

Watershed Innovations

Watershed Innovations HYDRAPUMP SMART FLEX Instructional manual

Messner MultiSystem MPF 3000 operating instructions

Messner

Messner MultiSystem MPF 3000 operating instructions

Xylem Bell & Gossett WEHT0311M Installation, operation and maintenance instructions

Xylem

Xylem Bell & Gossett WEHT0311M Installation, operation and maintenance instructions

WilTec 50739 Operation manual

WilTec

WilTec 50739 Operation manual

Franklin Electric Little Giant 555702 HRK-360S instruction sheet

Franklin Electric

Franklin Electric Little Giant 555702 HRK-360S instruction sheet

Ingersoll-Rand PD02P Series Operator's manual

Ingersoll-Rand

Ingersoll-Rand PD02P Series Operator's manual

VS ZJ Series Operating	 instruction

VS

VS ZJ Series Operating instruction

Flotec FPZS50RP owner's manual

Flotec

Flotec FPZS50RP owner's manual

SKF Lincoln FlowMaster II User and maintenance instructions

SKF

SKF Lincoln FlowMaster II User and maintenance instructions

Xylem Lowara LSB Series Installation, operation and maintenance instructions

Xylem

Xylem Lowara LSB Series Installation, operation and maintenance instructions

Water Duro Pumps DCJ500 Operating & installation instructions

Water

Water Duro Pumps DCJ500 Operating & installation instructions

Action P490 Operating instructions & parts manual

Action

Action P490 Operating instructions & parts manual

Flo King Permacore Reusable Carbon Bag Disassembly. & Cleaning Instructions

Flo King

Flo King Permacore Reusable Carbon Bag Disassembly. & Cleaning Instructions

ARO ARO PD15P-X Operator's manual

ARO

ARO ARO PD15P-X Operator's manual

Pumptec 112V Series Operating instructions and parts manual

Pumptec

Pumptec 112V Series Operating instructions and parts manual

Virax 262070 user manual

Virax

Virax 262070 user manual

Neptun NPHW 5500 operating instructions

Neptun

Neptun NPHW 5500 operating instructions

Sensidyne Gilian BDX-II Operation & service manual

Sensidyne

Sensidyne Gilian BDX-II Operation & service manual

manuals.online logo
manuals.online logoBrands
  • About & Mission
  • Contact us
  • Privacy Policy
  • Terms and Conditions

Copyright 2025 Manuals.Online. All Rights Reserved.

308798
Rev. W
INSTRUCTIONS-PARTS LIST
INSTRUCTIONS
This manual contains important
warnings and information.
READ AND KEEP FOR REFERENCE.
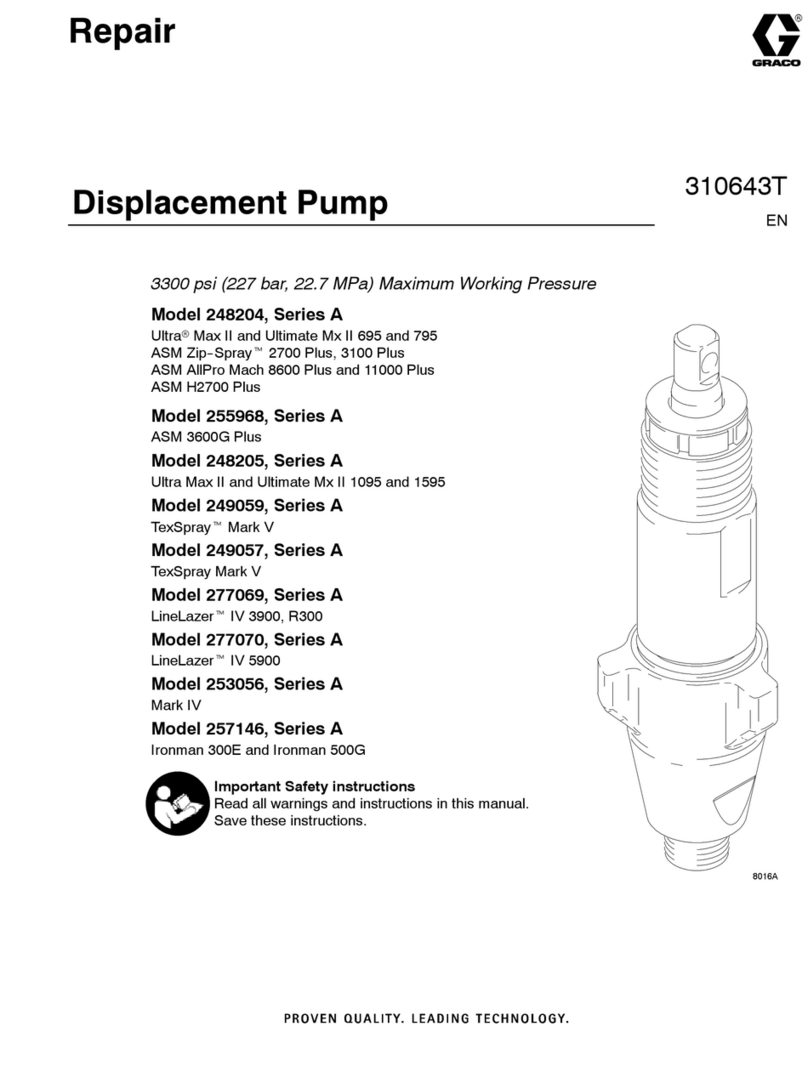
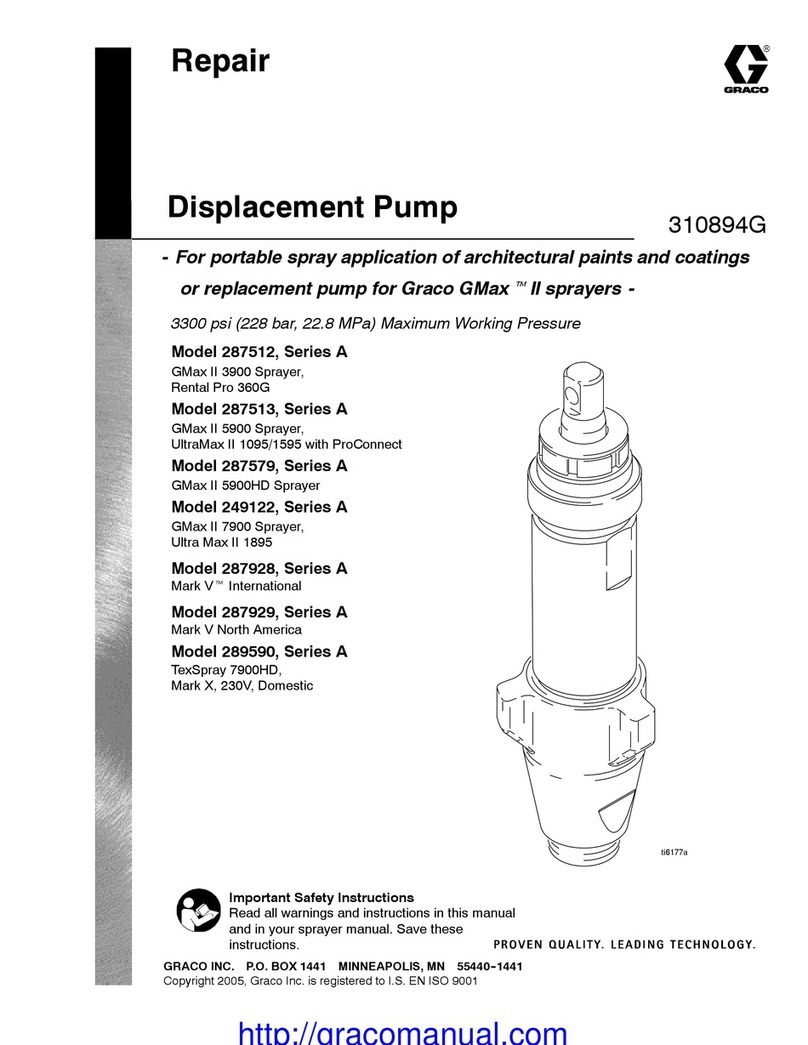
Displacement Pump
3600 psi (250 bar, 24.8 MPa) Maximum Working Pressure
Model 239923, Series A
Used in the Ultra Max and Ultimate Mx 795 and 1095 Sprayers
Used in the GMax and GMx 3900 Sprayers
Model 240291, Series A
Used in the Ultra Max and Ultimate Mx 1595 Sprayers
Used in the GMax and GMx 5900 Sprayers
Used in the GMax 10000 Sprayers
Model 240917, Series A
Used in the GMax and GMx 7900 Sprayers
Model 240800, Series A
Used in the GMax 5900HD and Mark V Sprayers
Model 243344, Series A
Used in the LineLazer II 3900 Sprayers
Model 243345, Series A
Used in the LineLazer II 5900 Sprayers
GRACO INC. P.O. BOX 1441 MINNEAPOLIS, MN 55440–1441
COPYRIGHT 1997, GRACO INC.
Graco Inc. is registered to I.S. EN ISO 9001
8016A
Parts
2 308798
Table of Contents
Warnings 2. . . . . . . . . . . . . . . . . . . . . . . . . . . . . . . . . . . . . .
Service 3. . . . . . . . . . . . . . . . . . . . . . . . . . . . . . . . . . . . . . .
Technical Data 15. . . . . . . . . . . . . . . . . . . . . . . . . . . . . . . .
Parts, Pump
239923 and 243344 16. . . . . . . . . . . . . . . . . . . . . . . . . .
240291 and 243345 17. . . . . . . . . . . . . . . . . . . . . . . . . .
240917 18. . . . . . . . . . . . . . . . . . . . . . . . . . . . . . . . . . . . .
240800 18. . . . . . . . . . . . . . . . . . . . . . . . . . . . . . . . . . . . .
Warranty 20. . . . . . . . . . . . . . . . . . . . . . . . . . . . . . . . . . . . .
Graco Phone Number 20. . . . . . . . . . . . . . . . . . . . . . . . . .
Symbols
Warning Symbol
WARNING
This symbol alerts you to the possibility of serious
injury or death if you do not follow the instructions.
Caution Symbol
CAUTION
This symbol alerts you to the possibility of damage to
or destruction of equipment if you do not follow the
instructions.
WARNING
INSTRUCTIONS
EQUIPMENT MISUSE HAZARD
Equipment misuse can cause the equipment to rupture or malfunction and result in serious injury.
This equipment is for professional use only.
Read all instruction manuals, tags, and labels before operating the equipment.
Use the equipment only for its intended purpose. If you are uncertain about usage, call your Graco
distributor.
Do not alter or modify this equipment. Use only genuine Graco parts and accessories.
Do not exceed the maximum working pressure of the lowest rated system component. Refer to the
Technical Data on page 15 for the maximum working pressure of this equipment.
Use fluids and solvents which are compatible with the equipment wetted parts. Refer to the Tech-
nical Data section of all equipment manuals. Read the fluid and solvent manufacturer’s warnings.
Do not use 1,1,1–trichloroethane, methylene chloride, other halogenated hydrocarbon solvents or
fluids containing such solvents in pressurized aluminum equipment. Such use could result in a
chemical reaction, with the possibility of explosion.
Comply with all applicable local, state, and national fire, electrical, and safety regulations.
MOVING PARTS HAZARD
Moving parts can pinch or amputate your fingers.
Keep clear of all moving parts when starting or operating the pump.
Before servicing the equipment, follow the Pressure Relief Procedure on page 3 to prevent the
equipment from starting unexpectedly.
3308798
Service
Pressure Relief Procedure
WARNING
PRESSURIZED EQUIPMENT HAZARD
The system pressure must be manually
relieved to prevent the system from
starting or spraying accidentally. To
reduce the risk of an injury from accidental spray
from the gun, splashing fluid, or moving parts,
follow the Pressure Relief Procedure whenever
you:
are instructed to relieve the pressure,
stop spraying,
check or service any of the system equipment,
or install or clean the spray nozzle.
1. Engage gun safety latch.
2. Turn ON/OFF switch to OFF.
3. Unplug power cord.
4. Disengage gun safety latch. Hold metal part of gun
against grounded metal pail and trigger gun into
pail to relieve pressure.
5. Engage gun safety latch.
6. Open any fluid drain valves in system. Leave drain
valve open until ready to dispense again.
Pump Repair Kit
Pump Repair Kit
239923 244196
240291 244198
240917 240916
240800 244198
243344 244196
243345 244198
Tools Needed
Vise
12 in. adjustable, open end wrench (2)
Hammer, 20 oz maximum
Small screwdriver
Throat Seal Liquid
Pick or long small screwdriver
Cleaning and Inspecting Parts
1. Clean and inspect parts. Pay particular attention to
the ball seats in the intake valve and piston, which
must have no nicks or wear, and to the inside of
the sleeve and the outside of the piston rod, which
must not be worn or scratched. Replace worn or
damaged parts.
WARNING
COMPONENT RUPTURE HAZARD
Never use sharp or pointed tools to
remove sleeve or other components
which could result in pump rupture and
cause serious bodily injury. If the sleeve cannot be
removed easily, return the sleeve and cylinder to
your Graco distributor for removal.
2. Remove and clean the sleeve when you are
repacking the pump.
4 308798
Service
Repair When Pump Is Off The Sprayer
Disassembling the pump
Fig. 1. Remove packing nut (202) and throat adjust-
ment spacer (228).
Fig. 1 7568A
202
228
Fig. 2. Unscrew intake valve from cylinder.
Fig. 2 7569A
Fig. 3. Disassemble intake valve. Clean and inspect.
O-ring (227) may require a pick for removal.
7570A
Fig. 3
227
Fig. 4. Tap piston rod out of cylinder with a hammer or
flip over and tap piston rod out against a bench.
Note: Sleeve may come out of cylinder with piston rod.
Fig. 4 7571a
Fig. 5. Remove piston rod from sleeve, or remove
sleeve from cylinder. Remove o-ring (221) from top of
sleeve (or from inside of cylinder if o-ring did not come
out with sleeve).
Fig. 5 7572A
5308798
Service
WARNING
COMPONENT RUPTURE HAZARD
Do not clean or wipe the piston valve
threads. Cleaning the piston valve
threads could destroy the special sealing
patch and cause the piston valve to come loose
during operation, causing pump bursting and
possible serious bodily injury.
Fig. 6. Unscrew piston valve from piston rod. Clean
and inspect parts. The piston has a special thread
locking/sealing patch. Do not remove the patch. The
patch allows four disassembly/assembly procedures
before it is necessary to apply Loctiteto the threads.
Fig. 6 7576A
Fig. 7. Remove packings and glands from piston rod.
7574B
Fig. 7
Used on
240291
240800
&
240917
Fig. 8. Remove throat packings and glands from cylin-
der. Discard throat packings and glands.
Fig. 8 7573B
Used on
240291
240800
&
240917
Assembling the pump
Fig. 9. Soak all leather packings in SAE 30W oil for 1
hour minimum prior to assembly. Stack male gland
(219) on piston rod. Alternately stack UHMWPE (208)
and leather (218) packings (note orientation) on piston
rod. Install female gland (217). Install backup washer
(216) and u-cup (209) (note orientation) on piston
valve (210). The special sealing patch on piston valve
threads is good for four repackings. Use Loctiteon
piston valve threads after four repackings.
7574B
Fig. 9
216
218
209
208219
217
210
Used on
240291
240800
&
240917
6 308798
Service
Fig. 10. Install ball (206) in piston rod. If Loctiteis ap-
plied to piston valve threads, ensure that none gets on
ball.
Fig. 10
206
7575A
Fig. 11. Tighten piston valve to piston rod as specified:
Fig. 11
Torque to 27 +/–3 ft-lb
(239923)
Torque to 55 +/–3 ft-lb
(240291, 240800)
Torque to 55 +/–5 ft-lb
(240917)
7576A
Fig. 12. Soak all leather packings in SAE 30W oil for 1
hour minimum prior to assembly. Place male gland
(204) in cylinder. Alternately stack UHMWPE (203) and
leather packings (223) (note orientation). Place female
gland (224) in top of cylinder. Seat packings.
7573B
Fig. 12
223
224
203
204
Used on
240291
240800
&
240917
Fig. 13. Install seal (201) into packing nut (202). Install
throat adjustment spacer onto packing nut. Loosely
install packing nut into cylinder.
Fig. 13
201
202
7581A
7308798
Service
Fig. 14. Grease piston packings and sleeve top edge.
Fig. 14 7578A
Fig. 15. Carefully slide piston assembly into top of
sleeve. Assure u-cup is not rolled over or damaged.
Fig. 15 7577A
Fig. 16. Grease top inch or two of piston rod that will
go through the cylinder throat packings.
7579A
Fig. 16
Fig. 17. Grease o-ring (221) and place on sleeve. Slide
sleeve/piston rod assembly into bottom of cylinder. Re-
place o-ring (207) if desired.
Note: O-ring (207) is not required for safe pump opera-
tion.
Fig. 17 7582A
221
207
8 308798
Service
Fig. 18. Reassemble intake valve with new o-ring
(227), seat (212) and ball (214). Seat may be flipped
over and used on other side. Clean seat thoroughly.
Fig. 18
214
212
7570A
227
Fig. 19. Install intake valve on cylinder. If a wrench is
used torque as follows:
67 +/–5 ft-lb (for model 239923)
80 +/–5 ft–lb (for models 240291 & 240800)
150 +/–5 ft–lb (for model 240917).
If a wrench is not used, be sure intake valve is bot-
tomed out against cylinder.
Fig. 19 7569A
Fig. 20. Torque seal and packing nut (202) down onto
throat nut spacer (228) to 100 +/–10 in-lb.
Remove throat nut spacer (228) when pump packings
begin to leak after much use. Then tighten packing nut
down until leakage stops or lessens. This allows
approximately 100 gallons of additional operation
before a repacking is required.
7568A
Fig. 20
202
228
9308798
Notes
10 308798
Service
Repair When Pump Is On The Sprayer
WARNING
INJECTION HAZARD
To reduce the risk of serious injury,
whenever you are instructed to relieve
pressure, follow the Pressure Relief
Procedure on page 3.
Fig. 1. Remove intake valve.
Fig. 1 7673A
Fig. 2. Use screwdriver to push retaining spring up and
push pin out.
Fig. 2
7674A
Fig. 3. Disassemble intake valve. Clean and inspect.
O-ring (227) may require a pick for removal.
7570A
Fig. 3
227