1.0 Gas Requirements:
1.1 Gas type: Natural / Propane
1.2 Gas Pressure: 7” wc 11”wc
1.4 Gas flow: 1 Burner System: 60,000-80,000 Btu/hr
Note: Check with your gas supplier to verify gas flows and pressures available at the location
of your installation. In many cases utility companies will install larger meters at no charge to
accommodate larger flows.
2.0 Installation
Warning: This unit is for outdoor use only
2.1 Do not install near any combustibles such as wood structures, fuels, clothing, fabrics
or dry vegetation.
2.2 Installation shall be performed by a licensed contractor. All aspects of installation
must conform to local codes, or in the absence of codes, with National Fuel Gas Code
ANZI Z223.1.
2.3 An approved gas valve or keyed valve shall be installed upstream of the unit and
located in an accessible area that is within 5ft from the Grand Effects Unit.
2.4 Maintain good piping practice by keeping pipe length and elbows to a minimum to
eliminate unnecessary pressure drops. (Do not use any flexible gas line)
2.5 Install the Grand Effects Unit as shown in Figures 1, 2 & 4. Figure 3 is an optional
configuration to catch dirty run-off water.
2.6 Install Mounting bracket as shown in Fig. 2. The Mounting Bracket should be secured
to the wall using three bolts.
2.7 Center Bowl on top of Mounting Bracket. The bowl should rest on top of the three
spacers located on Mounting Bracket. With hammer, carefully bend over metal prongs
to secure bowl.
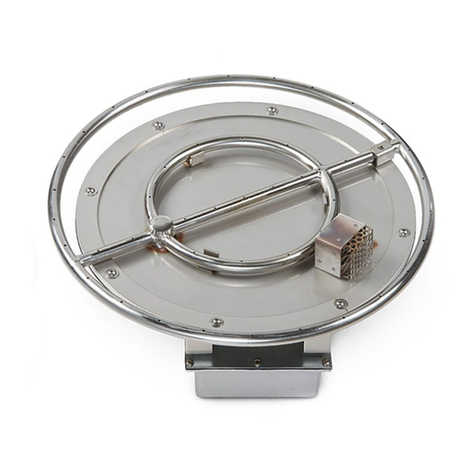
2.8 Install 90 elbow and gas hose at gas connection as shown in Fig. 2. Connect gas hose
to Burner Assy.
2.9 With all gas connections tight, position Burner Assembly so that it sits level in the bowl.
Rotate as required so that the gas hose rests in a compact position.
Important: The Mounting Bracket must be installed for proper cooling and drainage.

