2
3
4
5
6
7
8
9
10
11
12
13
14
15
3
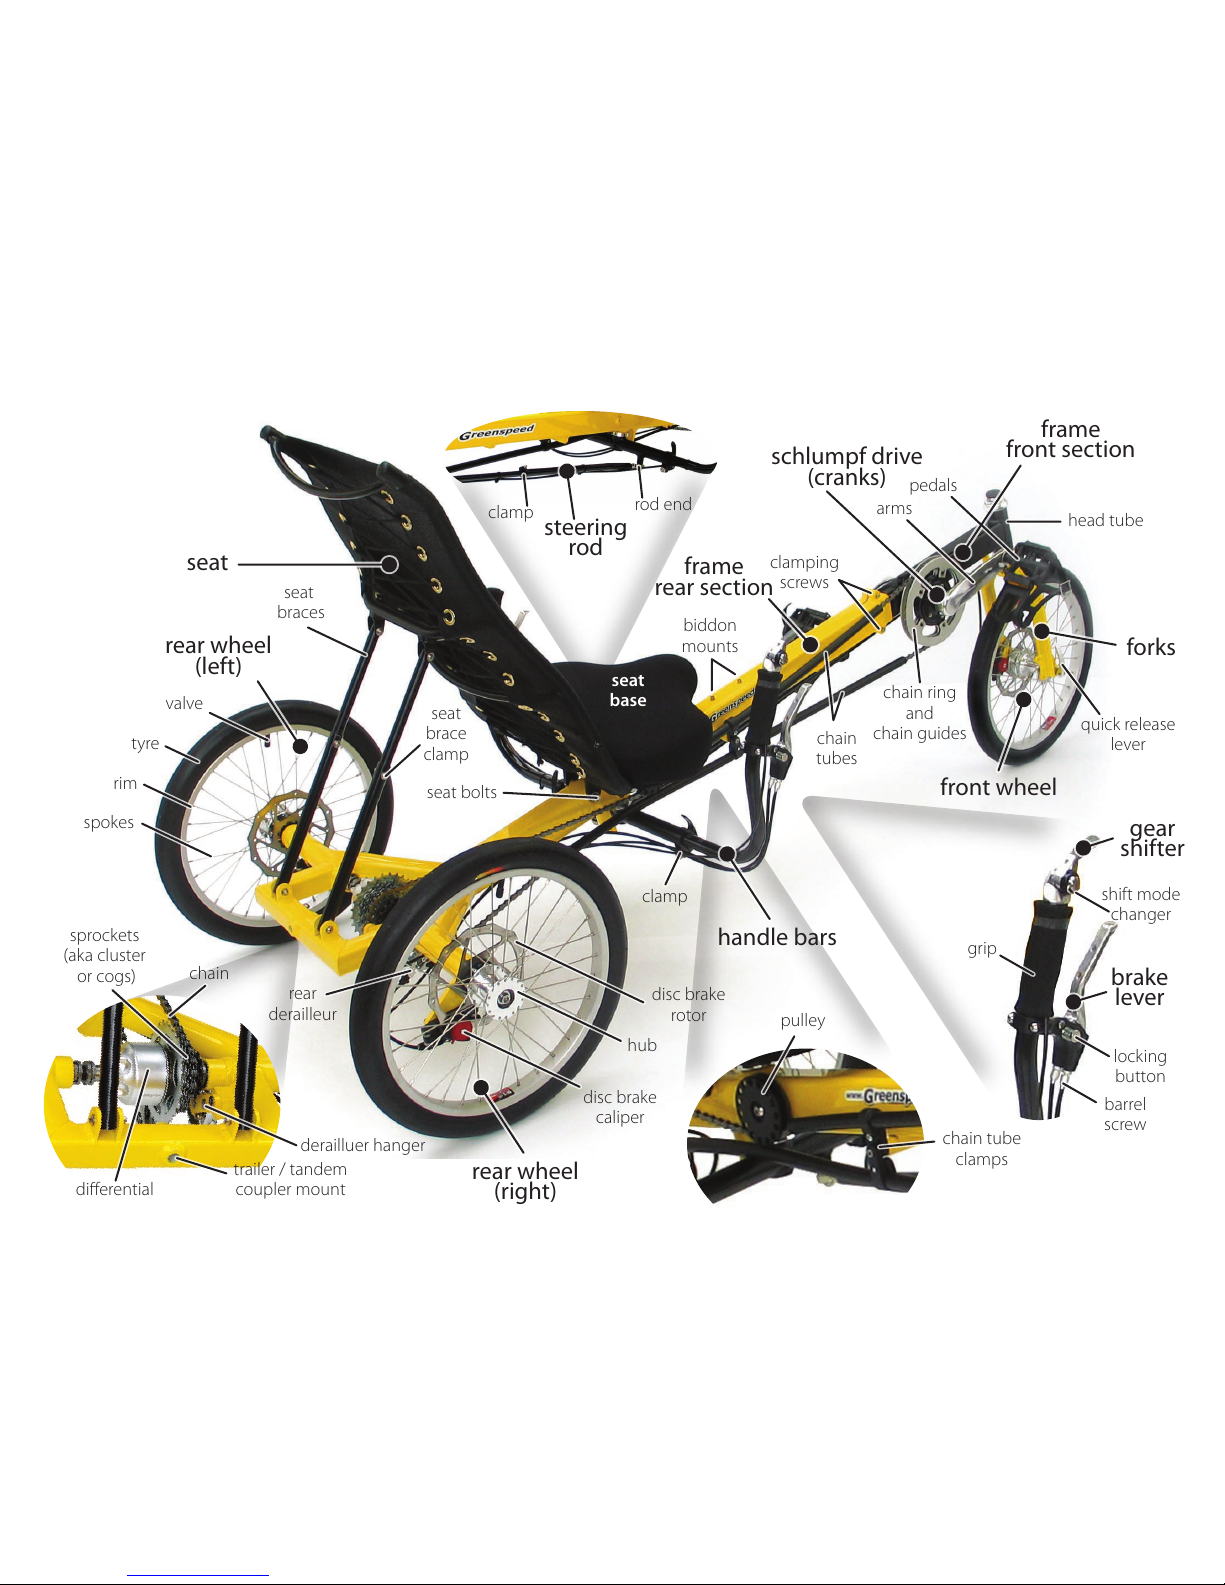
tricycle anatomy
design
tools
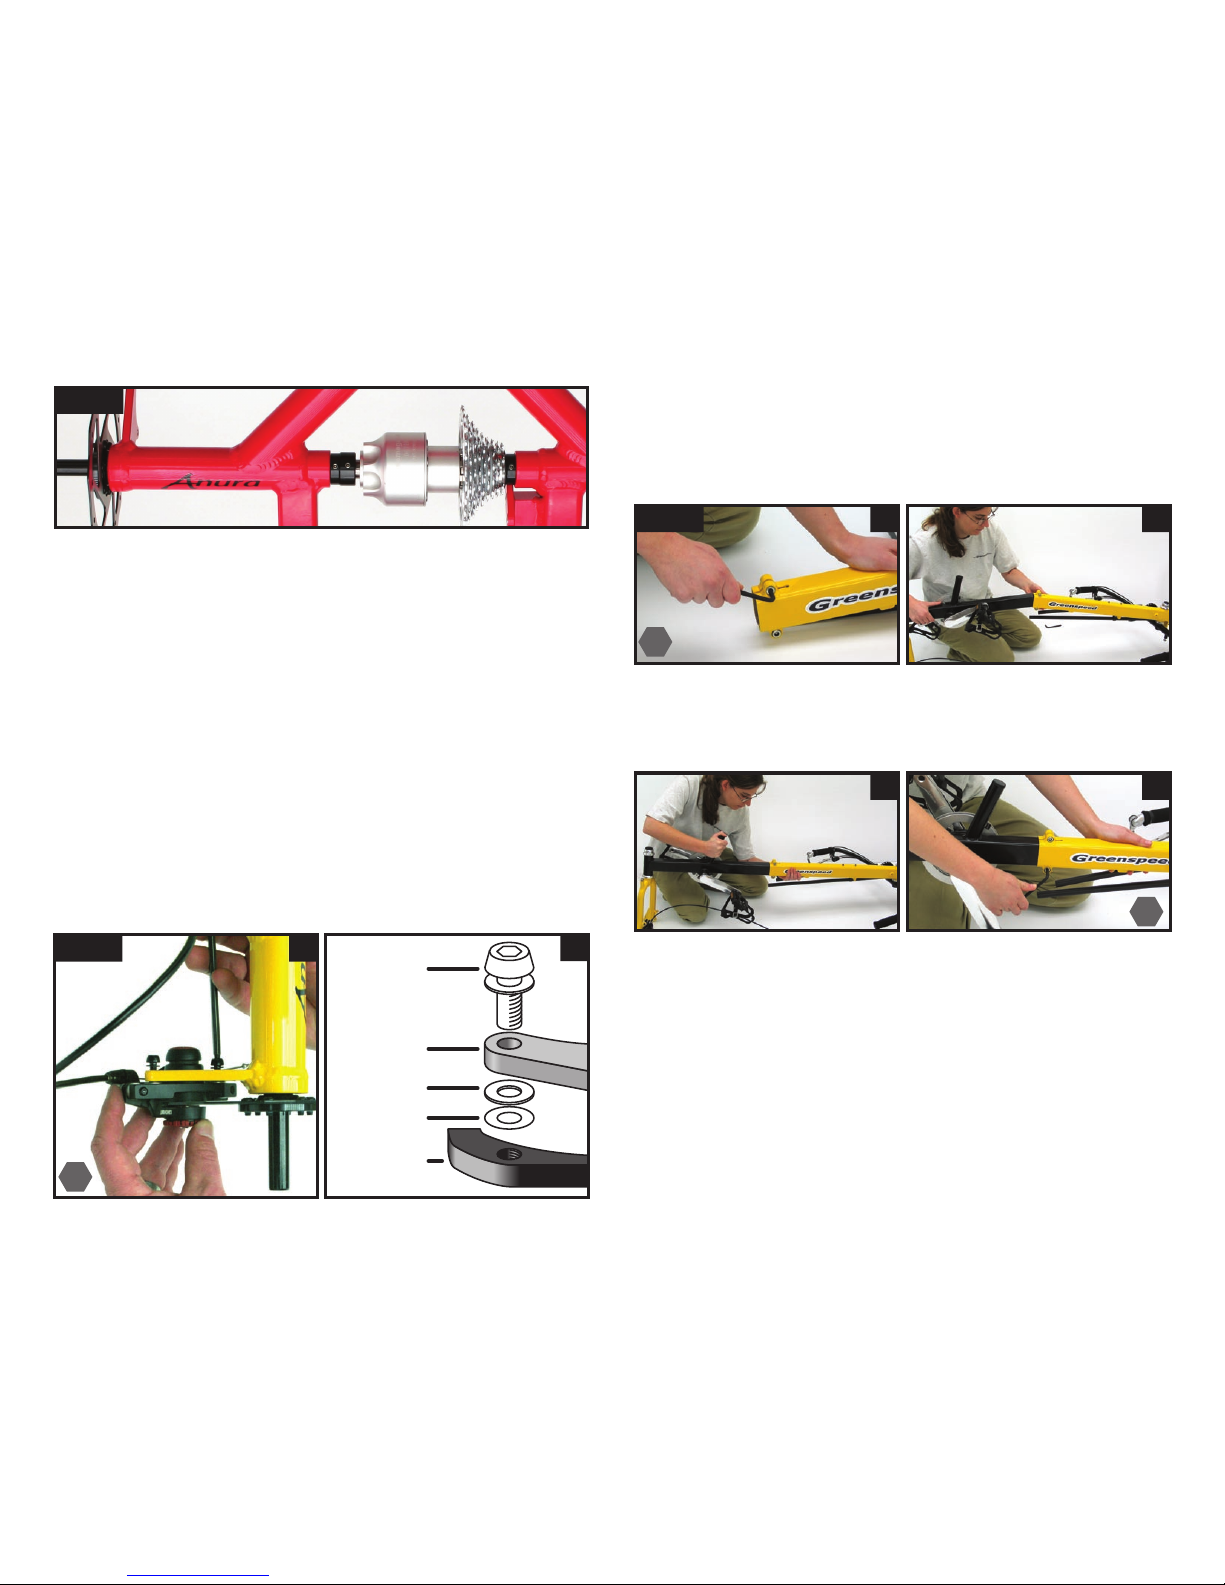
fitting your differential
fitting disc brake calipers
fitting your frame together
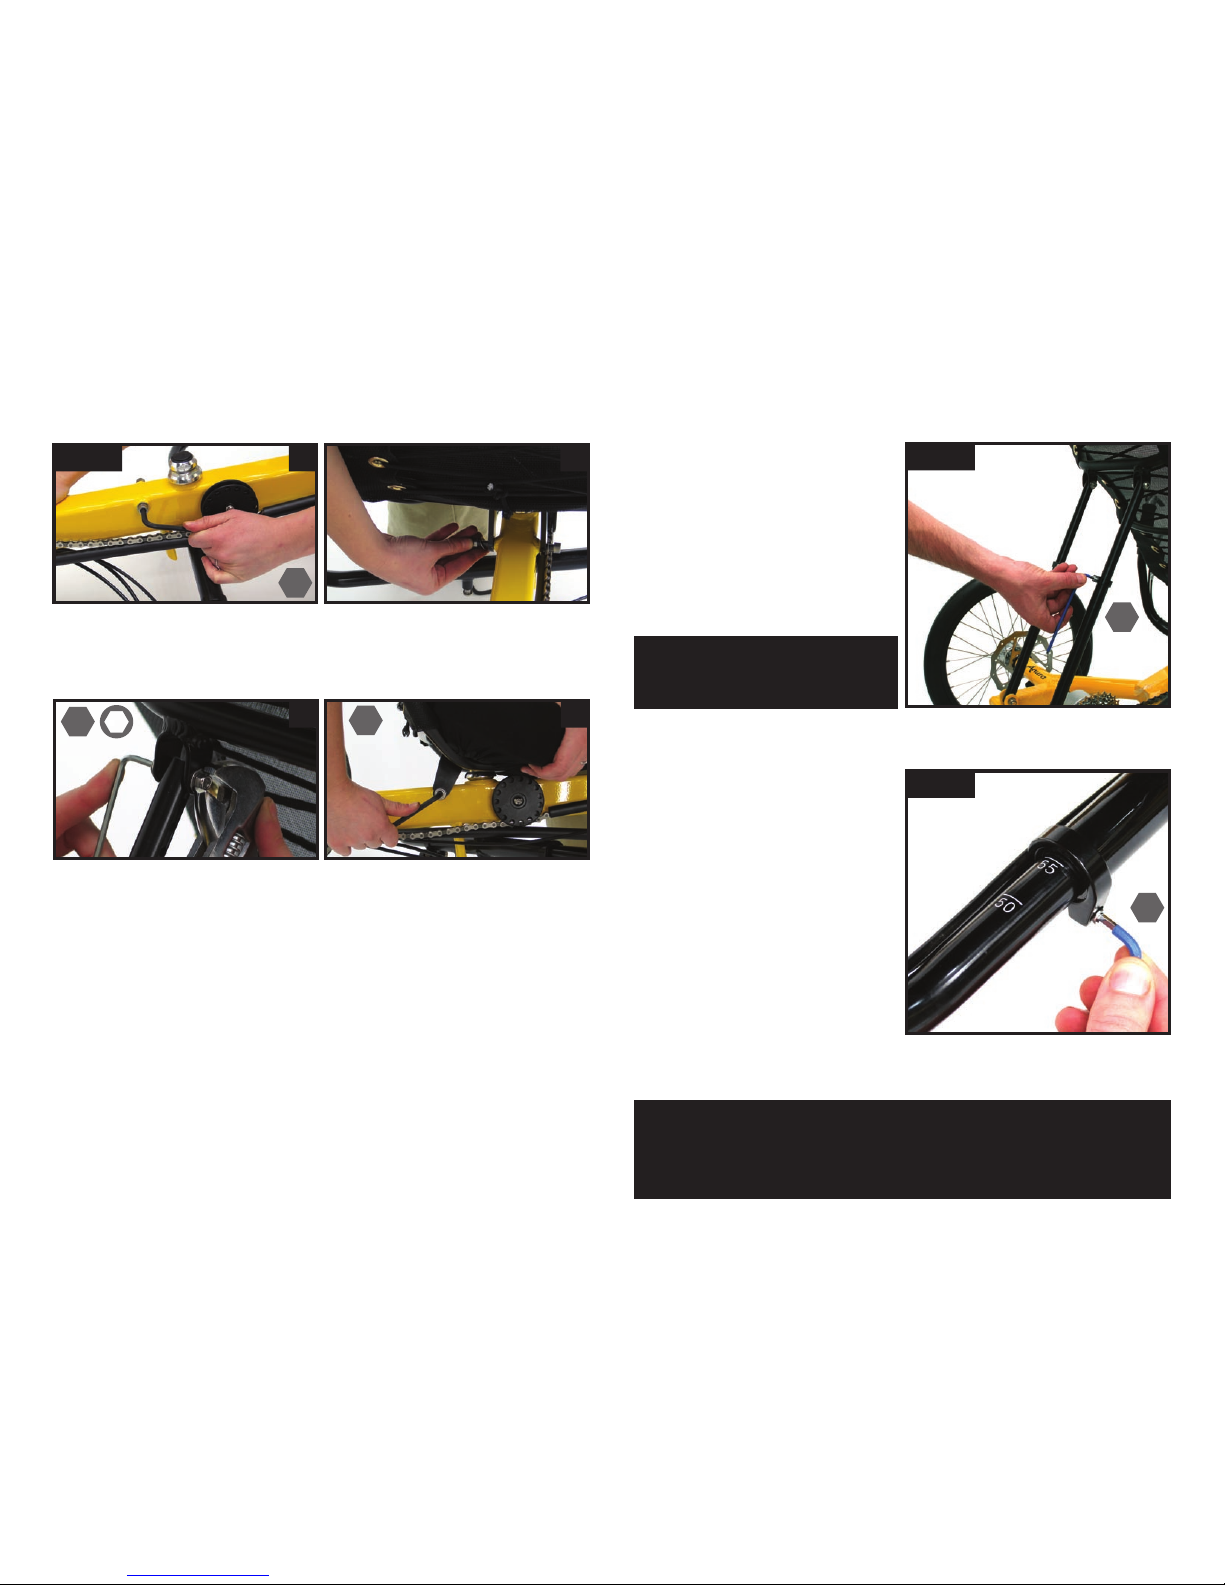
fitting your rear wheels
fitting your front wheel
fitting your seat
adjusting your seat angle
adjusting your handle bars
fitting your pedals
adjusting to your leg length
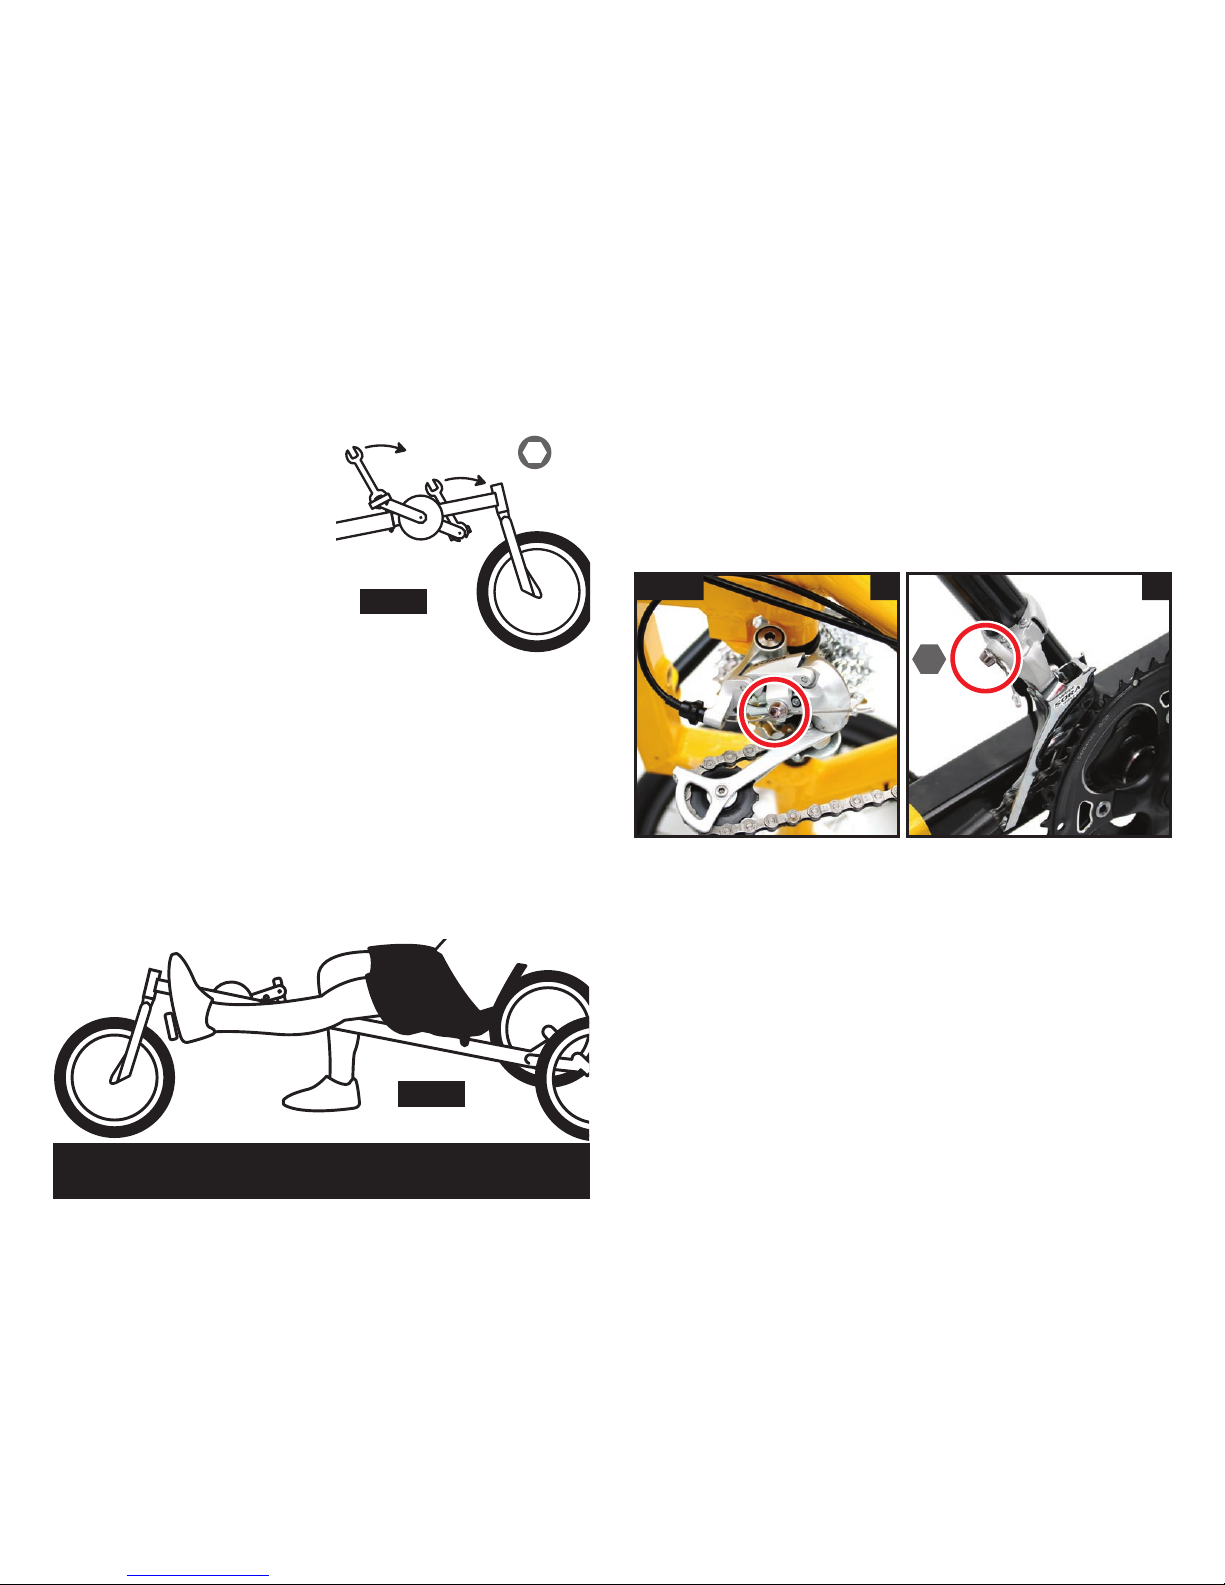
check derailleur cables
fitting your chain
adjusting chain length
joining your chain
attaching the steering rod
aligning your steering
attaching the front brake
final check
adjusting your gears
~ front derailleur
~ rear derailleur
steering, braking,
using your gears
1st ride, stamina, pedals
tools to have while riding
maintenance, chain,
tyre pressure
accessories, warranty,
community, resources
contents
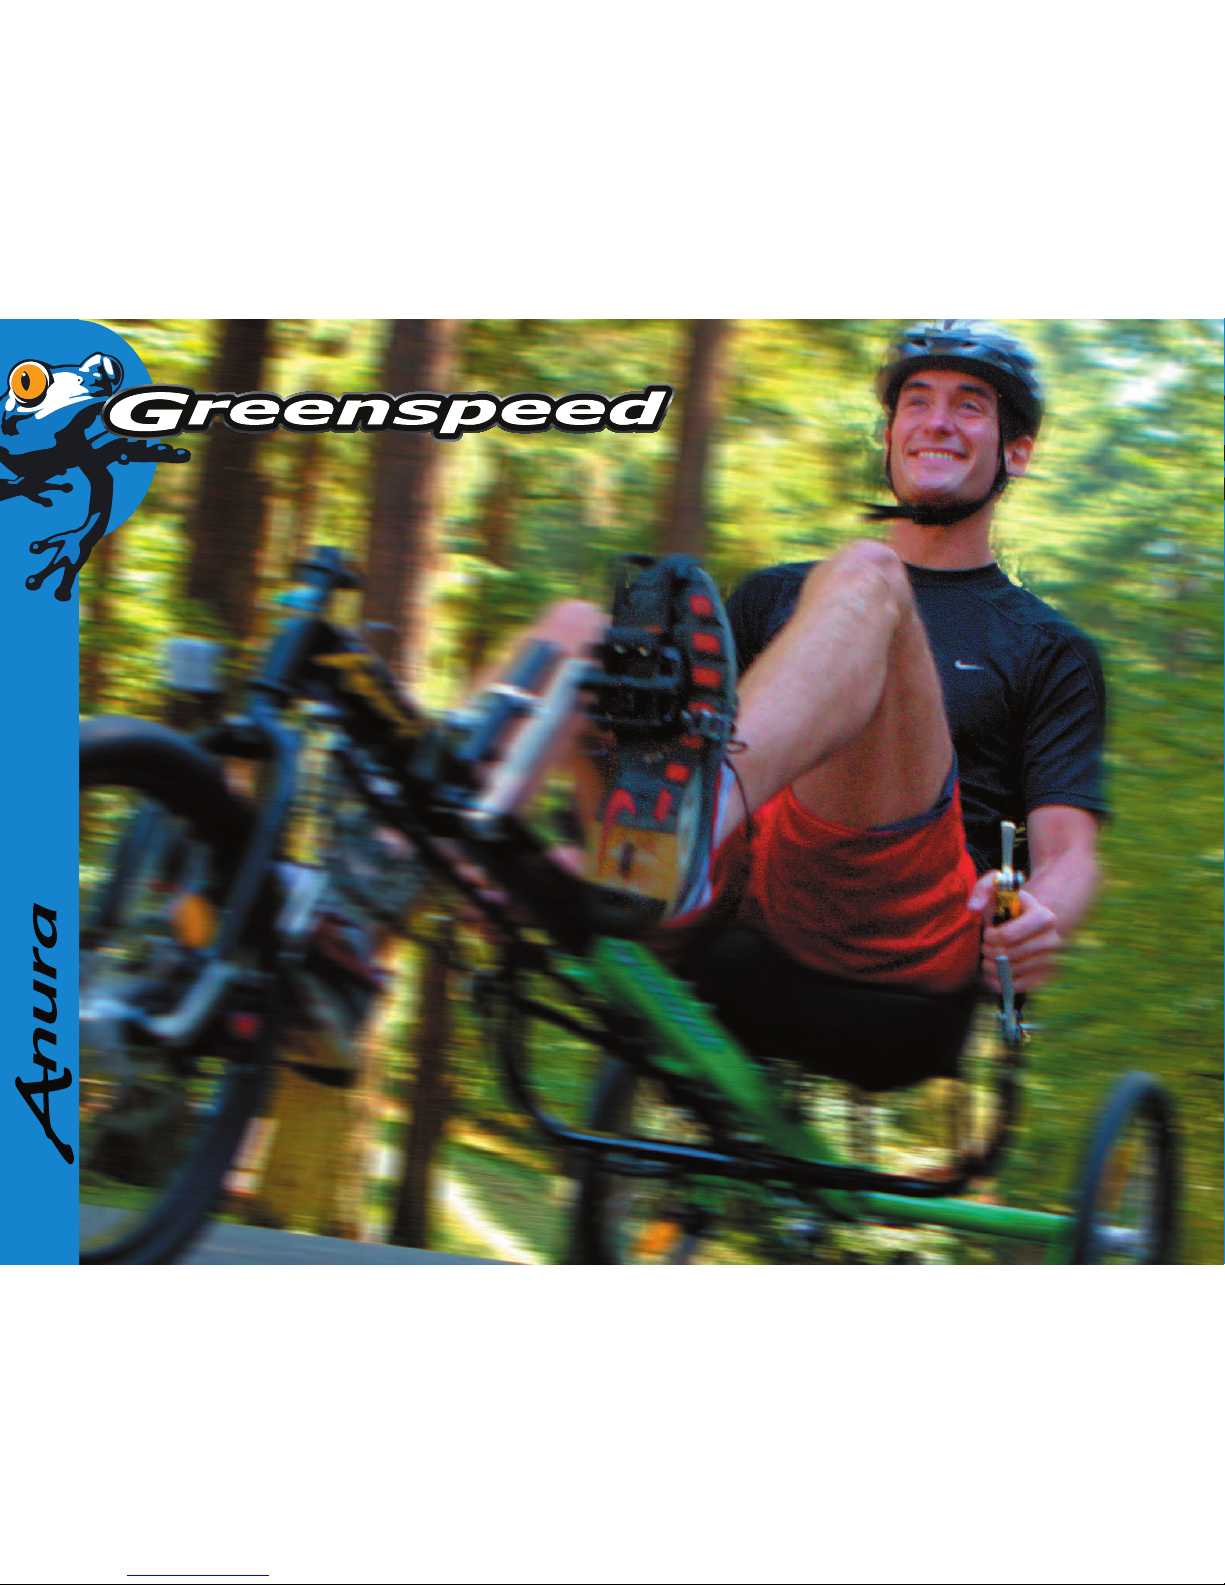
Congratulations on your purchase of a Greenspeed Anura
trike. We believe that you have purchased the finest recumbent
tricycle available in the world today. It is also our belief that
the present level of motorised transport on this small planet is
not sustainable, in environmental and social terms. Thus your
Greenspeed has been designed for everyday use, whether it be
shopping, commuting, touring the world, rehabilitation or just
exercising and having fun! With care, it should last a lifetime.
Included in this manual are instructions on how to assemble,
maintain and get the most from your Anura.
The Anura is designed to be enjoyable to ride. The high seat
with one wheel at the front & two rear, make it easy to mount
& dismount. The high seat also gives a good view in traffic. The
ergonomic placement of the handlebars, and the attention paid
to the steering geometry means that it is effortless to steer.
The three wheel disc brakes give very powerful braking. The
combination of the Schlumpf speed drive & nine speed bar
shifter allows two speed shifting while stationary or under way
and easy shifting while riding.
The differential gives a balanced drive to both rear wheels
which enables it to turn easily in both directions, and track in a
straight line up steep hills. Finally, at the end of your trip, the
trike will go through a standard doorway and park vertically,
taking up little space.
A boss welded through the rear axle brace provides an
attachment point for attaching a trailer or another Anura with
special hitches available from your Greenspeed Dealer.
designwelcome to the family
a s s e m b l y
r i d i n g
w h a t ’ s n e x t