Page8
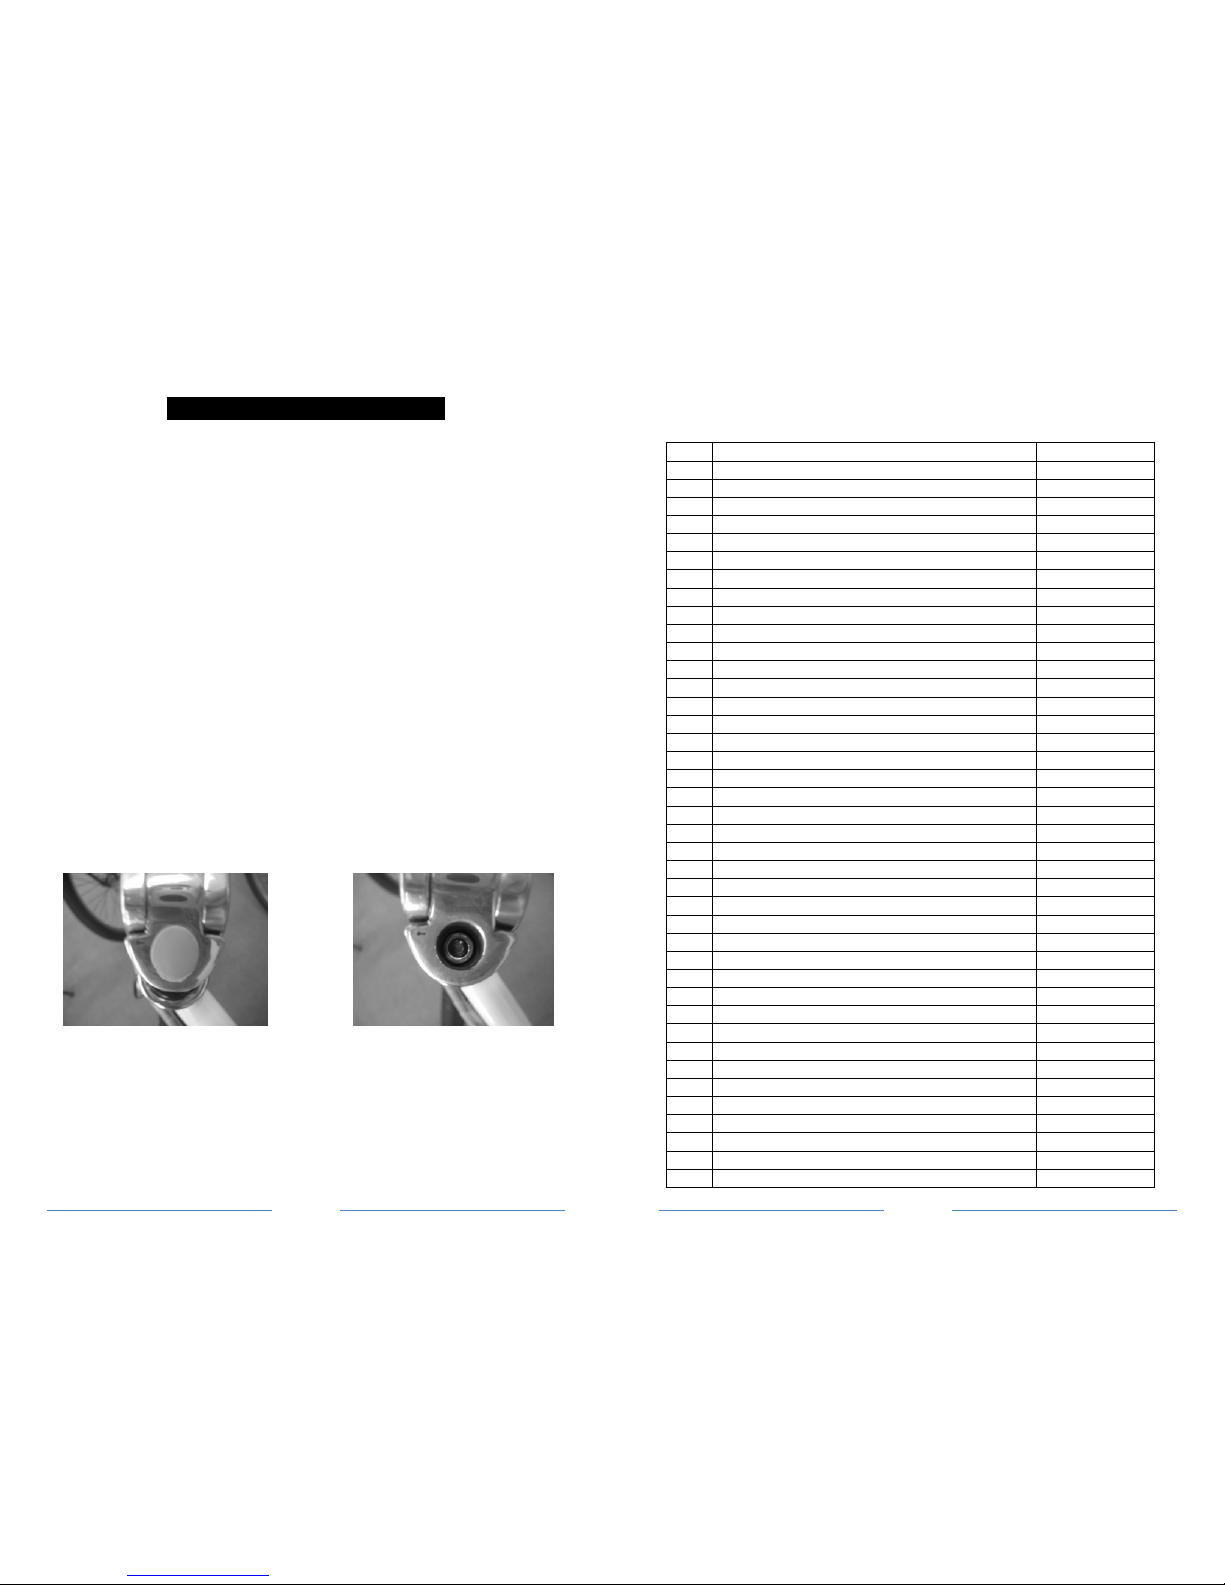
Plug the power cord to the battery. Turn the key to
the on position, then press the red thumb button on
the right handlebar grip so that the battery charge
indicator lights are lit. Be sure to turn off power
when Pedego is not in use or is recharging by
pressing the thumb button again. When power is off,
the indicator lights will not be lit.
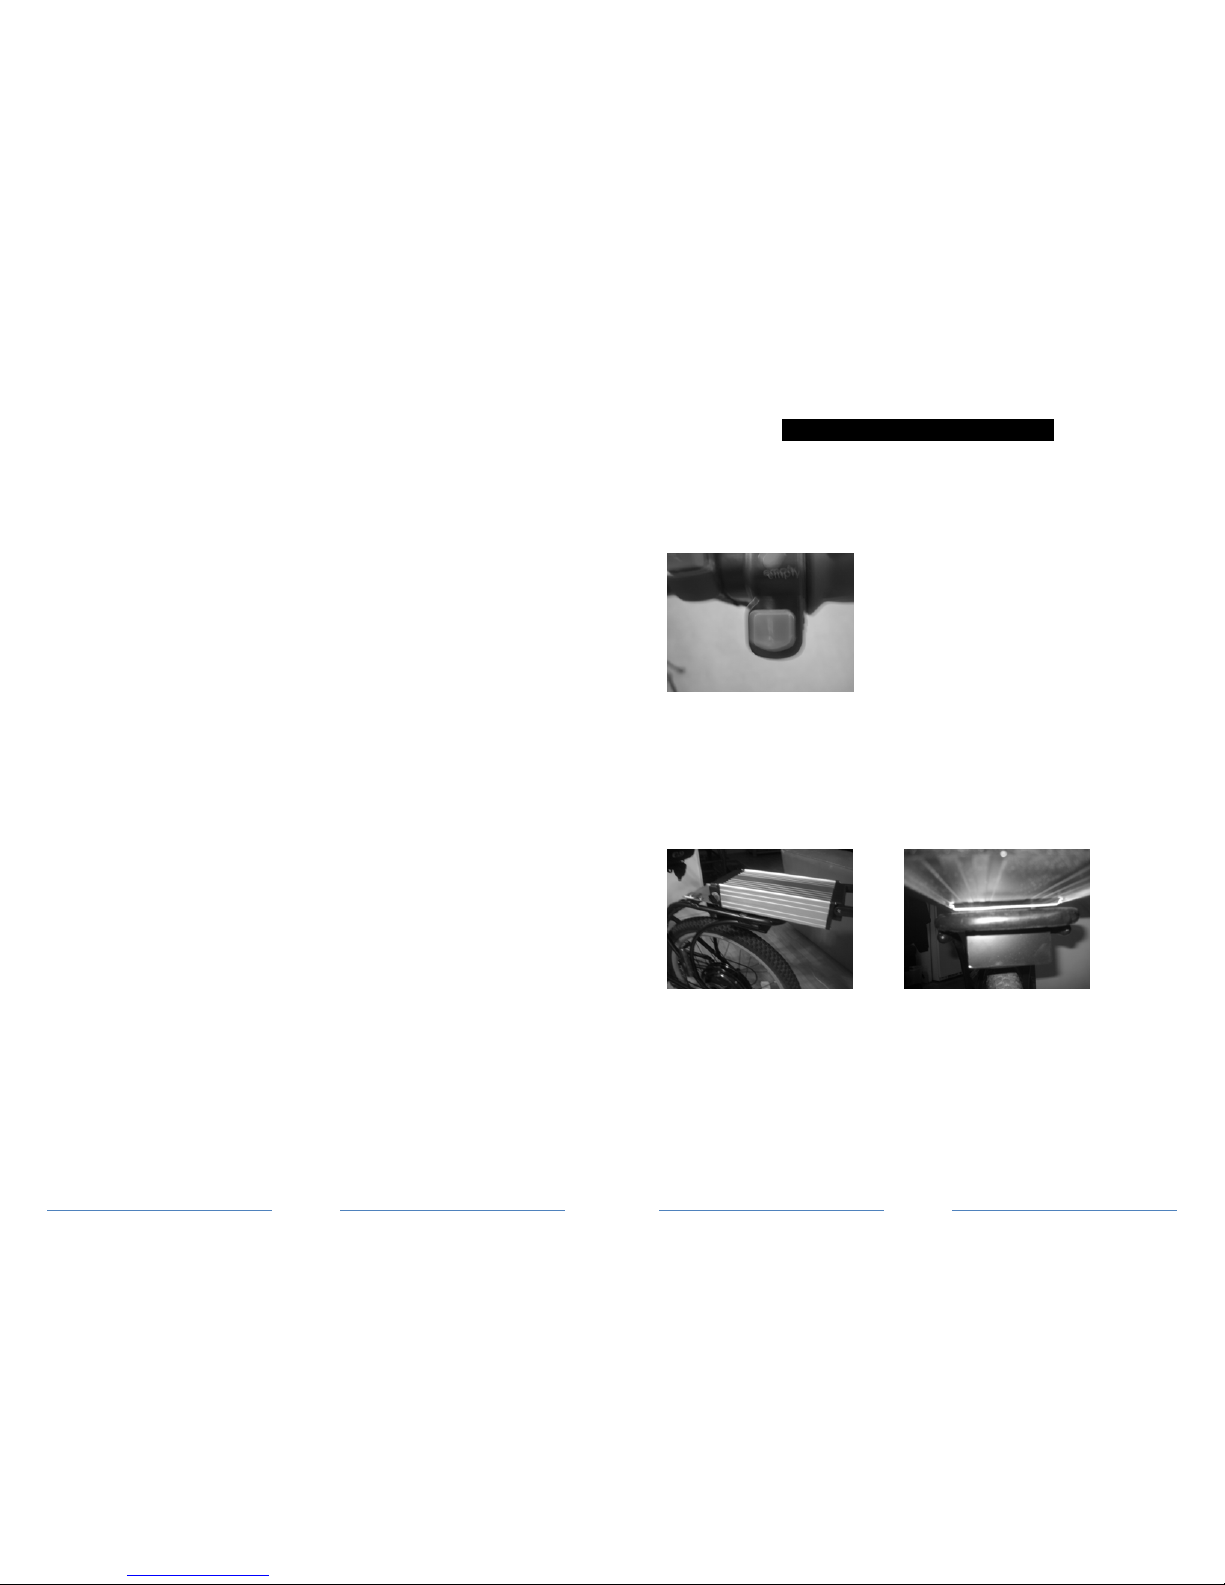
Hand Throttle Control:
The throttle control is operated with the right hand.
It is located immediately to the right of the battery
charge indicator lights
.
You control the throttle by twisting it from its resting
position, the farther the throttle switch is from its
resting position, the more power is delivered to the
motor to accelerate the Pedego. When you want to
Page
17
One Year Limited Warranty
PEDEGO, LLC(“PEDEGO”) warrants that all new PEDEGO
Electric Bikes (“Bikes”) and components therein are warranted to
the original retail purchaser (“Purchaser”) against manufacturing
defects in materials and/or workmanship for a period of one (1)
year from the date of original retail purchase
Terms of Limited Warranty
This warranty becomes effective on the date of original retail
purchase. This warranty is not meant to suggest or imply that the
Bikes cannot be broken or will last forever. It does mean that the
Bicycle is covered subject to the terms of the warranty. This
warranty applies only to the original Purchaser of a Bicycle and is
not transferable to subsequent owners or any other party. This
warranty is void if the Bicycle is subjected to abuse, neglect,
improper repair, improper maintenance, alteration, modification,
an accident or other abnormal, excessive, or improper use, at the
sole discretion of PEDEGO. During the duration of this warranty,
PEDEGO, at their cost, will either repair the Bicycle or Bicycle
component(s), or at PEDEGO’ sole discretion, will replace any
defective Bicycle or component(s) with the same or equivalent
component(s). The foregoing warranties are in lieu of and exclude
all other warranties not expressly set forth herein, whether express
or implied by operation of law or otherwise, including, but not
limited to any warranties of merchantability or fitness for a
particular purpose. In no event shall PEDEGO be liable for
incidental, consequential or punitive damages arising from use or
unavailability of the Bicycle or component(s) in any manner,
including, without limitation, damages for personal injury,
property damage, or economic losses, whether based on contract,
warranty, negligence, product liability, or any other theory.
PEDEGO’ liability hereunder is expressly limited to the repair or
replacement of Bikes or component(s), or at PEDEGO’ sole
discretion, to the net amount paid by the original retail purchaser.
If the original retail Purchaser elects to repair a defective Bicycle