7USING GREEN TOILET
USING GREEN TOILET
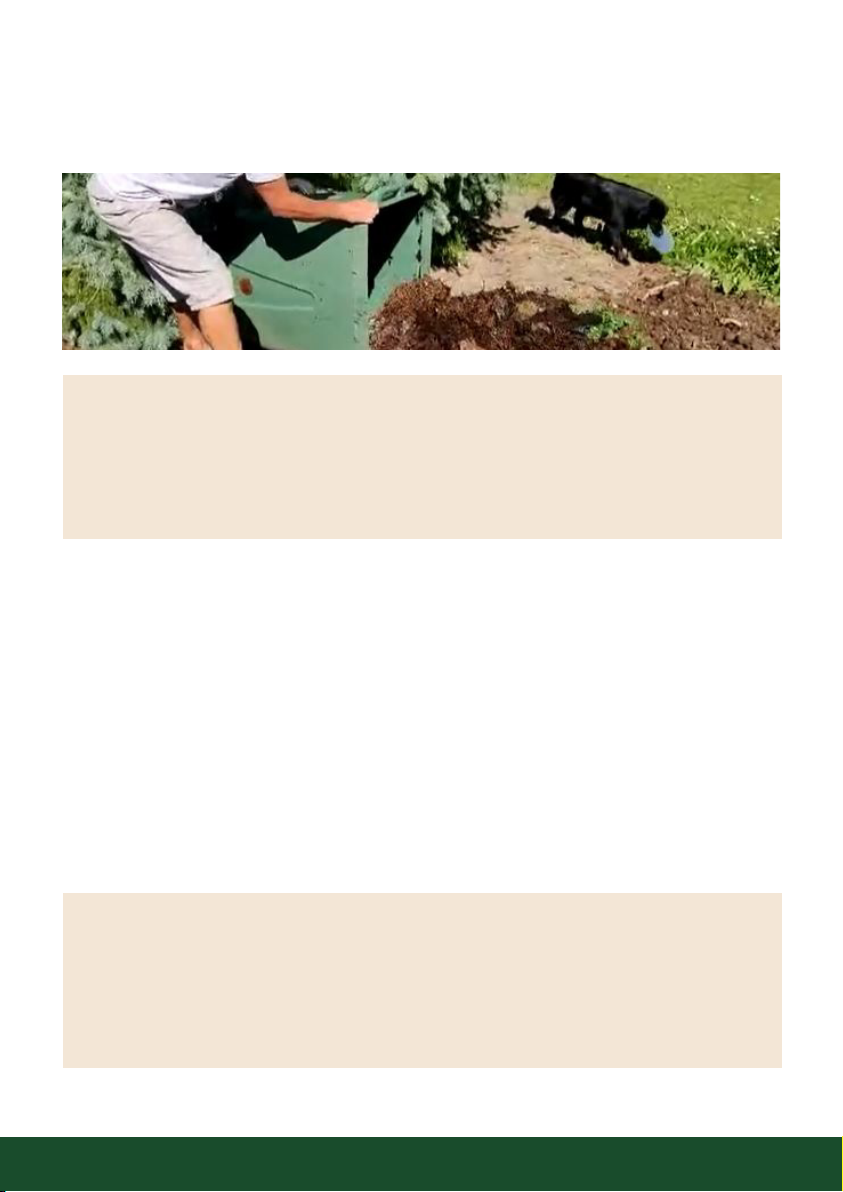
Now that you have installed the Green Toilet – you can start using it!
Green Toilet can be used almost like a water closet – there just is no flushing. All toilet
waste, including the toilet paper, go into the same container. For other garbage, like
sanitary pads, there should be a separate bin available in the toilet.
After every use, pour some 3-5 dl of dry material on the compost. You can use any dry
material that you can acquire easily. Also, dry garden waste, like dry leaves can be used as
bulking agent. Saw dust also works, but it should be mixed with some more coarse mate-
rial, as saw dust tends to get too dense in the compost.
During the use, you need to level the mass every now and then. A garden fork or a sturdy
stick will be good for this. At the same it is useful to aerate the compost mass by making
some holes to the mass.
There are some biodegraders and compost boosters available in the market and they can
be used. This may be useful especially during high use of the toilet.
Hint! The composting inside the Green Toilet works best when the container is
almost full. There is a lot of energy and microbes in the compost and the process is
fast. So don’t be too hasty in changing the containers! Level and work on the mass
to get more space into the container. This may help postponing the change of the
containers for many weeks.
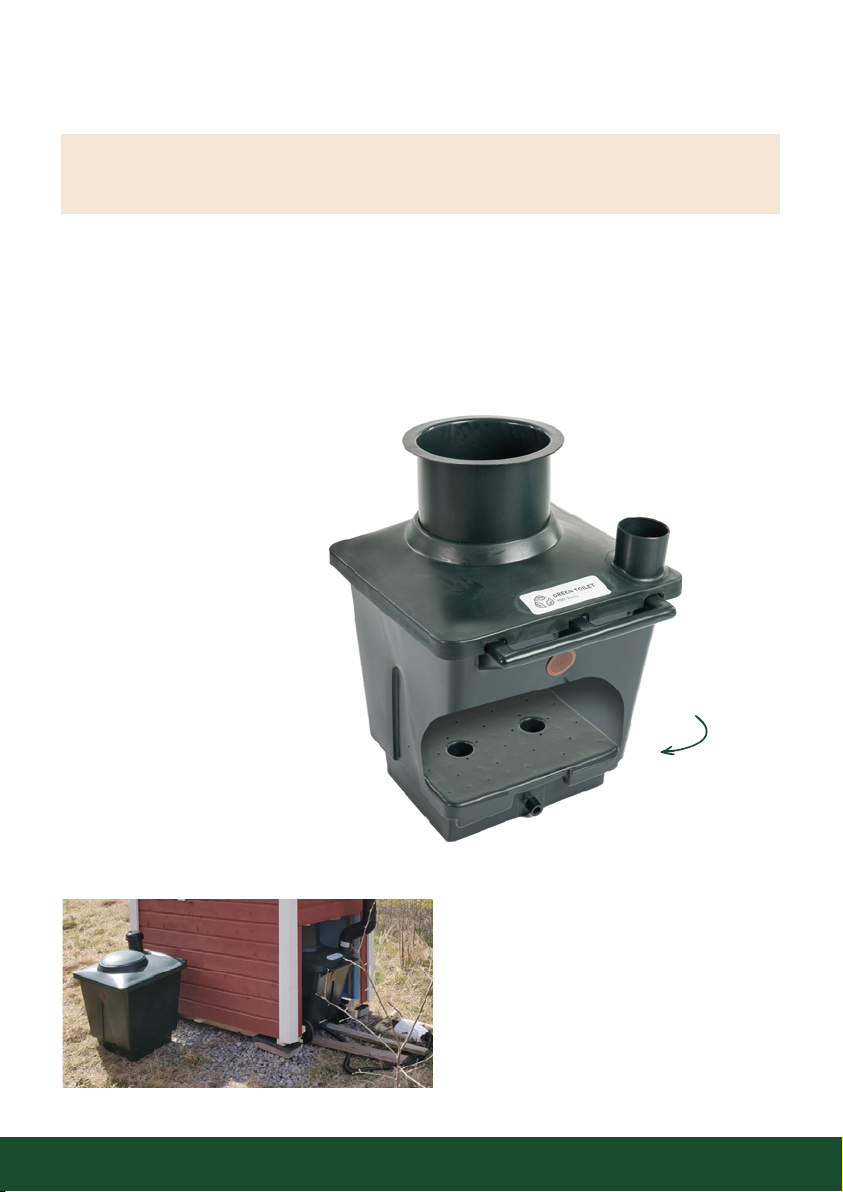
MAINTENANCE AND EMPTYING
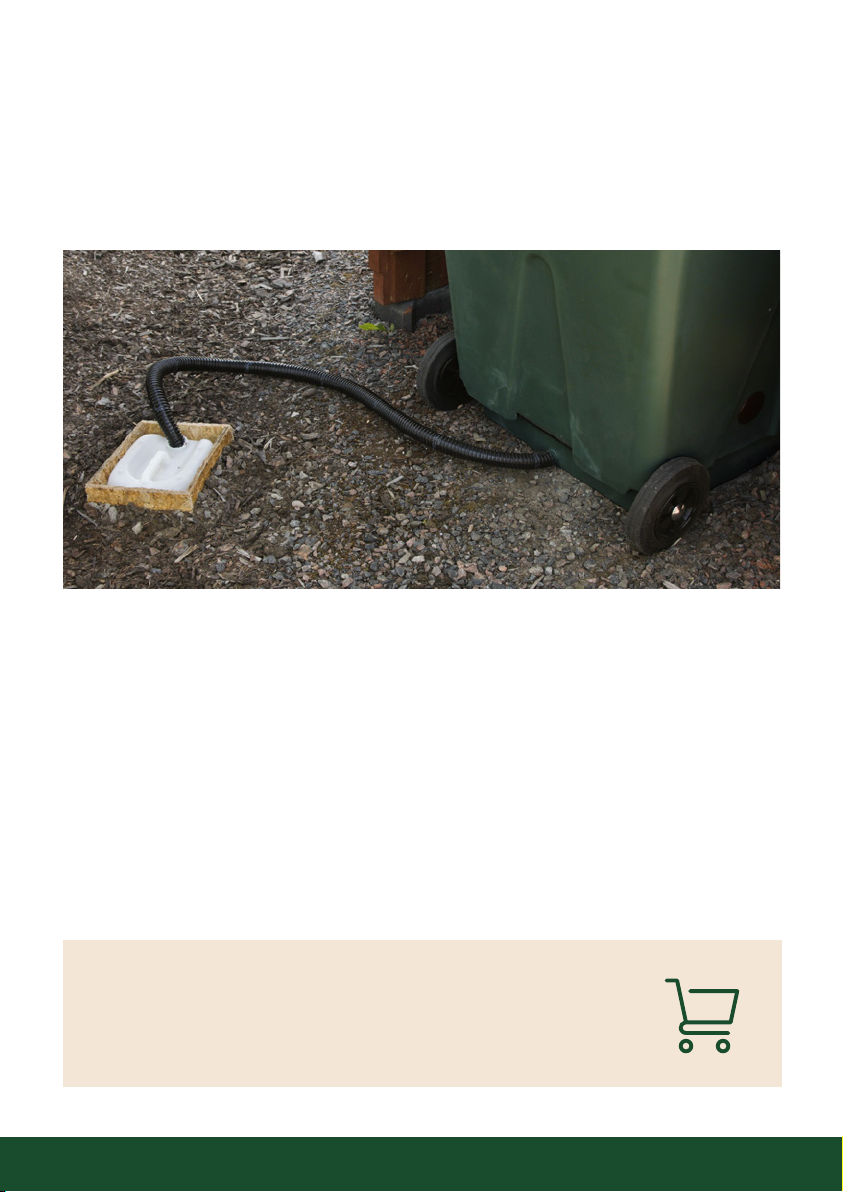
Handling of excess liquid
During the use of the Green Toilet, there usually is need to empty the excess liquid canister
before the composting container gets full. The amount of this seap liquid depends on many
factors, like the temperature and level of use. It is typical, that during hot summer months
the dehydration and composting reduce the amount of the liquid almost to zero. On the
other hand, during colder months one can expect that there is more liquid to be handled. It
is important to check the level of the canister regularly.