6
| GreenTec |Merkurvej 25 |DK-6000 Kolding |Phone: +45 75 55 36 44 |info@GreenTec.eu |GreenTec.eu |
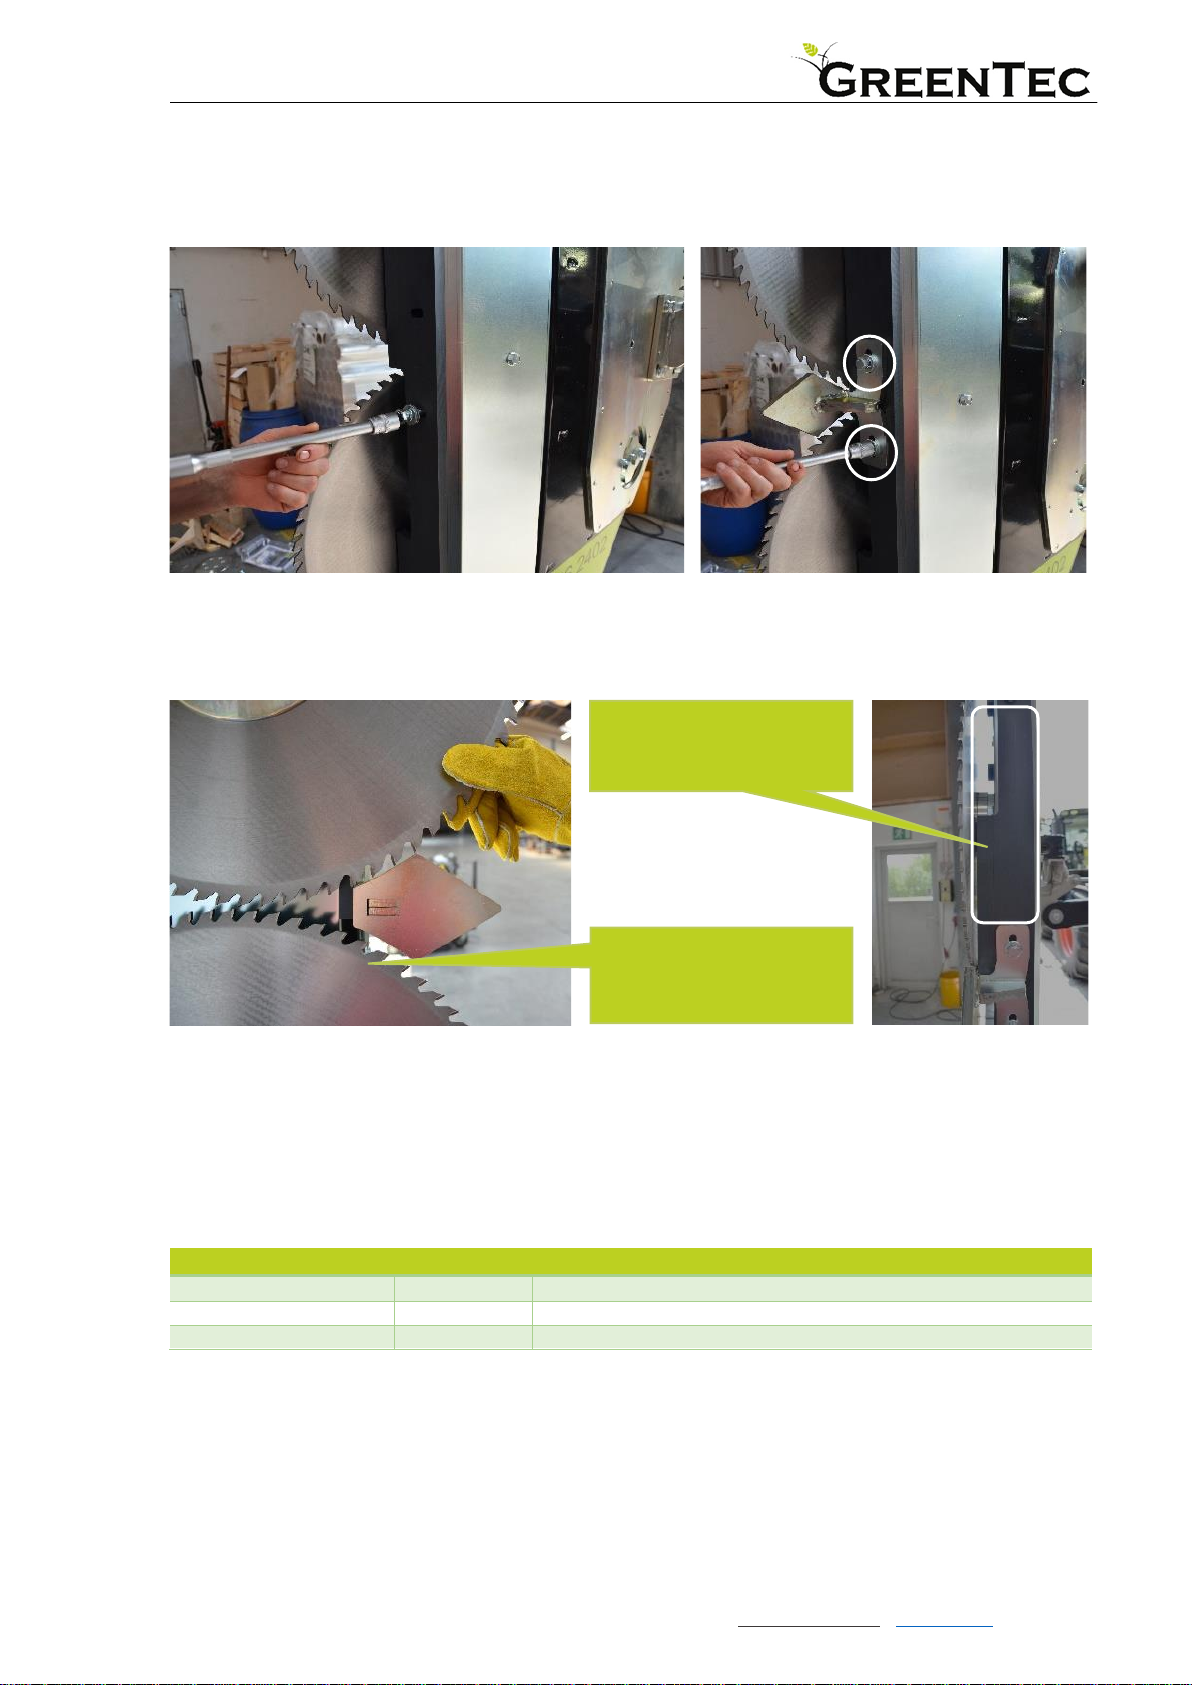
6. Careful testing: 15 min. test drive without sawing:
Before start-up, make sure that everything is tightened, that the safeguards of the saw blades are
dismantled and that the saw blades can rotate freely 360 degrees, without touching anything.
There must be no people or animals near the saw blades, especially not in
the longitudinal direction of the blade rotation, in front of or behind the
saw!
•Start the tractor. Let it run at low RPM.
•Check the angle cylinder: Move the quadsaw from full horizontal to the full vertical position at
least 3 times to bleed the tilting cylinder.
•Start the hydraulics for the quadsaw and let the saw run at a relatively low pace.
•Allow the quadsaw to run for a while to heat up the oil.
oDepending on ambient temperature: 5-10 minutes
•When the oil is warm enough for operation, increase the RPM to ensure that the tractor
supplies at least the amount of oil (l / min) required by the LRS quadsaw.
o25-50 l / min. is required (Depending on which LRS jigsaw is used) for the saw blades
to run at max. 3200-4000 RPM.
oSee the instruction manual for the LRS Quadsaw.
If the speed is increased further, more oil is sent to the multi carrier, but
the flow regulator sends everything over the required amount back to the
tractor.
Nothing happens to the attachment tool, but the tractor's oil is supplied
with extra energy, which uses more fuel and provides extra heat in the
hydraulic oil.
•Let the saw test run for a minimum of 5 minutes. Then lower the RPM of the tractor and turn
off the oil supply so that the saw comes to a quiet stop.
•After the test run, check everything on the quadsaw. REMEMBER to carry out the same
inspection after the first day's work:
oAre there oil leaks? →Tighten hoses and fittings.
oAre all bolts tightened? →Tighten bolts.
oIs the belt for the saw blades still properly alligned? →Adjust the belt.
•The multi carrier and the LRS Quadsaw are now ready for use.
•(Always remember to use safeguards on the blades when transporting and storing!)