manuals.online logo
Brands
  1. Home
  2. •
  3. Brands
  4. •
  5. Greentek
  6. •
  7. Spotlight
  8. •
  9. Greentek Orion User manual

Greentek Orion User manual

Installation guide - Montageanleitung
Guide d’installation - Ghid de instalare
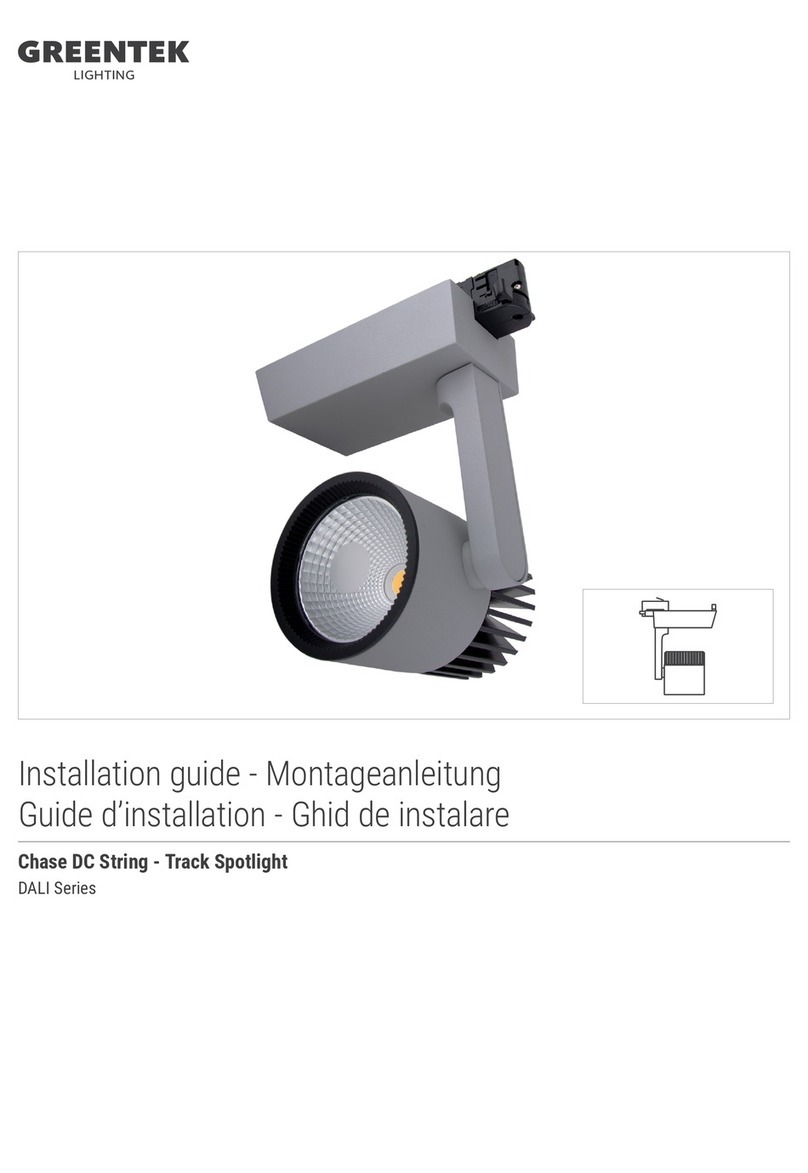
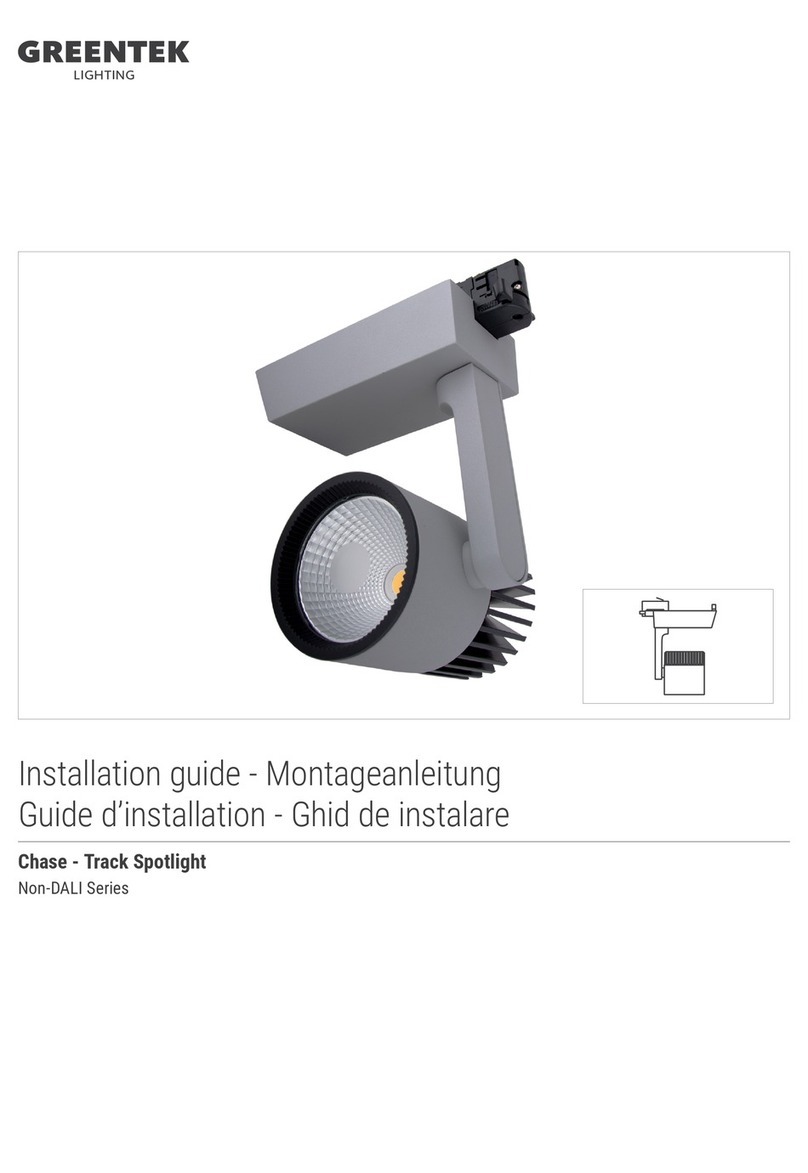
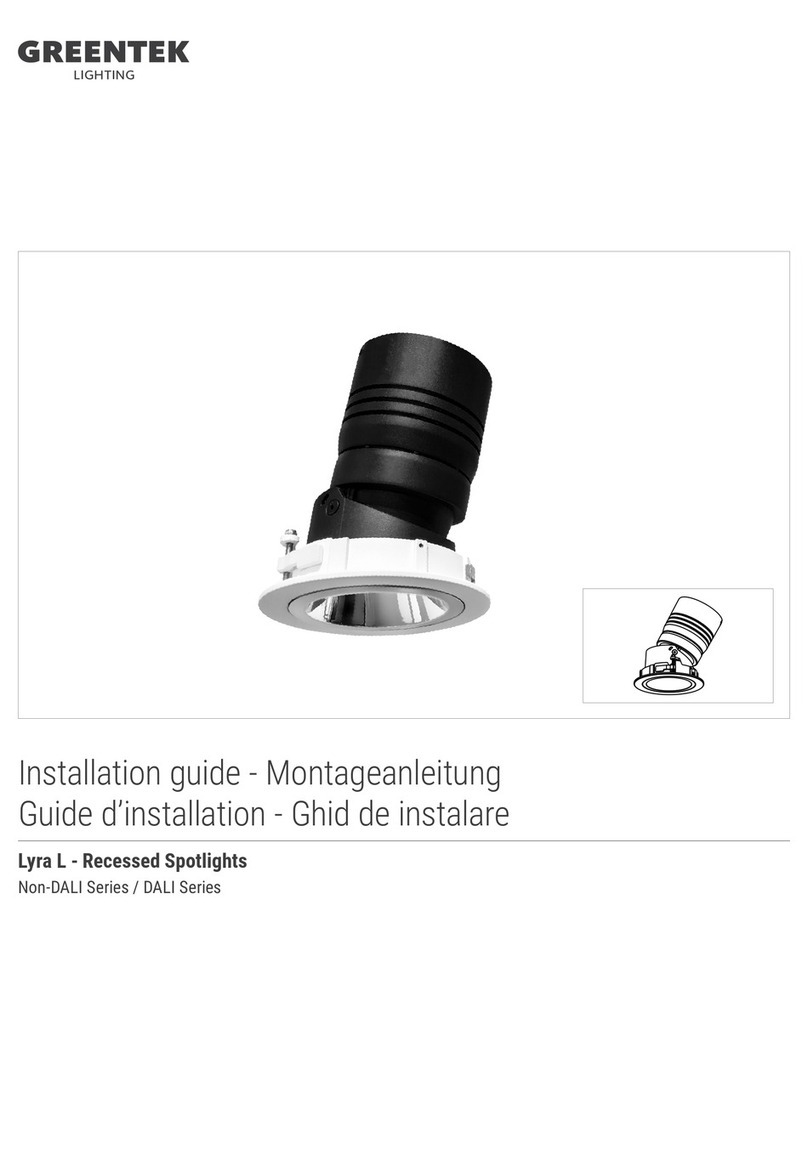
Orion - Track Spotlight
Non-DALI Series / DALI Series
2
INSTALLATION GUIDE GREENTEK LIGHTING
EN Installation guide
1. Turn power off before inspection, installation or removal.
2. Properly ground electrical enclosure.
3. Follow all IEC and local building codes.
4. Do not operate luminaire with damaged parts.
5. Please see technical data sheet for electrical properties to ensure safe installation.
6. The grounding and bonding of the overall system shall be done in accordance to local electric code of the country where the luminaire is installed.
7. For indoor use, only.
8. Installation should be performed by a qualied electrician in compliance with these instructions and applicable standards.
9. Do not cover the front or rear of the luminaire.
DE Montageanleitung
1. Schalten Sie die Stromversorgung vor der Überprüfung, Montage oder Demontage aus.
2. Stellen Sie sicher, dass die elektrische Verbindung ordnungsgemäß geerdet ist.
3. Befolgen Sie die IEC-Norm und alle lokalen Bauvorschriften.
4. Betreiben Sie die Leuchte nicht mit beschädigten Teilen.
5. Informationen zu elektrischen Eigenschaften nden Sie im technischen Datenblatt, um eine sichere Montage zu gewährleisten.
6. Der Erdanschluss und Verbindung des Gesamtsystems muss gemäß den lokalen Vorschriften in dem Land, in dem die Leuchte montiert wird, erfolgen.
7. Nur für den Innenbereich.
8. Die Montage sollte von einem qualizierten Elektriker gemäß den vorliegenden Anleitungen und geltenden Normen durchgeführt werden.
9. Decken Sie nicht die Vorder- oder Rückseite der Leuchte ab.
FR Guide d’installation
1. Coupez l’alimentation avant l’inspection, l’installation ou la désinstallation.
2. Reliez correctement le boîtier électrique à la terre.
3. Respectez toutes les normes IEC et locales en vigueur.
4. Ne faites pas fonctionner le luminaire si l’un de ses composants est endommagé.
5. Veuillez consultez la che des caractéristiques techniques pour les propriétés électriques an d’assurer une installation sécuritaire.
6. La mise à la masse et la mise en continuité du système complet doivent être réalisées conformément au code local de l’électricité du pays où le
luminaire est installé.
7. Réservé à l’utilisation en intérieur.
8. Il est conseillé de coner l’installation à un électricien qualié qui devra se conformer aux instructions et aux normes concernant les installations.
9. Ne pas couvrir l’avant ou l’arrière du luminaire.
RO Ghid de instalare
1. Opriţi alimentarea cu energie electrică înainte de a efectua orice operaţie de vericare, instalare sau dezinstalare.
2. Efectuați corect conexiunea la nulul de protecție al instalației electrice.
3. Respectaţi directiva IEC şi toate directivele locale.
4. Nu folosiţi corpul de iluminat dacă prezintă componente deteriorate.
5. Pentru a asigura instalarea în siguranţă, consultaţi șa tehnică cu proprietățile instalației electrice.
6. Legarea la nulul de protecție și conectarea întregului sistem trebuie efectuate conform normelor locale privind instalaţiile electrice din ţara în care
se montează corpul de iluminat.
7. Doar pentru uz interior.
8. Instalarea trebuie realizată de către un electrician calicat, în concordanţă cu instrucţiunile şi standardale aplicabile.
9. Nu acoperiţi partea din faţă sau din spate a corpului de iluminat.
ATTENTION / ACHTUNG / ATTENTION / ATENȚIE
3
INSTALLATION GUIDE GREENTEK LIGHTING
1.
2. Mechanical key
A
B
4
INSTALLATION GUIDE GREENTEK LIGHTING
3.
Technical specications can be modied without prior notice. All information is property of Greentek Lighting.
The presentation picture is for information purposes only. Latest document update: July 1, 2019 8:32 AM. www.greentek.eu
C
Cam rotation
4. Phase Selector
A
EN DE FR RO
Insert the adapter into the track,
so that the mechanical key (A) in
the adaptor matches the groove
(B) in the track (pic.2). Rotate of
about 90° the lever of the cam
(C) until it reaches the locking
position (pic.3).
When the track is connected
to a three-phase system it is
possible to select the phase (L1,
L2 or L3) to distribute the single
luminaires in the system, by
means of the proper selector (D)
of the adaptor (pic.4).
Befestigung des Adapters in der
Schiene. Fügen Sie den Adapter
in die Schiene ein, sodass der
mechanische. Schlüssel (A) im
Adapter mit der Kerbe (B) in der
Schiene übereinstimmt (Bild
2). Drehen Sie die Hebel der
Nocke (C) bis sie in der Position
einrasten (Bild 3).
Wenn die Schiene an ein Drei-
Phasensystem angeschlossen
ist, ist es möglich die Phasen
(L1, L2 oder L3) zu wählen, um
die einzelnen. Leuchtkörper im
System, mit Hilfe des richtigen
Wählers (D) des Adapters (Bild
4), zu verteilen.
Montage de l’adaptateur à l’intérieur
du rail. Insérez l’adaptateur dans
le rail, pour que la clé mécanique
(A) dans l’adaptateur s’adapte à
la rainure (B) dans le rail (image
2).Faites tourner d’environ 90° le
levier des la came (C) jusqu’à ce
qu’ils atteignent la position de
verrouillage (image 3).
Quand le rail est connecté au
système triphasé, il est possible
de sélectionner la phase (L1,
L2 ou L3) pour distribuer les
luminaires individuels dans le
système, au moyen du sélecteur
approprié (D) de l’adaptateur
(image 4).
Introduceți adaptorul pe şină,
astfel încât cheia mecanică (A)
din adaptor să se potrivească
cu canelura (B) din șină (g.2).
Rotiți maneta (C) de aproximativ
90 ° până când ajunge la poziția
de blocare (g. 3).
Atunci când linia este conectată
la un sistem trifazat, este posibilă
selectarea fazei (L1, L2 sau L3)
pentru a distribui singurele lumini
în sistem, cu ajutorul selectorului
corespunzător (D) al adaptorului
(g.4) .

Other Greentek Spotlight manuals

Greentek Lyra L User manual

Greentek

Greentek Lyra L User manual

Greentek DALI Series User manual

Greentek

Greentek DALI Series User manual

Greentek Non-DALI Series User manual

Greentek

Greentek Non-DALI Series User manual

Popular Spotlight manuals by other brands

Litecraft WashX.432 SW user manual

Litecraft

Litecraft WashX.432 SW user manual

Future light DMB-160 user manual

Future light

Future light DMB-160 user manual

Lumascape Centria C1 installation instructions

Lumascape

Lumascape Centria C1 installation instructions

Show Tec Phantom 250 Spot user guide

Show Tec

Show Tec Phantom 250 Spot user guide

Lumena MINILITE LCBR-MLB12P instructions

Lumena

Lumena MINILITE LCBR-MLB12P instructions

Brinkmann 800-2200-B Owner's manual & operating instructions

Brinkmann

Brinkmann 800-2200-B Owner's manual & operating instructions

Hubbell prescolite RLF6 instruction sheet

Hubbell

Hubbell prescolite RLF6 instruction sheet

GTD LYS200CW user manual

GTD

GTD LYS200CW user manual

Black & Decker FPO instruction manual

Black & Decker

Black & Decker FPO instruction manual

BRINKMAN Mini-Q-Beam Owner's manual & operating instructions

BRINKMAN

BRINKMAN Mini-Q-Beam Owner's manual & operating instructions

Anslut 019951 operating instructions

Anslut

Anslut 019951 operating instructions

Vector Sportspot 90519935 instruction manual

Vector

Vector Sportspot 90519935 instruction manual

olympia electronics GR-83 quick start guide

olympia electronics

olympia electronics GR-83 quick start guide

Elation Platinum Beam 5R Extreme user manual

Elation

Elation Platinum Beam 5R Extreme user manual

Sealey AK436.V3 instructions

Sealey

Sealey AK436.V3 instructions

Castaldi Lighting D55/T2 Installation and maintenance sheet

Castaldi Lighting

Castaldi Lighting D55/T2 Installation and maintenance sheet

Black & Decker 1 user manual

Black & Decker

Black & Decker 1 user manual

Monacor img Stage Line LED-36SPOT manual

Monacor

Monacor img Stage Line LED-36SPOT manual

manuals.online logo
manuals.online logoBrands
  • About & Mission
  • Contact us
  • Privacy Policy
  • Terms and Conditions

Copyright 2025 Manuals.Online. All Rights Reserved.