GrillinanChillin.com | 774-317-9554
ASSEMBLY:
If you are using the spit fork pair, slide one on the spit half and secure it using the attached hex screws.
The other will be slid on after inserting the meat.
Slide the spit coupler into the end of the one spit half. Line up the hole in the coupler with the hole in the
spit and secure using one M8x40 screw and wing nut.
Repeat the above step for the other spit half.
Secure the support pipes to the tripod stands using the two M8x40 screws and wing nuts. Be sure the
pipes are set to the same height adjustment hole.
The motor support will be slightly shorter than the spit support
because the motor bracket makes up the difference.
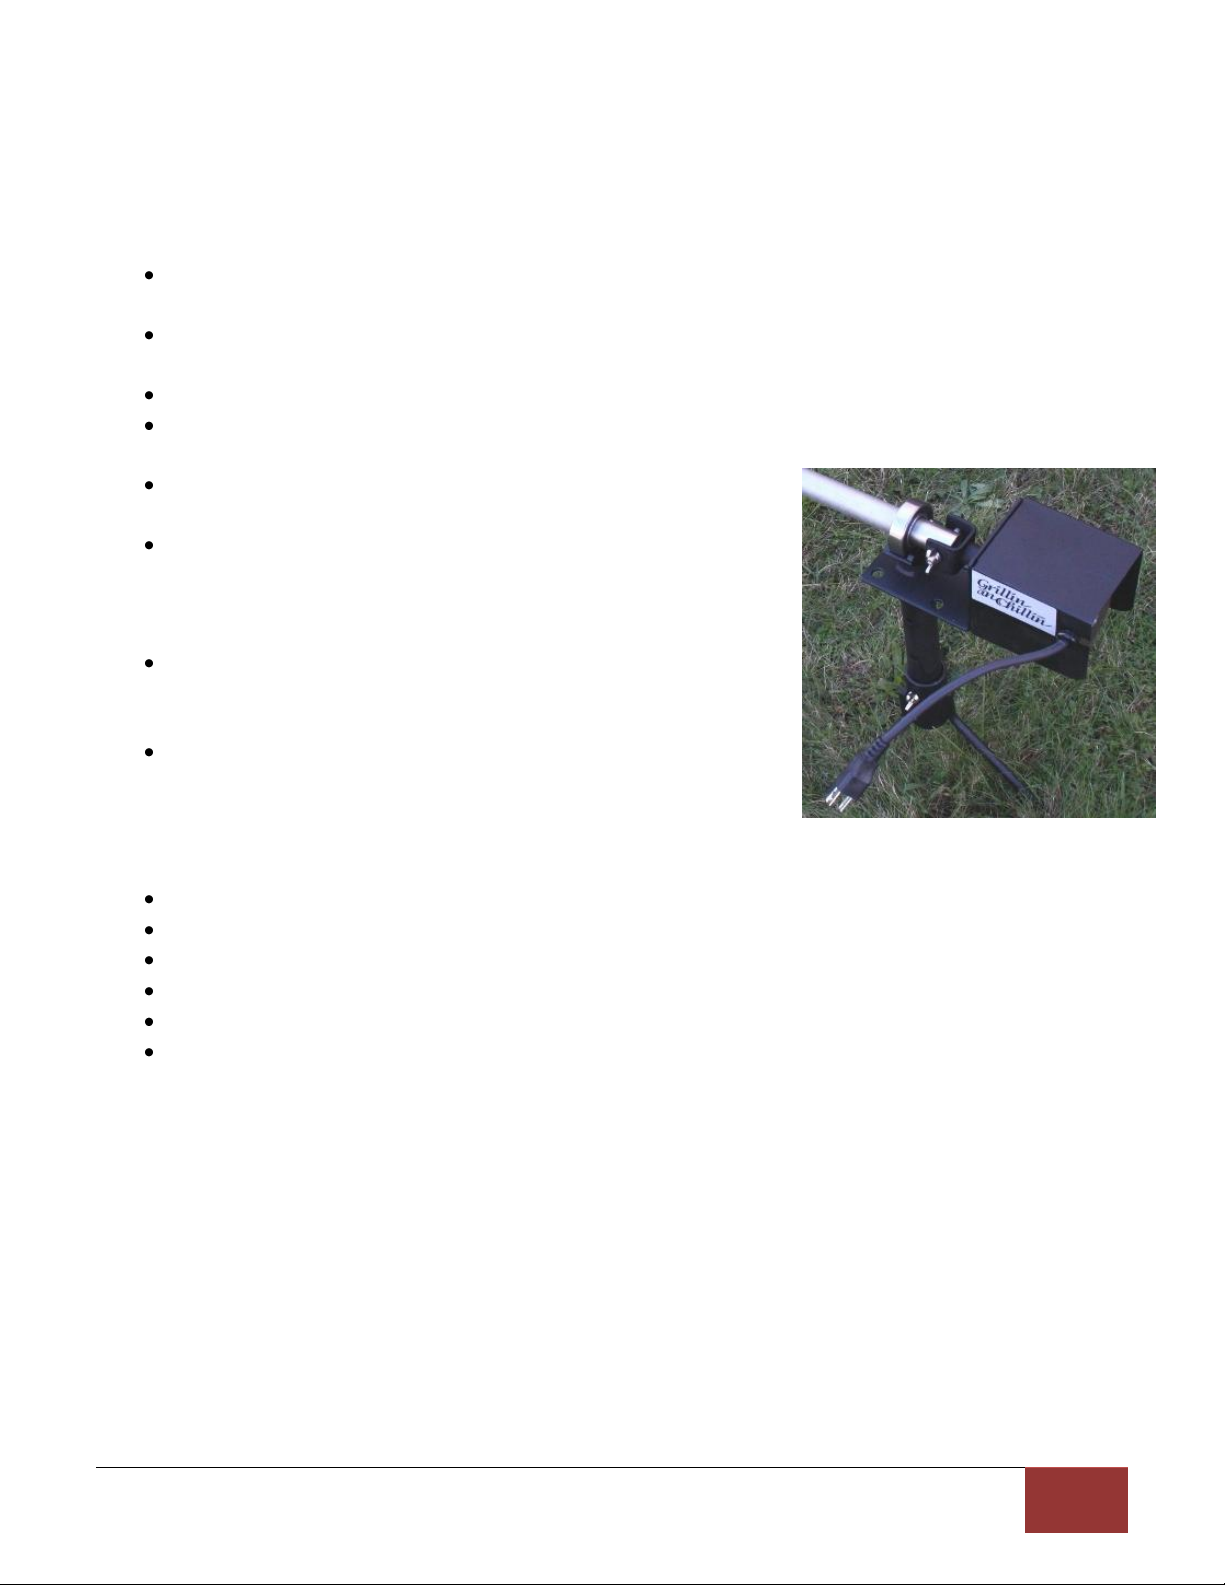
Place the motor on the motor support pipe, making sure the weight
of the motor is positioned directly over one of the tripod legs.
(FAILURE TO DO THIS MAY CAUSE YOUR MOTOR TO
TIP OVER BEFORE ATTACHING THE SPIT).
Either of the bearings, on the ends of the spit, can be removed to
slide the spit through your meat, by removing the outside set screw
and sliding the bearing off the end.
[Now would be the time to secure your meat to the spit] The
holes drilled through the shaft are there to assist in driving pins or
shackles through the meat to keep it from slipping on the spit.
(These can be purchased separately online). We also included a flat bar that can be mounted to the spit to
provide extra attachment points for butchers twine or accessories.
Slide the second spit fork on the shaft before reattaching the bearing.
Adjust the distance of the stands to accept the spit.
Place the spit on the two V-blocks on top of the stands.
On the motor side secure the spit to the motor coupler using one M8x50 screw and wing nut.
Recheck all connection and make sure everything is level before using your rotisserie.
During operation the motor will shift and wobble on the shaft. This is a design feature to keep constant
rotation without causing undue stress to the connections and the load.