3
GETTING STARTED
CARTRIDGE LOADING
BULK LOADING
TRANSFER PUMP LOADING
1. Removing empty cartridge: Remove any cartridge in the
grease gun barrel prior to refilling. To check if a cartridge is
in the barrel, first compress the spring by pulling the plunger
handle fully outward & latch the plunger rod in the slot on
the end cap. Remove the grease gun head by turning it
anticlockwise to remove any empty cartridge.
2. Locking / Releasing the plunger rod: This gun incorporates
a groove in the plunger rod that is latched onto a slot in the
end cap to hold the plunger rod when fully extended. Before
pushing the plunger rod into the barrel, simply release it from
the slot, allowing it to slide forward.
3. Priming: Usually after loading, all grease equipment have
some trapped air pockets in grease . Trapped air causes zero
or reduced grease discharge. Removing these air pockets
from grease is referred to as Priming or Air Bleeding. It is
highly recommended to prime the grease gun after every
loading.
1. Pull the plunger rod fully
backwards and latch the
plunger rod groove into the
slot on the end cap of the
grease barrel.
1. Unscrew the grease barrel
from the gun head by rotating
anti-clockwise. Insert the
open end of the barrel about
2” into the grease container.
1. Wipe the grease gun’s bulk
loader valve free of grease and
possible debris. Activate the
transfer pump until a small
amount of grease comes
out. This step will minimize
transferring any trapped air.
2. Unscrew the grease barrel
from the gun head by
rotating anti-clockwise.
3. Carefully release the plunger handle to eject the empty
cartridge from grease barrel.
4. Remove the plastic cap
from the grease cartridge
and insert cartridge into
the grease barrel.
5. Remove the pull tab from grease
cartridge and screw grease
barrel into gun head.
6. Release air from grease by
following Priming Instructions.
2. Slowly pull the plunger handle back to draw in grease into
the empty barrel while pushing the grease barrel deeper into
the grease until the plunger rod is fully extended. This will
prevent air pockets from being pulled into the grease barrel.
3. The grease gun barrel should now be filled with grease. The
outside surface may have a lot of grease stuck to it and
should be wiped clean for safety.
4. Shake the grease gun barrel to allow grease to settle down.
Screw back the grease gun head tightly onto the barrel.
5. Release air from grease by following Priming Instructions.
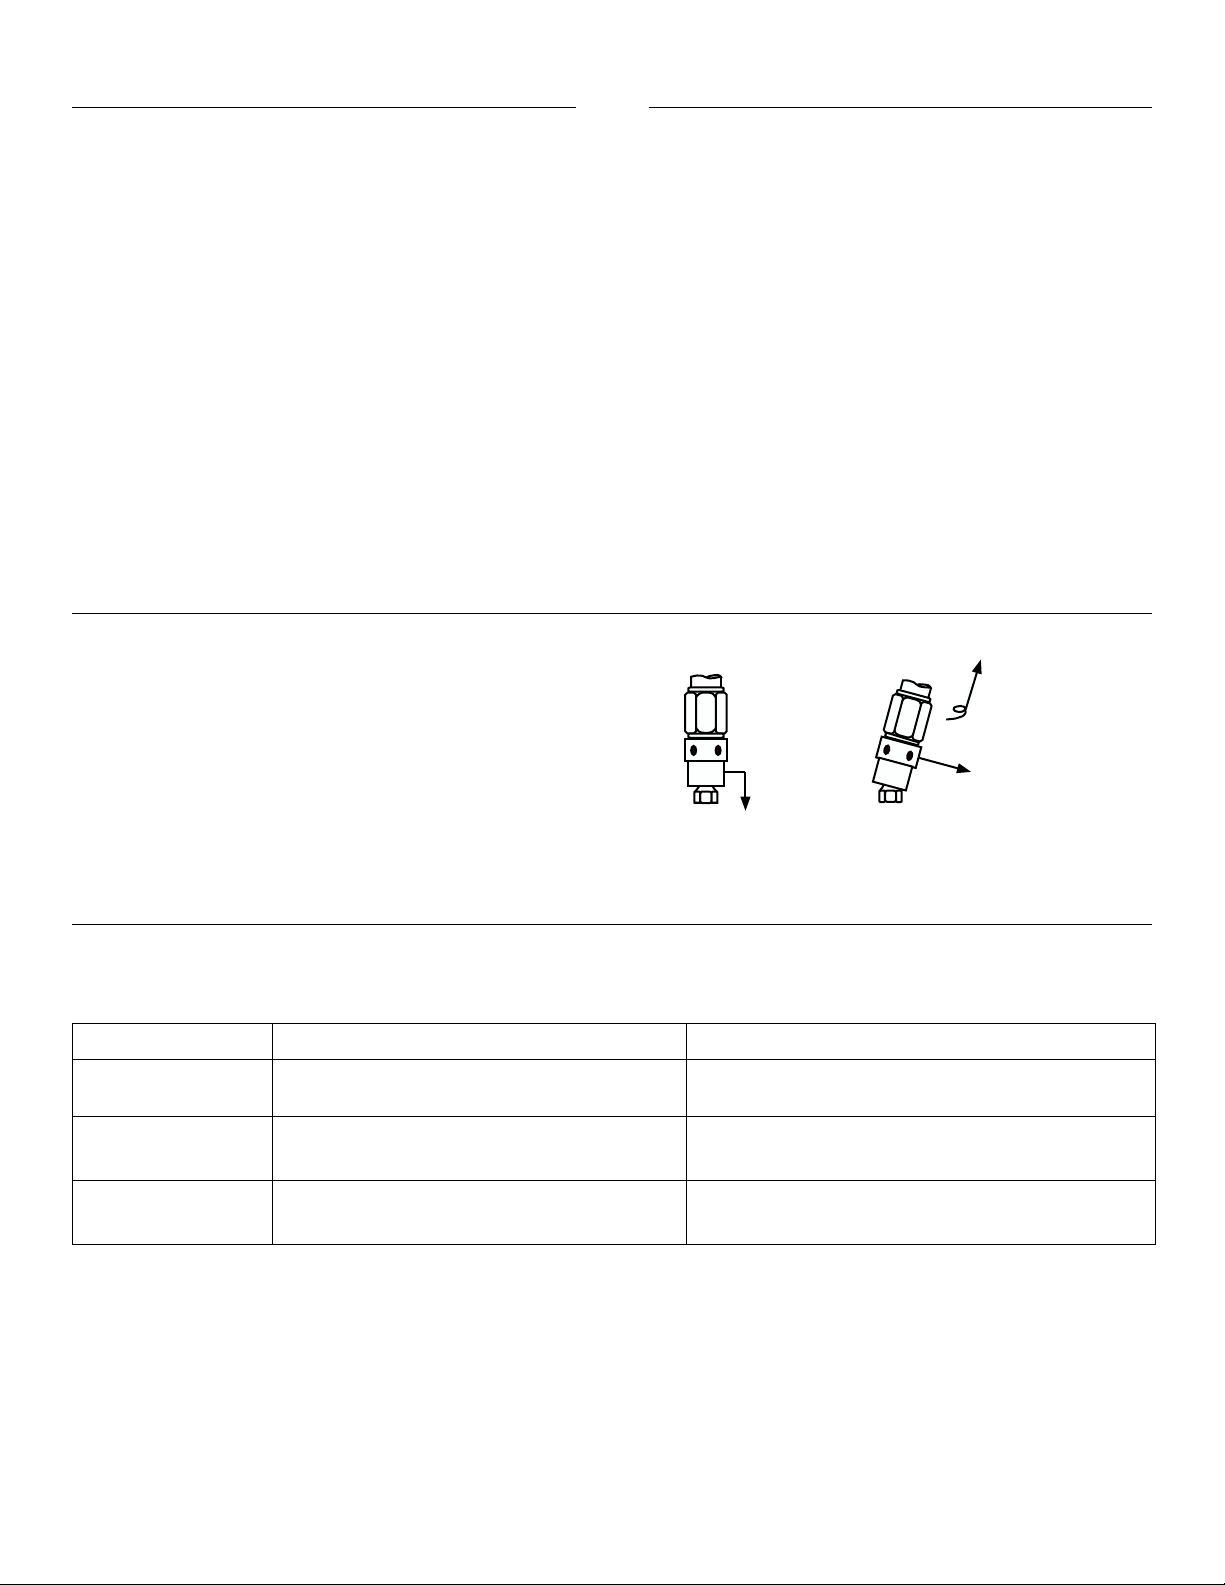
Bulk loader valve
2. Engage the plunger rod with
the follower by rotating the
plunger handle. Connect the
Bulk Loader Valve tightly on
the grease gun to the loader
adapter on the transfer pump
line.
3. Start operating the transfer
pump, keeping your hand on
the grease gun, lightly pushing
it down onto the transfer
pump.
4. Once the gun barrel is filled, pumping would get very
hard. The follower rod will be extended approximately 8
inches exposing the plunger rod groove. Stop at this time.
Disconnect the Bulk Loader Valve from the transfer pump line.
5. Release air from grease by following Priming Instructions.