manuals.online logo
Brands
  1. Home
  2. •
  3. Brands
  4. •
  5. Grundig
  6. •
  7. Recording Equipment
  8. •
  9. Grundig RRCD 1200 User manual

Grundig RRCD 1200 User manual

RADIO CASSETTE
RECORDER WITH CD
RRCD 1200
fisvdanl pl
frde en esit pt
tr
2
_______________________________________________________________________________
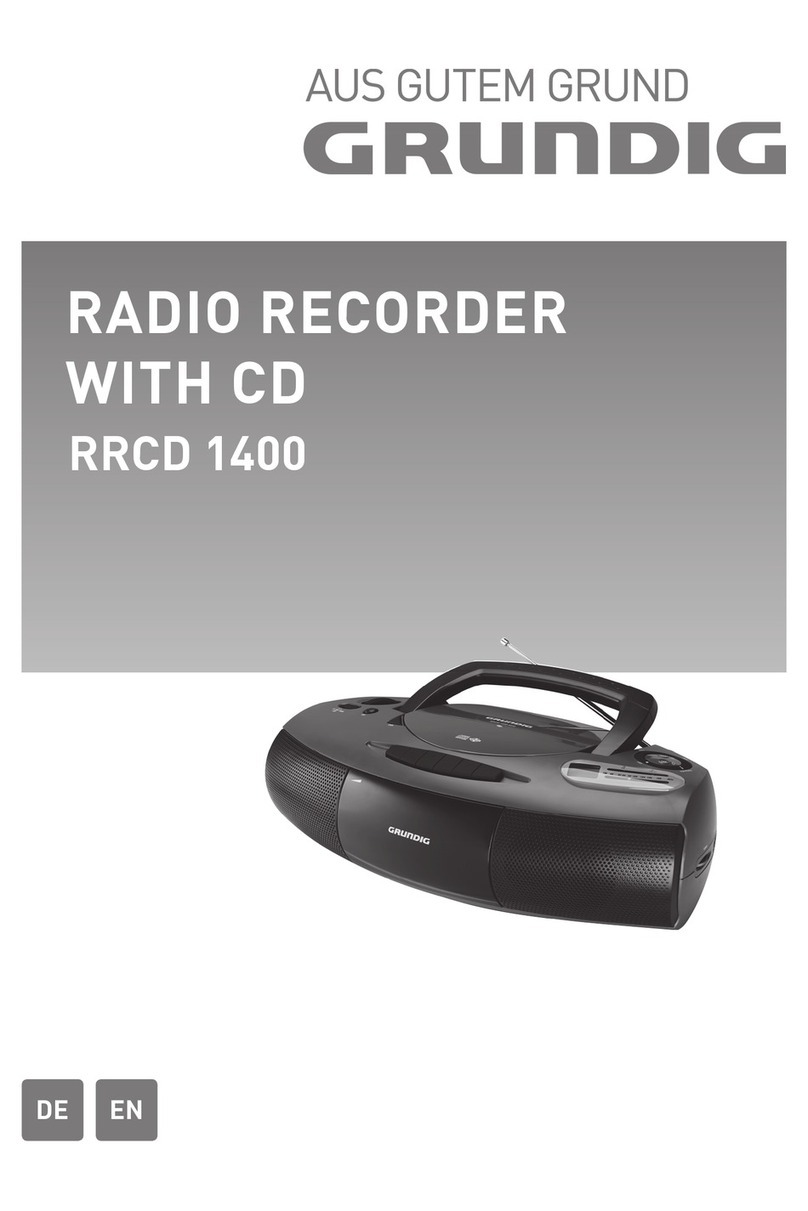
CD TAPE OFF / RADIO
UBS VII 7.rr ee r•
0
AC~
ANTENNA
OPEN
PLAY/PAUSE eII
PROG.
MODE
STOP 7
FM MW
TUNING
BEAT CUT 0 1/MONO STEREO
+–
3
_______________________________________________________________________________
DEUTSCH
4 Sicherheit und Pflege
5 Auf einen Blick
7 Stromversorgung
8 Allgemeine Funktionen
9 Radio Betrieb
10 CD-Betrieb
12 Cassetten-Betrieb
14 Informationen
ENGLISH
16 Care and safety
17 Overview
19 Power supply
20 General functions
21 Radio mode
22 CD mode
24 Tape mode
26 Information
FRANCAIS
28 Sécurité et entretien
29 Vue d’ensemble
31 Alimentation électrique
32 Fonctions générales
33 Fonction radio
34 Fonction CD
36 Fonction lecteur de cassettes
38 Informations
ITALIANO
40 Sicurezza e cura
41 In breve
43 Alimentazione elettrica
44 Funzioni generali
45 Funzionamento Radio
46 Funzionamento CD
48 Funzionamento cassetta
50 Informazioni
PORTUGUÊS
52 Segurança e conservação
53 Vista geral
55 Alimentação de corrente
56 Função gerais
57 Função rádio
58 Função CD
60 Função cassetes
62 Informações
ESPAÑOL
64 Seguridad y cuidado
65 Vista general
67 Alimentación de corriente
68 Funciones generales
69 Modo radio
70 Modo CD
72 Modo casete
74 Información
NEDERLANDS
76 Veiligheid en onderhoud
77 In een oogopslag
79 Stroomtoevoer
80 Algemene functies
81 Radio-mode
82 Cd-mode
84 Cassette-mode
86 Informatie
POLSKI
88 Bezpieczeństwo, czyszczenie
89 Przegląd funkcji
91 Zasilanie
92 Funkcje ogólne
93 Obsługa radia
94 Obsługa odtwarzacza CD
96 Obsługa magnetofonu kasetowego
98 Informacje
DANSK
100 Sikkerhed og vedligeholdelse
101 Kort oversigt
103 Strømforsyning
104 Generelle funktioner
105 Radiofunktion
106 Cd-funktion
108 Kassettebåndfunktion
110 Informationer
SVENSKA
112 Säkerhet och skötsel
113 En överblick
115 Strömförsörjning
116 Allmänna funktioner
117 Radio
118 CD-spelaren
120 Kassettbandspelaren
122 Information
SUOMI
124 Turvallisuus ja hoito
125 Yleiskatsaus
127 Virransyöttö
128 Yleiset toiminnot
130 Radiokäyttö
131 CD-käyttö
132 Kasettikäyttö
134 Tietoja
TÜRKÇE
136 Bakım ve güvenlik
137 Bakım ve güvenlik
139 Güç kaynağı
140 Genel fonksiyonlar
141 Radyo modu
142 Cd modu
145 Kaset modu
147 Bilgiler
ENGLISH
16
CARE AND SAFETY--------------------------------------------------------------------------------
To ensure that this device provides you with long-
term satisfaction and enjoyment, please observe
the following instructions.
█
This device is designed for the playback of
audio signals. Any other use is expressly pro-
hibited.
█
Protect the device and the CDs from rain,
moisture (dripping or splashing water), sand
and heat. Do not leave it next to heaters or
inside parked cars in the sun.
█
Make sure there is adequate ventilation when
positioning the device. There must be a free
space of at least 10 cm behind the device. Do
not place objects on the ventilation slots.
█
Do not place any objects containing liquids
(for example, vases) on the device. Do not
insert any foreign bodies in the CD compart-
ment of the device.
█
Do not place any objects such as burning
candles on the device.
█
Bringing the device in from the cold can cause
condensation on the CD lens, which prevents it
from playing. Give the device time to warm up.
█
Only use the device in a moderate climate.
█
The CD part contains self-lubricating bearings,
which must not be oiled or greased.
█
Never open the device casing under any cir-
cumstances. No warranty claims are accepted
for damage resulting from improper handling.
█
Thunderstorms are a danger to all electrical
devices. Even if the device is switched off, it
can be damaged by a lightning strike to the
mains. Always remove the mains plug during
an electrical storm.
█
Do not use any cleaning agent, as this may
damage the casing. Clean the device with a
clean, dry cloth.
█
Please note when deciding where to put the
device that furniture surfaces are covered by
various types of lacquer and plastic, most of
which contain chemical additives. These may
cause corrosion to the feet of the device, thus
resulting in stains on the surface of the furniture
which can be difficult or impossible to remove.
Caution
If malfunctions occur due to brief mains over-
loads or static electricity charges, reset the
device. To do this, pull out the power plug
and connect it again after a few seconds.
General information on laser
devices You will find a symbol
similar to the one shown
here on the bottom of the
device.
CLASS 1 LASER PRODUCT means that the laser
is designed in such a way as to ensure that the
maximum permissible emission value cannot be
exceeded under any circumstances.
If operating devices or methods other than those
specified here are employed, it may lead to dan-
gerous exposure to emissions.
Invisible laser radiation is emitted if the CD
compartment is opened and the safety locking
mechanism is shorted. Do not expose yourself to
this radiation.
CLASS 1
LASER PRODUCT
17
ENGLISH
OVERVIEW-------------------------------------------------------------------------------------------------------
Controls
See the figure on page 2.
General information
0Headphone jack for
connecting a headphone set
with a jack plug
(ø 3.5 mm) on the left side
of the device.
This automatically switches
off the loudspeakers.
AC~ Socket for connecting the
power cord (on the back of
the device).
CD TAPE/OFF Switches between the CD,
RADIO TAPE and RADIO input
sources.
Switches off the device.
+–Adjusts the volume.
UBS Switches the Ultra Bass
System on and off.
Radio unit
ANTENNA Telescopic antenna for FM
(VHF) reception.
FM MW Frequency band switch FM
• • (VHF) and MW (medium
wave) (on the right side of
the device).
TUNING
For tuning to radio stations
(on the right side of the
device).
BEAT CUT 0 1 Switches between Mono
MONO STEREO and Stereo reception (on the
back of the device).
CD unit
OPEN Opens the CD compartment.
PLAY/PAUSE eII Starts and pauses playback.
Press briefly to select the
next or previous track.
Press and hold down to start
a forward or reverse search.
STOP 7Ends playback, deletes track
memories.
PROG. For saving tracks when
creating a memory.
MODE For repeating a track or the
entire CD.
Tape unit
VIndicates the tape direction.
II Pauses recording and
playback.
7.Ends playback/recording of
the tape and opens the tape
compartment.
rr Fast forwards the tape to the
end.
ee Rewinds the tape to the
beginning.
rStarts playback.
•Starts recording.
BEAT CUT 0 1 Suppresses whistling noises
when recording from MW
radio stations (on the back
of the device).
ENGLISH
18
00 In CD mode: shows the total
number of tracks and the
current track. Flashes when
playback is paused.
ON •Operation indicator. Lights
up red during operation.
PLAY •In CD mode: lights up dur-
ing playback. Flashes when
playback is paused.
REPEAT •In CD mode: flashes when
a track is repeated. Lights
up when the whole CD is
repeated.
OVERVIEW-------------------------------------------------------------------------------------------------------
PROG. •In CD mode: flashes when
a track memory is saved.
Lights up when a track
memory is played.
FM.ST •In radio mode: an FM stereo
station is being received.
FM 88 ... In radio mode: Frequency
108 MHz scale for the FM (VHF) fre
quency band.
MW 530 ... In radio mode: Frequency
1600 kHz scale for the MW (medium
wave) frequency band.
00
ON PLAY REPEAT PROG. FM.ST
FM 88 92 94 98 100 104 106 108
MW 530 600 800 1200 1600 kHz
MHz
• • • • •
Displays
19
ENGLISH
POWER SUPPLY----------------------------------------------------------------------------------------
Mains operation
Note:
7
Check that the mains voltage on the
type plate (on the bottom of the device)
corresponds to your local mains supply. If
this is not the case, contact your specialist
dealer.
1 Plug the mains cable supplied into the
»AC ~« socket on the back of the device.
2Plug the power cord into the wall socket.
Caution:
7
The device is connected to the mains with
the power plug. To fully disconnect the de-
vice from the mains, pull out the plug.
7
The mains plug is used to disconnect the
device. It shall remain readily operable
and should not be obstructed during in-
tended use.
Battery operation
1Open the battery compartment on the bot-
tom of the device by pressing the mark and
removing the lid.
2Insert six batteries (6 x 1.5 V, type
IEC R20/UM1/D size), observing the
polarity marked on the lid of the battery
compartment.
3Close the battery compartment.
Notes:
7
Do not expose the batteries to extreme
heat,causedforexample bydirectsunlight,
heaters or fire.
7
Remove the batteries when they are flat or
when you know that the device will not be
used for a long period of time.
7
The manufacturer accepts no liability for
damage resulting from leaking batteries.
7
The batteries are switched off during mains
operation.
Environmental note:
7
Batteries, including those which contain no
heavy metals, may not be disposed of with
household waste. Please dispose of used
batteries in an environmentally responsible
manner. Find out about the legal regula-
tions which apply in your area.
ENGLISH
20
GENERAL FUNCTIONS---------------------------------------------------------------------
Switching on and off
1Switch on the device with the required
input source by moving the switch to the
»CD TAPE/OFF RADIO« position.
2Move the »CD TAPE/OFF RADIO«
switch to the »TAPE/OFF« position to
switch off the device.
Selecting the input source
1Select the input source (CD, TAPE or RADIO)
using »CD TAPE/OFF RADIO«.
Adjusting the volume
1Adjust the volume with »+–«.
Switching the Ultra Bass System
on and off
This function boosts the bass frequencies.
1Switch the Ultra Bass System on and off with
»UBS«.
Listening with headphones
1Connect the headphones to the headphones
socket »0« (ø 3.5 mm) on the left of the
device.
– This switches off the loudspeakers.
Note:
7
Excessive sound pressure from the ear-
phones or headphones can cause hearing
loss.
21
ENGLISH
RADIO MODE-----------------------------------------------------------------------------------------------
Antennas
1For FM stations (VHF) extend the telescopic
antenna »ANTENNA«.
Note:
7
If the FM signal is too strong, it is advisable
to push in the telescopic antenna.
2The radio has a built-in rod antenna for MW
reception. Turn the device around to direct
the antenna.
Selecting the radio input source
1Move the »CD TAPE/OFF RADIO«
switch to the »RADIO« position.
Selecting radio stations
1Select the frequency band (FM or MW) with
»FM MW« (on the right side of the device).
2Select the radio station using »TUNING«
(on the right side of the device).
– The frequency is displayed on the fre-
quency scale.
Stereo/mono reception
If the radio is receiving FM stereo stations, the
stereo indicator »FM.ST •« lights up.
However, if the signal from the FM stereo station
is weak, you can improve the sound quality by
switching to mono reception.
1Use »MONO STEREO« to switch to
mono reception.
2Use »MONO STEREO« to switch to
stereo reception.
ENGLISH
22
The device is suitable for
music CDs displaying the
logo shown here (CD-DA)
and for CD-Rs and CD-
RWs with audio data.
When burning CD-R and CD-RWs with audio
files, various problems may arise which could
lead to interference in playback. This can
be caused by faulty software or hardware
settings or by the CD being used. Should
such problems arise, contact the customer
services of your CD burner or software manufac-
turer or look for relevant information, for exam-
ple on the Internet. When you are making audio
CDs, observe all legal guidelines and ensure
that the copyright of third parties is not infringed.
Always keep the CD compartment closed to
prevent dust from collecting on the laser optics.
Do not attach adhesive labels to CDs. Keep the
surfaces of CDs clean. You can play standard
12 cm CDs as well as 8 cm CDs on your device.
An adapter is not necessary.
Selecting the CD input source
1Move the »CD TAPE/OFF RADIO«
switch to the »CD« position.
2Press »OPEN« to open the CD compart-
ment.
3Insert a CD in the compartment with its label
facing upwards.
4Close the lid of the CD compartment.
– The device reads the content of the
CD. The display shows the number of
tracks.
CD MODE------------------------------------------------------------------------------------------------------------
CD playback
1Press »PLAY/PAUSE eII« to start play-
back.
– Playback begins with the first track.
– Display: the current track number.
– Playback stops at the end of the CD.
2Press »PLAY/PAUSE eII« to pause play-
back.
3Press »PLAY/PAUSE eII« to resume play-
back.
4Press »STOP 7« to end playback.
5Press »OPEN« to open the CD compart-
ment and take out the CD.
6Close the CD compartment.
Repeating the current track
1Press »SKIP « briefly during playback.
– The track is repeated from the beginning.
Selecting another track
1During playback, keep pressing »SKIP «
or »SKIP « until the number of the track
you want to hear appears in the display.
– Playback of the selected track starts auto-
matically.
Note:
7
You can also select tracks in the stop posi-
tion. However, you must then start playbac
of the track with »PLAY/PAUSE eII«.
Searching for a passage within a
track
1During playback, press »SKIP « or
»SKIP « and hold it down until you find
the passage you want to hear.
– Playback starts when you release
»SKIP « or »SKIP «.
Note:
7
During the search the volume is reduced.
23
ENGLISH
CD MODE------------------------------------------------------------------------------------------------------------
Changing the track selection
1In stop mode, keep pressing »PROG.« until
the number of the track you want to replace
appears in the display.
2Select the number of the new track by
pressing »SKIP « or »SKIP «.
3Press »PROG.« to save the new track.
Adding tracks
1In stop mode, keep pressing »PROG.« until
the track number shown in the display is
zero.
2Select the number of the new track by
pressing »SKIP « or »SKIP «.
3Press »PROG.« to save the new track.
Deleting the track memory
The CD must be in the stop position.
1Press »OPEN/CLOSE« to open the CD
compartment;
or
press »CD TAPE/OFF RADIO« to
switch the device to »RADIO« or press
»CD TAPE/OFF RADIO« to switch the
device to »TAPE/OFF«.
Repeating a track (Repeat One)
1During playback, press »MODE« once.
– The current track is repeated.
2To quit the function, press »MODE« twice.
Repeating all tracks (Repeat All)
1During playback, press »MODE« twice.
– The whole CD is played back repeatedly.
2To end this function, press »MODE« once.
Creating a track memory
You can store up to 20 tracks of the current CD
in a particular order and then play them back. A
track may be stored more than once.
Programming is only possible in the stop position.
Selecting and storing tracks
1Press »PROG.« to call up the function.
– Display: »0 I« for the track selection and
»PROG. •« flash.
2Select the track by pressing » « or » «.
3Press »PROG.« to save the track.
– The new memory position is briefly dis-
played, then »02« for the track selection
and »PROG. •« flash.
4To store more tracks, repeat steps 2to 3.
Playing back a track memory
1Start the track memory by pressing
»PLAY/PAUSE eII«.
– Playback begins with the first programmed
track.
2Press »STOP 7« to end playback.
3To play the track memory again, press
»PROG.« and afterwards
»PLAY/PAUSE e«.
ENGLISH
24
TAPE MODE-----------------------------------------------------------------------------------------------------
Selecting the tape input source
1Move the »CD TAPE/OFF RADIO«
switch to the »TAPE« position.
2Press »7.« to open the tape compartment.
3Insert a tape in the compartment with the
open side facing up and the full reel on the
right side.
4Close the tape compartment.
Tape playback
1Press »r« to start playback.
– Playback ends at the end of the side of the
cassette.
2Press »II« to pause playback.
Press »II« to resume playback.
3End playback by pressing »7.«.
4Press »7.« again to open the tape com-
partment and take out the cassette.
Fast forward and rewind
1Press »rr « or »ee « when the tape is in
the stop position.
– »rr « fast forwards to the end of the
tape, »ee « rewinds to the beginning of
the tape.
2Press »7.« at the required position on the
tape.
Tape recording
Erase protection
Every new recording overwrites the existing re-
cording on the tape.
You can protect your own tapes against acciden-
tal erasure by breaking the safety tabs on the
top of the tape.
Pre-recorded commercial music tapes are al-
ready protected against accidental erasure.
If you want to record on to a protected tape,
cover the opening with adhesive tape.
Notes:
7
Only use NORMAL-type cassettes (IEC I)
for recording. CHROME (IEC II) or METAL
(IEC IV) tapes are not suitable.
7
The Ultra Bass System does not affect re-
cording.
Recording from the radio
1Put in a cassette with the protection tabs in-
tact and press »rr « or »ee « to find the
position on the tape.
2Move the »CD TAPE/OFF RADIO«
switch to the »RADIO« position and select
the radio station.
3Press » « to start recording.
– The »r« button is automatically engaged.
– The device automatically stops recording
at the end of the tape.
4Press »II« to pause recording.
Press »II« to resume recording.
5To break off recording, press »7.«.
25
ENGLISH
TAPE MODE-----------------------------------------------------------------------------------------------------
Recording from a CD
1Put in a cassette with the protection tabs in-
tact and press »rr « or »ee « to find the
position on the tape.
2Move the »CD TAPE/OFF RADIO«
switch to the »CD« position.
3Pause the CD during playback at the required
position by pressing »PLAY/PAUSE eII«.
4Press » « to start recording.
– The »r« button is automatically engaged.
CD playback starts automatically.
– The device automatically stops recording
at the end of the tape.
CD synchro recording
1Put in a cassette with the protection tabs in-
tact and press »rr « or »ee « to find the
position on the tape.
2Move the »CD TAPE/OFF RADIO«
switch to the »CD« position.
3Press » « to start recording.
– The »r« button is automatically engaged.
Playback starts automatically from the be-
ginning of the CD or the beginning of the
stored music program, if you first pressed
»PROG.«.
– The device automatically stops recording
at the end of the tape.
Cleaning the tape drive
To guarantee good recording and playback
quality, clean the parts shown (1, 2, 3) after
every 50 hours of use, or once a month.
Open the tape compartment, moisten a cotton
swab with alcohol or a special head-cleaning
fluid and clean the idler (3), the capstan (2) and
the magnetic heads (1). Close the cassette com-
partment. You can also play a cleaning cassette
to clean the magnetic heads (1).
Protect your cassettes from humidity, dust, heat
and cold.
Do not store your cassettes near devices with
strong magnetic fields such as television sets or
stereo speakers.
After using a cassette, put it back in its protective
case.
5
321
4
32
11
ENGLISH
26
INFORMATION------------------------------------------------------------------------------------------
Technical data
This device is noise-suppressed
according to the applicable EU
directives.
This product fulfils the European
directives 2004/108/EC, 2005/32/EC and
2006/95/EC.
This device conforms to the safety regulation
DIN EN 60065 (VDE 0860) and therefore the
international safety regulation IEC 60065.
Never open the device casing. The manufac-
turer will not accept any liability for damage
resulting from improper handling.
The type plate is located on the bottom of the
device.
Power supply
Mains operation: 230 volts, 50/60 Hz
Battery operation: 6 x 1.5 V IEC
(R20/UM1/D-Size)
Max. power consumption
Operation: 13 W
Standby: < 1 W
Output
DIN 45324, 10% THD
Music signal power: 2 x 3 W
Sine wave power: 2 x 1.5 W
Stereo headphone jack: 3.5 mm ø
Radio unit Frequency bands
FM 87.5 ...108.0 MHz
MW 522 ... 1620 kHz
CD unit
Frequency response: 20 Hz ... 16 kHz
Noise voltage ratio: ≥ 65 dB
Tape unit
Sound recording Compact cassette ac
medium: cording to DIN 45516
Track position: International quarter-
track
Tape speed: 4.76 cm/sec.
Motor: DC motor
Frequency range: 125 Hz ... 10 kHz
Noise voltage ratio: ≥ 42 dB
Band speed fluctuation: ≤ 0.35 %
Dimensions and weight
W x H x L: 400 x 235 x 195 mm
Weight: 2.8 kg
Technical and design modifications reserved.
27
ENGLISH
INFORMATION------------------------------------------------------------------------------------------
Troubleshooting
Not every kind of sound interference is caused
by a defect in your hi-fi system. Cables that have
accidentally been disconnected, damaged CDs
and flat batteries for the remote control will
impair functioning. If the following measures do
not resolve the problem satisfactorily, please visit
www.grundig.com, product range: hi-fi, micro
CD stations or contact your specialist dealer.
PROBLEM POSSIBLE CAUSE REMEDY
GENERAL
INFORMATION
No sound
The volume setting is too low
The headphones are connected
The batteries are flat
The batteries are incorrectly inserted
The mains cable is incorrectly
connected
Turn up the volume
Unplug the headphones
Replace the batteries
Insert then correctly
Connect the mains cable properly
The device does not
respond to button
commands.
Static electrical discharge Switch off the device, disconnect
the mains cable and plug it in
again after a few seconds
Remove any batteries
RADIO
Poor radio reception
Weak radio antenna signal
Interference from electrical devices
such as televisions, video recorders,
computers, neon lamps etc.
VHF (FM): tilt and turn the
telescopic antenna, switch to
mono reception. MW: turn whole
device Keep radio recorder away
from electrical devices
CD
Playback will not start
The CD is damaged or dirty
Replace or clean the CD
CD-Rs or CD-RWs are
not being played back,
or being played back
incorrectly
The CD is faulty or the software or
hardware settings were incorrect
during burning
Check the components of your CD
burner/burner software or change
the CD you are using
TAPE
Poor cassette playback
sound quality
Dust and dirt on magnetic heads,
capstans or idlers
Clean the magnetic heads,
capstan and idler
No cassette recording Recording protection tab has been
broken off Cover the opening with adhesive
tape
www.grundig.com
27/10 72011 410 1000

Other Grundig Recording Equipment manuals

Grundig GRX-K4416A User manual

Grundig

Grundig GRX-K4416A User manual

Grundig RRCD 2700 MP3 User manual

Grundig

Grundig RRCD 2700 MP3 User manual

Grundig RRCD 1400 User manual

Grundig

Grundig RRCD 1400 User manual

Grundig DTR 4540 HDD User manual

Grundig

Grundig DTR 4540 HDD User manual

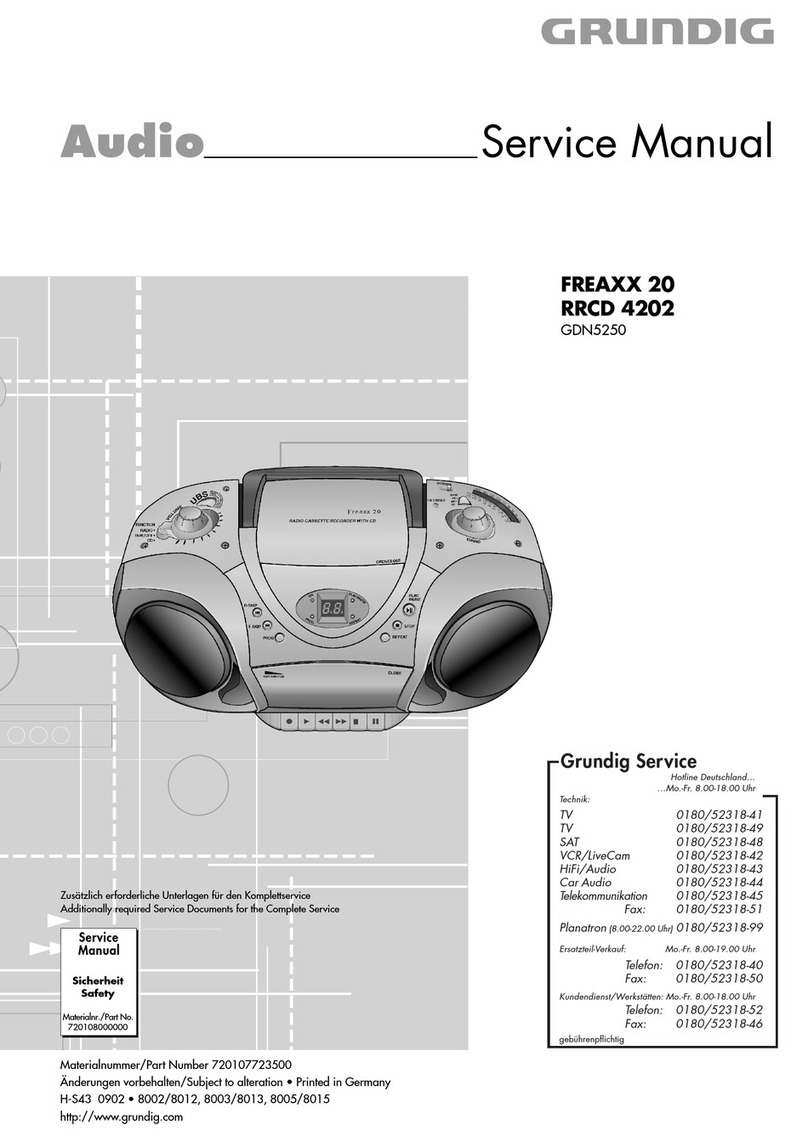
Grundig freaxx 20 User manual

Grundig

Grundig freaxx 20 User manual

Grundig GRI-K1104A User manual

Grundig

Grundig GRI-K1104A User manual

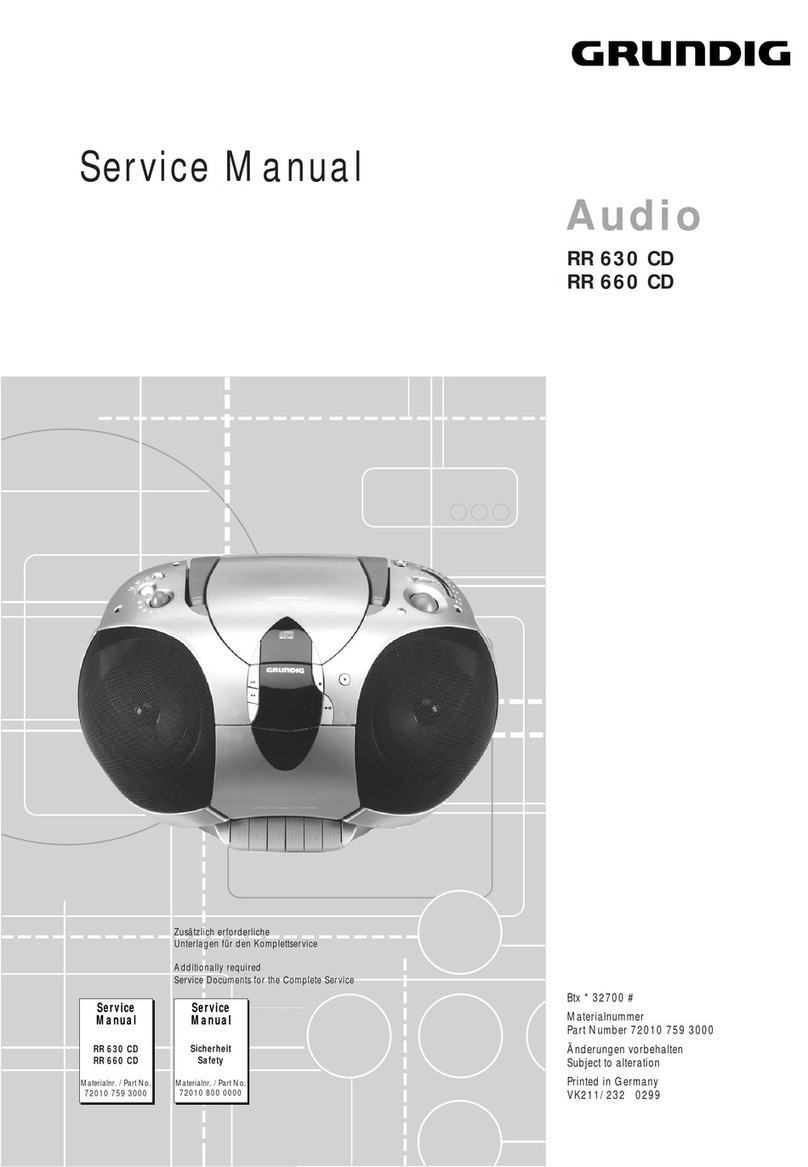
Grundig RR 630 CD User manual

Grundig

Grundig RR 630 CD User manual

Grundig GRI-K1104A User manual

Grundig

Grundig GRI-K1104A User manual

Grundig GKB-A0110M User manual

Grundig

Grundig GKB-A0110M User manual

Grundig MAJESTIC TK83O User manual

Grundig

Grundig MAJESTIC TK83O User manual

Grundig Digta User manual

Grundig

Grundig Digta User manual

Popular Recording Equipment manuals by other brands

WYLMAN PEGASUS user manual

WYLMAN

WYLMAN PEGASUS user manual

JVC KSSRA100 - Vehicle Sirius Satellite Radio... Installation & connection manual

JVC

JVC KSSRA100 - Vehicle Sirius Satellite Radio... Installation & connection manual

Marantz CDR310 brochure

Marantz

Marantz CDR310 brochure

LaunchPad Pro MK3 User guide addendum

LaunchPad

LaunchPad Pro MK3 User guide addendum

Agilent Technologies 346A Installation note

Agilent Technologies

Agilent Technologies 346A Installation note

Omnitronic DXO-48E user manual

Omnitronic

Omnitronic DXO-48E user manual

Federal Signal Corporation UTM installation instructions

Federal Signal Corporation

Federal Signal Corporation UTM installation instructions

Webasto SmarTemp Control fx 2.0 Installation & operation instructions

Webasto

Webasto SmarTemp Control fx 2.0 Installation & operation instructions

Vidicode V-Tap Analog quick guide

Vidicode

Vidicode V-Tap Analog quick guide

Avsl adastra DM-8 user manual

Avsl

Avsl adastra DM-8 user manual

Behringer Eurorack MX1604A user manual

Behringer

Behringer Eurorack MX1604A user manual

Jupiter Avionics JA94-N44A Installation and operating manual

Jupiter Avionics

Jupiter Avionics JA94-N44A Installation and operating manual

Neve 88M user manual

Neve

Neve 88M user manual

Pretorian Simple Switch Interface instructions

Pretorian

Pretorian Simple Switch Interface instructions

Cochlear Baha 5 Power user manual

Cochlear

Cochlear Baha 5 Power user manual

M-Audio Keystation 88es user guide

M-Audio

M-Audio Keystation 88es user guide

Tektronix DD 501 instruction manual

Tektronix

Tektronix DD 501 instruction manual

Korg minikaosspad2 owner's manual

Korg

Korg minikaosspad2 owner's manual

manuals.online logo
manuals.online logoBrands
  • About & Mission
  • Contact us
  • Privacy Policy
  • Terms and Conditions

Copyright 2025 Manuals.Online. All Rights Reserved.