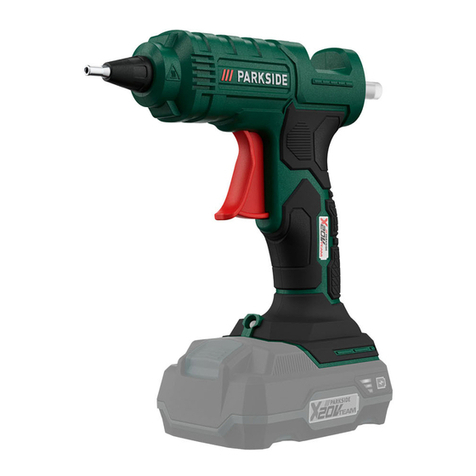
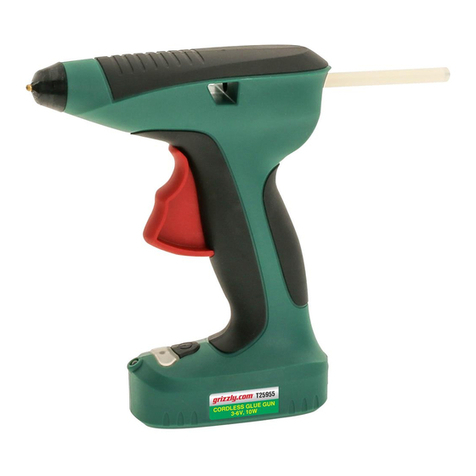
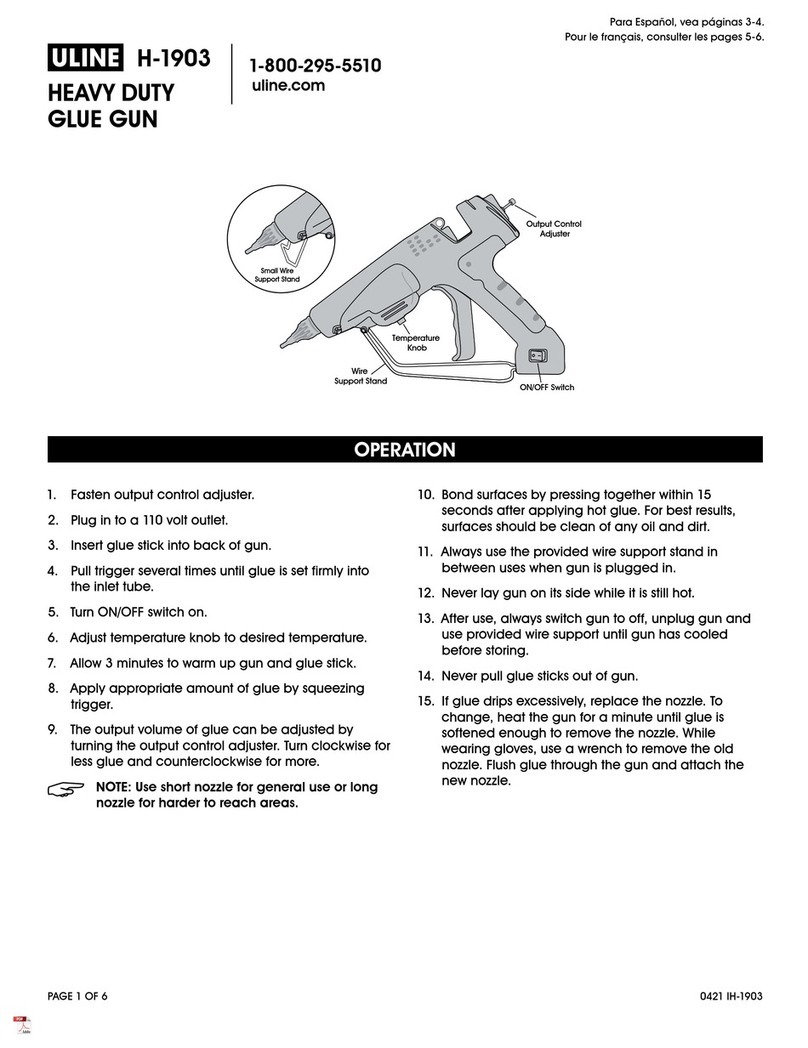
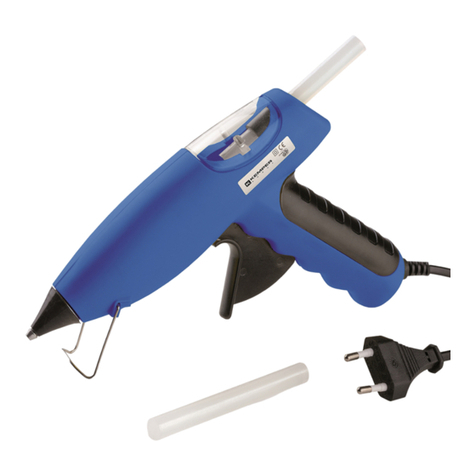
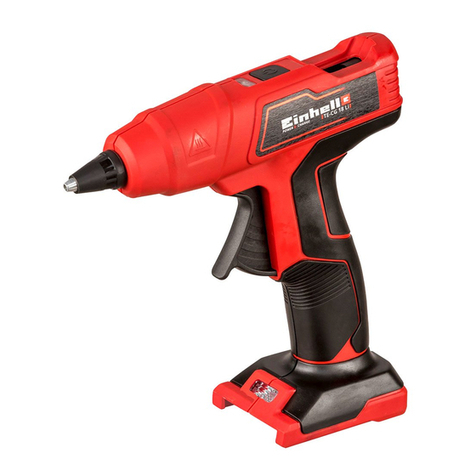
Guild CGG12G User manual

GUILD
12V Glue Gun
Instruction Manual
Important - Please read these instructions fully before operating or maintaining your Guild Glue Gun
These instructions contain important information that will help you get the best from your Guild
Glue Gun, ensuring it remains safe to operate.
If you need help or have damaged or missing parts, call the Customer Helpline on 0333 3201989
After Sales Support
CGG12G
UK/Ireland 0333 3201989
Help@guildpowertools.co.uk

Customer Helpline 0333 3201989
2
Contents
Safety Information.....................................................................................................3
In The Box..................................................................................................................6
Accessories................................................................................................................6
Operating Instructions...............................................................................................7
Maintenance............................................................................................................11
Troubleshooting.......................................................................................................11
Technical Data..........................................................................................................12
Environmental Protection........................................................................................12
Guarantee................................................................................................................13

Customer Helpline 0333 3201989
3
Safety Information
Important - Please read these instructions fully before starting assembly
Warning Symbols
To reduce the risk of injury. Please read the instruction manual
Warning
Wear ear protection
Wear eye protection
Wear dust mask
Double insulation
Waste electrical products must not be disposed of with household waste. Please recycle
where facilities exist. Check with your local authorities or retailer for recycling advice.
Do not dispose of batteries, Return exhausted batteries to your local collection or recycling
point.
Do not burn
Do not expose to rain or water
For indoor use only
Fuse
The output plug is with positive center pole and negative outer pole

Customer Helpline 0333 3201989
4
WARNING! Read all safety warnings and all instructions. Failure to follow the
warnings and instructions may result in electric shock, fire and/or serious injury.
Save all warnings and instructions for future reference.
This appliance can be used by children aged from 8 years and above and persons with
reduced physical, sensory or mental capabilities or lack of experience and knowledge
if they have been given supervision or instruction concerning use of the appliance in a
safe way and understand the hazards involved. Children shall not play with the appliance.
Cleaning and user maintenance shall not be made by children without supervision.
If the supply cord is damaged, it must be replaced by the manufacturer, its service agent
or similarly qualified persons in order to avoid a hazard.
ADDITIONAL SAFETY INSTRUCTIONS FOR YOUR GLUE GUN
A fire may result if the appliance is not used with care, therefore
- be careful when using the appliance in place where there are combustible materials;
- do not apply to the same place for a long time;
- do not use in presence of an explosive atmosphere;
- be aware that heat may be conducted to combustible materials that are out of sight;
- place the appliance on its stand after use and allow it to cool down before storage;
- do not leave the appliance unattended when it is switched on.
WARNING! Read all safety warnings and all instructions. Failure to follow the
warnings and instructions may result in electric shock, fire and/or serious injury.
Save all warnings and instructions for future reference
This appliance can be used by children aged from 8 years and above and persons with
reduced physical, sensory or mental capabilities or lack of experience and knowledge
if they have been given supervision or instruction concerning use of the appliance in a
safe way and understand the hazards involved. Children shall not play with the appliance.
Cleaning and user maintenance shall not be made by children without supervision.
If the supply cord is damaged, it must be replaced by the manufacturer, its service agent or
similarly qualified persons in order to avoid a hazard.
Additional safety instructions for your Battery Charger
1. Before charging, read the instructions.
2. Do not charge a leaking battery.
3. Do not use chargers for works other than those for which they are designed.
4. Before charging, ensure your charger is matching the local AC supply.
5. For indoor use, or do not expose to rain.
6. The charging device must be protected from moisture.
7. Do not use the charging device in the open.
8. Do not short out the contacts of battery or charger.
9. Respect the polarity “+/-“ when charging.
10.Do not open the unit and keep out of the reach of children.
11.Do not charge the batteries of other manufactures or ill-suited models.
12.Ensure that the connection between the battery charger and battery is correctly
positioned and is not obstructed by foreign bodies.
Safety Information
Important - Please read these instructions fully before starting assembly
General Safety Warnings
Original Instructions
General Safety Warnings for your Battery Charger

Customer Helpline 0333 3201989
5
13.Keep battery charger’s slots are free of foreign objects and protect against dirt and
humidity. Store in a dry and frost-free place.
14.When charging batteries, ensure that the battery charger is in a well-ventilated
area and away from inflammable materials. Batteries can get hot during charging.
Do not overcharge any batteries. Ensure that batteries and chargers are not left
unsupervised during charging.
15.Do not recharge non-rechargeable batteries, as they can overheat and break.
16.Longer life and better performance can be obtained if the battery pack is charged
when the air temperature is between 18oC and 24oC. Do not charge the battery pack
in air temperatures below 4.5oC, or above 40.5oC. This is important as it can prevent
serious damage to the battery pack.
17.Charge only battery pack of the same model provided by manufacturer and of models
recommended by manufacturer.
a) Do not dismantle, open or shred cells or battery pack.
b) Do not short-circuit a battery pack. Do not store battery packs haphazardly in a
box or drawer where they may short-circuit each other or be short-circuited by
conductive materials. When battery pack is not in use, keep it away from other metal
objects, like paper clips, coins, keys, nails, screws or other small metal objects, that
can make a connection from one terminal to another. Shorting the battery terminals
together may cause burns or a fire.
c) Do not expose battery pack to heat or fire. Avoid storage in direct sunlight.
d) Do not subject battery pack to mechanical shock.
e) In the event of battery leaking, do not allow the liquid to come into contact with
the skin or eyes. If contact has been made, wash the affected area with copious
amounts of water and seek medical advice.
f) Seek medical advice immediately if a cell or battery pack has been swallowed.
g) Keep battery pack clean and dry.
h) Wipe the battery pack terminals with a clean dry cloth if they become dirty.
i) Battery pack needs to be charged before use. Always refer to this instruction and
use the correct charging procedure.
j) Do not maintain battery pack on charge when not in use.
k) After extended periods of storage, it may be necessary to charge and discharge the
battery pack several times to obtain maximum performance.
l) Battery pack gives its best performance when it is operated at normal room
temperature (20 °C ± 5 °C).
m) When disposing of battery packs, keep battery packs of different electrochemical
systems separate from each other.
n) Recharge only with the charger specified by manufacturer. Do not use any charger
other than that specifically provided for use with the equipment. A charger that is
suitable for one type of battery pack may create a risk of fire when used with another
battery pack.
o) Do not use any battery pack which is not designed for use with the equipment.
p) Keep battery pack out of the reach of children.
q) Retain the original product literature for future reference.
r) Remove the battery from the equipment when not in use.
s) Dispose of properly.
Safety Information
Important - Please read these instructions fully before starting assembly
Safety Warnings for battery pack
General Safety Warnings for your Battery Charger
Customer Helpline 0333 3201989
6
In The Box
Parts
1 6
49
2 7
510
11
38
Protective Nozzle Cover
On/Off Switch
LED Indicator Lights
Glue Stick Champer
Battery pack
Charger (ACG1217G) 1
Battery pack (ABP12M15) 1
Glue sticks (7mm) 24
Battery release button
Trigger Flow Control
Nozzle
Glue Stick Entry
Glue Stick
Charger
We recommend that you purchase your accessories listed in the above list from the same
store that sold you the tool. Refer to the accessory packaging for further details. Store
personnel can assist you and offer advice.
Accessories
1 2 3
4
5
9
6
7
8
10
11

Customer Helpline 0333 3201989
7
NOTE: Before using the tool, read the instruction book carefully.
BEFORE OPERATION
1. CHARGING THE BATTERY
The battery charger supplied matches to the Li-ion battery installed in the machine. Do
not use other battery chargers.
The Li-ion battery is protected against deep discharging. When the battery is empty, the
machine is switched off by means of a protective circuit: the tool no longer work.
In a warm environment or after heavy use, the battery pack may become too hot to permit
charging. Allow time for the battery to cool down before recharging.
CHARGING PROCEDURE (SEE FIG. A1, A2)
Plug charger plug into a suitable power outlet and afterwards plug your battery pack into
the battery charger, the charging indicator (red) will illuminate at this time.
The charger indicator will turn into green when charging is complete, then unplug the
charging plug from the wall socket and then remove the battery pack from the battery
charger.
Important:
During the charging procedure, the battery pack warms up. This is normal.
When not using for extended periods, disconnect the battery charger from the socket.
Do not use the machine during the charging procedure.
Operating Instructions
A1 A2

Customer Helpline 0333 3201989
8
2. TO REMOVE THE BATTERY PACK (SEE FIG. B1)
Depress the Battery Pack Release Button firmly first and then slide the Battery Pack out
from your tool.
3. TO INSTALL THE BATTERY PACK (SEE FIG. B2)
Slide the fully charged Battery Pack onto the tool with sufficient force until it clicks into
position.
OPERATION
1. INSTALLING THE GLUE STICK (SEE FIG. C1, C2)
1) Insert the glue stick into the glue stick entry and slide down gently.
2) Squeeze the trigger flow control multiple times to allow the glue stick to be pushed
down.
Operating Instructions
B1
C1
B2
C2

Customer Helpline 0333 3201989
9
Operating Instructions
2. SWITCHING THE GLUE GUN ON (SEE FIG. D1, D2, D3)
1) Hold the on/off switch down for roughly 3 seconds to start the glue gun.
Note: A LED light will illuminate when switched on.
2) The first indicator light will glow red to indicate the glue gun is on.
3) The second indicator light will then glow green after 10 seconds indicating the glue gun is
ready to use.
Note: Allow the glue gun to heat up before you start operating. The glue gun will turn off
automatically after 5 minutes without any operations.
WARNING! The glue gun nozzle and heated glue gun become hot while in use. In the
event of accidental skin contact with hot glue, run under cold water immediately.
3. SWITCHING THE GLUE GUN OFF (SEE FIG. D4)
Press the on/off switch to switch off. All LED lights will turn off.
CAUTION! The protective nozzle will remain hot for a few minutes. Do not store the glue gun
directly after use. Allow the nozzle to cool and the glue to solidify.
D1
D3
D2
D4

Customer Helpline 0333 3201989
10
4. TRIGGER FLOW CONTROL (SEE FIG. E1-E4)
1) The flow rate of the glue is dependent on how much pressure is applied to the trigger
flow control. We add a case when you use the gun to bound interlayer. If you press the
interlayer, pls take care of overflowing glue.( see FIG. E2 - E3 )
Tip: Ensure the glue sticks are heated fully to allow an even flow of glue.
2) Press the surfaces to be glued together within 15 seconds for a strong bond.
3) To stop the flow of glue from the gun, release the trigger flow control.
WARNING! The glue gun nozzle and heated glue gun become hot while in use. In the
event of accidental skin contact with hot glue, run under cold water immediately.
Operating Instructions
E1
E3
E2
E4

Customer Helpline 0333 3201989
11
Remove the battery before carrying out any adjustment, servicing or maintenance.
When not in use, the glue gun should be stored in a dry, frost free location, keep out of children’s
reach.
If the housing of the glue gun requires cleaning, do not use solvents. Use of a cloth only is
recommended. Never immerse any part of the glue gun into liquid.
1. LED lights do not illuminate on charger
Check the charging adaptor is securely plugged into the wall outlet.
Check the battery is firmly connected to the charging cradle.
Check that the charging jack is securely connected to the charging cradle.
2. The battery has a short run time
Ensure the battery is properly charged. It will take 4-5 charging cycles before the battery
reaches optimum charge and run time.
3. Glue gun will not turn on
Ensure you hold the on/off switch down until the LED light illuminates indicating it is heating up.
4. No glue is flowing out of the nozzle
Ensure the glue gun is switched on and has been allowed time to heat the glue sticks
completely.
5. Glue Gun has cut out during use
The glue gun will automatically switch off after 5 minutes of inactivity to ensure the glue gun is not
left off accidentally. Simply press the on/off button for 2 seconds to switch the glue gun back on.
6. Waste heat may hurt you or pollute the environment
Pay attention to the glue gun when you cut the power. The gun have high temperature, it can melt
glue stick to influence the user and environment.
Maintenance
Troubleshooting

Customer Helpline 0333 3201989
12
Technical Data
Voltage 12V
Glue stick diameter 7mm
Auto-off time 300s
Heating time 10s
Max heating temp 175°C
Weight 0.47kg
Battery capacity 1.5Ah Li-ion
Charger rating Input: 100-240V~50/60Hz, 56W
Output: 15V, 1700mA
Charging time 1 hr
Charger protection class /II
Technical Data Table
Environmental Protection
Waste electrical products must not be disposed of with household waste. Please
recycle where facilities exist. Check with your local authorities or retailer for
recycling advice.

Customer Helpline 0333 3201989
13
Guarantee
This product is selected for DOMESTIC USE ONLY and not for business use.
This product is guaranteed against manufacturing defects for a period of 24 months. This
does not cover the product where the fault is due to misuse, abuse, use in contravention of
the instructions, or where the product has been the subject of unauthorised modifications
or alterations, or has been the subject of commercial use. In the event of a problem with
the product within the guarantee period please return it to your nearest store. If the item is
shown to have an inherent defect present at the time of sale, the store will provide you with
a replacement. Your statutory rights remain unaffected.
Issue1 08/2018


Table of contents