Guilin Woodpecker Medical Instrument Endo 3 User manual
Other Guilin Woodpecker Medical Instrument Dental Equipment manuals
Guilin Woodpecker Medical Instrument
Guilin Woodpecker Medical Instrument X-Cure User manual
Guilin Woodpecker Medical Instrument
Guilin Woodpecker Medical Instrument Minipex User manual
Guilin Woodpecker Medical Instrument
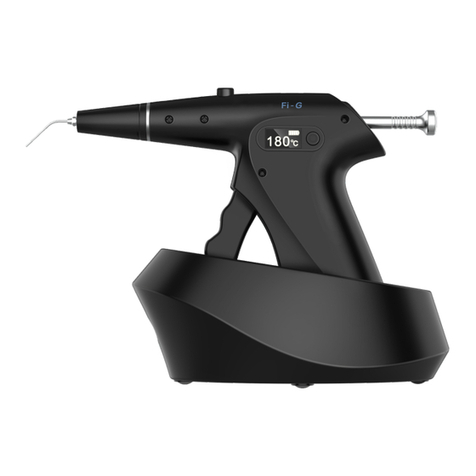
Guilin Woodpecker Medical Instrument Fi-G User manual

Guilin Woodpecker Medical Instrument
Guilin Woodpecker Medical Instrument Endo 1 User manual

Guilin Woodpecker Medical Instrument
Guilin Woodpecker Medical Instrument O-Star CURING LIGHT User manual
Guilin Woodpecker Medical Instrument
Guilin Woodpecker Medical Instrument HL11-M4 User manual
Guilin Woodpecker Medical Instrument
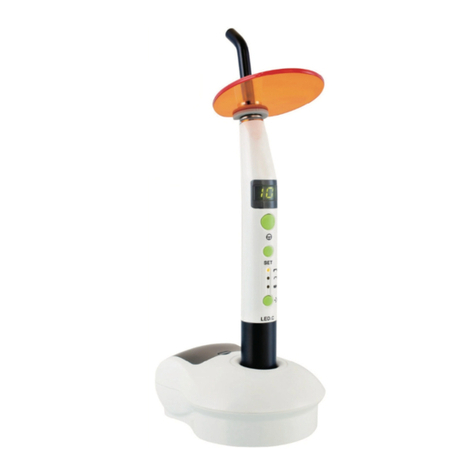
Guilin Woodpecker Medical Instrument CURING LIGHT LED.C User manual

Guilin Woodpecker Medical Instrument
Guilin Woodpecker Medical Instrument AP-H User manual

Guilin Woodpecker Medical Instrument
Guilin Woodpecker Medical Instrument AP-A User manual
Guilin Woodpecker Medical Instrument
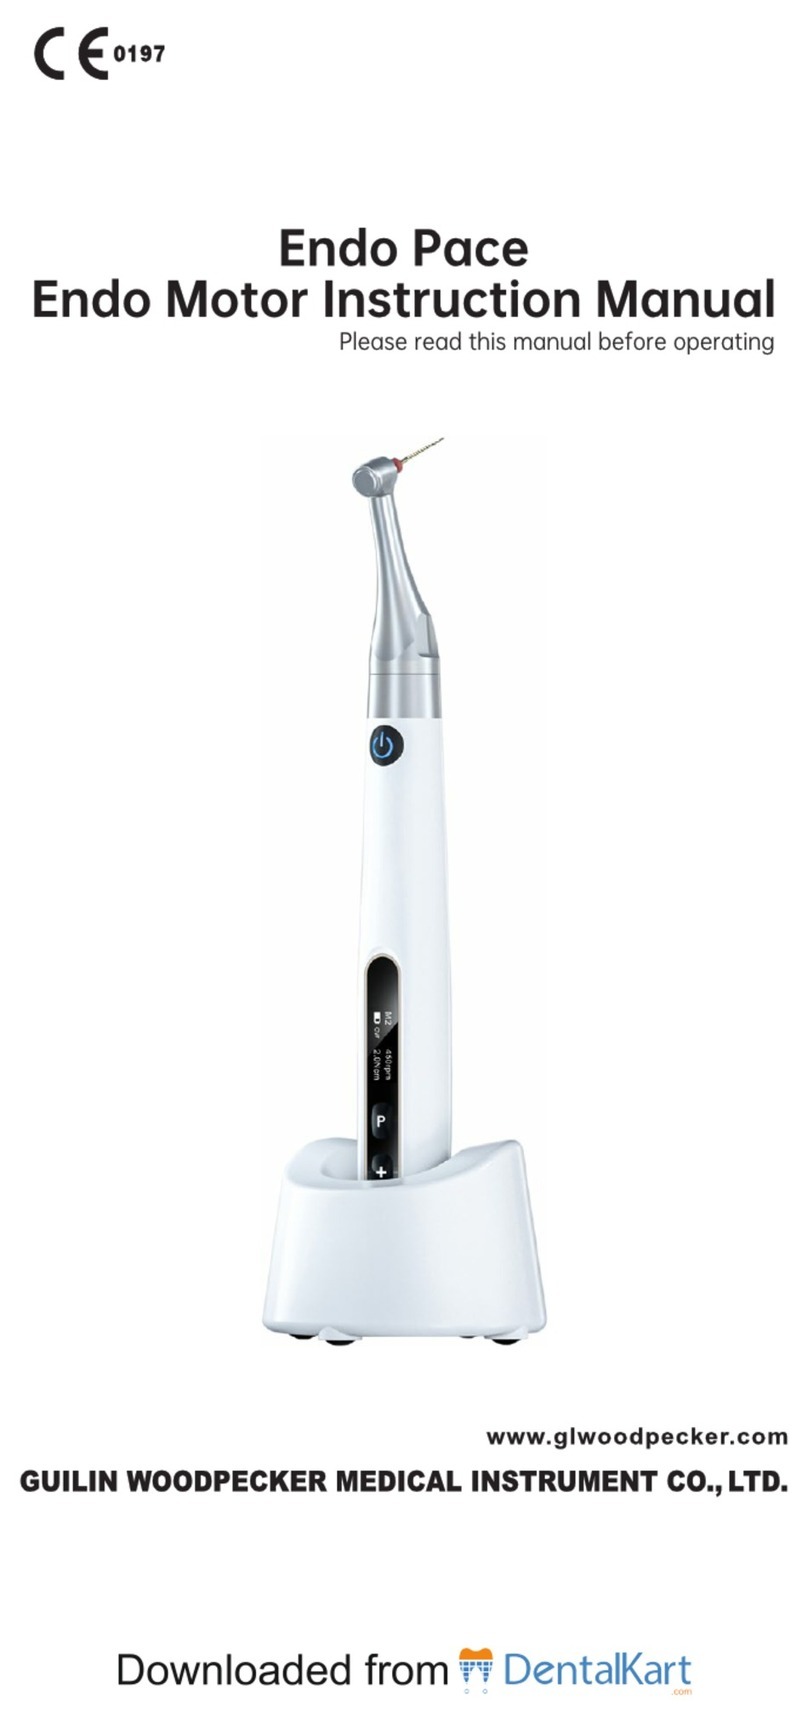
Guilin Woodpecker Medical Instrument Endo Pace User manual
Popular Dental Equipment manuals by other brands

Vatech
Vatech EzRay Air VEX-P300 user manual

KaVo
KaVo GENTLEpower LUX Contra-angle 25 LP Technician's Instructions

DENTSPLY
DENTSPLY SmartLite Focus Instructions for use

LM
LM ProPower CombiLED quick guide

Owandy Radiology
Owandy Radiology RX-AC user manual

mectron
mectron Piezosurgery Cleaning and sterilization manual
