EC-400 - Pallet Changer - Receiver - Installation
1. Use straps to lift the receiver assembly. Make sure all of the surfaces are clean.
2. Replace shims on the base, if necessary.
3. Position the assembly, orienting the clamp plate, over the base and lower into place.
4. Install the rotary union at the bottom of the receiver shaft.
5. Align the switch plate assembly and tighten the mounting screw.
6. To test the pallet press “Jog A” to lift the platter and “Reset” to lower it. There are two switch
assemblies that may need to be adjusted. The switches are on the out side edge or the switch
plate (one for rotary platter clamp, one for rotary table unclamp). Adjust the set screw trigger for
each switch as necessary. The switches have an LED on them that will show the reading of the
switch.
7. Install a pallet on to the receiver.
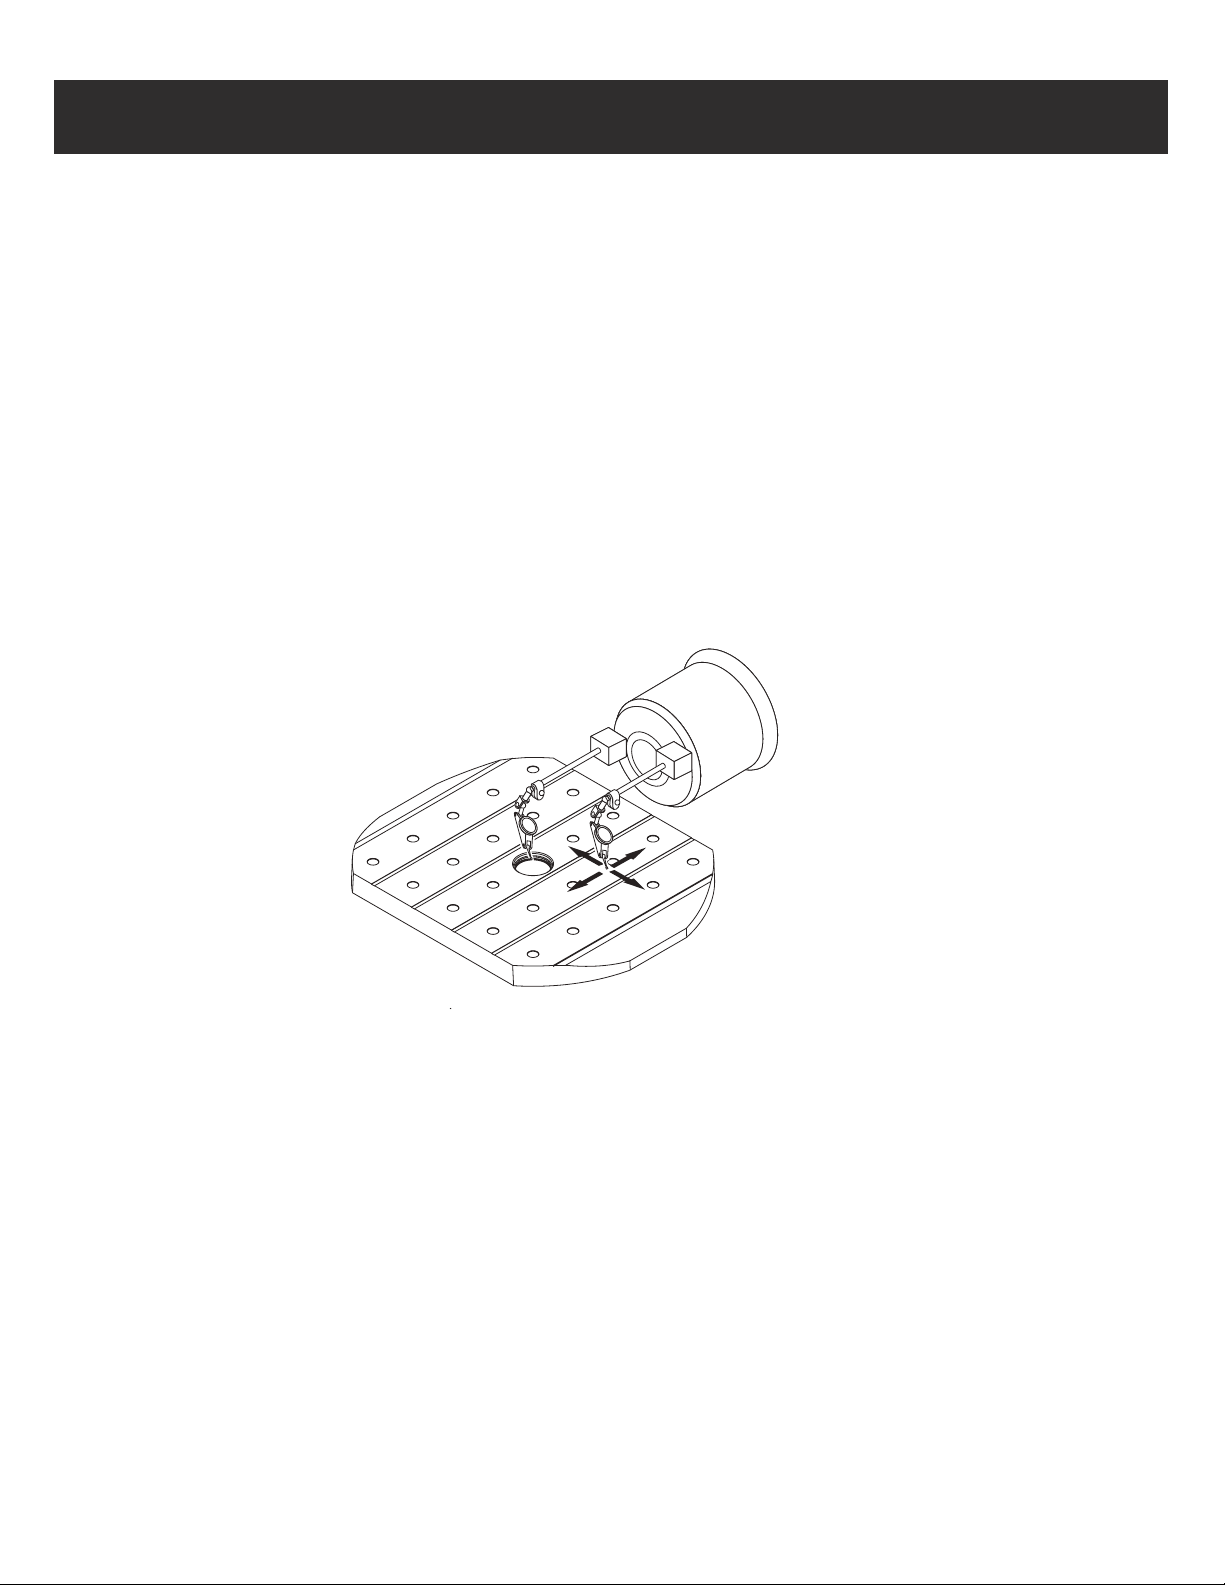
10.Set up a magnetic base and indicator, placing the tip of the indicator into the hole in the pallet.
Jog the rotary axis and check for platter alignment. The platter must be clamped before taking
readings. The concentricity of the pallet should be .002 T.I.R. The receiver base can be positioned
by tapping the base into alignment.
12. Verify concentricity, if necessary, loosen the bolts and repeat the previous step.
Set up a magnetic base and indicator, placing the tip on the pallet. Jog the X-axis and check for
parallelism. Repeat this for the Z-axis. If the pallet is out of alignment, shims will need to be
placed under the receiver assembly. Flatness is not to exceed .0005/10”.
13.Command a pallet change and repeat the previous step for the second pallet.
14.Replace the Z-axis way cover and secure with the screws.
8.
9. Tighten the bolts which secure the receiver to the base.
11.
© Copyright 2015 by Haas Automation, Inc. No unauthorized reproduction.


