Hacona C Series User manual

C-type V2.0
Impulse sealing machine
Instruction manual
Before using the machine please read carefully the
instruction manual!

2
Table of contents:
1. Introduction .................................................................................................... 3
1.1. Capacity of the sealing machine........................................................... 3
1.2. Identification of the machine ................................................................. 3
2. How to set up the machine ............................................................................ 4
2.1. Transport and positioning of the machine ............................................ 4
2.2. Conditions of use .................................................................................. 4
3. Technical description.....................................................................................
3.1. Build-up .................................................................................................
4. Operation .......................................................................................................
. Setup and operation of the machine ............................................................. 6
.1. To-do before operation ......................................................................... 6
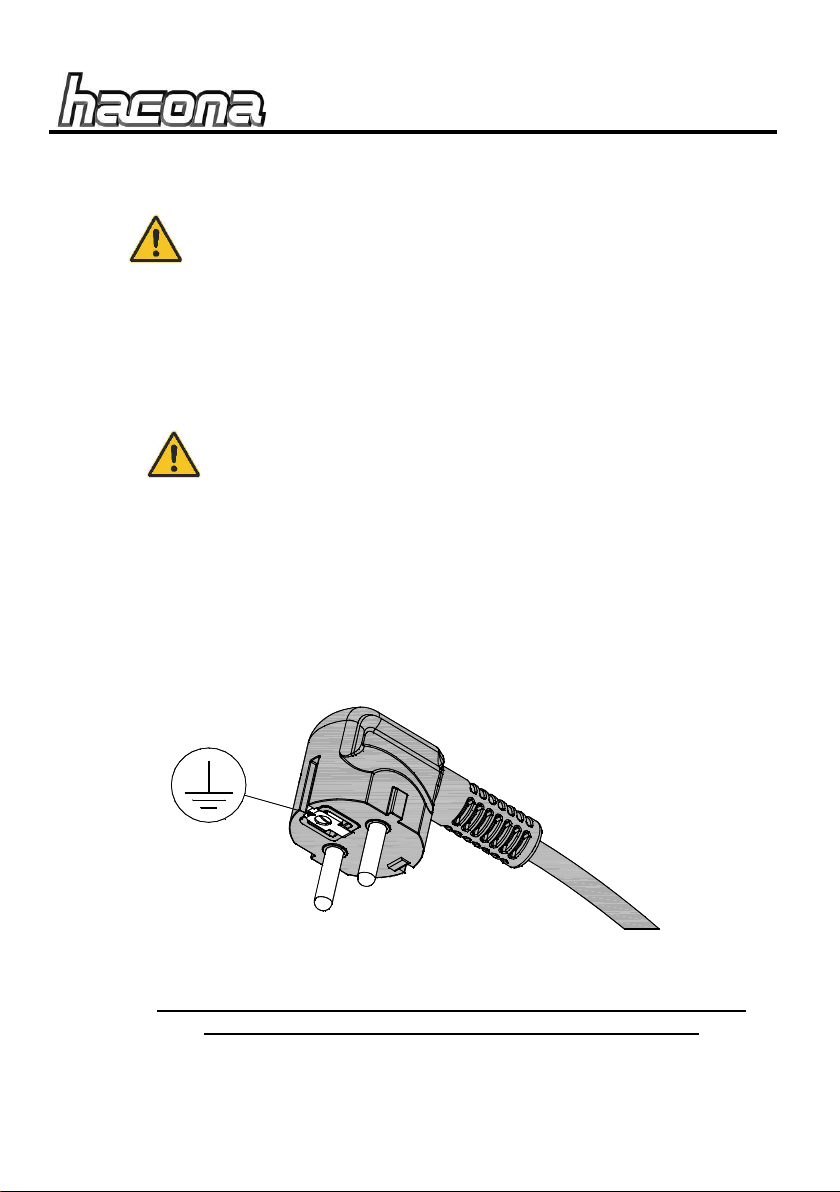
.2. Electric connection ............................................................................... 6
.3. Setup .................................................................................................... 7
.4. The use of the cutting knife .................................................................. 8
6. Conditions and limitations of the machine’s appropriate operation .............. 9
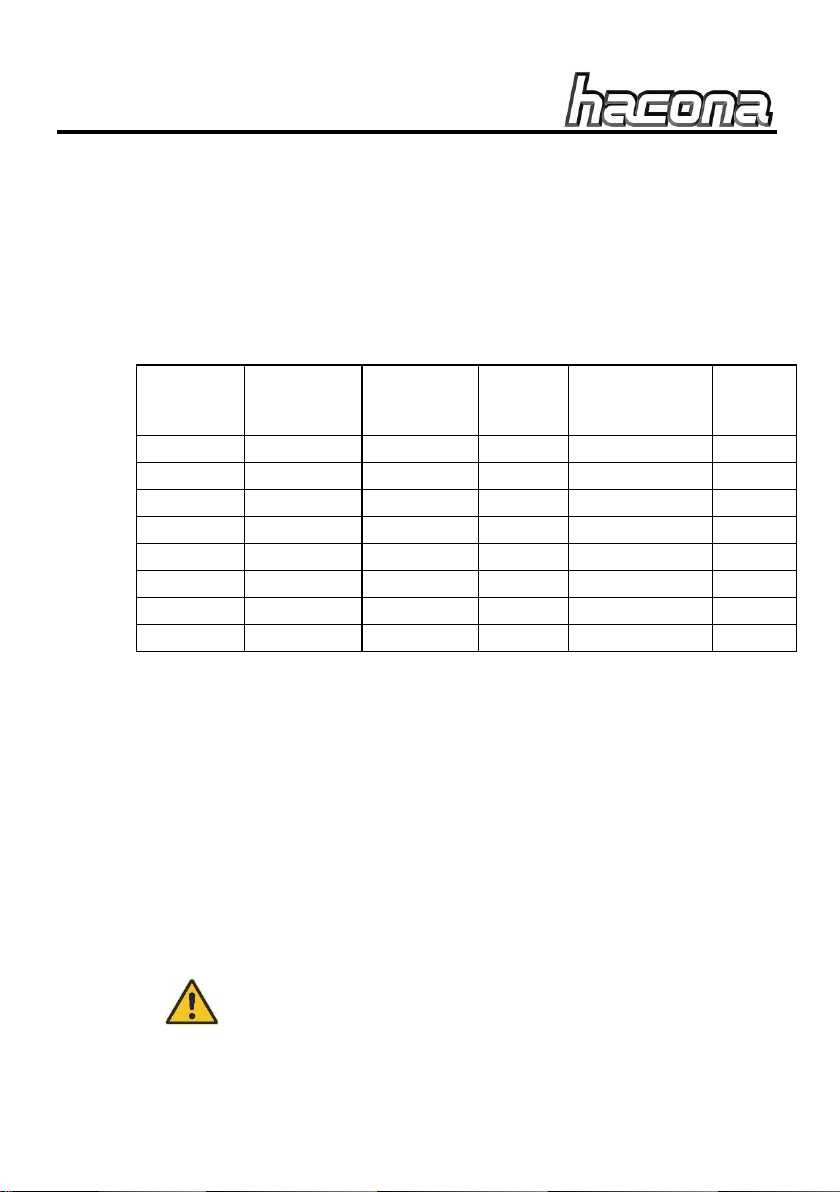
6.1. Technical parameters ........................................................................... 9
6.2. What is forbidden to package ............................................................... 9
7. Safety provisions ........................................................................................... 9
8. Machine maintenance .................................................................................10
8.1. Cleaning ..............................................................................................10
8.2. How to replace the wearing parts .......................................................11
8.2.1. How to replace the teflon tapes and sealing wire .....................11
8.2.2. How to replace the silicone rubber ...........................................12
8.2.3. How to replace the knife ...........................................................13
8.2.4. How to replace the knife assembly ...........................................14
8.3. Electric setup ......................................................................................16
8.4. Opening the machine .........................................................................17
8. . How to replace the fuse ......................................................................17
8.6. Wearing parts .....................................................................................18
8.7. Handling of the waste .........................................................................18
9. Troubleshooting ...........................................................................................19
10. Guarantee ...............................................................................................20
10.1. Guarantee ...........................................................................................20
10.2. Conditions of guarantee .....................................................................20
11. Spare parts/ Ware parts ..........................................................................23
12. EC Declaration of Conformity: ................................................................24

3
1. Introduction
This table impulse sealer is exceptionally easy to handle and
indispensable in factories, offices and anywhere where packaging is
necessary or the shelves need to be tied up. The machine is suitable for
plastic bag preparation and sealing of plastic bags filled with goods.
In order to prevent damage and accidents due to misuse the
machine can only be used by an operator trained to handle
the machine and ho read and understood the machine’s
user manual before starting the operation.
1.1. Capacity of the sealing machine
Types of film to be welded: LDPE, HDPE, PP, PVC, BOPP.
Possible film thickness: 10-200µm
Sealing length (depending on type of machine): 220, 320, 420, 620mm
Sealing width (all types of machine): 2.5mm
The thickness of film to be welded may depend on the type of the film
material. In every case it is advisable to carry out a trial sealing.
1.2. Identification of the machine
When contacting the customer service of the producer or the distributor
about the product please note the type and the serial number of the
machine that appears on the data table (Figure 1) on the back of the
machine.
Letter “C” indicates that the machine is powder coated (orange), the sign
“CI” means anodized (grey) finish with stainless fasteners. The numbers
after the type code indicate the maximal sealing length.

4
Figure 1 Data table
2. Ho to set up the machine
2.1. Transport and positioning of the machine
During transport and setup, handle the machine with great care.
Carefully lift the machine out of the cardboard box.
After unpacking, it is advisable to put the machine on a worktable.
2.2. Conditions of use
The machine shall be operated and stores in a dry room with good
ventilation away from inflammable materials, gases and other explosives.
Ideal operation room conditions:
Temperature: between + °C and +40°C
Relative humidity: between 30% and 90%

3. Technical description
3.1. Build-up
Figure 2 The build-up of sealing machine
1 – Grounded main electric
cable
2 – Hinge bolt
3 – Sealing bar
4 – Knife assembly
– Handle
6 – Front cap (magnetic)
7 – Machine type code
8 – Silicone rubber
9 – Sealing unit (sealing
wire with upper and
lower teflon tape)
10 – LED (lamp)
11 – Regulator button
12 – Front cover
13 – Machine frame
14 – Back cover
4. Operation
After connecting to the electricity, but before starting the sealing, set the
sealing time. Close the handle and push it down continuously until the
sealing time ends (while the LED (lamp) lights red the machine is sealing)

6
and afterwards for 1-2 seconds so that the film cools down. Cut the film
then lift the handle to default position.
For the appropriate operation of the machine it is
necessary to read and fully understand the entire
instruction manual.
5. Setup and operation of the machine
5.1. To-do before operation
Before starting the operation check that the machine is intact.
Do not use the machine if the connection plug, the
cables or any other parts are damaged. Electric shock
hazard!
5.2. Electric connection
Before connecting the machine to the electricity make sure that the
electricity voltage is identical to the voltage value of the data table (see:
Figure 1) on the back of the machine and that the grounded complies with
the safety provisions. In case of any doubts please refer to the local
Electricity Supplier.
Figure 3 Grounded electric plug
FOLLOW THE SAFETY REGULATIONS OF THE WORKPLACE.
NEVER USE THE MACHINE WITHOUT GROUNDING.

7
5.3. Setup
The machine is ready for operation after it is connected to the electricity
network. The yellow light of the LED (lamp) indicates the ready state.
(Figure 4 “a”).
The correct sealing time should be set referring to the type and width
of the used film. For effecting a trial sealing set the sealing time regulatory
button (Figure 4 “b”) to the lowest setting (1). Place the film between the
sealing head and the sealing electrode. Close the sealing head and wait
for the end of the sealing time while continuously pushing it down. During
sealing the light of the LED (lamp) (Figure 4 “a”) changes from yellow to
red. In order to achieve a perfect seal it is advisable to keep the handle
down for a few seconds after the sealing ends so that the seal cools down
under pressure and becomes extremely solid. After the cool down time lift
the handle and the seal is ready.
Figure 4 Operation setting
If the sealing of the film is not perfect or the bag is not sealed properly,
the sealing time has to be increased by changing the sealing time
regulatory button (Figure 4 “b”) to a higher setting.
The trial sealing always has to be carried out at a low setting and if
necessary the value needs to be increased by small steps. Sealing carried

8
out at a higher temperature than necessary, may result in the premature
wear of parts and the excessive melting of packaging material.
Never eld ithout film.
5.4. The use of the cutting knife
The knife is pulled back by a spring for safety reasons. By pressing
down the knife and moving it back and forth the film can be cut during the
sealing time. With the same operation, bags can be prepared from a film
roll (tube film).
Note: In order to achieve the best cutting result press the head of the
knife down at the middle of the film which is sealed and push forward and
backwards. This can prevent the breaking of film at the sides. (Figure 5).
Figure 5 Correct cutting technique
Never press do n the knife head hen the sealing bar is
open as the sharp knife may cause injuries. Before each use

9
al ays check that the knife is intact and that it is at its correct
position.
6. Conditions and limitations of the machine’s appropriate
operation
6.1. Technical parameters
Type
Sealing
length
[mm]
Maximal
film idth
[mm]
Cutting
length
[mm]
Machine
dimension
[mm]
Net
eight
[kg]
C - 220 220 200 200 433x100x17
3,10
C - 320 320 300 300 33x100x17
3,60
C - 420 420 400 400 633x100x17
4,0
C - 620 620 600 600 833x100x17
4,9
CI - 220 220 200 200 433x100x17
3,0
CI - 320 320 300 300 33x100x17
3,
CI - 420 420 400 400 633x100x17
4,00
CI - 620 620 600 600 833x100x17
4,90
During appropriate use the heating wire can only heat up to 12
o
C.
6.2. What is forbidden to package
In order to avoid continuous hazard of operator and machine it is
forbidden to pack the following materials:
Wet product, liquids, inflammable material, and any other material not
mentioned here that might endanger the health of operators and/or the
safe operation of the machine.
7. Safety provisions
Never touch the sealing ire directly after sealing.
Burning hazard.

10
The machine must be disconnected from the electric
net ork if the sealing ire brakes. The broken sealing
ire must be changed. Electric shock hazard.
Check the correct position of machine on the orktable.
Hazard of accident.
Before use, al ays check that the knife is intact and is at
its correct position. Hazard of accident.
Do not use the machine in et conditions, do not splash
ith ater or immerse it in ater. Hazard of electric
shock.
Regularly check the state of the net ork cable and the
plug. Hazard of electric shock.
8. Machine maintenance
BEFORE STARTING ANY MAINTENANCE ACTIVITY
UNPLUG THE MACHINE!
8.1. Cleaning
The machine does not require special care. It is advisable to remove
film residues from the sealing head and silicone rubber before they burn
on. Use slightly wet cloth for cleaning. Do not use cleaning products
containing solvents.
Before cleaning the net ork plug must be removed from
the electric supply. Hazard of electric shock.
During cleaning be careful ith the sharp knife built in
the sealing bar. Hazard of accident.
During cleaning do not use any tools or solvents that
might damage the teflon tapes and the silicone rubber.

11
8.2. Ho to replace the earing parts
When changing any parts use only original HACONA
spare parts. The use of materials that are not original
results in the invalidity of the guarantee.
8.2.1. Ho to replace the teflon tapes and sealing ire
Used, burned teflon tapes have to be change without delay for safe
operation.
Figure 6 Ho to replace the teflon tapes and sealing ire
Remove the upper teflon tape (Figure 6 “1”), then unscrew the
fastening screws on the side of the sealing electrode (Figure 6 “2”).
Remove the safety caps of the sealing wire tensioning units (Figure 6 “3”)
then pulling up the sealing wire (Figure 6 “4”) carefully remove from the
machine unit. Remove the teflon tape (Figure 6 “5”) attached to the
machine unit.

12
Cut the lo er self adhesive teflon tape (Figure 6 “5”) on
each side 4 mm longer than the side panel of the
aluminium machine unit in order to prevent electric short
circuit.
Use only original HACONA spare parts.
The surface of the sealing ire (Figure 6 “4”) can never
be taped, it has to be able to move freely under the upper
teflon strap. The upper teflon strap is not adhesive all the
ay.
Note: When changing the teflon tape always check whether the teflon
tape under the sealing wire is intact. When changing the sealing wire it is
advisable to put on the protective cap of the backwards sealing wire
tensioning unit.
8.2.2. Ho to replace the silicone rubber
Pull out the damaged or burnt silicone rubber (profile) from the sealing
bar and clip in a new silicone rubber (Figure 7).
The silicone rubber does not have to be pulled in the
profile. It can be clipped in easily.
When putting the silicone rubber in, atch out for the
direction of the profile. Looking from the sealing bar as it
opens the profile should look like the picture. (Figure
7).
HAZARD OF ACCIDENT.
When changing the silicone rubber be careful ith the
sharp knife built in the sealing bar’s knife assembly
(Figure 7).

13
Figure 7 Ho to replace the silicone rubber
.
Only use original HACONA spare parts.
8.2.3. Ho to replace the knife
To change the blunt, dull or broken knife lift the sealing bar and press
down the head of the knife assembly. Pull the knife out with pliers from its
housing (Figure 8). Change it to a new one.

14
Figure 8 Ho to replace the knife
Hazard of injury.
Al ays ear protective gloves during operation.
Only use original HACONA spare parts.
8.2.4. Ho to replace the knife assembly
The worn out or damaged knife assembly must be replaced. Remove
the front cap of the sealing bar from the front side of the sealing bar as it
opens (Figure 9, a/1). Please loosen the screws holding the handle, and

1
then remove it (Figure 9, a/2). Fully detach the screws fastening the
sealing head (Figure 9, b/3). Remove the spreader from the two
aluminium profiles (Figure 9, b/4). Pull out the old knife assembly (Figure
9, c/5).
After replacing the knife assembly build up the sealing head by carrying
out the above-mentioned actions in opposite order.
Note:
Always put the front cap back or the machine will not work!
Figure 9 Ho to replace the knife assembly
Only use original HACONA spare parts.
Hazard of injury.
Al ays ear protective gloves during operation.

16
8.3. Electric setup
Figure 10 Electric s itch
List of parts:
1 – Control panel
2 – Grounded main electric
cable
3 – Fuse (2, A)
4 – Switch (Hall-sensor)
– Sealing wire
6 – Safety transformer

17
Technical parameters:
Type of
transformer
Primer/Secondary
voltage
Nominal
electric
power
Nominal
current
C-220/CI-220 230/10V 13 W 0.60 A
C-320/CI320 230/1 V 17 W 0.80 A
C-420/CI-420 230/19V 220 W 1,00 A
C-620/CI-620 230/27V 320 W 1.4 A
The electric power of every machine during idle time is less than 8 W.
Electric shock protection rating: First class
IP code: IP20
8.4. Opening the machine
The reparation and the internal setup of the machine can
only be carried out by a trained specialist.
When opening the machine al ays unplug from the
electricity net ork.
8.5. Ho to replace the fuse
The fuse is on the control panel built inside the front cover (Figure 2
“12”) of the machine. When opening the machine always follow the
provisions described above.
Figure 11 Ho to replace the fuse

18
8.6. Wearing parts
1-Silicone rubber
2-Upper teflon tape
3-Sealing wire
4-Lower teflon tape
-Knife assembly
6-Cutting blade
Figure 12 Wearing parts
8.7. Handling of the aste
The purchased product may contain parts considered hazardous waste
therefore do not dispose of the unit as communal waste as it might
damage the environment. Selective collection is available for the product.
After assessment all waste should be collected, transported, recycled or
disposed of according to the relevant regulations of the place of repair.

19
9. Troubleshooting
The machine does not weld, and the LED
(lamp) does not light yellow or red.
• Check whether the machine is
connected to 230V electricity supply
and if the network is working.
• The control panel is damaged.
The machine does not weld. The LED
(lamp) has yellow light, but it does not
change red when closing the handle.
• Make sure that the handle is pressed
down with enough strength. (Do not
press the handle sideways.)
• Check whether the front cap is on the
handle and the magnet is in it.
• The control panel is damaged.
The machine does not weld; the LED
(lamp) is lit appropriately (yellow/red
changes operationally).
• Unplug from the electricity supply
without delay. Check that the sealing
wire, the teflon tapes and the
transformer are intact.
The sealing is not acceptable. • Change the sealing time with the
regulatory button. (The sealing time
increases proportionally with the width
of the film.)
• Make sure that you wait for the
adequate cooling time after sealing. (1-
2 sec.) The cooling time increases
proportionally with the sealing time.
The handle clacks sideways, it is loose. • The hinge bolts have to be fastened.
When connecting to the electricity supply
the sealing wire start to heat up
immediately.
• The control panel is damaged. Unplug
from the electricity supply without delay
and refer to the repair facility.

20
10. Guarantee
10.1. Guarantee
The guarantee is valid for 12 months after the purchase. The guarantee
can only be vindicated if the original receipt is shown.
10.2. Conditions of guarantee
The guarantee covers material defects and replacement, repair of parts
with production defects. The replacement, repair of parts with defects take
place at premises of the producer or its official distributor. The transport
costs are always covered by the costumer.
For transport the machine must be wrapped up in the original packaging
material with the use of protective elements (Figure 13). If the original
packaging material is not available, the machine might be wrapped in a
different way with great care. Any damage occurring during transport is
not covered by the guarantee.
Repair covered by guarantee can only be carried out by the
producer or its representative.
The guarantee is not valid:
− If the original purchase receipt cannot be presented.
− If the machine was opened unjustifiably without authorization.
− If the machine was repaired with parts that are not original.
− If the machine was not set up properly, it was connected to
unsuitable electricity supply, it was operated or maintained
differently to what is explained in the manual, and/or was neglected
or damaged on purpose.
− If constructional changes were carried out on the machine without
the prior written consent of the producer.
− If the machine was operated inappropriately.
− If the machine is not owned by the first purchaser.
This manual suits for next models
2
Table of contents
Other Hacona Food Saver manuals