manuals.online logo
Brands
  1. Home
  2. •
  3. Brands
  4. •
  5. HAGER WERKEN
  6. •
  7. Dental Equipment
  8. •
  9. HAGER WERKEN MIRATORCH User manual

HAGER WERKEN MIRATORCH User manual

MIRATORCH®
Blue + yellow flame for dental use
Blaue + gelbe Flamme für Zahnarzt und Labor
Llama azul + amarilla para uso odontológico y de laboratorio
Fiamma gialla + blu per studio dentistico e laboratorio
Flamme bleue + jaune à usage dentaire
Blauwe + gele vlam voor tandheelkundig gebruik
GB
1. Adjust air control (1) for ignition on open drilling (factory
adjustment). Reduce opening for a soft flame (yellow). 2.
Switch transport safety device/ignition button to “ON” and
ignite burner by pressing “BURNER” button. 3. Constant
flame: Push Slide (4) against arrow direction “OFF”. Off: Press
“OFF” in arrow direction. 4. Adjust flame pressure with -/+
switch (2). 5. To fill the gas vessel lock burner by activating the
transport safety device (3) to “LOCK”. Turn burner upside
down and fill from gas cartouche (APT/Kisag gas).
D
1. Luftregler (1) für die Zündung auf offene Bohrung einstellen
(Werkseinstellung). Für eine weiche Flamme (gelb) Öffnung
verkleinern. 2. Transportsicherung/Zündschalter (3) auf „ON“
drehen und anschließend durch Drücken des Knopfes Brenner
zünden. 3. Dauerflamme: Schieber (4) gegen Pfeilrichtung
„OFF“ drücken. Aus: Schieber in Pfeilrichtung „OFF“ drücken.
4. Einstellen des Flammendrucks -/+ Schalter (2) 5. Zum Fül-
len des Tankbehälters Brenner durch betätigen der Transport-
sicherung (3) auf „LOCK“ verriegeln. Brenner auf den Kopf
drehen und mit Kartusche (APT/Kisag Gas) auffüllen.
REF 401 010
Hager & Werken GmbH & Co. KG
Ackerstraße 1 • 47269 Duisburg, Germany
Tel.: +49 (203) 99 269-0 • Fax: +49 (203) 29 92 83
E-Mail: [email protected] • www.hagerwerken.de
E
1. Ajustar el regulador de aire (1) en el
orificio abierto para encender (ajuste
de fábrica). Para una llama suave
(amarilla) reducir el orificio. 2. Girar
el seguro de transporte/interruptor
de encendido (3) a la posición “ON” y
a continuación pulsar es botón para
encender el soplete. 3. Llama perma-
nente: pulsar la guía (4) en dirección
contraria a la flecha “OFF”. 4. Ajuste
de la presión de la llama con el inter-
ruptor –/+. 5. Para rellenar el depó-
sito bloquear el soplete, para ello co-
locar el seguro de transporte (3) en la
posición “LOCK”. Darle la vuelta al
soplete y rellenar con cartucho (APT/
KISAG GAS).
F
1. Placer le trou de l’anneau crénelé au-dessus de l’ouverture
pour permettre l’allumage (positionnement normalement
fait à l’usine). Pour obtenir une flamme plus molle (jaune),
diminuer l’ouverture pour réduire l’arriveé d’air. 2. Tourner le
bouton d’allumage (qui sert aussi de fermeture de sécurité)
sur ON et appuyer pour allumer le brûleur. 3. Pour mettre en
position flamme continue, tirer le curseur OFF (4) en direc-
tion du bouton d’allumage (en sens contraire de la flèche),
pour éteindre, pousser ce curseur OFF vers l’avant dans le
sens de la flèche. 4. Réglage de la pression de gaz en action-
nant le bouton (2) vers + ou vers -. 5. Pour remplir le brûleur,
placer la fermeture de sécurité sur LOCK. Tenir le brûleur la
tête en bas et remplir avec un bouteille de gaz APT ou KI-
SAG.
NL
1. Luchtregelaar (1) ter ontsteking op het open boorgat instel-
len (wordt zo door de fabriek geleverd). Voor een zachte vlam
(geel) de opening kleiner draaien. 2. Transportbeveiliging/
ontsteking (3) op “ON” zetten, dan de knop indrukken zodat
de brander aanspringt. 3. Voor een constante vlam de schuiver
(4) tegen de richting van de pijl “OFF” drukken. Uitschakelen:
in richting van de pijl “OFF” schuiven. 4. Instellen van de vlam-
hoogte met de -/+ schakelaar (2). 5. Om de tank te vullen de
transportbeveiliging (3) van de brander op “LOCK” zetten.
Brander op zijn kop houden en met de cartouche vullen (APT/
Kisag gas).
I
1. Impostare il regolatore dell’aria (1)
nella posizione di foro aperto (impo-
stazione di fabbrica). Diminuire l’aper-
tura per ottenere una fiamma dolce
(gialla). 2. Girare l’interruttore di ac-
censione/la sicura di trasporto (3)
nella posizione “ON” ed accendere il
bruciatore premendo il pulsante.
3. Fiamma continua: Premere il tasto
(4) nella direzione opposta della frec-
cia “OFF” – Per spegnere premere il
tasto nella direzione della freccia
“OFF”. 4. Regolare la pressione della
fiamma con il regolatore -/+ (2). 5. Per
riempire il serbatoio, bloccare il bru-
ciatore girando la sicura di trasporto
(3) nella posizione “LOCK”. Girare
sotto sopra il bruciatore e riempirlo con
una cartuccia (APT/KISAG GAS).
(3) Piezo igniter press button on
(2) Gas adjustment
(1) Air adjustment
(4) Off switch
(5) Refilling valve
(6) Stand base
(3) Safety
lock
2011113001 Rev1 (2019-03)
Ø x H x W 36 mm x 137 mm x 101 mm
TEMPERATURE 1300 °C / 2450 °F
TEMP (SOLDERING IRON) 200 – 450 °C / 390 – 840 °F
VOLUME BUTANE 64 ml
BURNING TIME 60 – 70 min
Other HAGER WERKEN Dental Equipment manuals

HAGER WERKEN PRAXIPOL PS II User manual

HAGER WERKEN

HAGER WERKEN PRAXIPOL PS II User manual

HAGER WERKEN BRAVO PORTABLE II PLUS User manual

HAGER WERKEN

HAGER WERKEN BRAVO PORTABLE II PLUS User manual

HAGER WERKEN Bravo Portable II User manual

HAGER WERKEN

HAGER WERKEN Bravo Portable II User manual

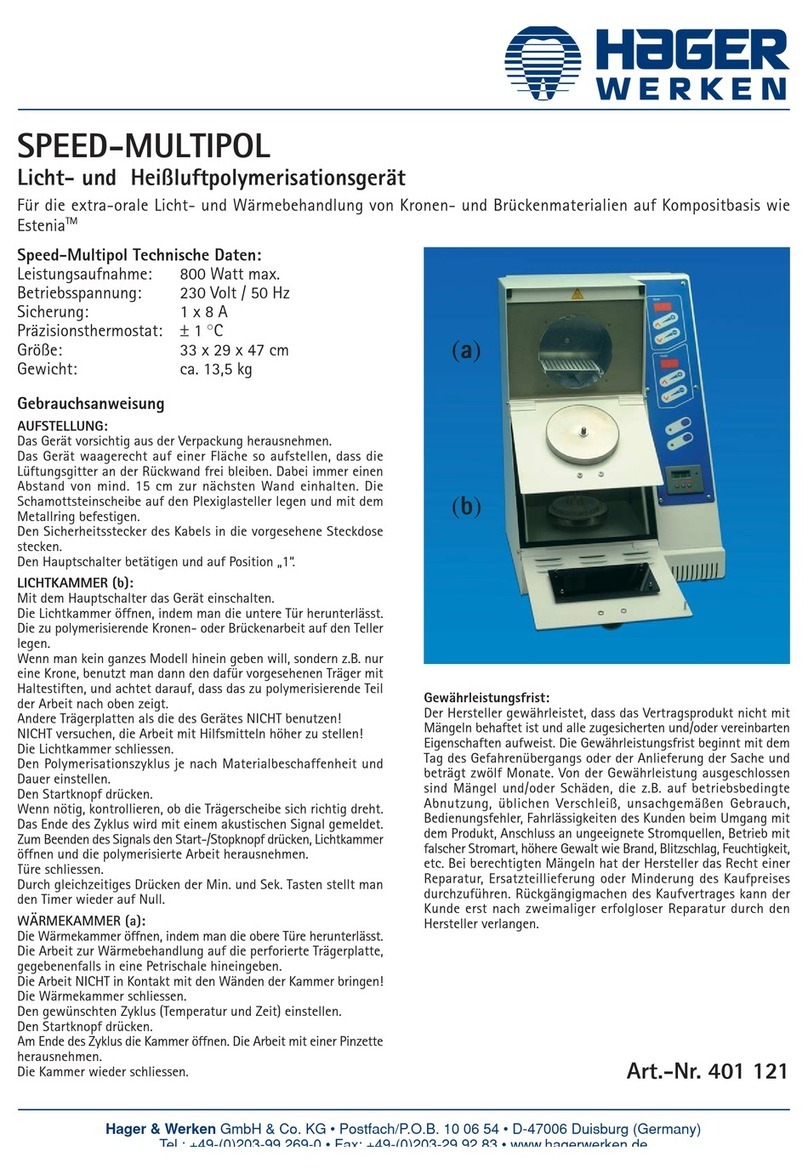
HAGER WERKEN SPEED-MULTIPOL User manual

HAGER WERKEN

HAGER WERKEN SPEED-MULTIPOL User manual

HAGER WERKEN LaserHF standard User manual

HAGER WERKEN

HAGER WERKEN LaserHF standard User manual

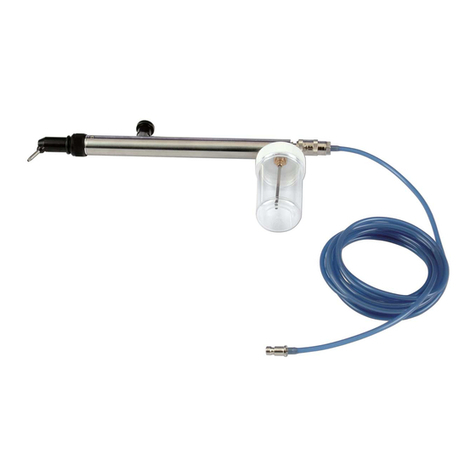
HAGER WERKEN Airsonic Mini-Sandblaster User manual

HAGER WERKEN

HAGER WERKEN Airsonic Mini-Sandblaster User manual

Popular Dental Equipment manuals by other brands

3M ESPE Pentamix Lite operating instructions

3M ESPE

3M ESPE Pentamix Lite operating instructions

ENBIO Enbio S user manual

ENBIO

ENBIO Enbio S user manual

Vatech EzRay Air VEX-P300 user manual

Vatech

Vatech EzRay Air VEX-P300 user manual

KaVo GENTLEpower LUX Contra-angle 25 LP Technician's Instructions

KaVo

KaVo GENTLEpower LUX Contra-angle 25 LP Technician's Instructions

DENTSPLY SmartLite Focus Instructions for use

DENTSPLY

DENTSPLY SmartLite Focus Instructions for use

LM ProPower CombiLED quick guide

LM

LM ProPower CombiLED quick guide

Owandy Radiology RX-AC user manual

Owandy Radiology

Owandy Radiology RX-AC user manual

mectron Piezosurgery Cleaning and sterilization manual

mectron

mectron Piezosurgery Cleaning and sterilization manual

Belmont CREDIA G1 operating instructions

Belmont

Belmont CREDIA G1 operating instructions

Planmeca Sovereign Classic user manual

Planmeca

Planmeca Sovereign Classic user manual

Bego Fornax T operating instructions

Bego

Bego Fornax T operating instructions

Renfert SYMPRO Operating and safety instructions

Renfert

Renfert SYMPRO Operating and safety instructions

Nevadent NZPS 3 A1 operating instructions

Nevadent

Nevadent NZPS 3 A1 operating instructions

Dentatus Nyström instruction manual

Dentatus

Dentatus Nyström instruction manual

OMS DUKE EASY Instruction handbook

OMS

OMS DUKE EASY Instruction handbook

OMS LINEA PATAVIUM Instruction handbook

OMS

OMS LINEA PATAVIUM Instruction handbook

BRYANT DENTAL Ignis Gesture A-494322 manual

BRYANT DENTAL

BRYANT DENTAL Ignis Gesture A-494322 manual

Renfert Basic classic instruction manual

Renfert

Renfert Basic classic instruction manual

manuals.online logo
manuals.online logoBrands
  • About & Mission
  • Contact us
  • Privacy Policy
  • Terms and Conditions

Copyright 2025 Manuals.Online. All Rights Reserved.